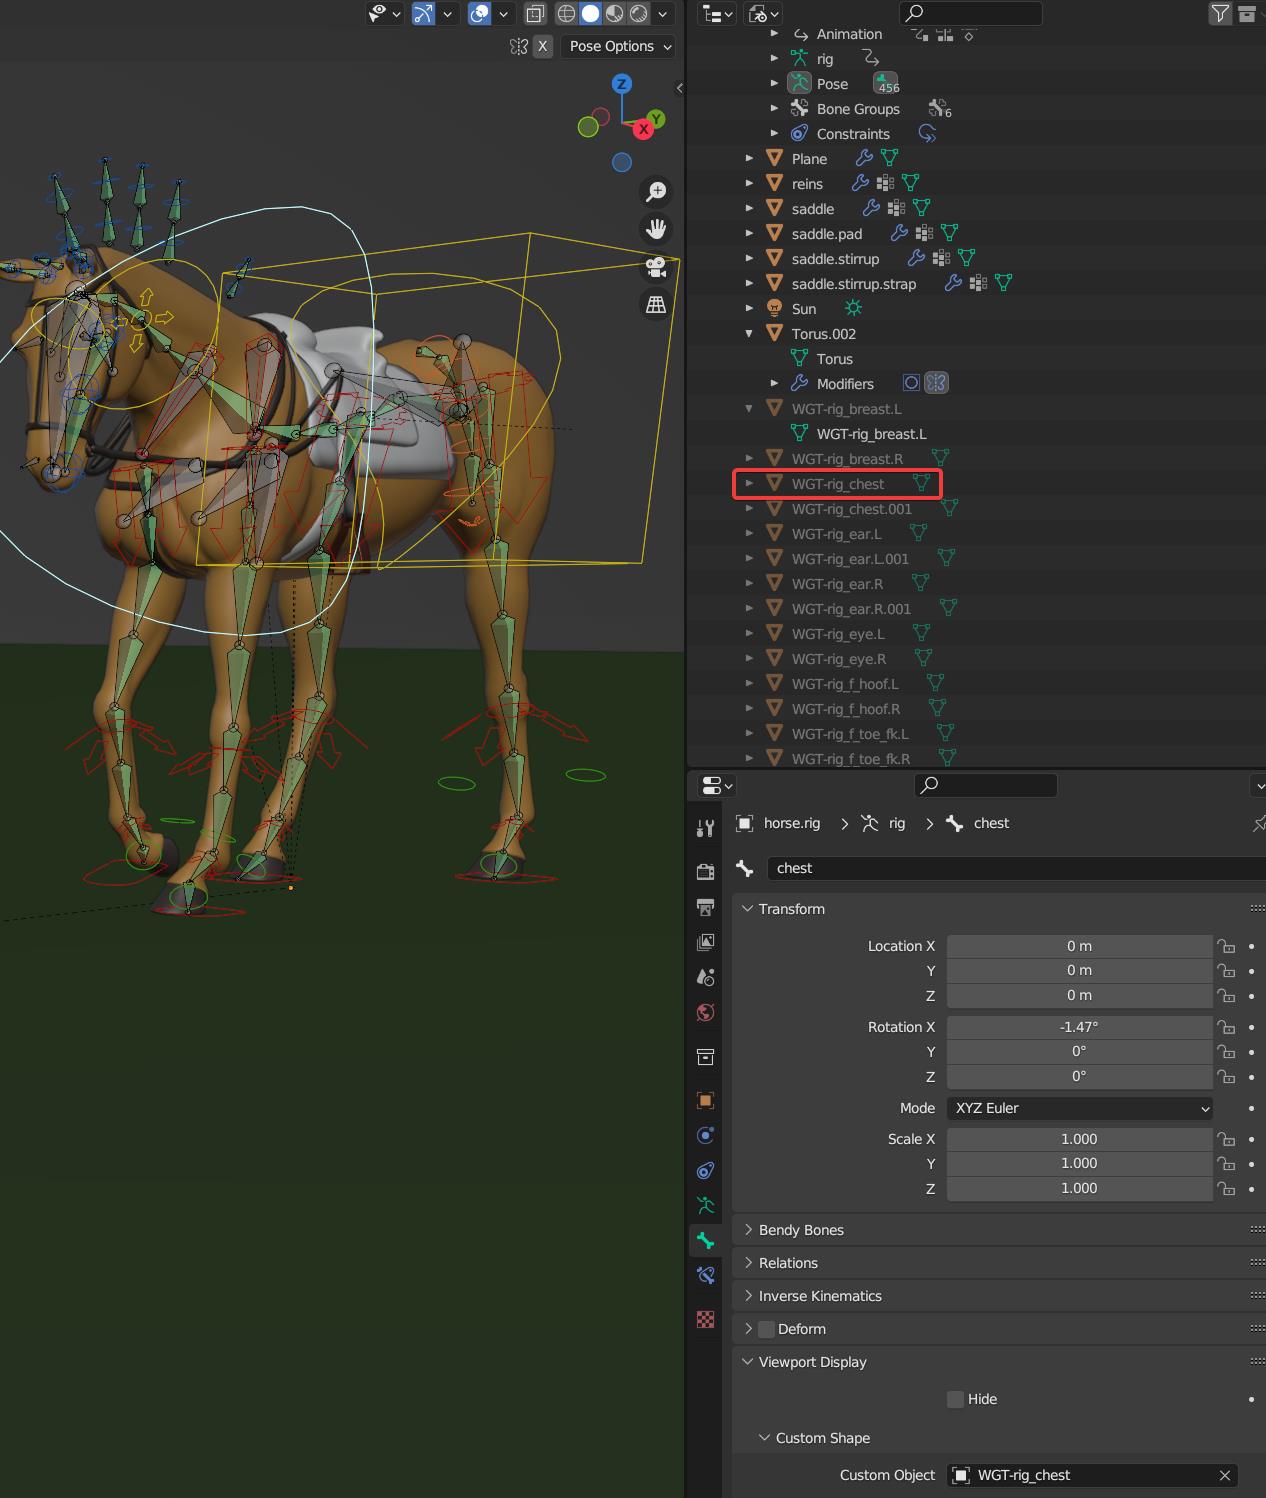
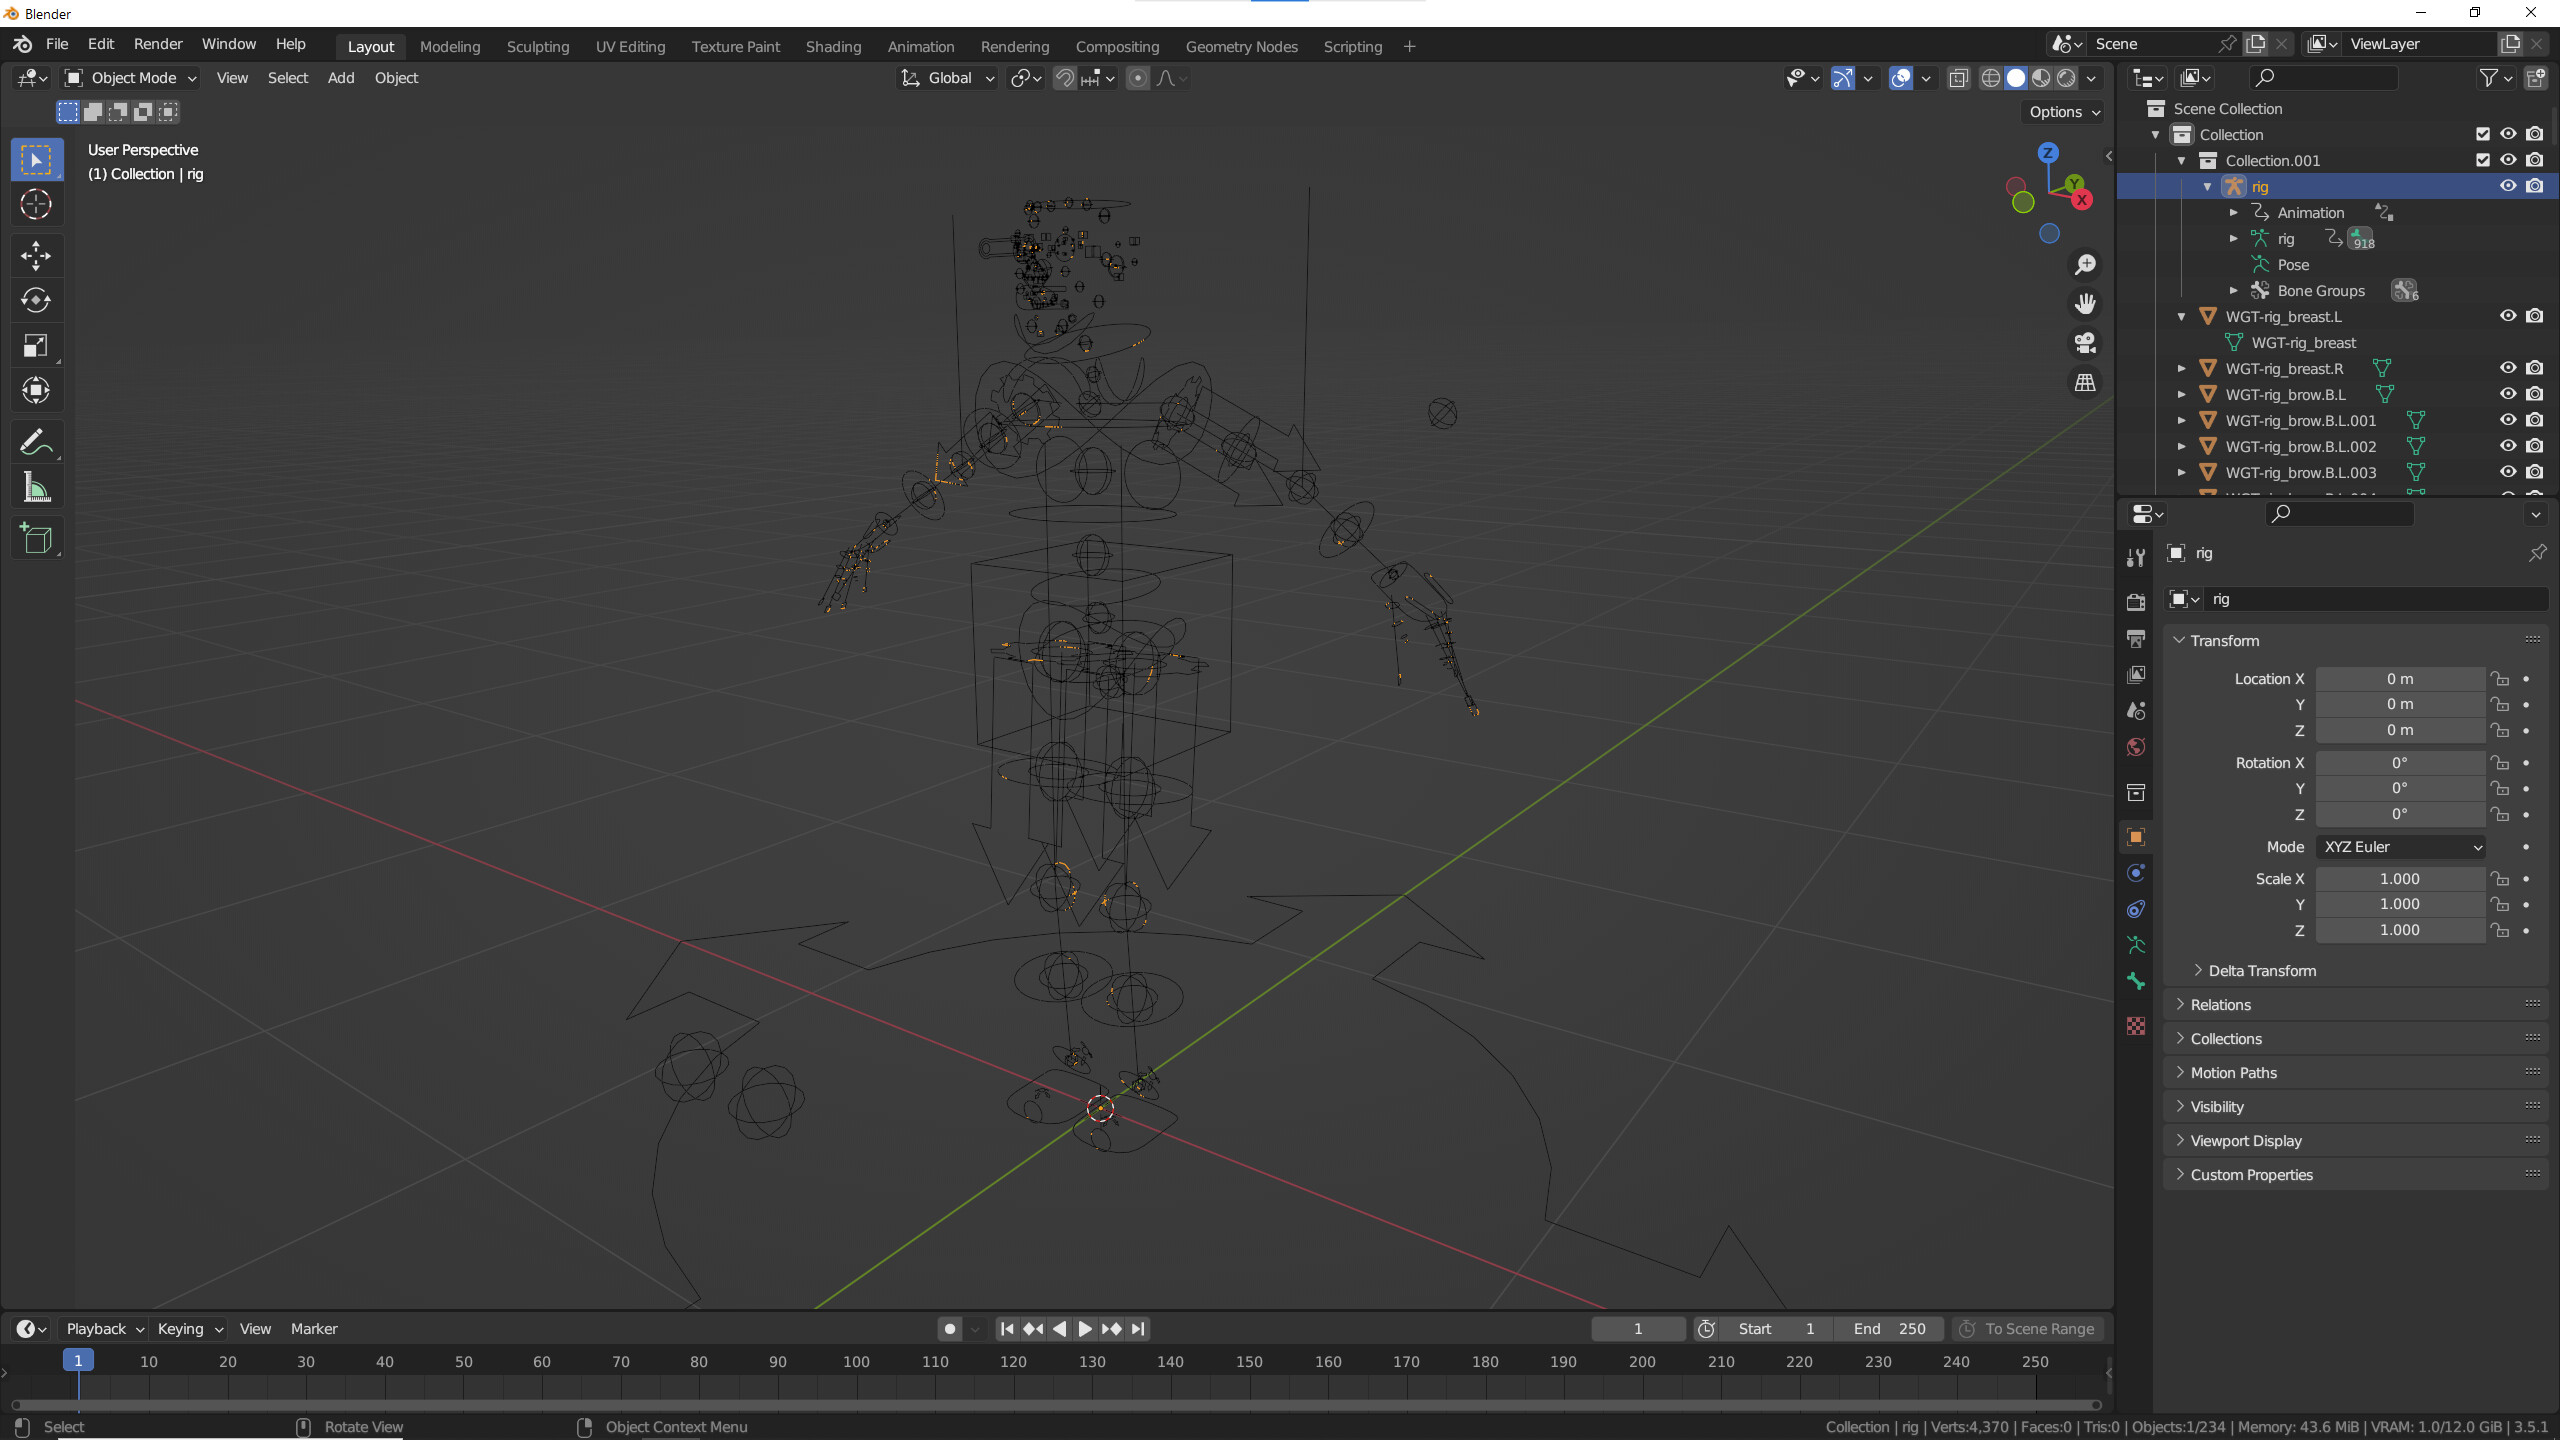
The objects that exists are actually bones, which are part of the overall armature.
So an armature is basically made up of bone objects, now they can be used for a few things. One bone could be used as a deformation bones, which is directly linked and weight painted to a mesh.
Another could be a aim target, referenced by bone constraints.
And another can be used as a control bone something that you animate in pose mode which actually moves the deformation bones.
Now by default, all bones look the same, but as you showed in the screen shot, you can make the bone look like something else in the viewport display by assigning it a custom object.
As such, @Okidoki has it right, by pointing out the way Blender manages and stores information. So if you add a Cube to Blender, you actually add two things (well more then that, but lets keep this simple), you add the Object data of the Cube (that stores its overall total information, like Location, Rotation, what Collection it is a member of, etc).
But you also add at the same time, the actual mesh data of that cube, it’s vertices, faces, UV Maps, etc. While these are added at the same time and initially linked together, they are in fact two very separate things.
So while at first all those Widgets exists as both Objects (likely starts as an added curve or circle, etc) and the data that makes it up, vertex, lines, etc.
So what happens with the rig setup, is the bone (object), basically gets updated or replaced with the vertex/line data that is the Widget.
What this means is that said vertex/line data of the Widget is now being used in two places. Once on the original Widget object and once on the Bone object as part of the Armature.
If you now delete the original Widget object, well that’s gone, along with one copy of its vertex/line data. But the other copy is still there, assigned to a Bone as part of the Armature.