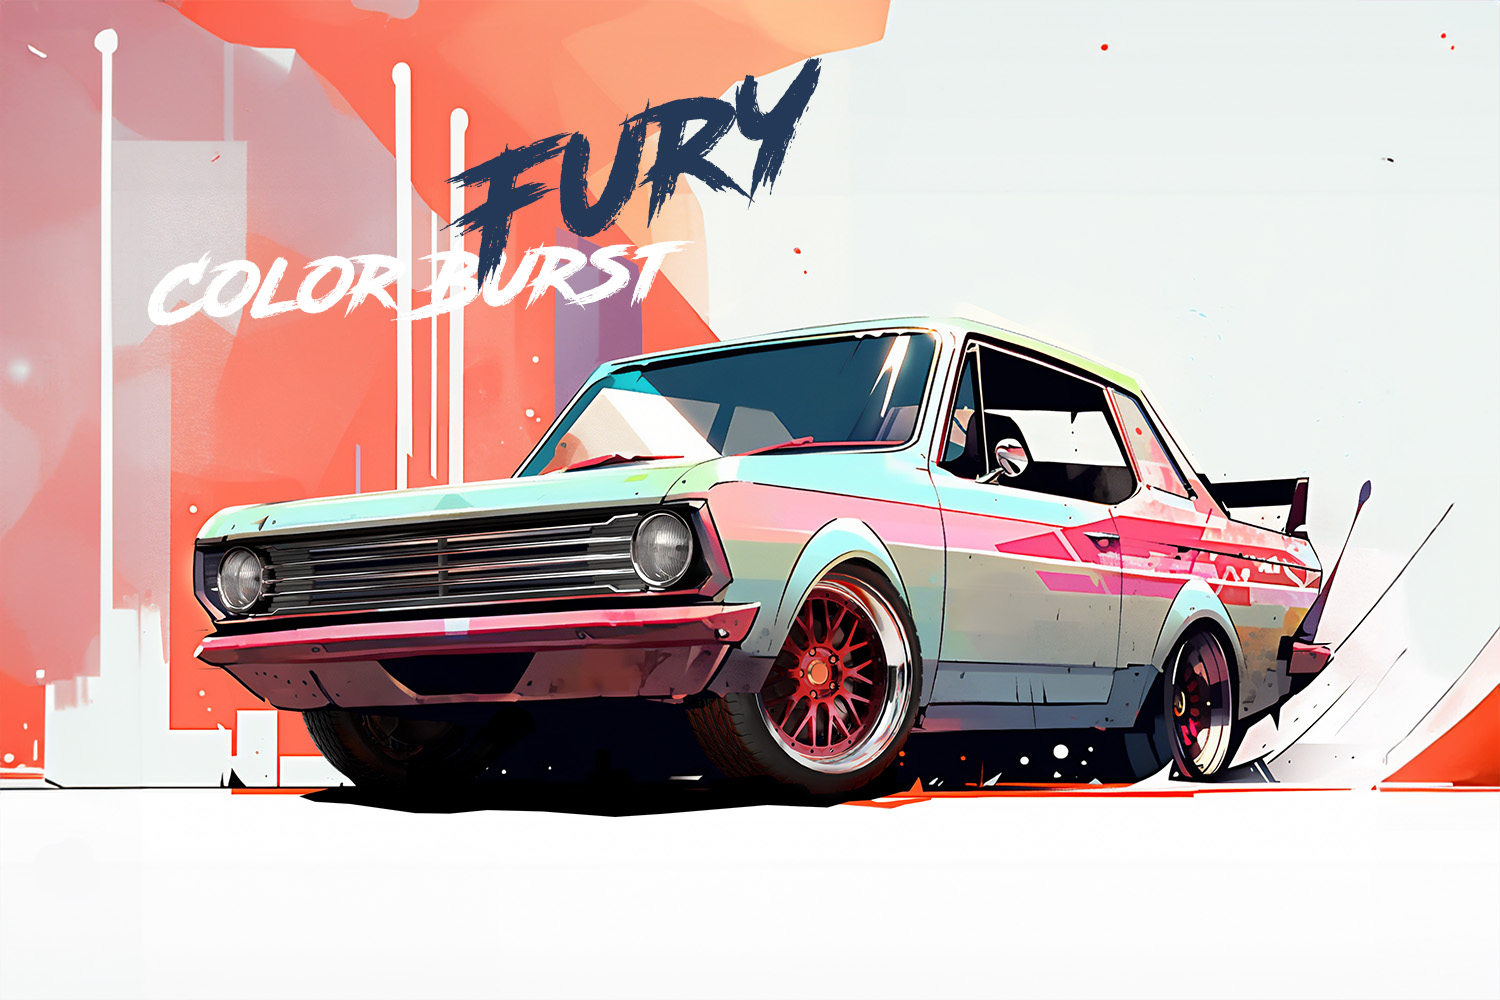
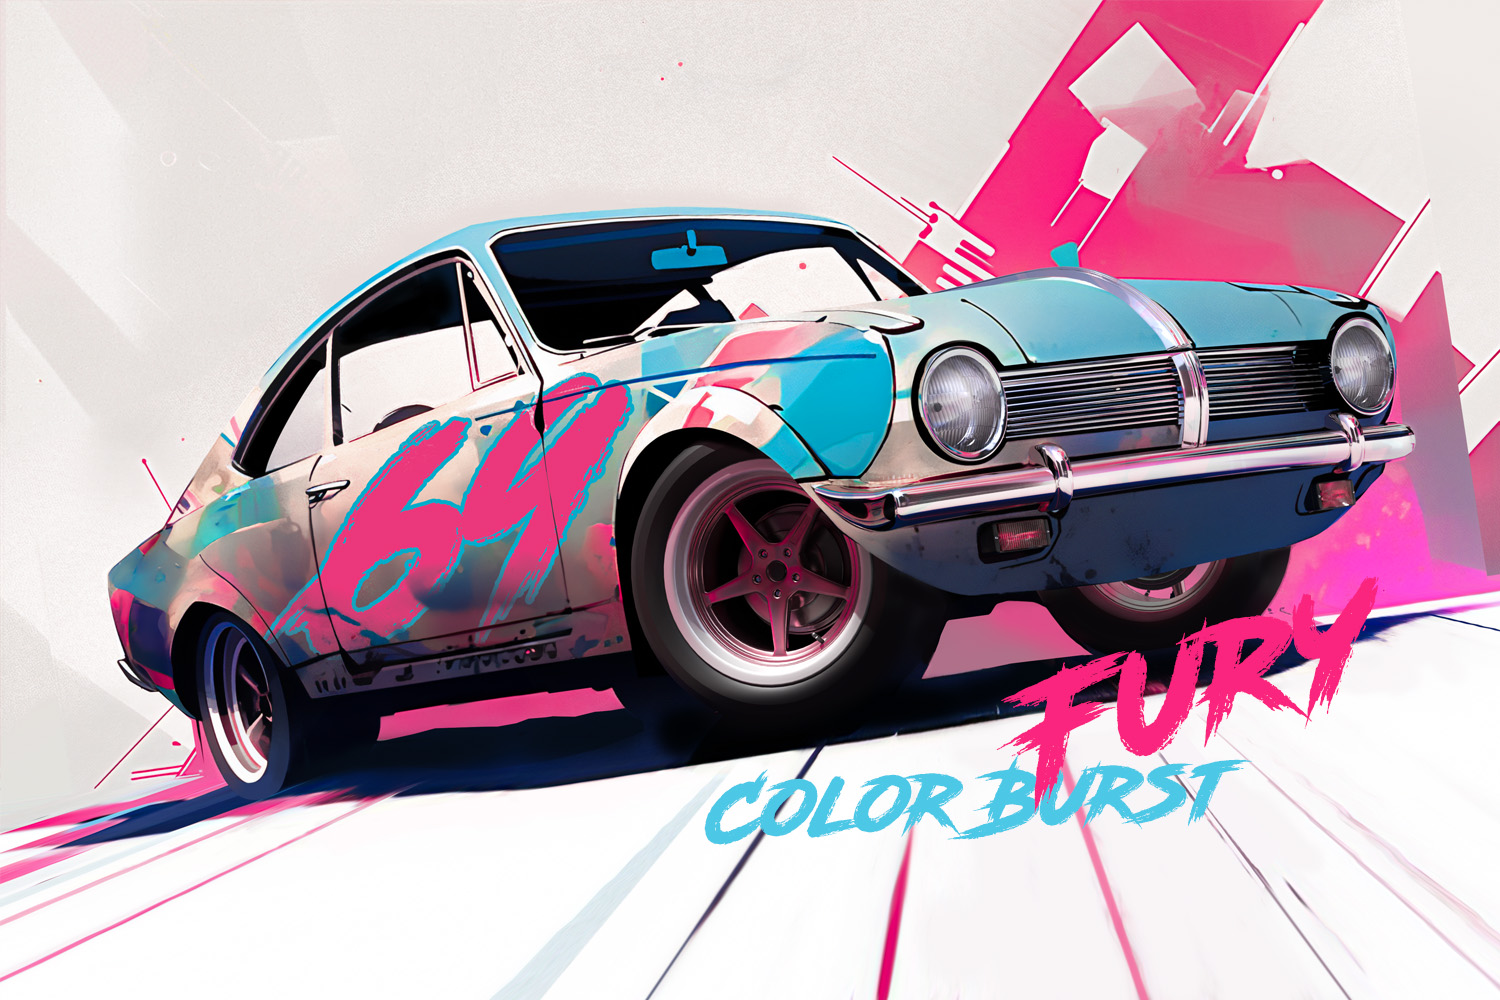
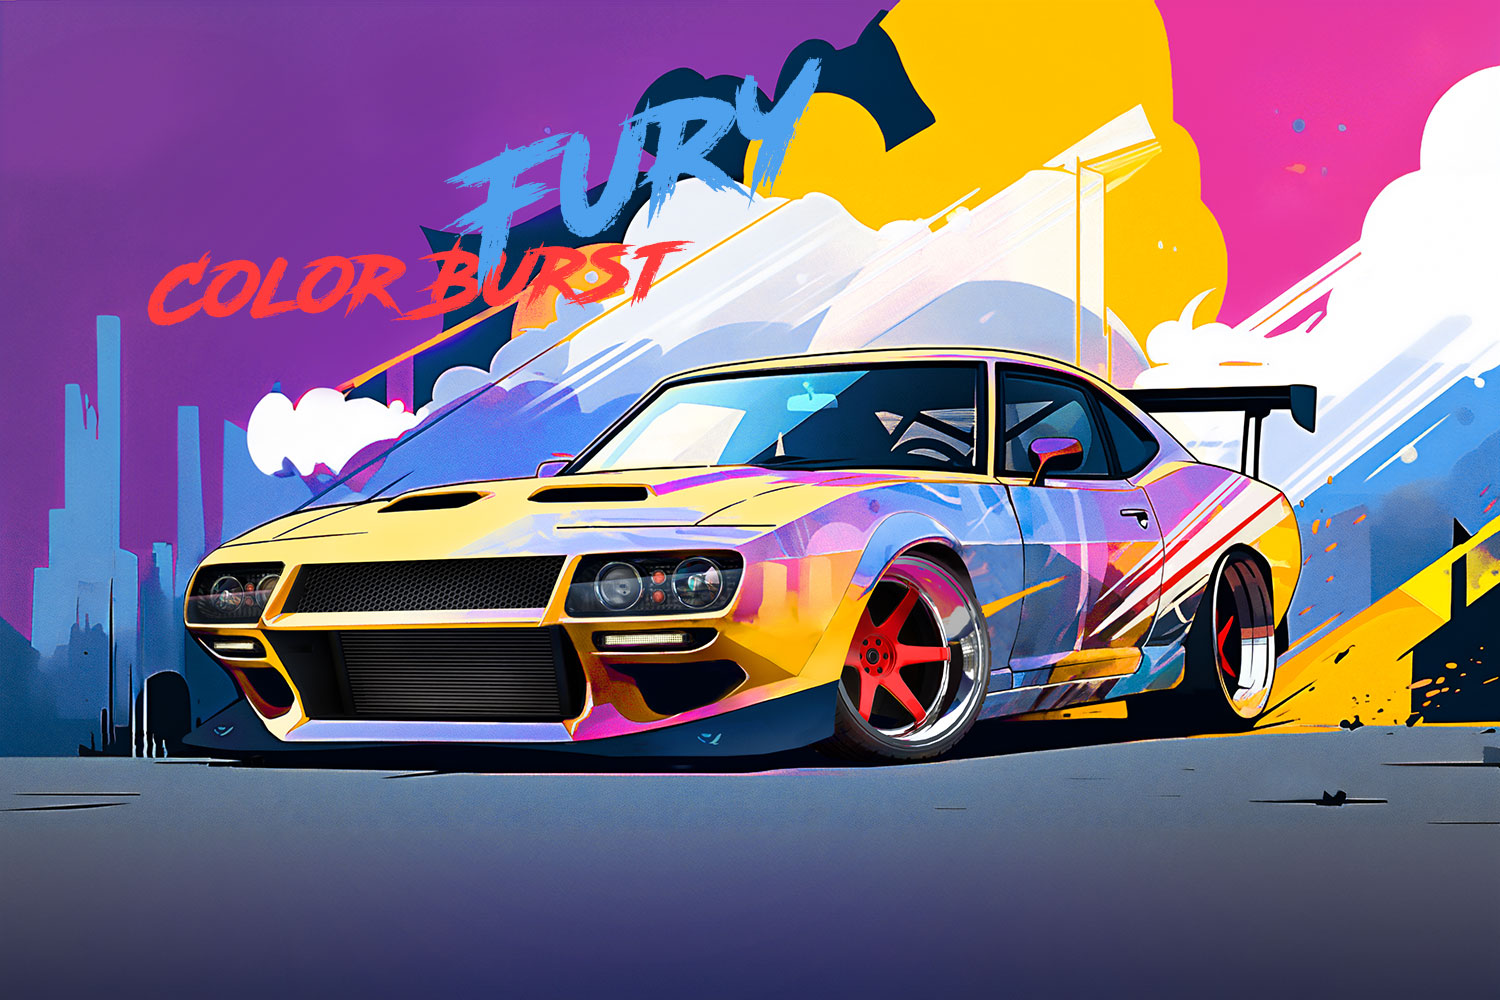
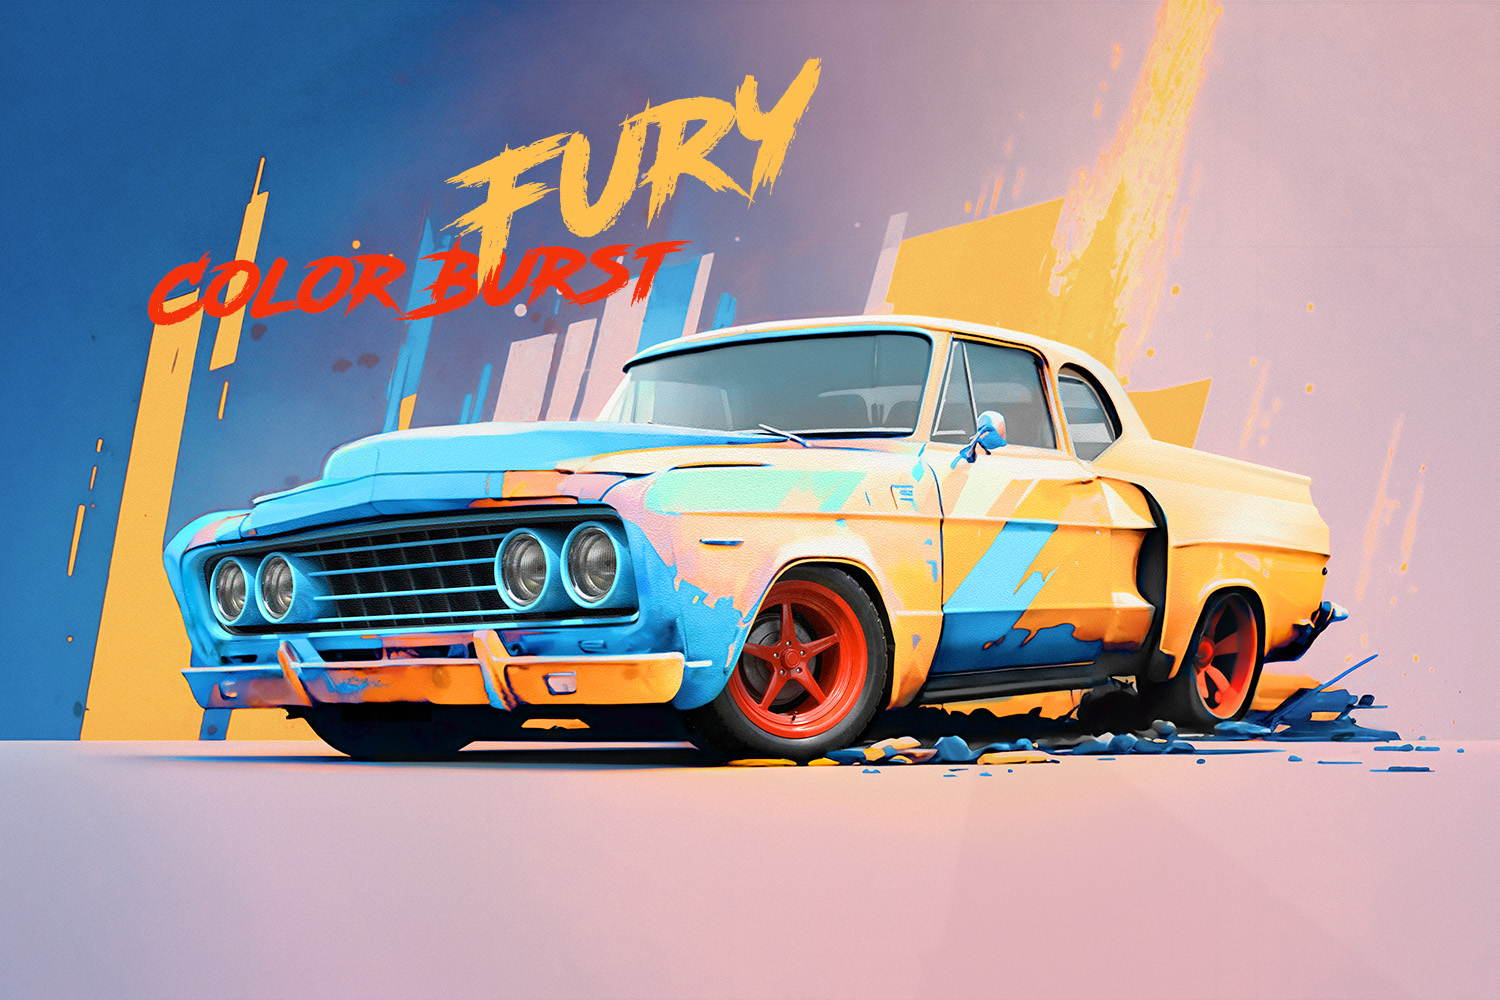
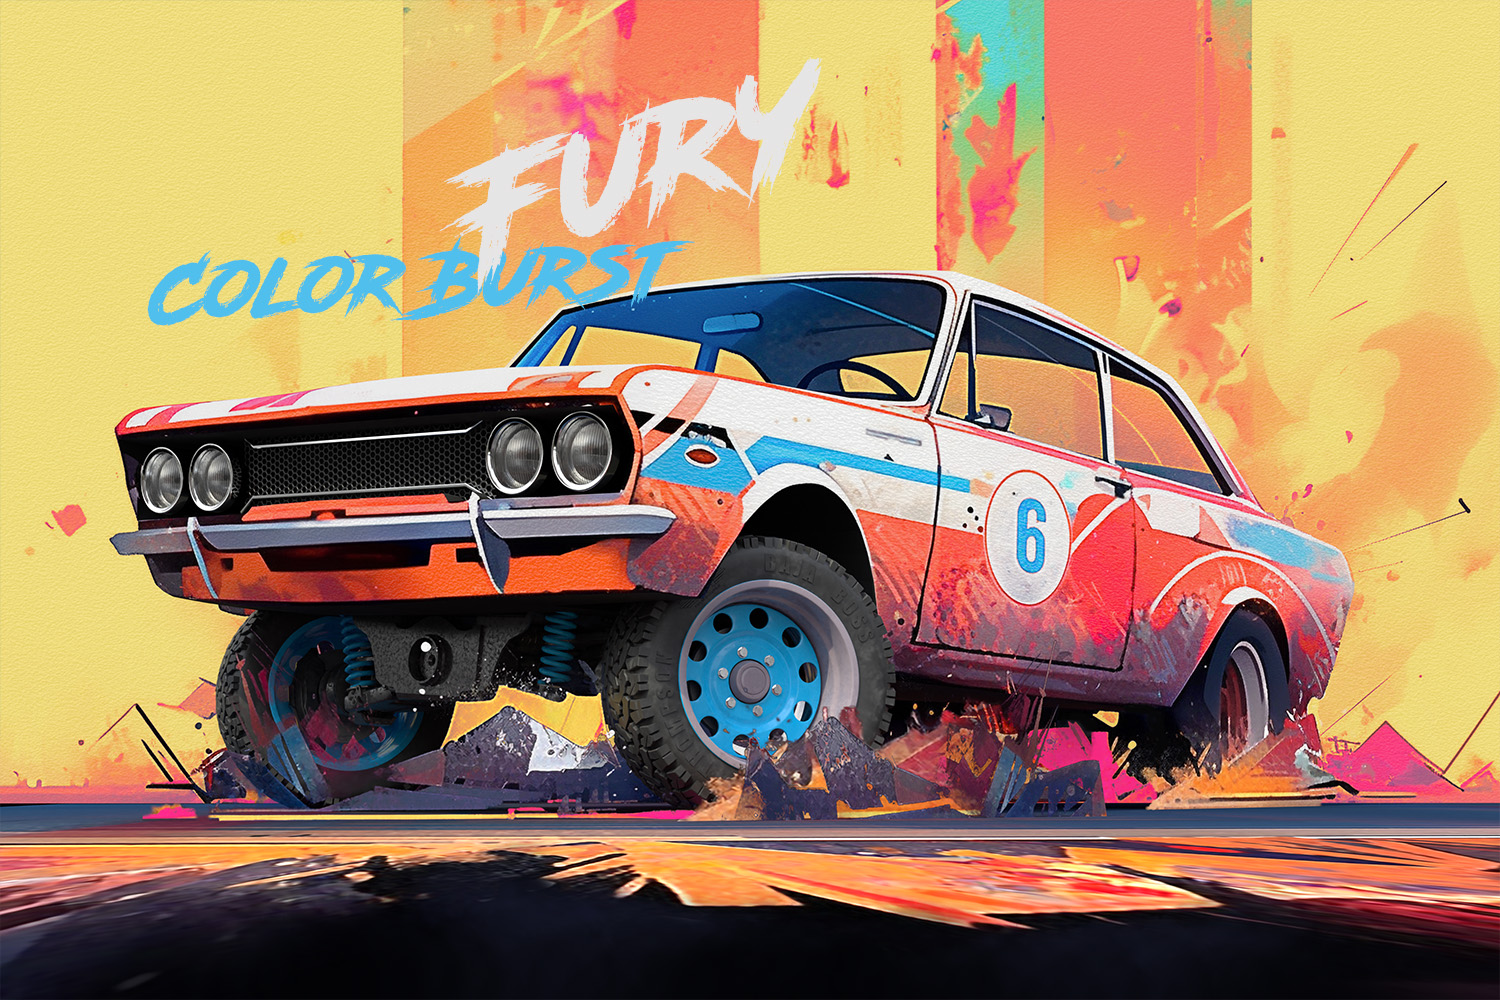
Color Burst FURY is growing as a project and I genuinely love the cross medium approach of this collection. The predominantly painterly appeal feels very organic, while adding 3D elements, creates clarity, and a focus point within each peace.
‘The journey is its own reward’ absolutely comes true for me with this creations and I look forward to what cars are to come. This is an ongoing project and I’ll be adding more images to this thread as I go along. Here are the first four cars in this line-up.
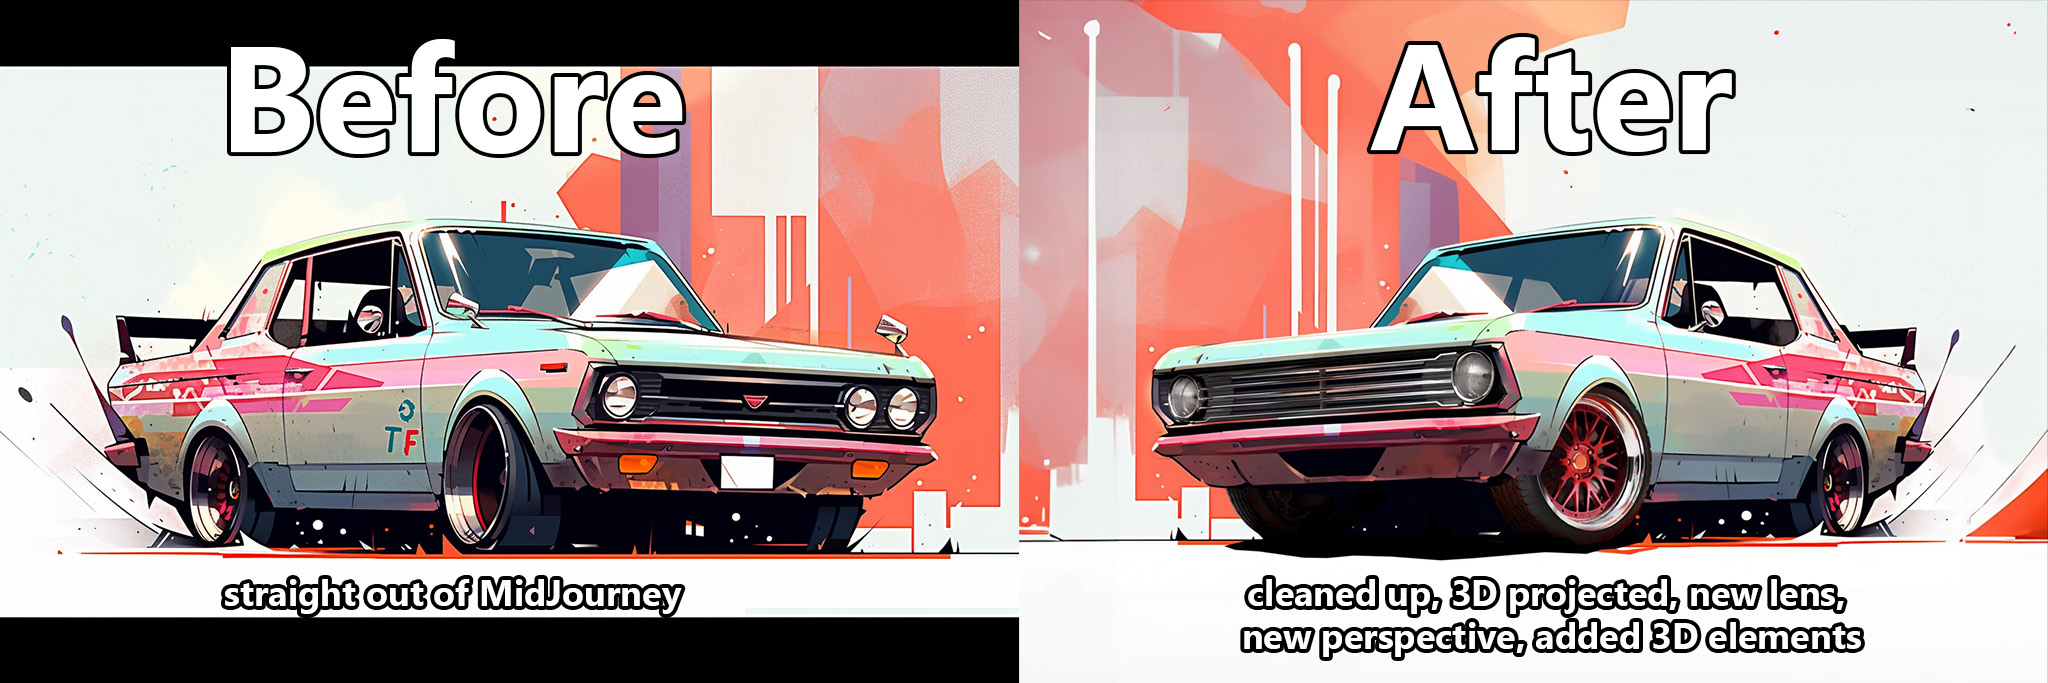
I started with MidJourney but getting a prompt that provides a specific outcome is the first challenge. It definitely took me some time to get what I was after and consistency in the results. After that the real work starts, to give each piece a voice and tie the collection together.
Very cool! I’m intrigued as to how you’ve matched the camera well enough to be able to recreate the car in 3D - is the reconstructed 3D car ‘correct’, in as much as you can view it from any angle, or, as I often find with making geometry to project 2d artwork onto, it becomes apparent that things are slightly off the further from the original camera position you move?
Good question. I use different approaches depending on how much I want to change. If it is just adding some details I most likely fake perspective to save time. However if it is a full blown perspective and lens change, things get more complicated.
I found that using fSpy doesn’t work all that well with these images as the perspective cannot be trusted.
So the only chance you really have is by using using a very, very basic geometry for the car and then play with camera placement and lens choice. You want to line up the perspective tapering of the 3D object with the image. If you perspective is too strong, your lens is too short and visa versa.
After lining up the camera height, I often end up having to use tilt shift correction to centre the image back in the frustum.
Since these car images don’t come from photos, it is hard to get a ‘correct’ starting point. You start by guessing the dimensions of the vehicle and that usually leads to little adjustments of the geometry after the camera has been matched. Too me that is perfectly fine, because I move within the limitations of the projected texture. If you wanted to freely rotate the car without limitations, you’d need several projections and most likely find yourself painting out areas that the projections didn’t cover well.
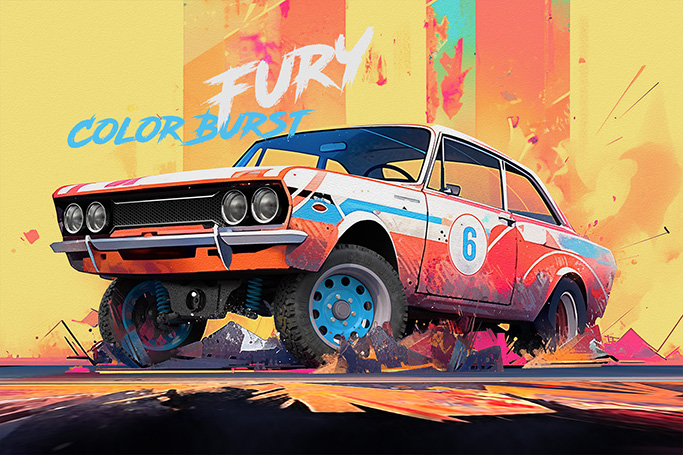
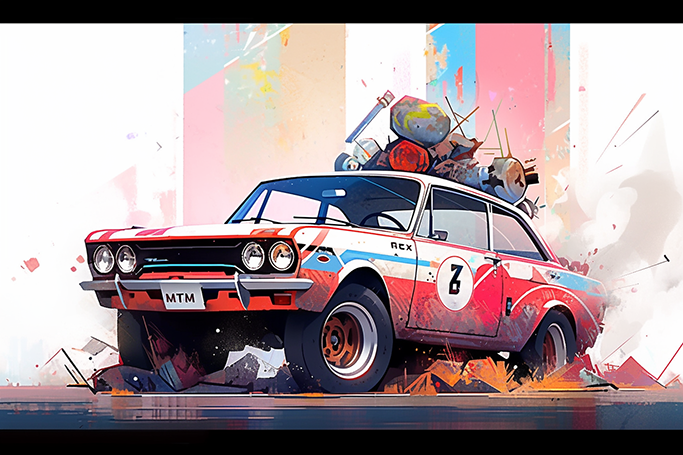
Here’s a breakdown of the three levels of camera projection that I used, ranging from quick and dirty to full blown camera projection that allows you to change things up quite a bit
Stylised Art - 3 Easy Ways to Camera Projection in Blender