Done with blender, oil markers, sketchbook paper, and photoshop.
HiRes Here
10 Points for he who dissects how this was done.
Done with blender, oil markers, sketchbook paper, and photoshop.
HiRes Here
10 Points for he who dissects how this was done.
Interesting work, and aptly titled! I like the look, although I think it’s a bit too gray in the non-colored parts. Perhaps upping the contrast, as well as playing with Levels to create deeper blacks as well as more whites would help.
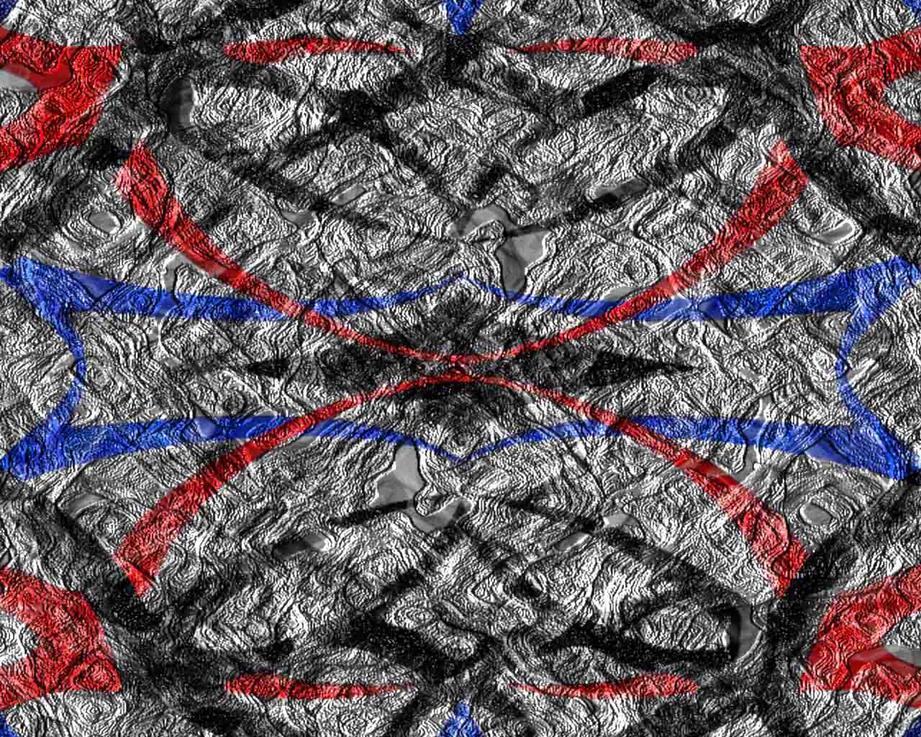
My guess is that you drew the colored design on sketchbook paper, scanned it in and then processed it in Photoshop. You either displaced a plane using a texture, or used the texture as a bump map (I can’t really tell in this case), rendered it out, and then combined the colored pattern with the render using layer blending modes (again, not sure which).
Alternatively, you could have taken the processed pattern and applied it directly to the plane before rendering, but that seems less likely. Also, the bump/displacement map could have come from a processed scan of sketchbook paper, but I’m not sure about that either.
Post processing in Photoshop.
Also what type of points are we talking here?
Your pretty much 10 for ten.
Coloured in sketchbook.
Scanned, UVMapped to a plane
Bump Map made with Photoshop, series of filters, (clouds, difference clouds, blur, find edges)
Rendered in blender, Sun Lamp + AO.
I thought it was really bright, so adjusted levels and brightness in PS.
But now its sort of dark. =/
And grey/flat, as you said.
I’ve been playing with the contrast, but I’m not getting anything more satisfying to me then this.
Maybe its my screen though…
and Thanks for the comment!
As for points…
They make you feel smart, and good about yourself ! =D
Interesting…I downloaded the hi-res image to try tweaking it, and I ran into similar issues as well. Given that, I’d like to suggest a new technique that shouldn’t be too hard to implement, and that could very well yield a better image.
Render out the plane again WITHOUT the colored pattern. Perhaps turn off the AO to make the difference between light and dark more prominent. Now, in Photoshop, add the color on top of the render using either the Color, or the Multiply blending mode. Thus, you can tweak the colored pattern and the bump-mapped plane individually, allowing you to brighten the gray areas without compromising the rich colors. In addition, you can then add selective special effects, such as a glow around the colors – something that wouldn’t be easy to do otherwise.
Best of luck, and have fun!