[COMPLETE] - Fishy POV | Make a splash in Amsterdam #bcon22challenge

– Finally complete! –

Hello Community!

I’m so excited about this! My name is Pau Homs and I’ve been using Blender for about 5 years now and this contest seems like a very fun way to connect with everybody :slight_smile:

I’ve decided to remake the “Fishy Cat” splash from Blender 2.74, by Manu Järvinen, since it’s the one that impressed me the most when starting learning Blender (those times…!). The twist? It’ll be from an actual tide up fish’s point of view. Basically, portraying the cutest ever splash screen as this hideous, threatening monster.

Looking forward to share the process here as I go and check out everyone else’s progress.

Good luck to everyone!

image

18 Likes

To start, and actually this comes before deciding to participate, I wanted to make sure that the concept could work. I did some quick sketches in my notebook and then make a concept of the scene in Krita.


Usually, my way to tell if a concept is effective or not is If I find myself laughing while sketching the idea. In this case, I did hahahaha. It kinda feels ridiculous but it’s a nice moment to see your idea starting to come to life.

This will be a challenge since I’m a bit rusty on my character modeling and texturing skills and lighting and optimizing, specially hair, fire and volumetrics for sketchfab will be a challenge. I certainly will learn a lot!

Let’s see how it goes!

16 Likes

Is this your Sketchfab account? I want to make sure I’m following you there.

1 Like

It is! Thank you!

1 Like

As i fellow contender i don’t like this entry, because it’s way too cute, and i’m calling the police! :laughing:

2 Likes

Hahahahaha thank you! Can’t wait to see what you come up with!

Ugly post:

The first stage has been to make a super rough blocking to import it to Sketchfab. It’s been a while since I hadn’t uploaded any models… I needed to try what could and what could not be done in terms of lighting and materials to know what must be baked.

I think that I will bake the key light since I’ll probably use more than 1 light for that and make the rims with Sketchfab.

And now… Ugly thingy!

3 Likes

OK! After a bit of research on how can I make things look good in Sketchfab, I’m moving on to the actual scene! I’m beginning with the most important thing: the devilish yet cute cat.

The premises will be:

  • Keep it extreme. I’m not very fluent in character modeling but i’ll try not to succumb to the 3D’s default “sterileness”
  • Keep it graphic. I want all the shapes to be very clean and stylized. Avoid the classic “cartoon character in real life” kind of detail. Believability not realism.
  • Keep it cute. I want to keep the tone of the original but switching the emotion from curiosity to straight up fear.

I gathered some references:

And started sculpting. I’ll make a proper retopo later since, if I finish on time, I want to make a small idle animation on him. Spending a lot of time here since a) it’s the subject of interest on the scene and b) i’m very rusty on sculpting hahahaha

Some images:


I know the eyes look weird, (I hope) I’ll make them work on texturing.

I’m recording a bit of the process and perhaps I edit it and share it here.

Feedback appreciated!

That’s all folks! On to retopo!

8 Likes

I love this so much!

1 Like

Thank you so much!!

Update!

After a fun session of retopology, most of the model of the cat is done!

For the retopo I used essentially vanilla Blender, using loop tools at times and Quadriflow remesh for the tongue. I find retopo quite fun if done in small doses once or twice a year hahahahaha

In terms of polycount, I’ll attempt to be extremely economical. I know Sketchfab can handle more than that, but I want it to perform at its best, so I’ll try to get the whole scene under 20k tris. I usually don’t care about performance that much, so it’s kind of exciting!

For the cat, the only thing missing on the modeling side of things are:

  • The paws
  • The teeth
  • The hair cards
  • The eyes

For the eyes I painted over some options with Krita.

I’m digging number 6 at the moment, but feel free to share your thoughts!

On to finish the model and UV unwrapping :smiley:

4 Likes

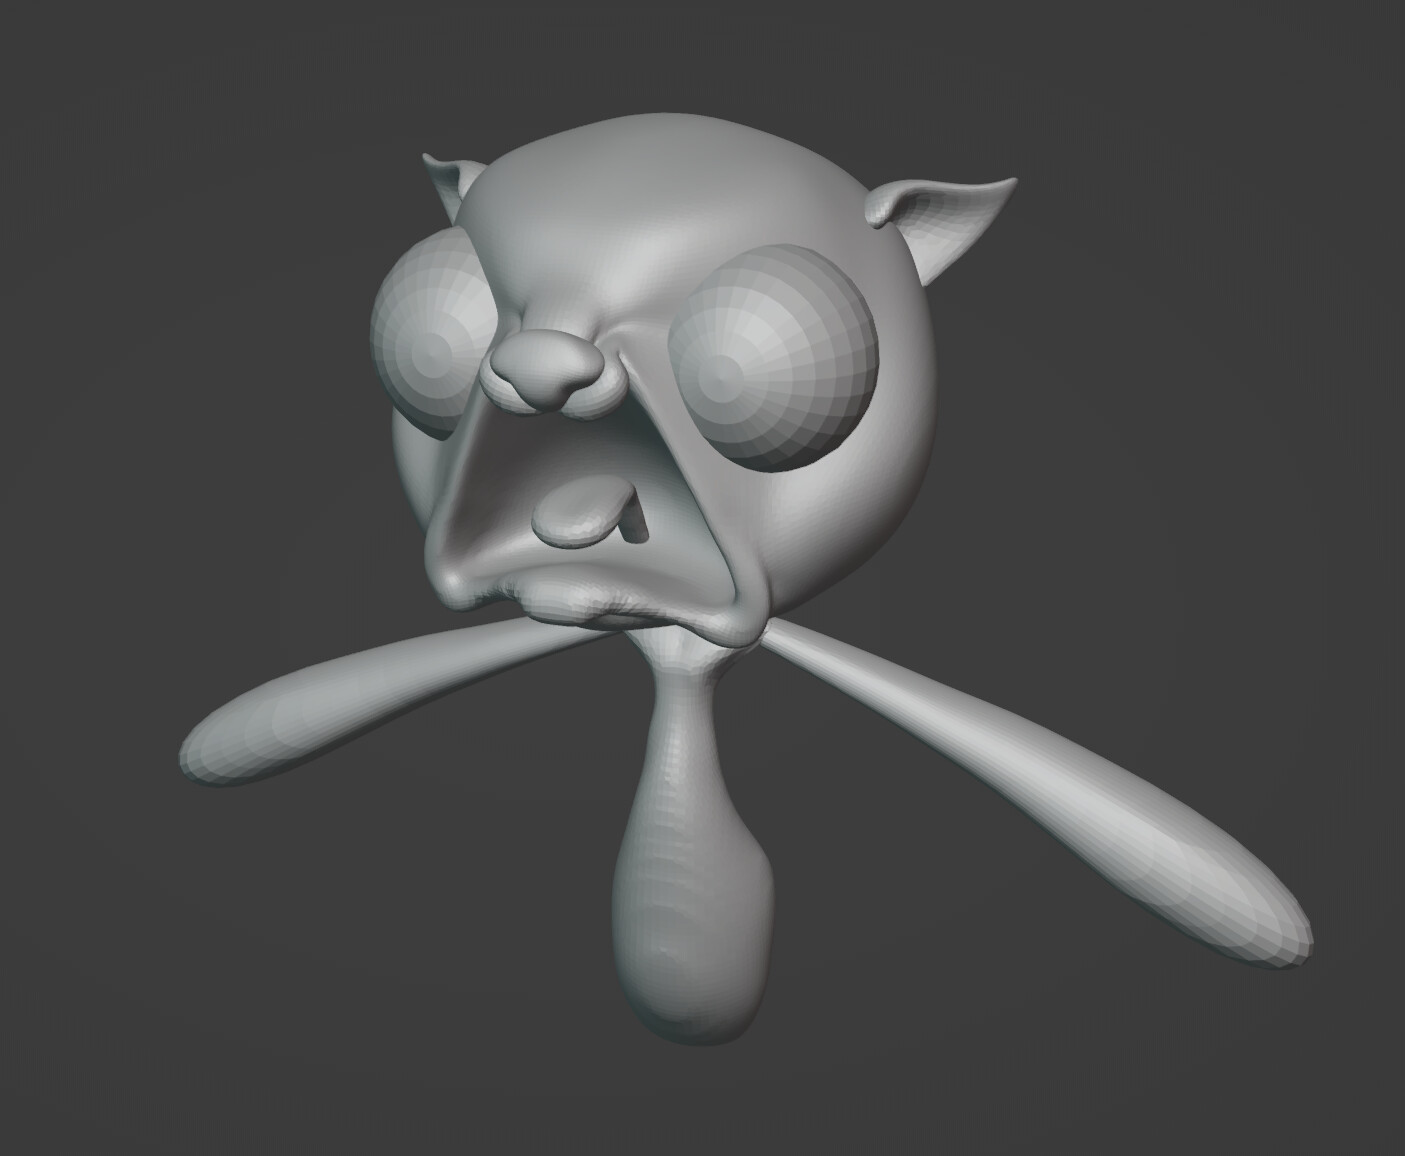
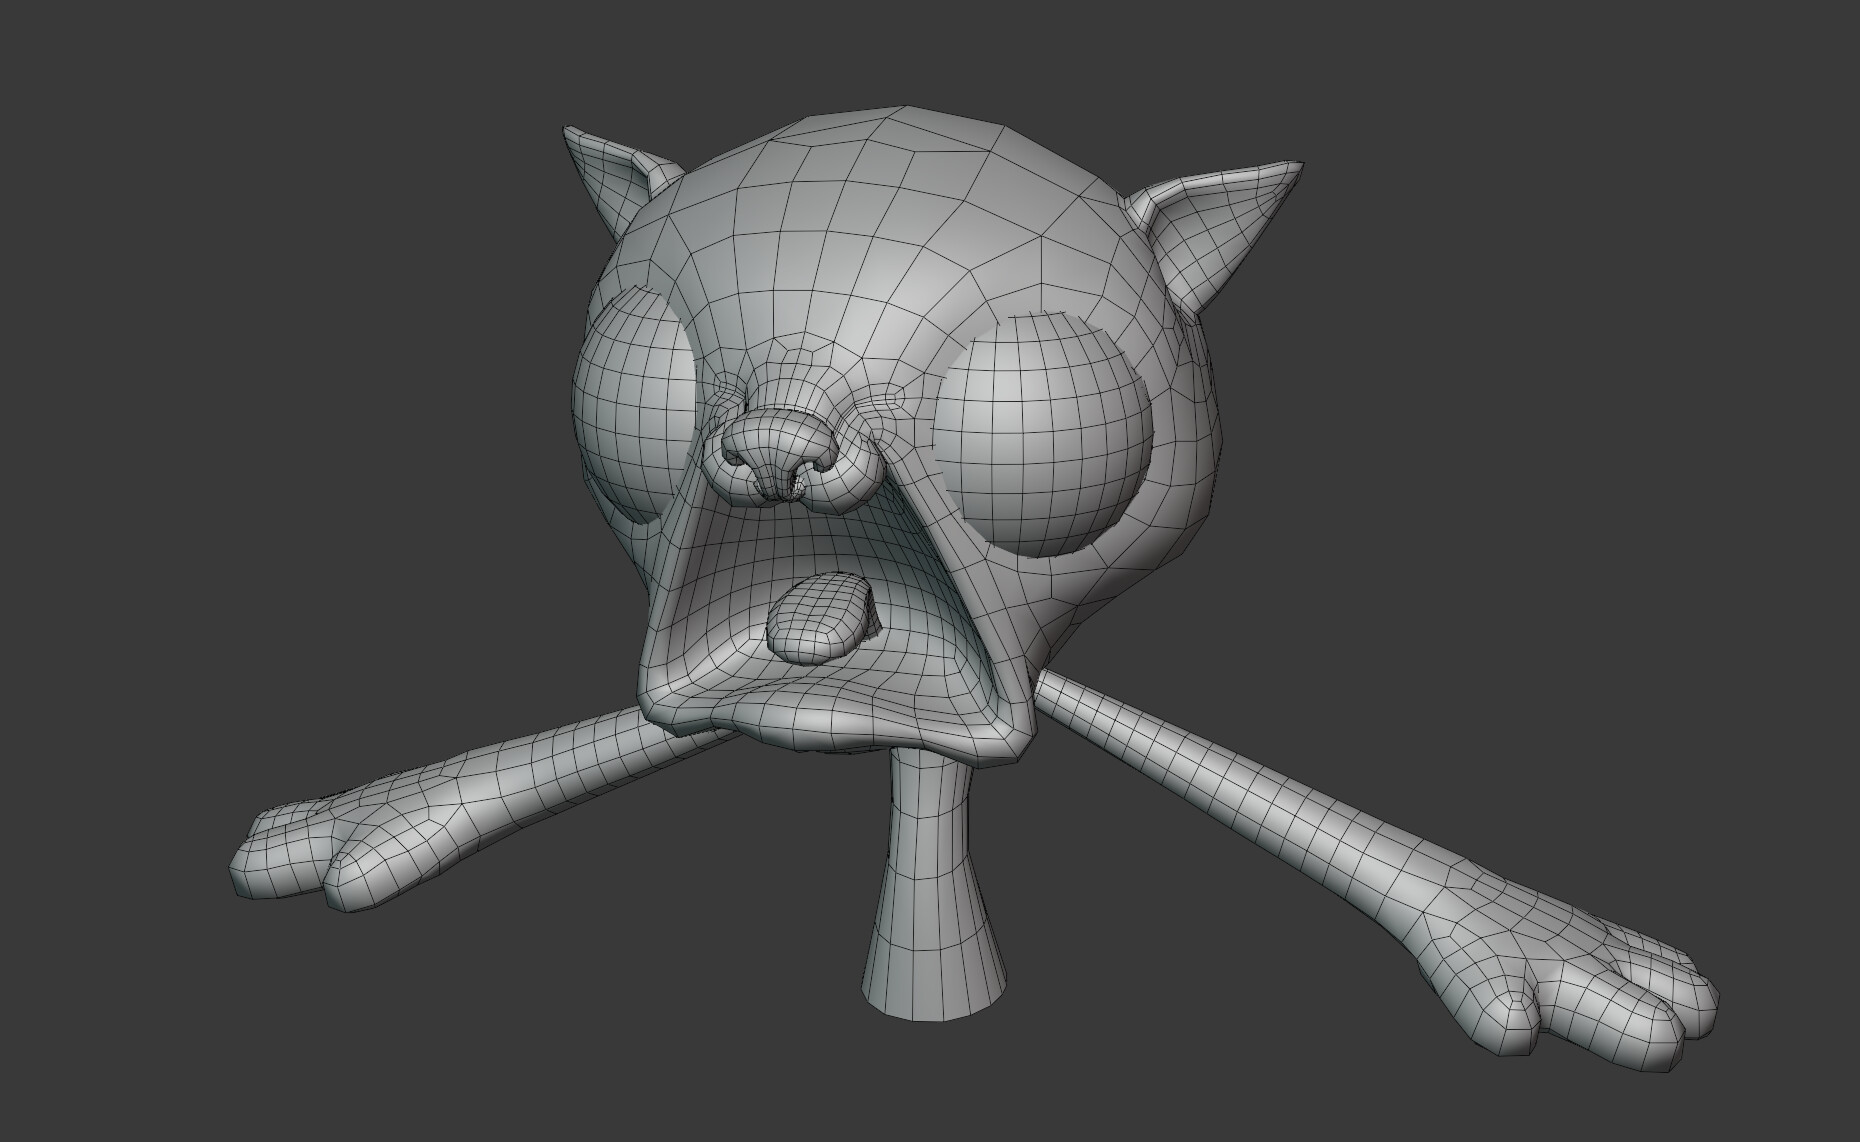
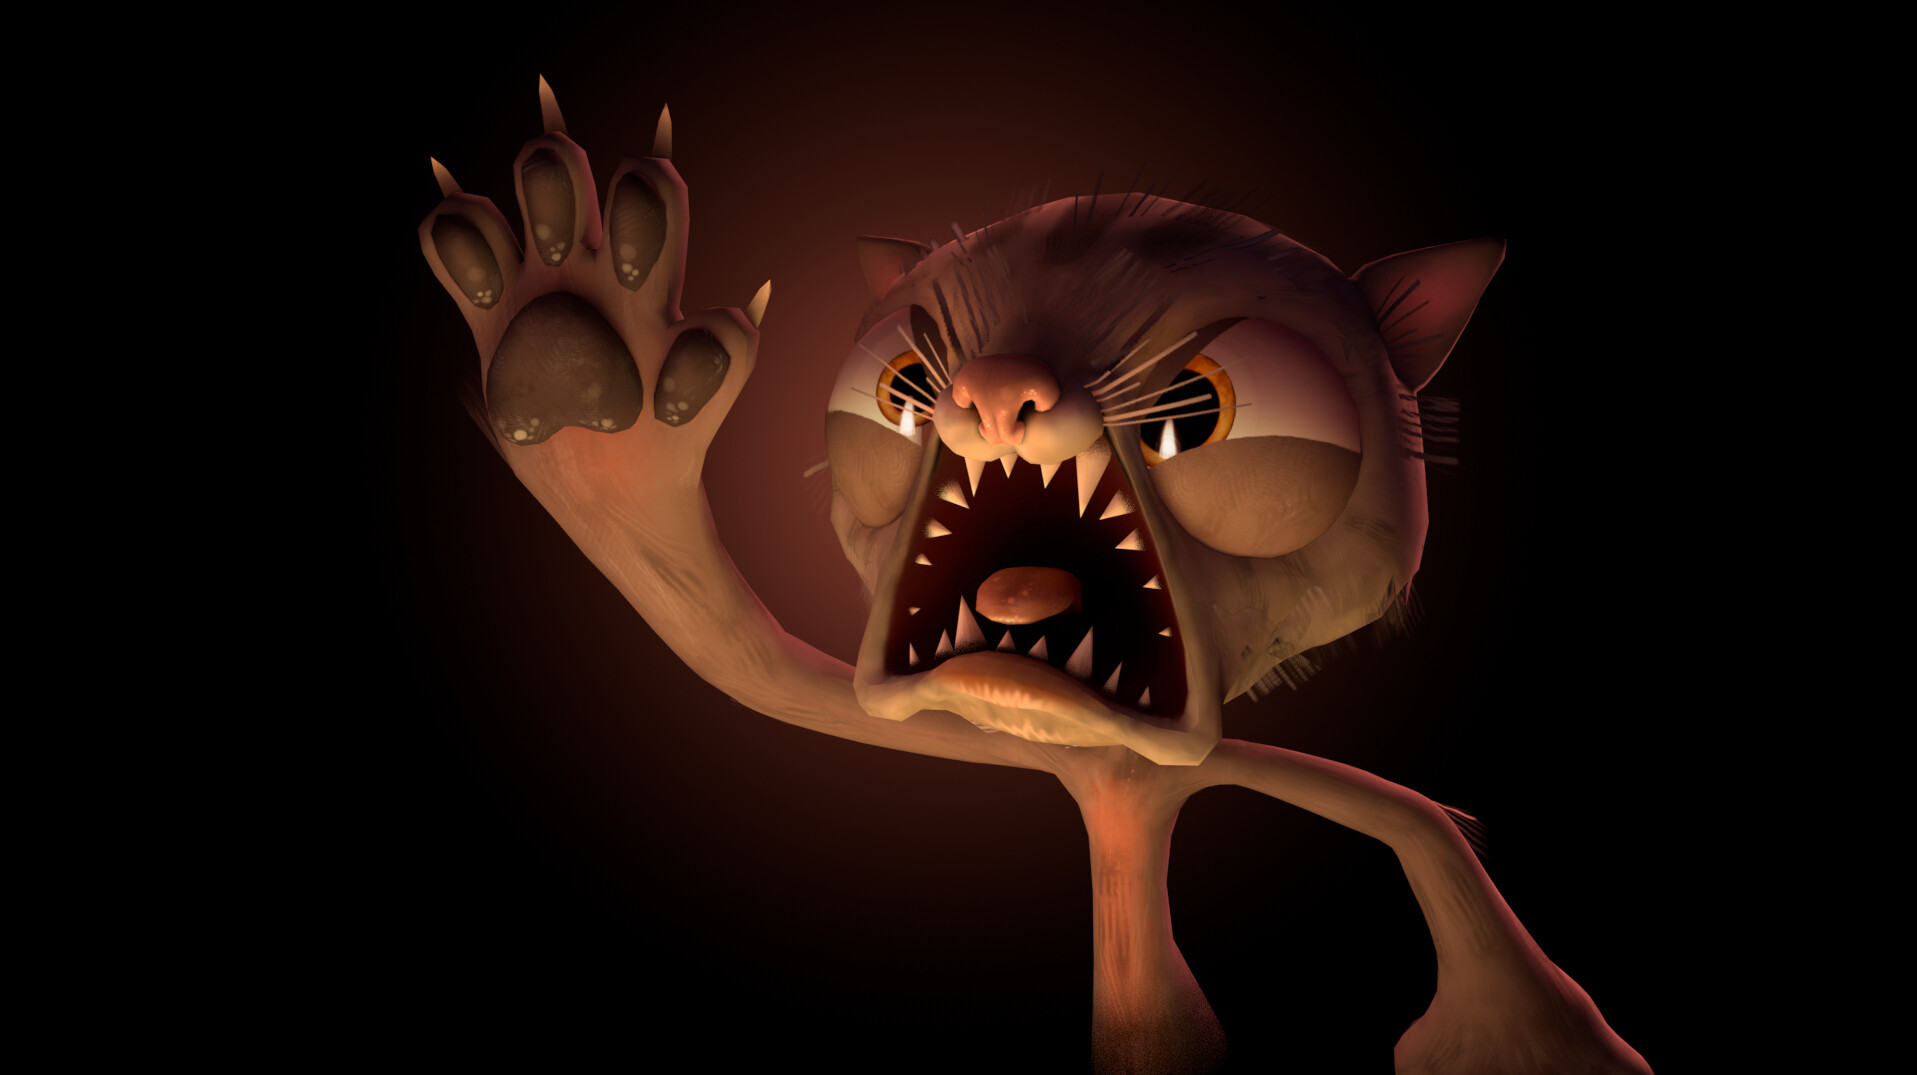
Done for the day. Here’s what we have so far!

I went a bit crazy today…! :sweat_smile:

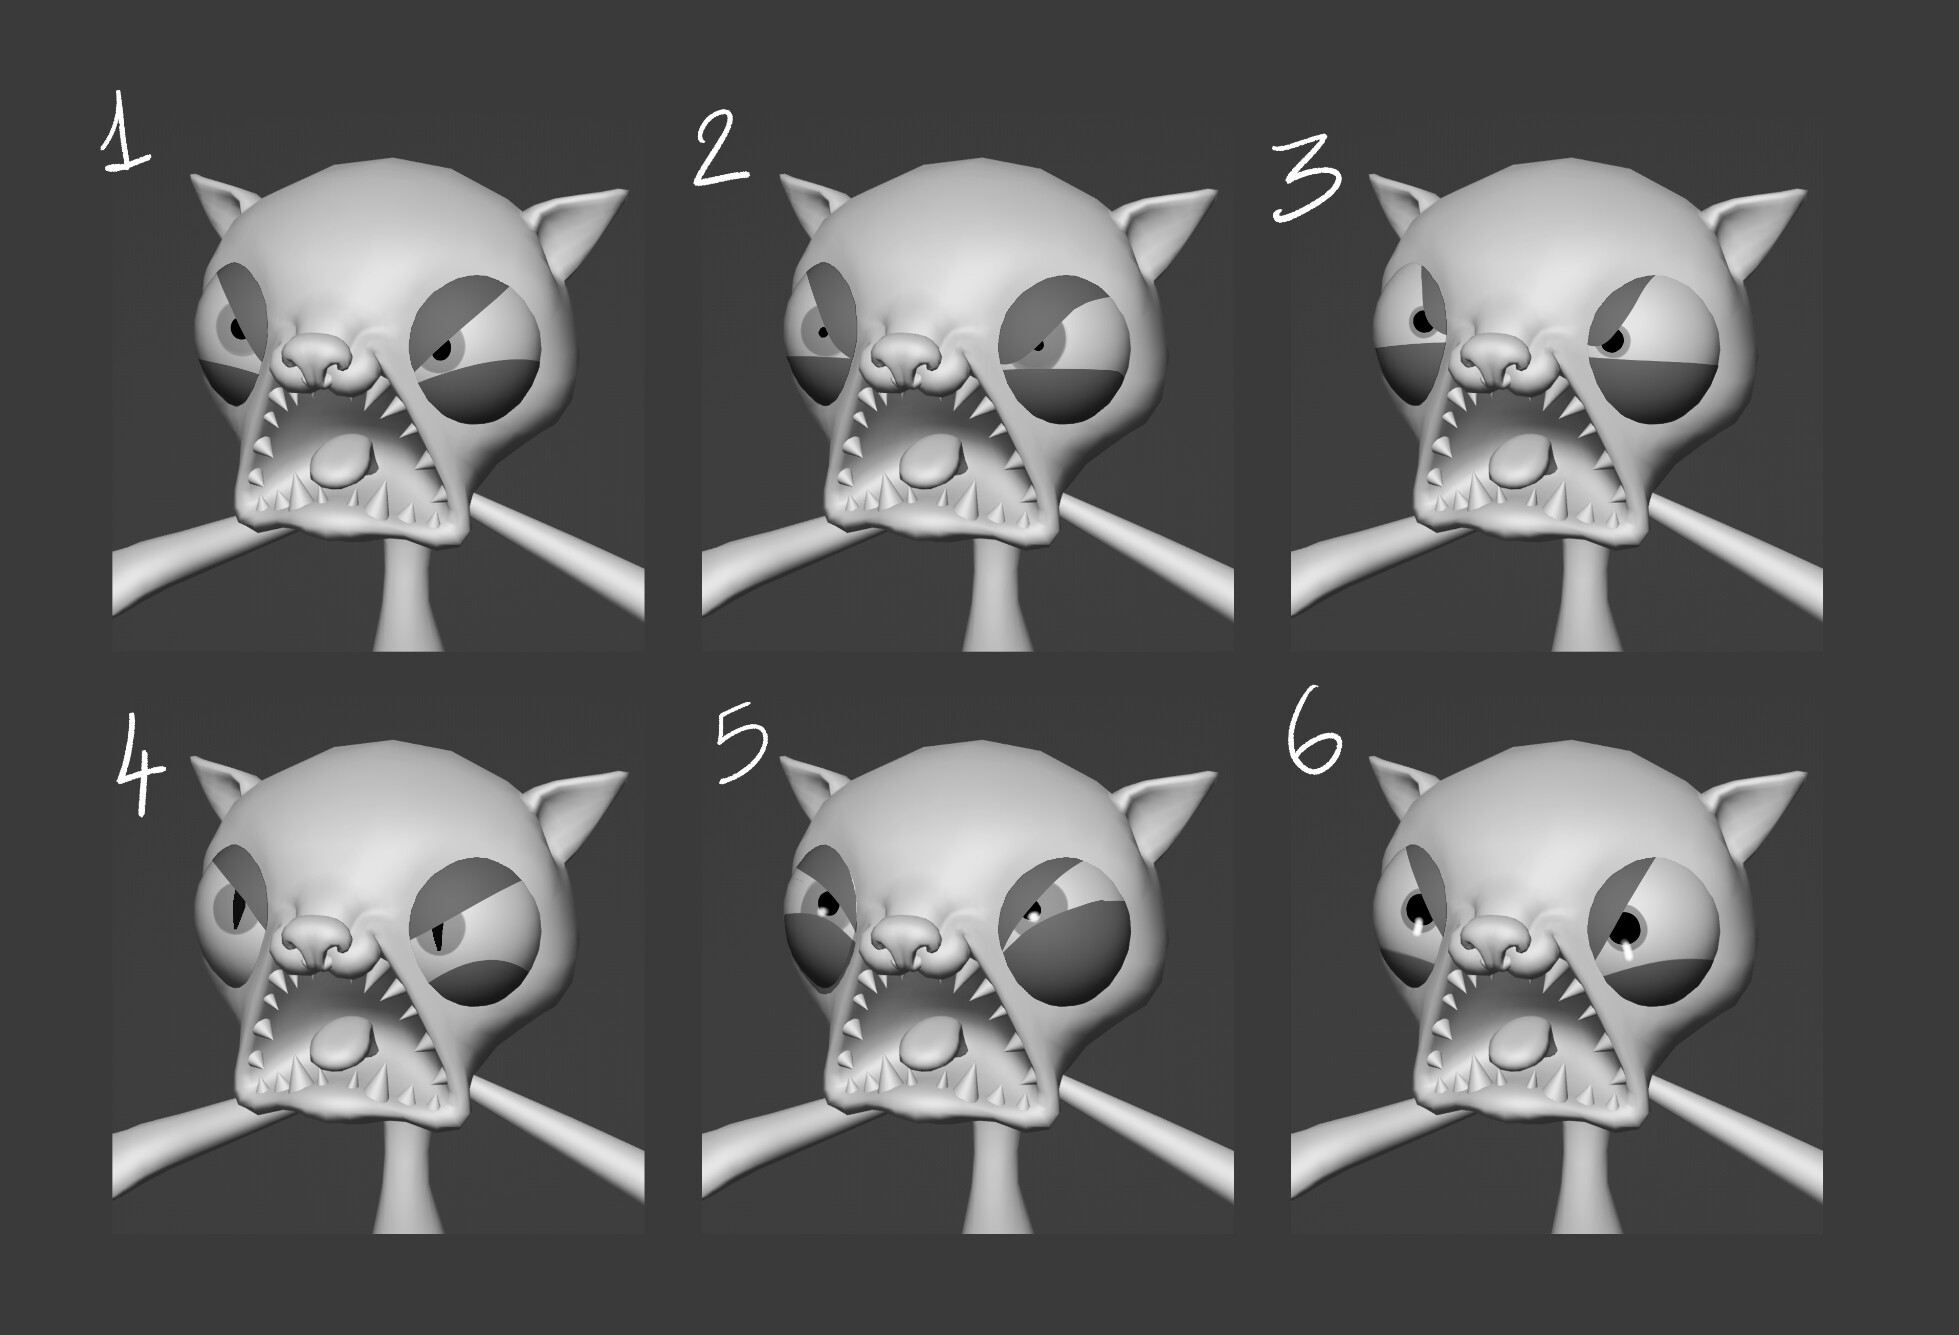
Let me break down what’s going on :smiley:

UVs

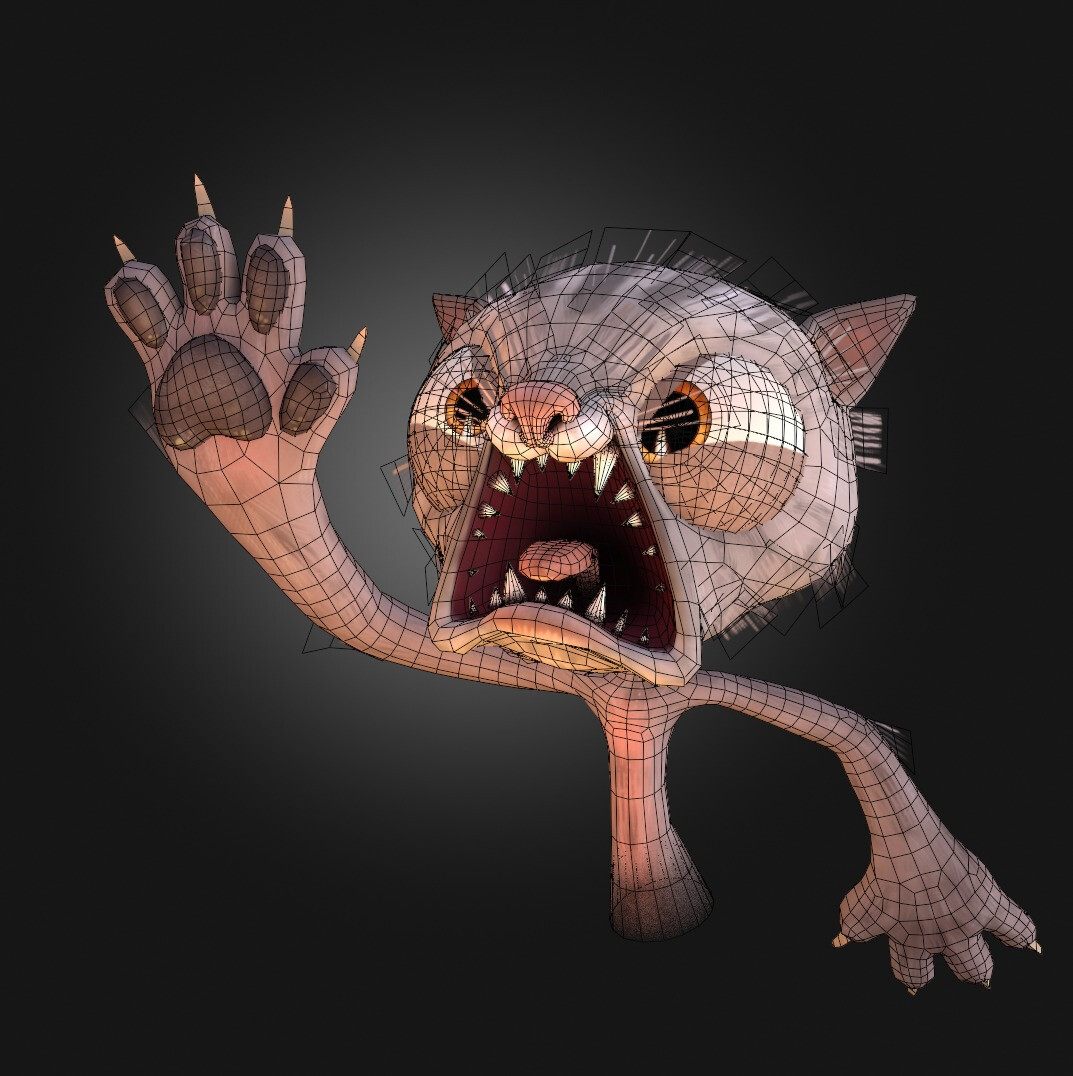
Not much to mention, for once in my life I tried to make them properly since I really will have to optimize the textures. Only thing worth mentioning is, perhaps, Is that I wanted to use UDIMs on the body for optimizing and, since Sketchfab doesn’t support UDIMs yet, I found a trick.

I packed the body on one tile and the head on the other, to later stack them one on top of the other. By assigning different materials to the body and the head, I can assign two textures to the same mesh. Poor man’s UDIMs :slight_smile:


Figure A. A mess

Textures

Oh how fun it has been. I went from the beginning with a very graphic style for two reasons:

  • I’m hella lazy and I didn’t want to bake many maps
  • And most importantly, to play in favour of Sketchfab’s strengths. Since the render in Sketchfab has to be super quick, I find that the more work you do yourself in terms of designing the final image, the better.

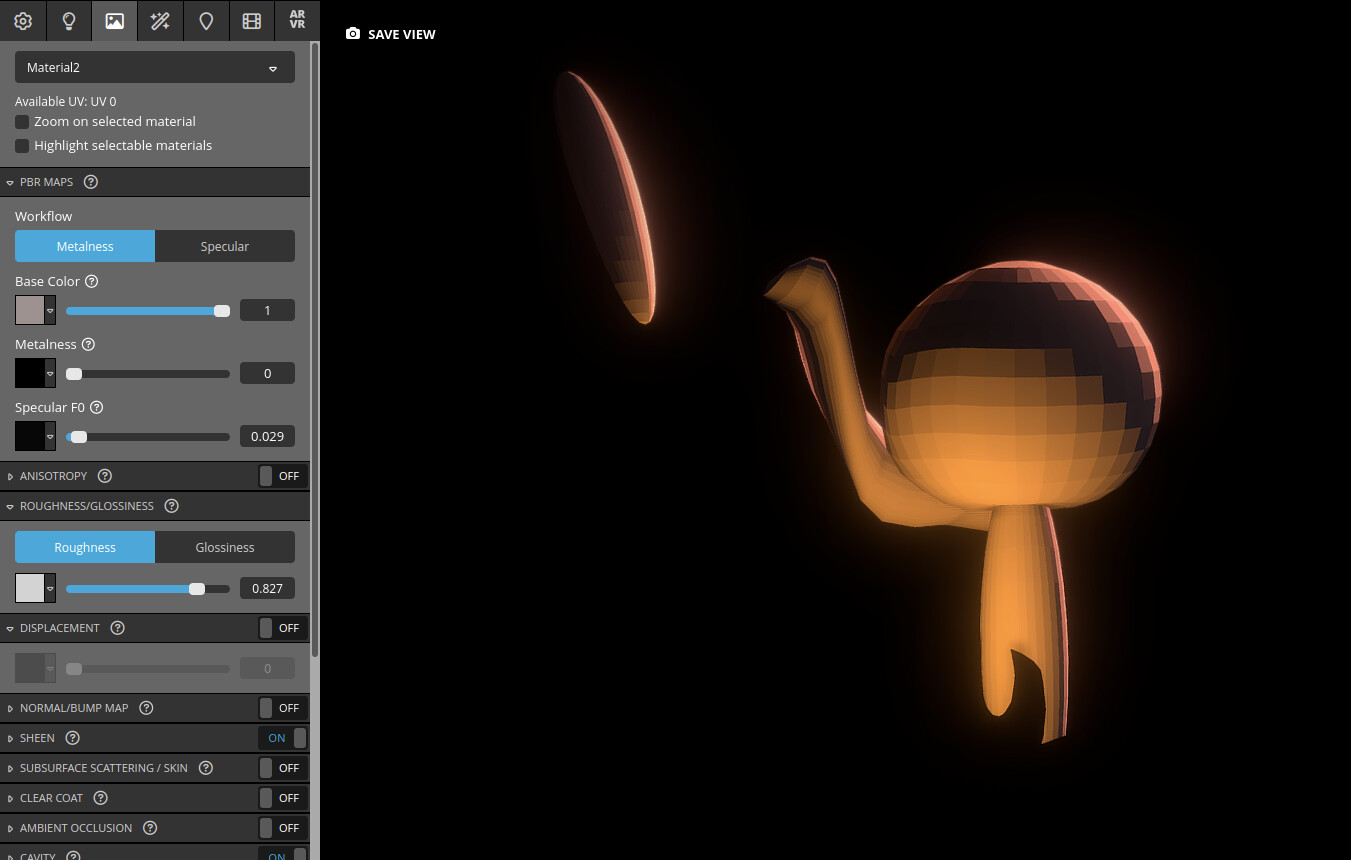
And so, my scene will have no specular at all and no normal maps. I will only export maps the diffuse which will have the AO painted in, the emission, that will combine specular, sss and baked lights and the opacity, which is crucial to achieve the style that i’m looking for in such a low polycount. First time trying this but I think that it will work.

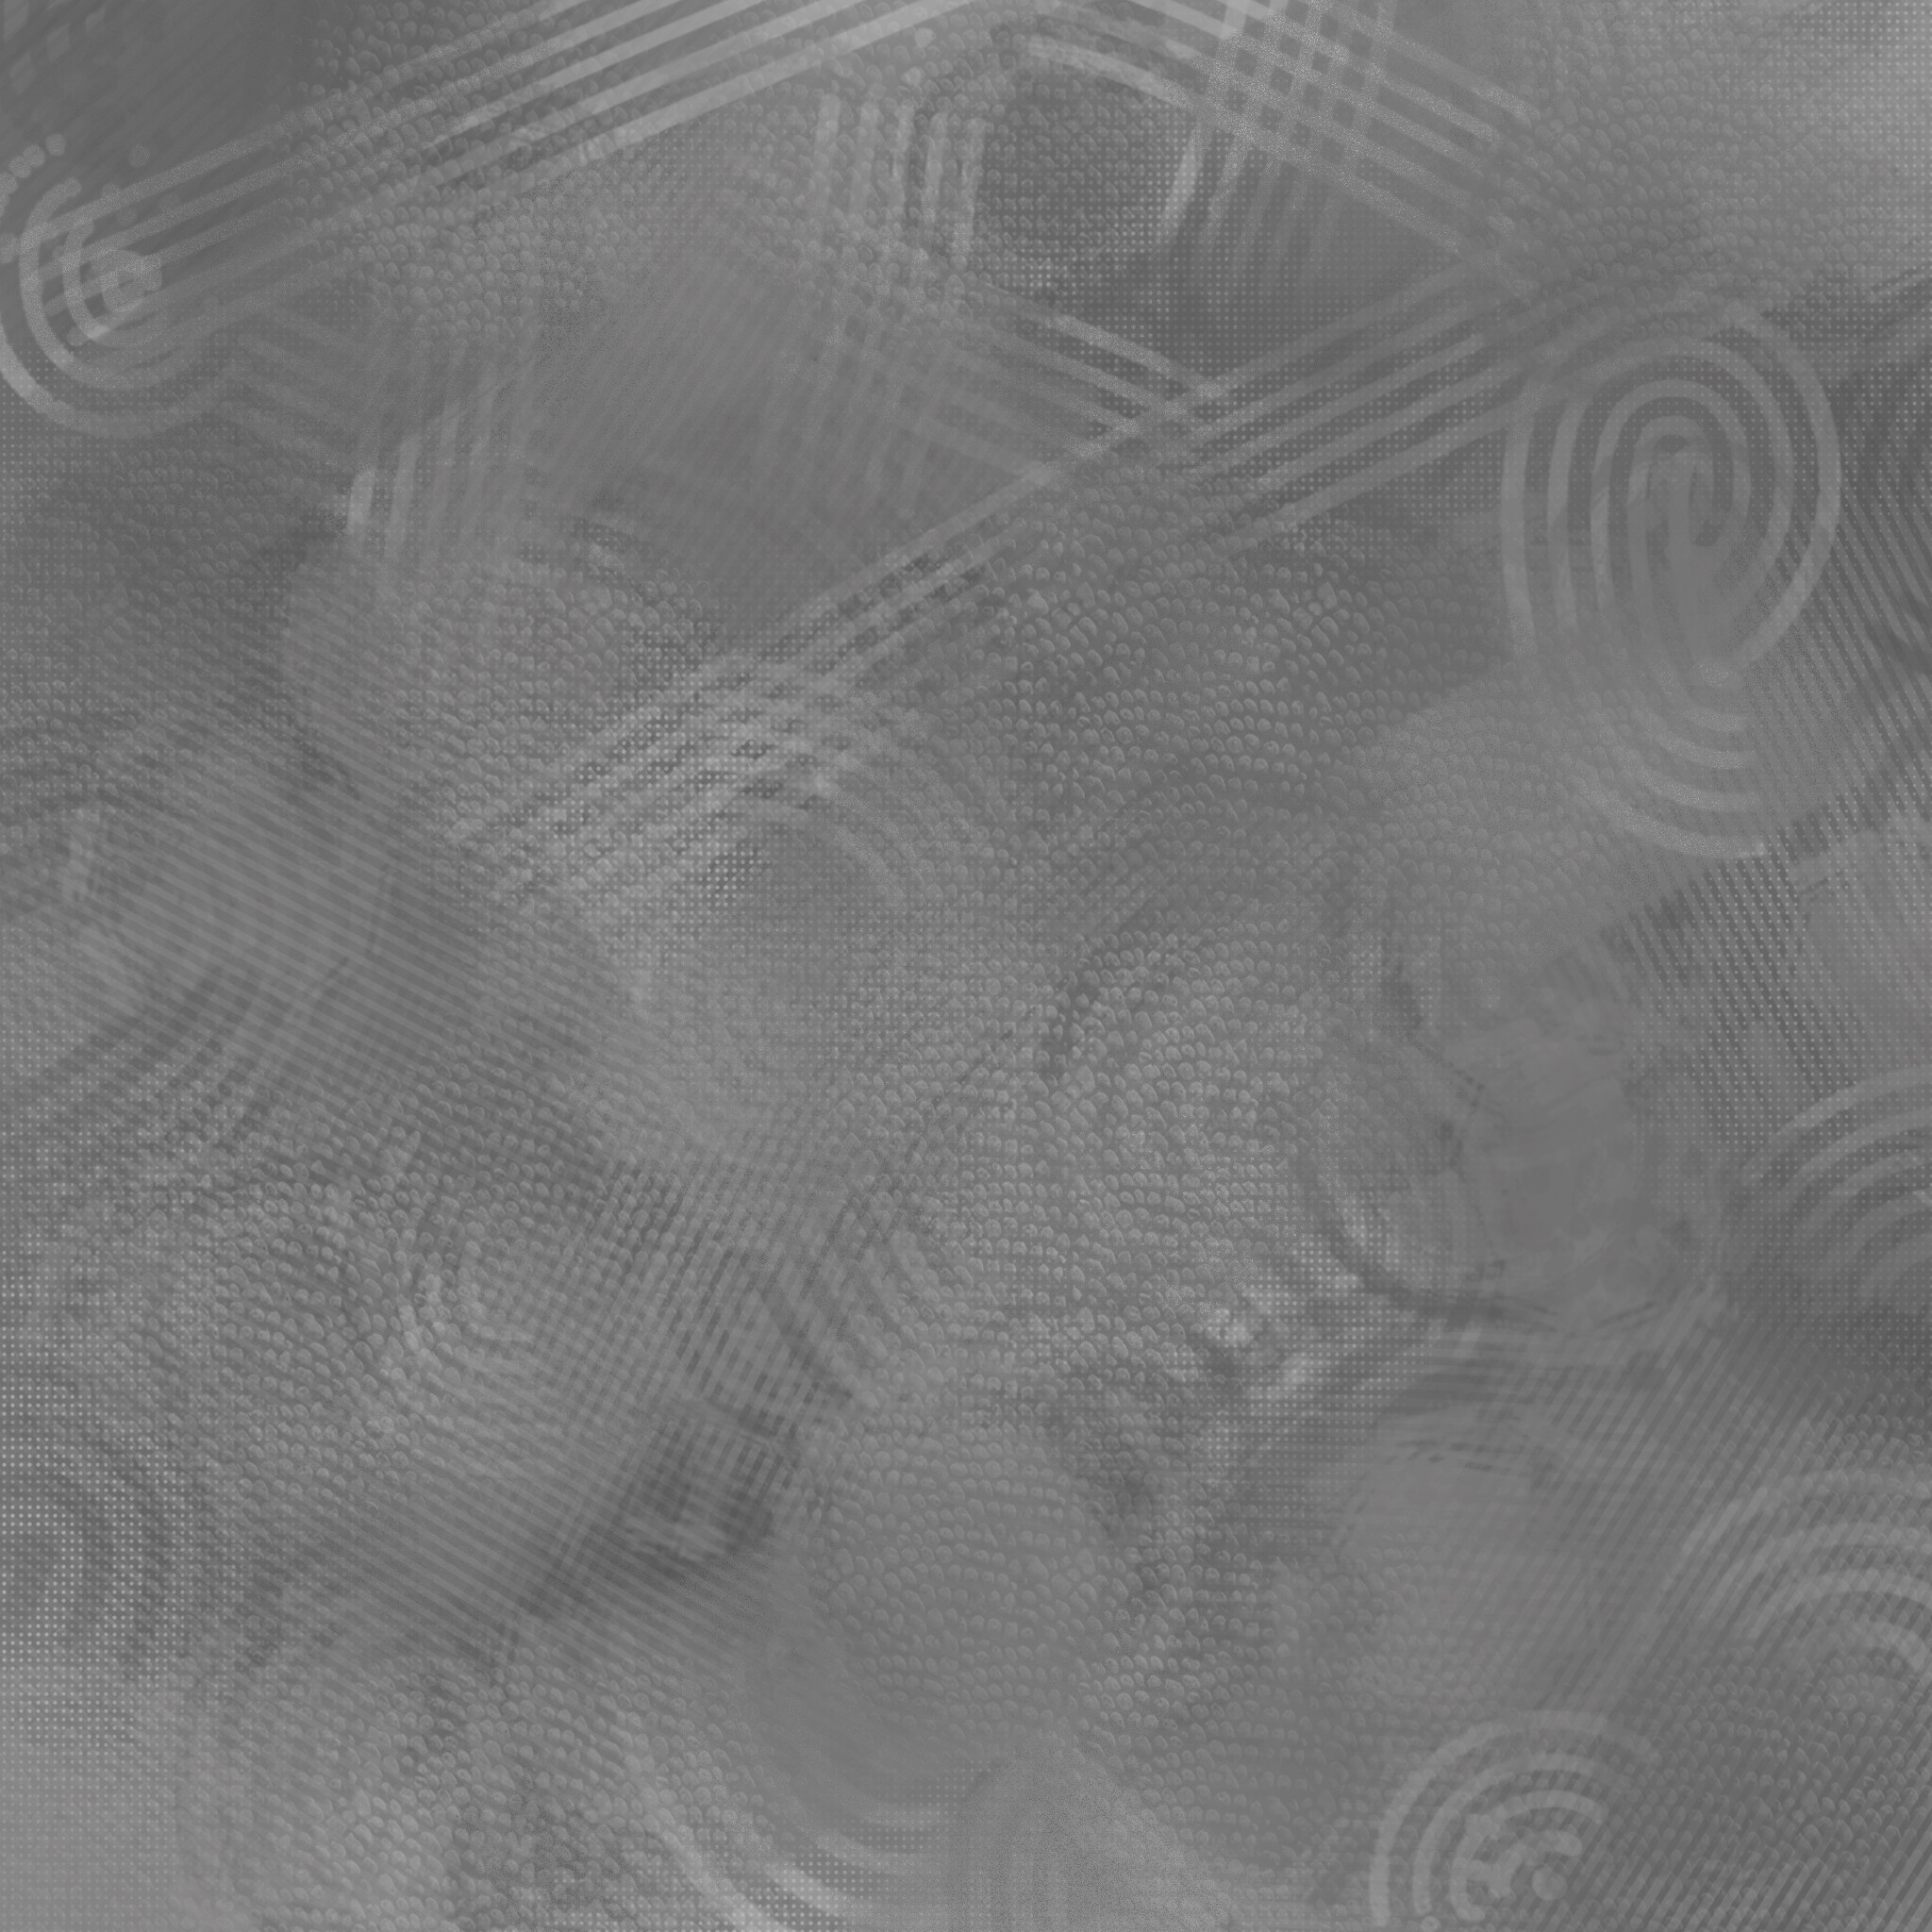
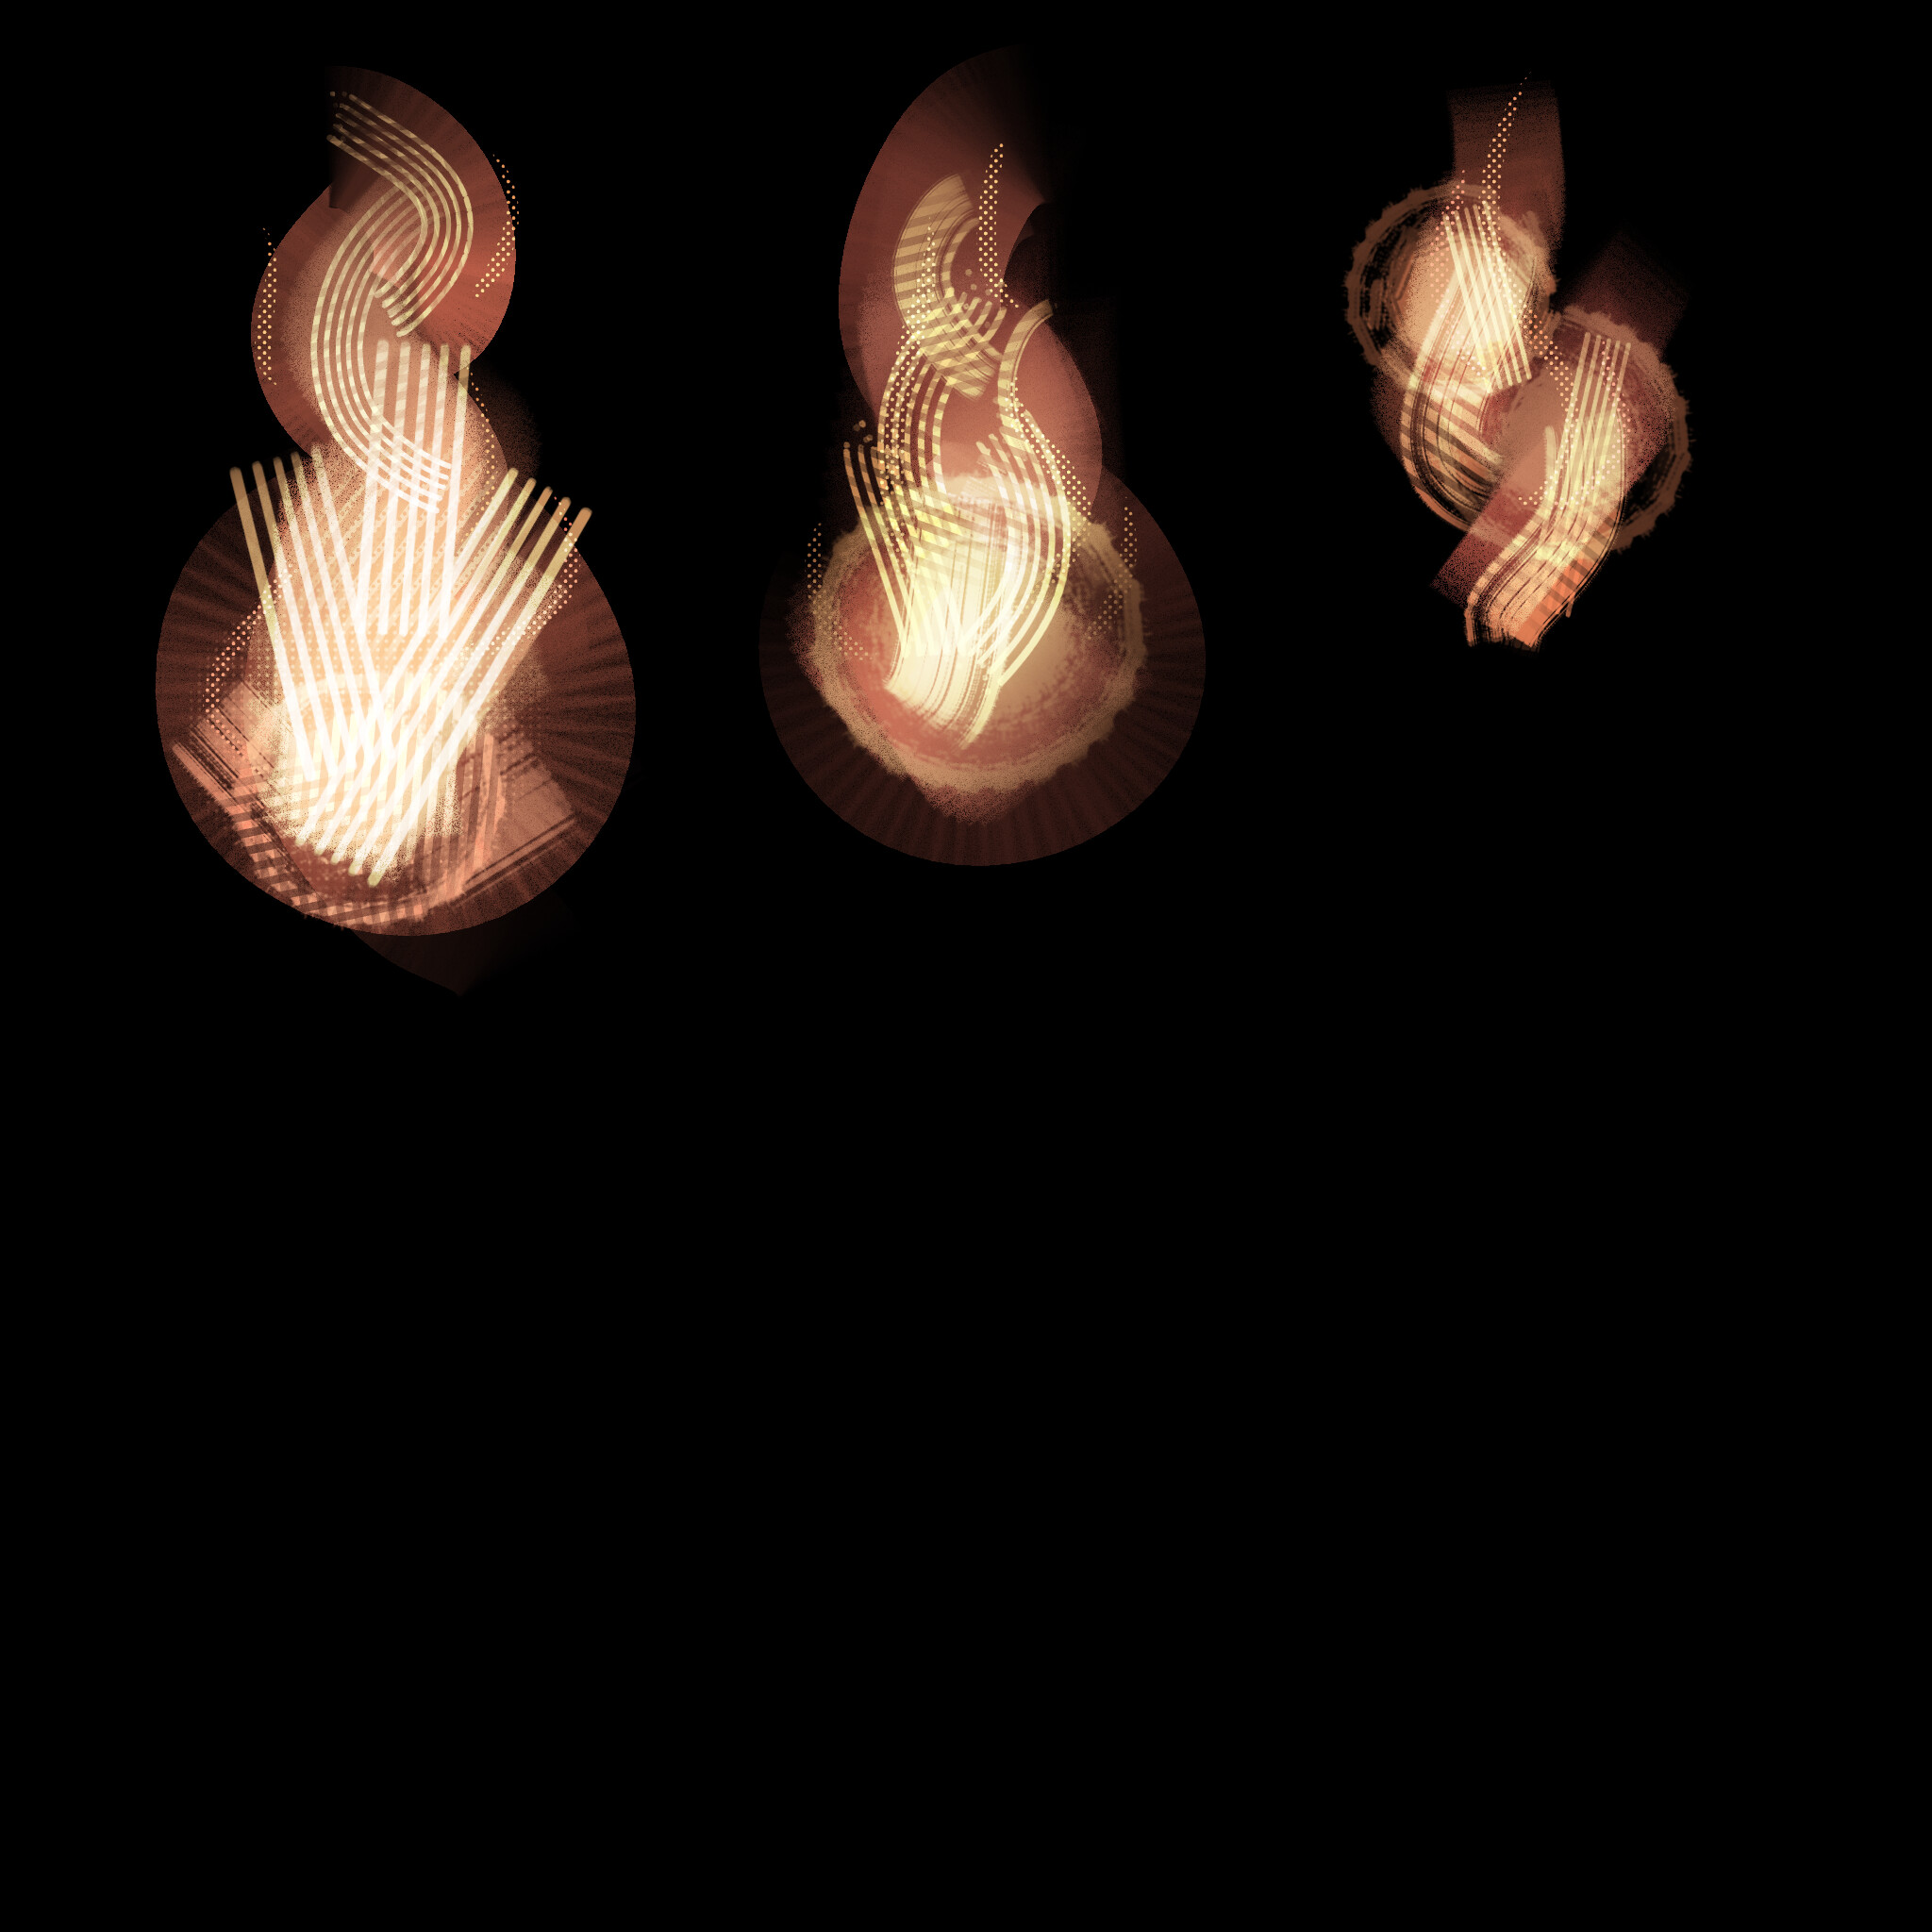
To paint the textures I used both Blender and Krita. In Blender I painted the base colors and then overlaid som textured stencils made in Krita. I wanted to convey the textures in a very dynamic, digital, and brushy manner. This are stencils :slight_smile:


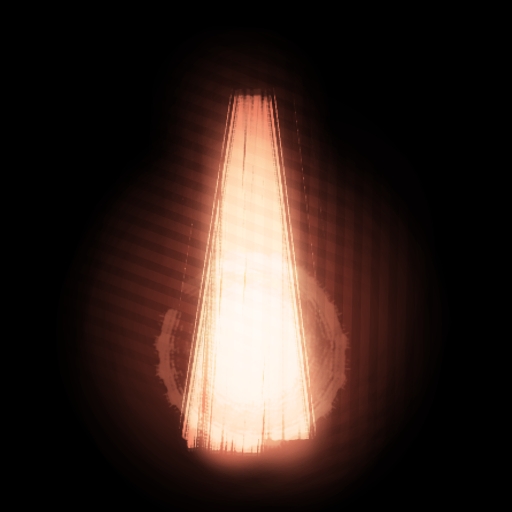
A brushy gradient for all things opacity


Brushy details for the skin


Painted eye spec! Love this one


Brushy hair for the hair cards


And a brushy hair texture

I really am having a good time with this. This is the exact opposite of what I do most of the time in 3D, which is rendering for animation. Suddenly I have to make all the models, textures, can’t rely on procedural materials and have to care about the polycount. It’s incredible how broad 3D is.

So far, 11.3k tris! :smiley:

8 Likes

Report of the day:

I’m mostly done with the cat!!

Now I posed it with a very fas rig + corrective sculpting and all the textures are made.

20_08_Turntable

The new thing is that not only the whole character is textured, but the main light is baked. There are no lights at all in this GIF. It was my first time doing this so I was a bit worried it wouldn’t work, but now I feel quite confident that it does.

The problem was that the main source of light, the fire, was too soft of a light source to be made with Sketchfab lights, because I’d need tons of them and that would kill the performance. And so, what I did is to light the scene with cycles lights, where I could get color variation within the lights and then bake those lights into textures. Those textures, then, are fed into the emission socket of the material.

Why the emission socket and not the diffuse? Glad you asked, disembodied voice. For two reasons:

  • First, I can tweak the intensity later on Sketchfab.
  • And second, because leaving the diffuse untouched allows me to add other lights that I want to be in Sketchfab: the rims and the environment.


*Adding more lights works! :smiley:

The next step would be to export all the textures and test the cat alone on Sketchfab. Then It’ll be on to modeling the fish & the rope and assembling the environment. The only thing that will need testing is how to get the fire animated, but I already have a couple Ideas :slight_smile:

But now, a little break! I’ll work on some other stuff for a day before looking at this, hopefully, with fresh eyes.

And by the way! I’m recording some parts of the process, would anybody be interested In a time lapse sort of behind the scense thingy?

9 Likes

This looks so good! I love the concept of the fish having a fundamentally different perspective! And the cat looks so menacing.

Bravo on the baked lighting as well

1 Like

Thank you so much! I’m enjoying all your WIPs too :wink:

1 Like

Good morning!

Yesterday I forgot to mention, we’re in the 11.6k tris mark! It’s possible that I go a bit over 20k but I’m sure it’ll be fine. Anyway, here’s the wireframe!


29_08_Wireframe_v03

4 Likes

Hello again!

After letting the model sit for a day and asking some colleagues for feedback, I finished the model / style test for this piece.

When trying to describe the style I was going for, that to be honest had been quite improvised, I ended up saying “Tom & Jerry meets Alberto Mielgo”. And when evaluating references…

I was missing inklines!!! Lucky for me Blender is perfect for this :smiley:

I could paint on top of the model with Grease Pencil strokes that respect the pressure input from my Wacom tablet. For rendering this lines, I had to convert them to curves, extrude them, decimate like crazy, tweaked the control points and at last concerted to geometry, as shown in the video:

And, since I’ve seen that the amount of materials affects Sketchfab’s performance greatly too, I just UV projected all the curves to a Black spot on the textures of the head :slight_smile:

Aaaand… After some tweaks, I baked all the textures and imported the model into Sketchfab to see if everything looked as I thought it would.

Some notes after seeing everything come together:

  • Sketchfab’s filters are amazing!! Specially the Sharpness and Grain really help to stablish the style I’m going for.
  • The performance is great! After trying it on both my computer and my phone, I’m not worried anymore about that.
  • Lights following the camera with no shadows make for very cool rims! Going for this graphic NPR style lets me go crazy with them and they really produce nice shapes.
  • The ability to change the emission strength as I please allows me to play with the intesity of my cycles lights in Sketchfab, which is crazy.

To finish, some screenshots from Sketchfab:


On to the fish and the environment!!

7 Likes

This is so cool, I’m really enjoying learning how you did this :slight_smile: this makes me think of Gollum, which makes me think how cool it would be to have a Lord of the Rings show/movie in this style. Maybe after you’re done with this project :wink:

2 Likes

Oh, it does look like Gollum! hahahahahaha

And totally agree with you, 3D / digital art is such an amazing medium that gives te possibility to develop a totally new style tailor made for each project.

All I’ve been told in school about 3D involves only the classic PBR cartoon style, and now I’m having so much fun experimenting a little :smiley:

Thanks for your comment, really motivating!

2 Likes

Hello there!

The last thing I had to test was the fire. My idea was to draw some sprites of 2D animated fire matching the style of the piexe in krita and then animate the UVs in blender to have a very simple geometry display different sprites through time. The idea was that with a bit of duplicating, deforming wih curves and a displace modifier, It’d look great. And in fact, it did!


And the texture used:

I found out the hard way, though, that Sketchfab does not support animated UV maps. Bummer.

I still think the 2D painted aprites are the way to go and with a bit of love they can look stunning, but I’ll have to think of another method. I think that having a geo per sprite and then animating it into position might work… For example

Let’s say the cicle of a fire puff has 5 frames of animation. Then we could have 5 sprites and 5 fire puffs, one that shows frame 1, another that shows frame 2, and so on. If all the puffs have an offset of one frame, then I can move the correspondent frame to the correspondent fire puff. I don’t know if I’m making myself clear.

That of course requires a lot more planning… I’ll figure it out when the rest is working!

5 Likes