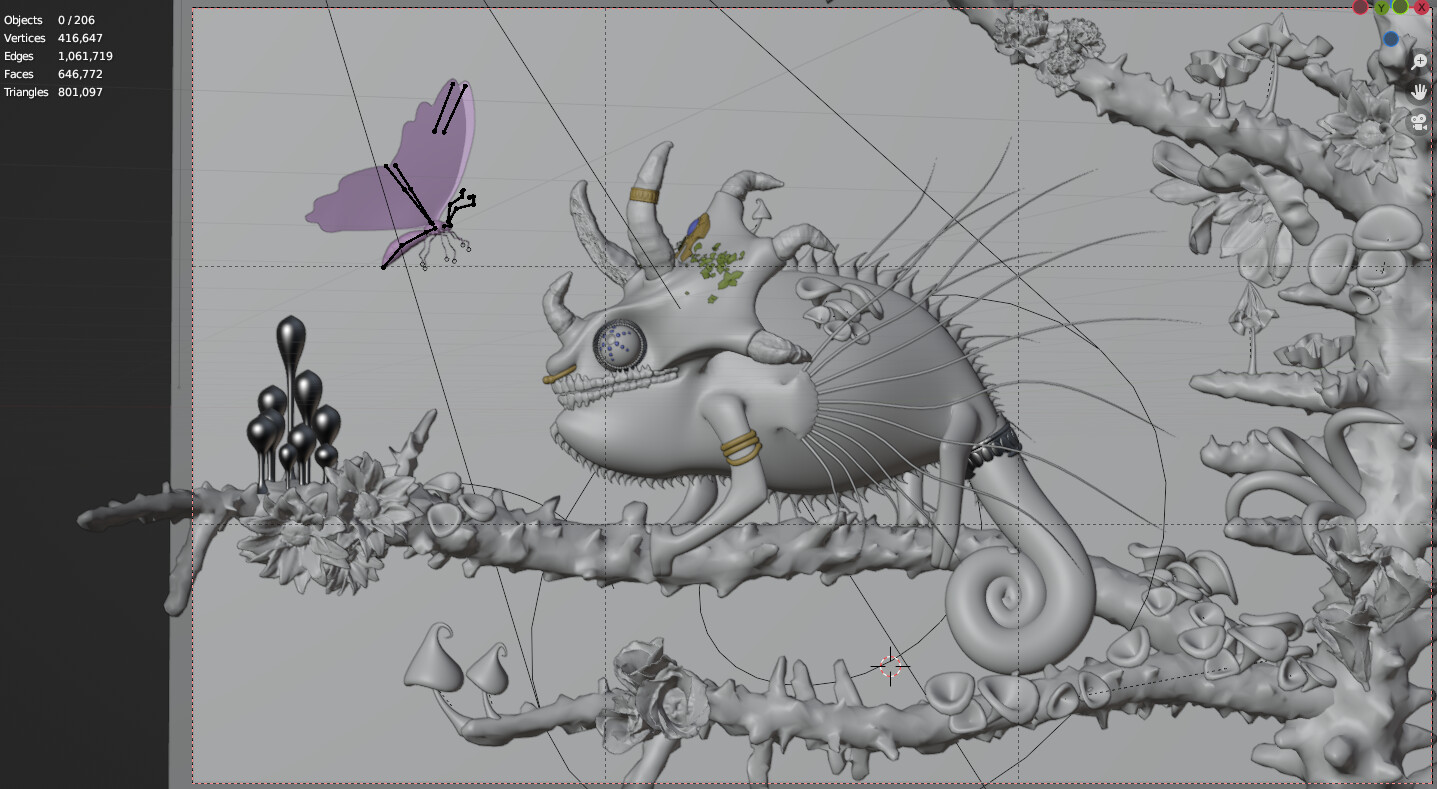
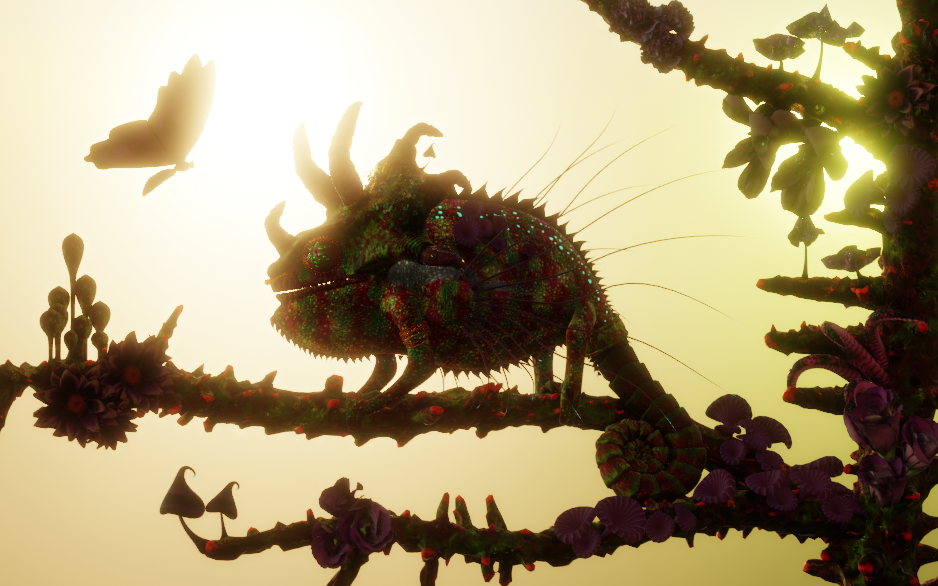
Lovely, the butterfly now works great! And the eyes of the chamaleon are pointing at it. Danger! ![]()
1 Like
awww i wanted to see the tiny legs of the butterfly coming out of his mouth but i guess that was mabe too brutal? >.<
1 Like
Wow, that’s looking really nice. The lighting makes it pop, and the eye angle adds some expression.
It comparison to the chameleon and vegetation, the branch texture looks under detailed. Maybe you could add some bark or something?
1 Like
Actually, they were there already (at least the head and the antennas), but they were unnoticeable…
The alternative would hide too much of the chameleon. I thought that rewinding a few seconds would be more suggestive.
You’re right, I got this comment already. It was an accident by boosting the roughness, but I thought it gave a painterly effect and I sort of liked it. Also the way it does not draw much attention to it. But I’ll think about it in the final push, thanks for the feedback.
1 Like
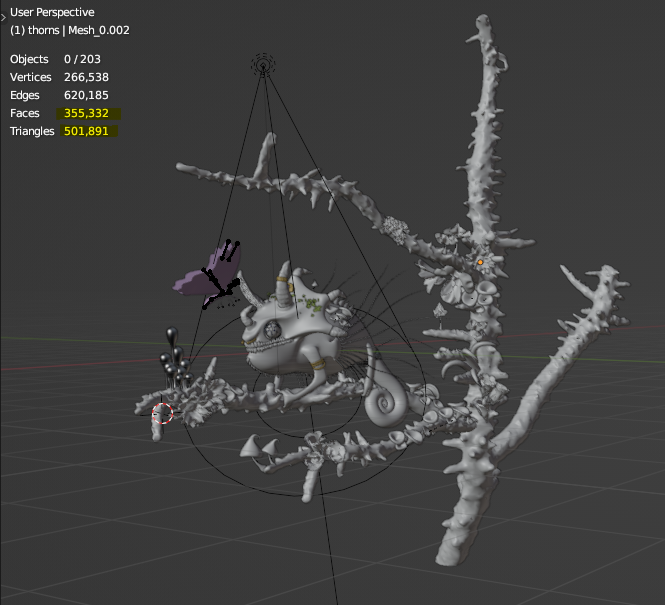
After some decimating and removing unnecessary subsurface, I think I’m good with the polycount. I’ll decimate the flowers further, rebake their material and I hope I’ll hit the 500k faces recommended for mobile use.
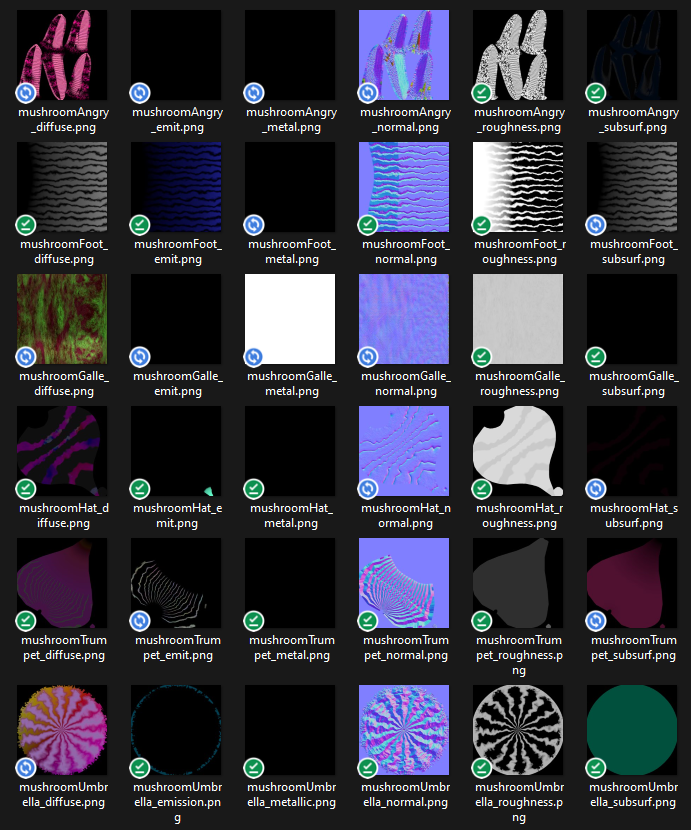
Next step will be to bake textures individually (Sketchfab rendeirng engine looks good actually, it even generates its own AO), then combine them into a single PBR material with albedo, roughness, metalness, subsurface (intensity + color) and emission (intensity + color).
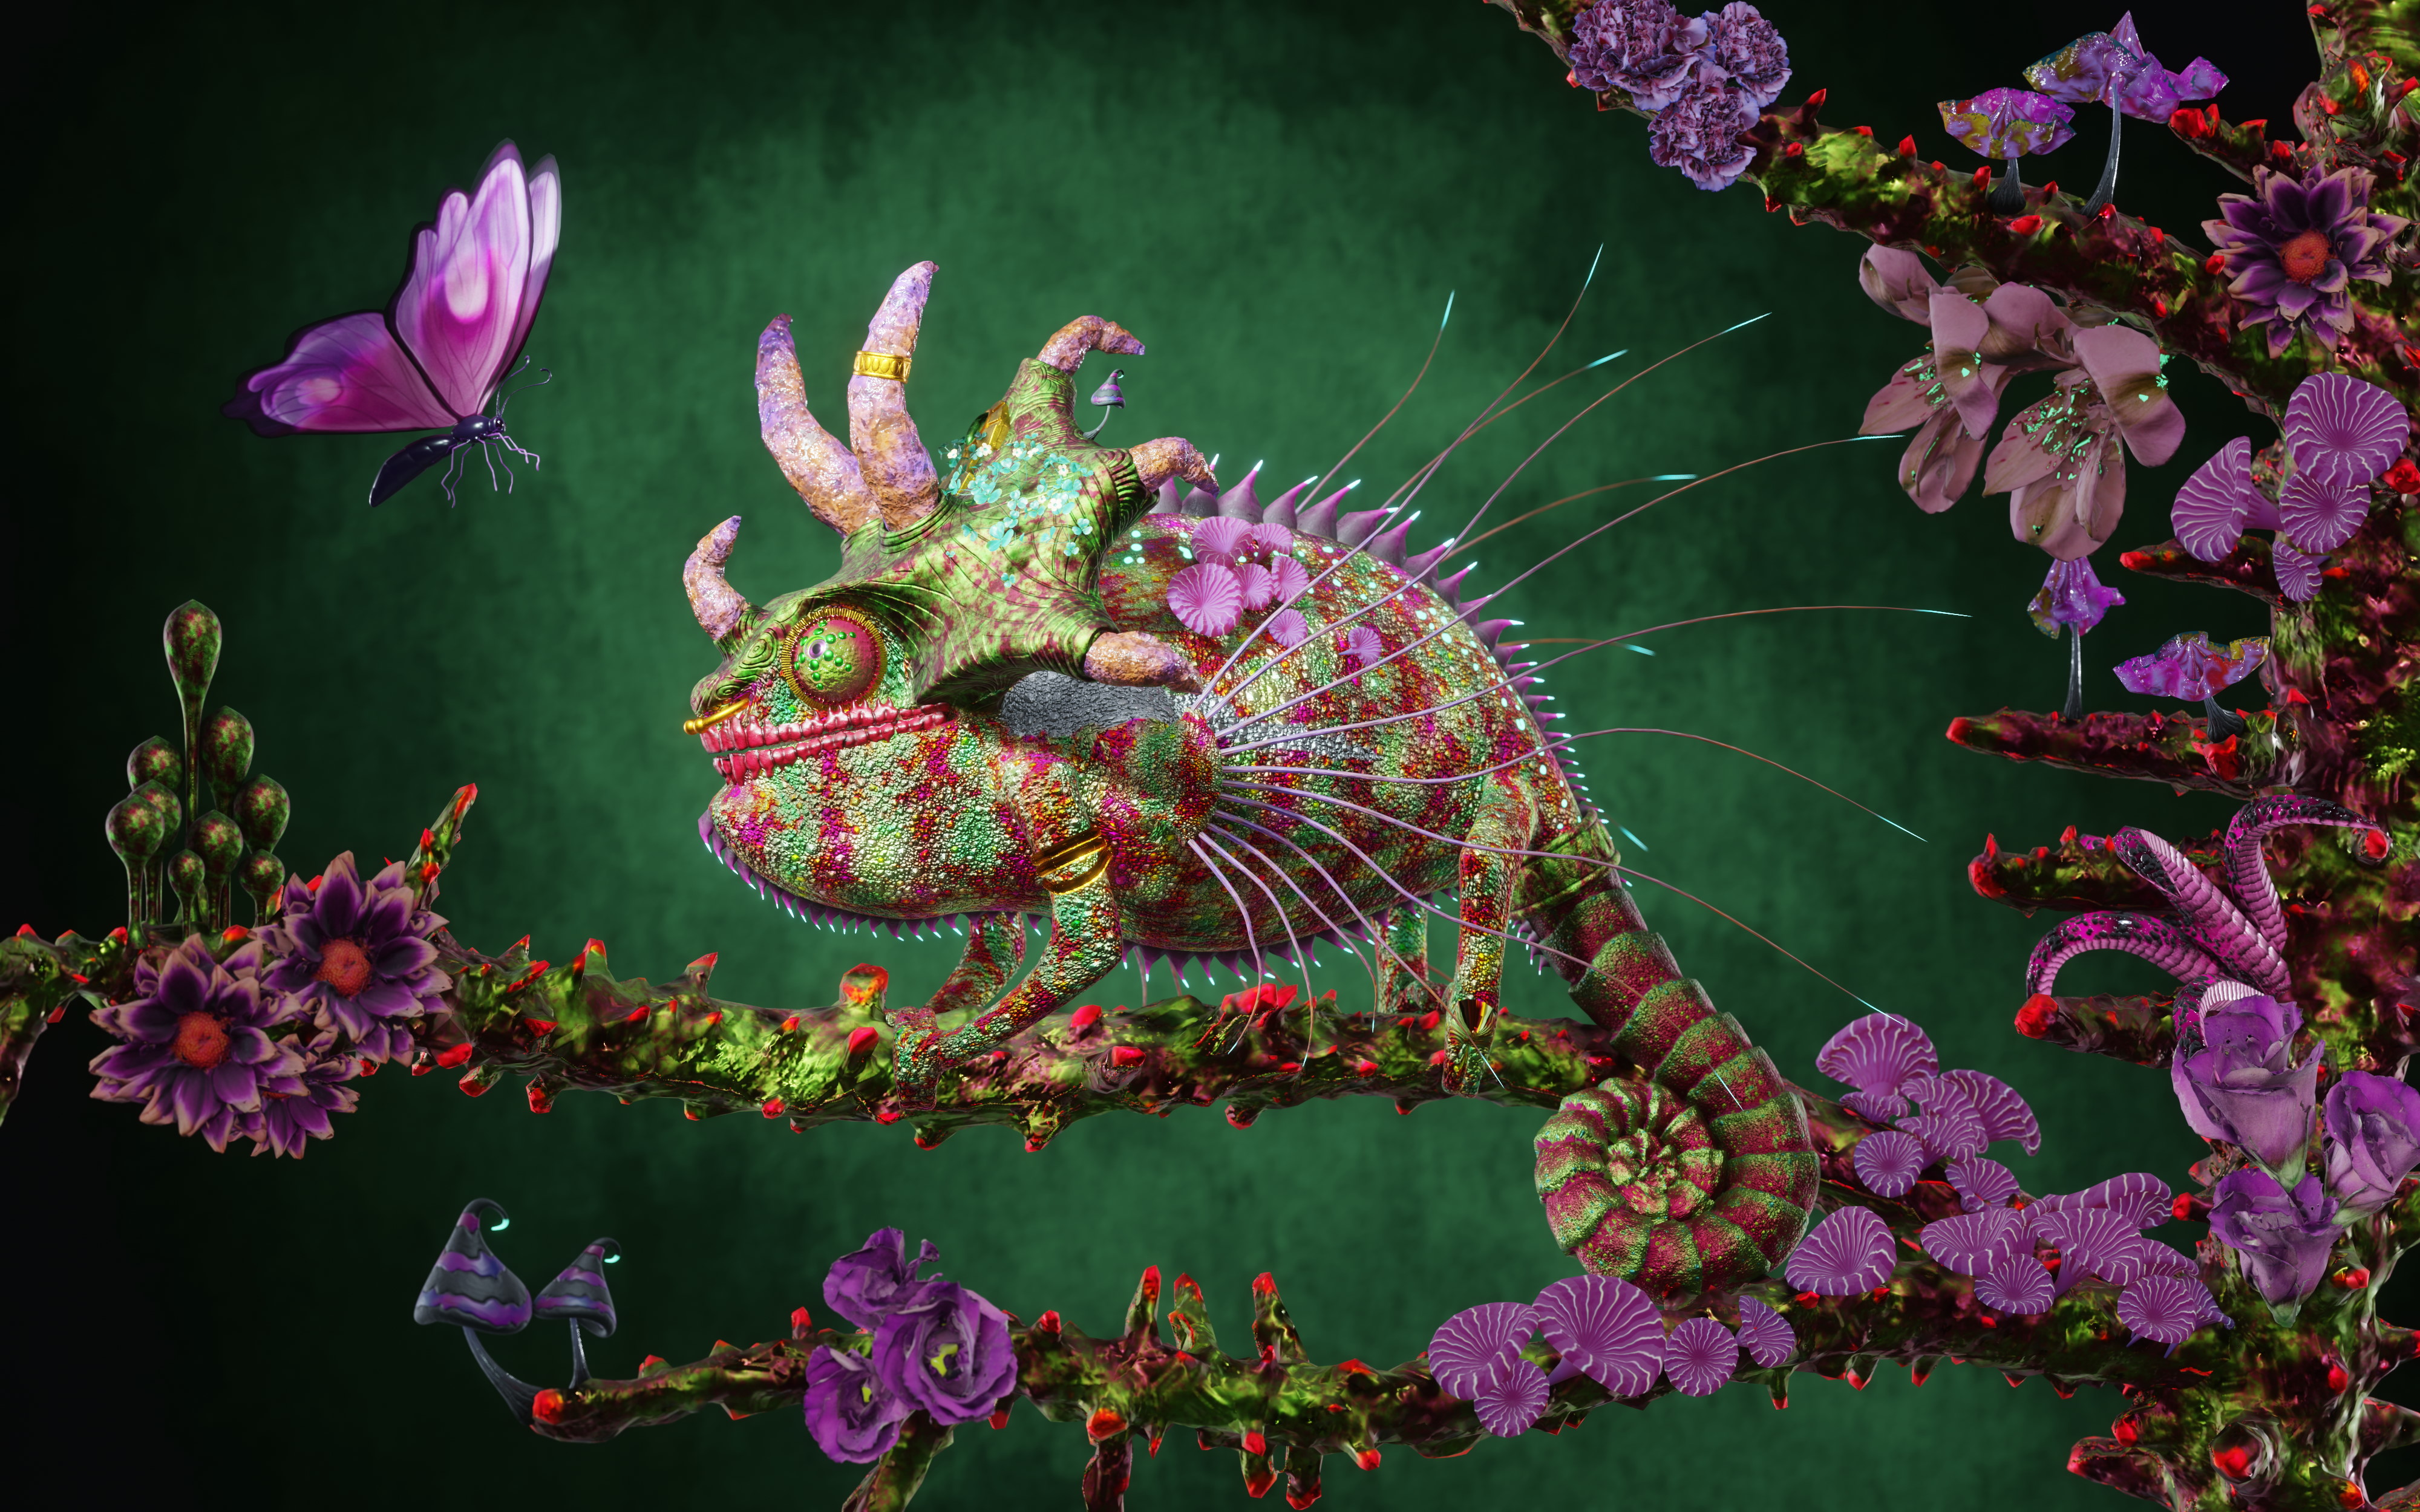
A wide angle of the scene. I have chosen the coral so it is not too big and the scene fits in a small 3D space
Edit: Polycount OK!
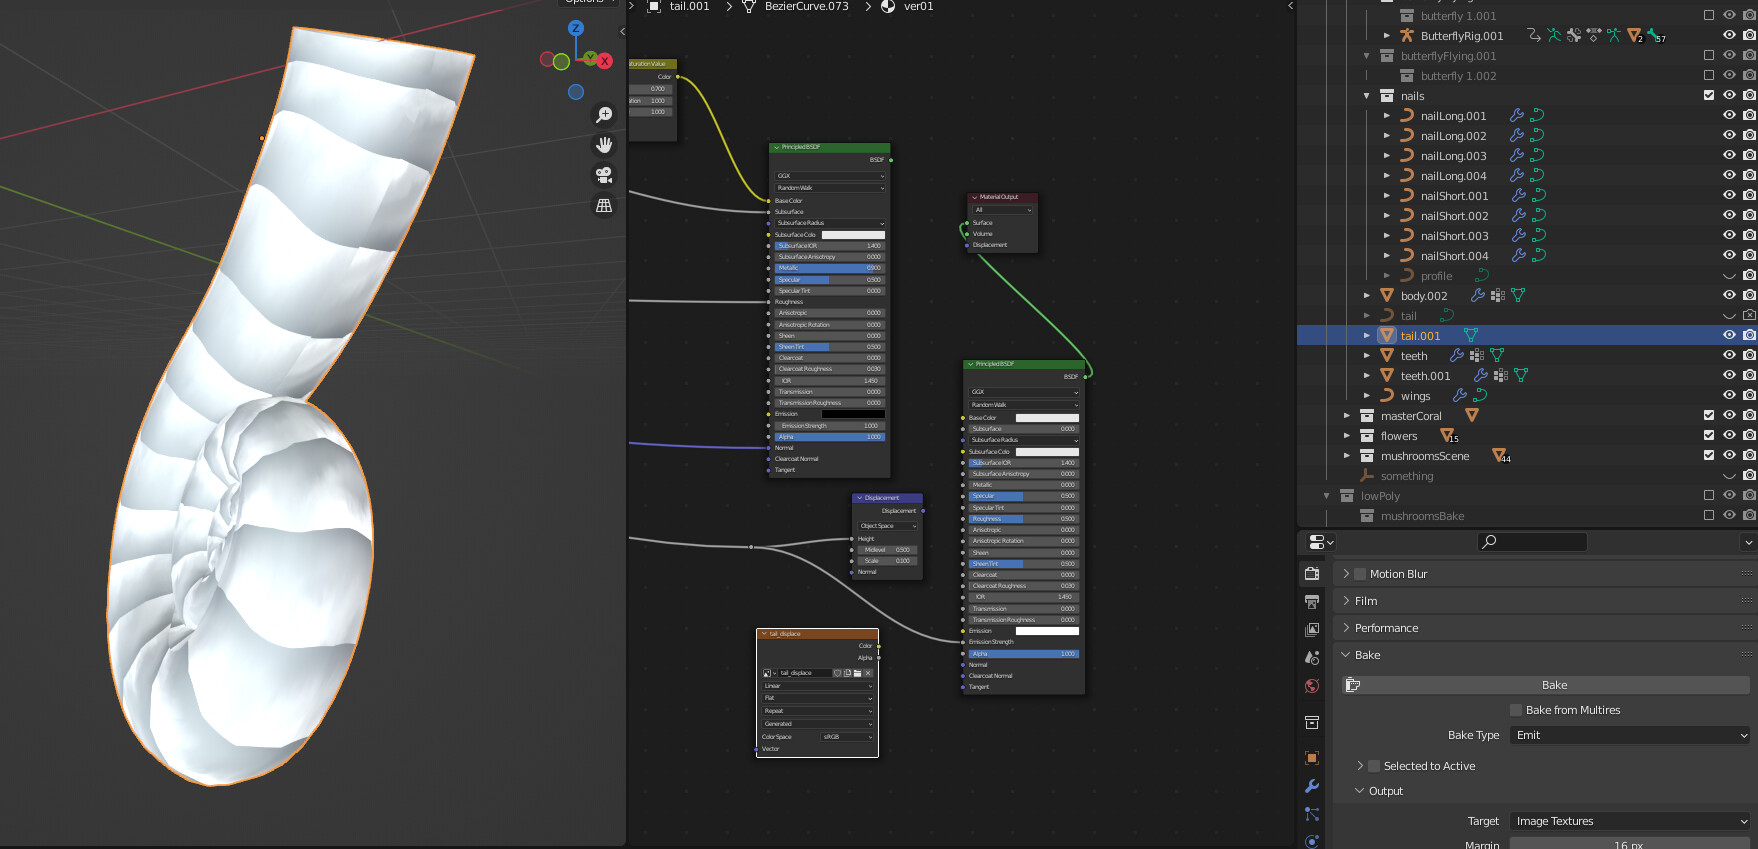
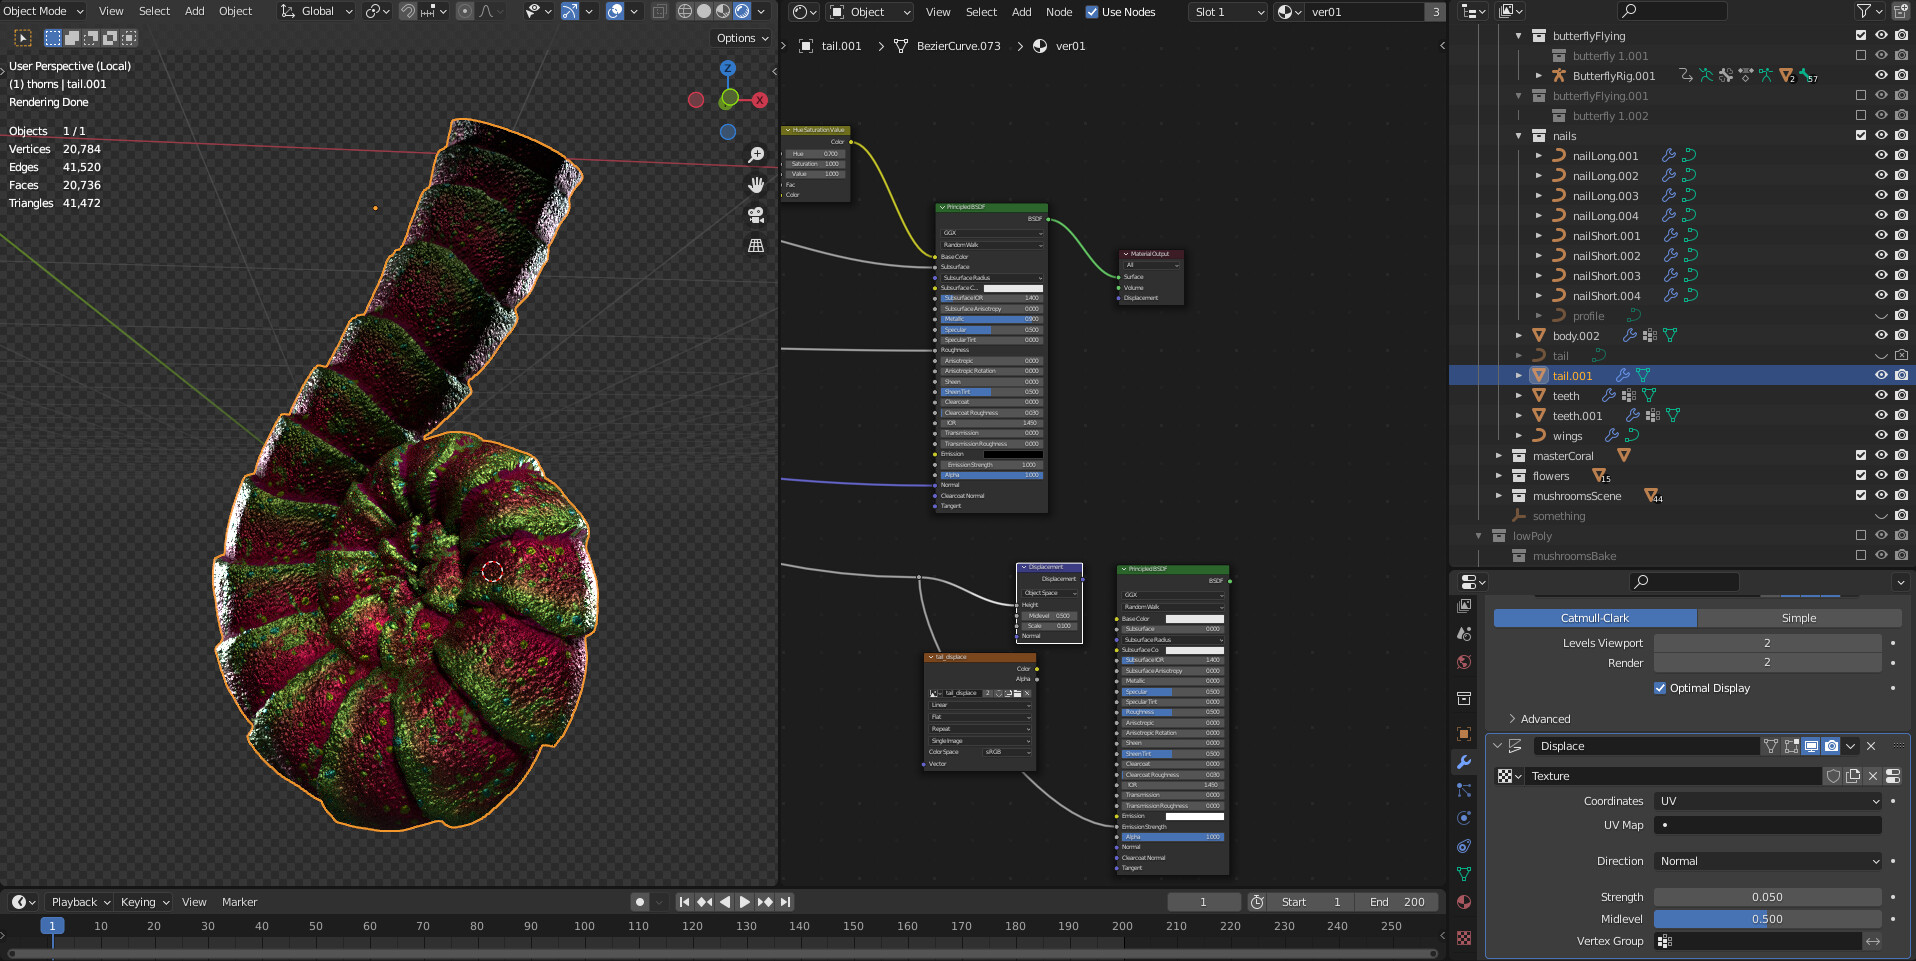
Technical stuff today. The tail is a simple curve with displacement by shader. Not so easy to convert this to proper mesh.

I start by isolating the displacement map (fortunately it’s black and white, no crazy vector displacement stuff) and plug it into the emission socket of a new Principled BSDF. I chose the emission becasue it’s less prone to “pollution” by other sources when baking than the diffuse for example.
I realize that there is an ugly seam on the tail while visualizing the texture.
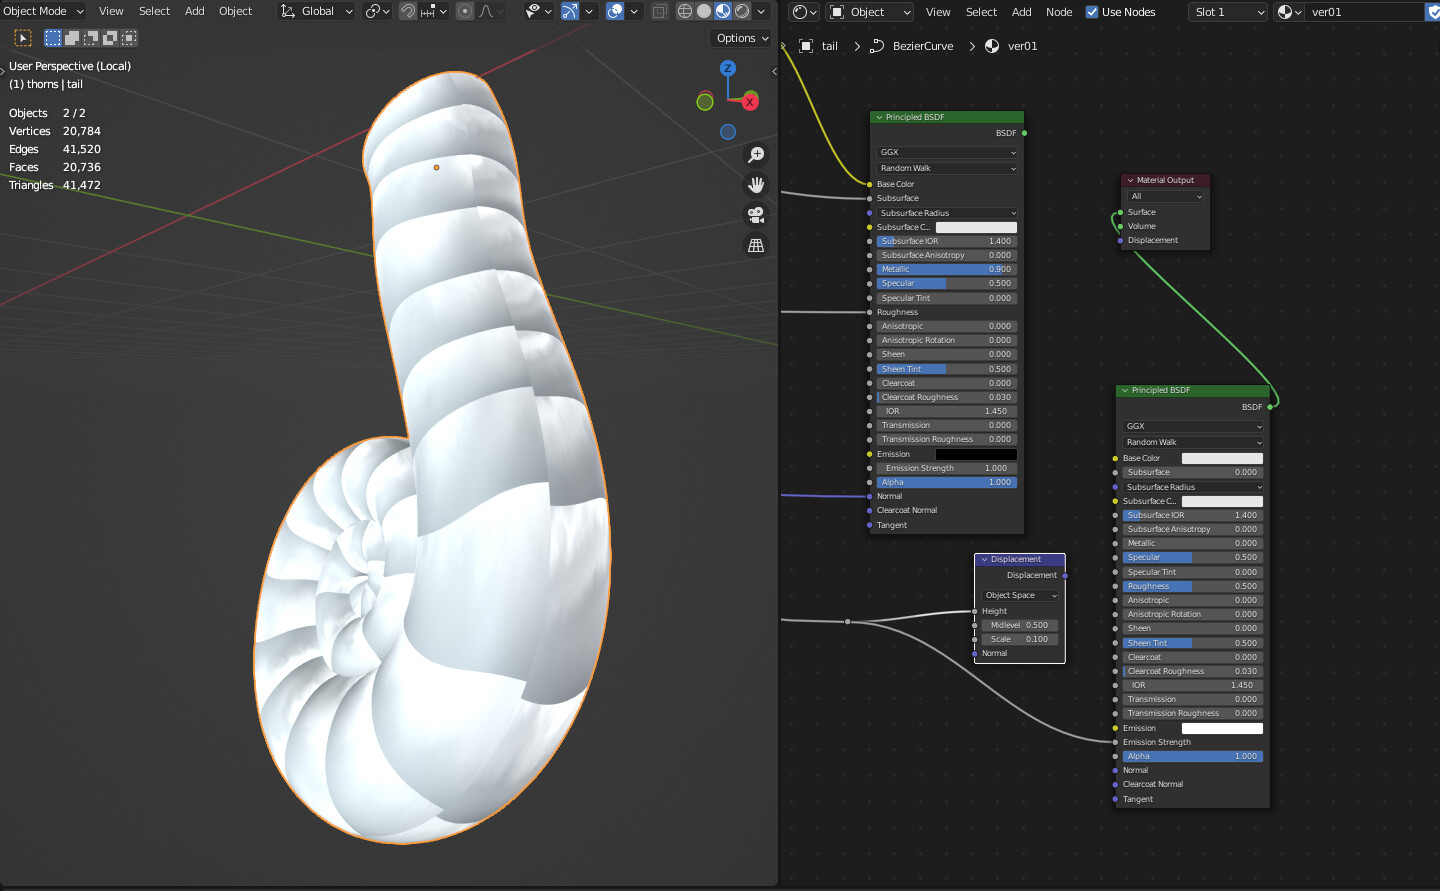
I did not find controls to influence the mapping, but I realized that by rotating the full curve object, the seam was moving. I got it on the inside part of the tail, and I’m happy like this.
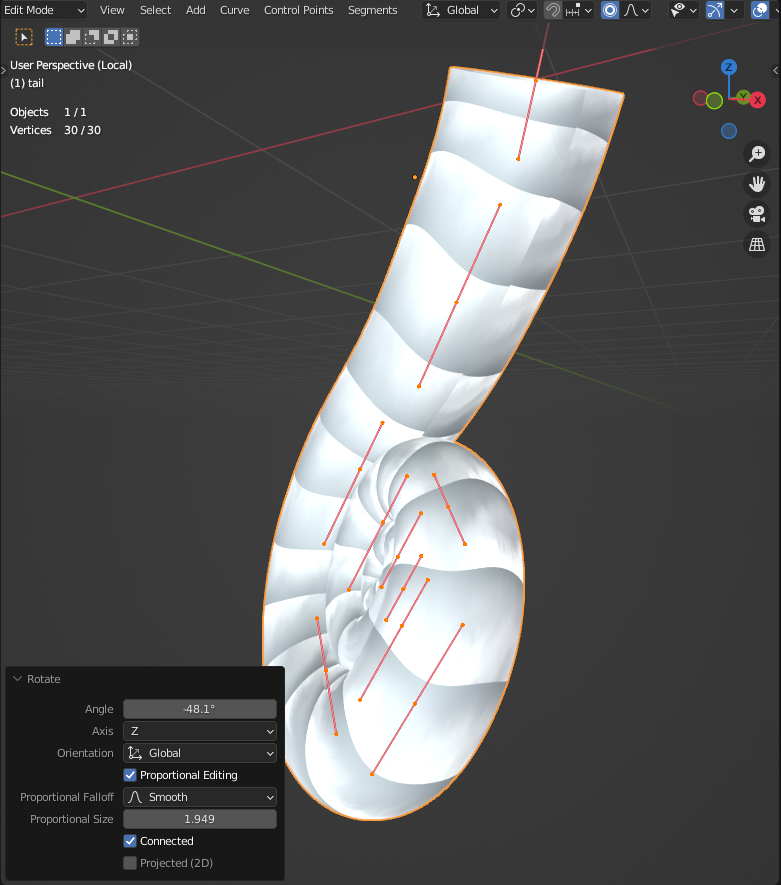
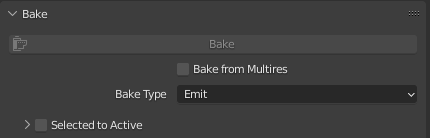
I create a new texture

And I can’t bake… apparently.
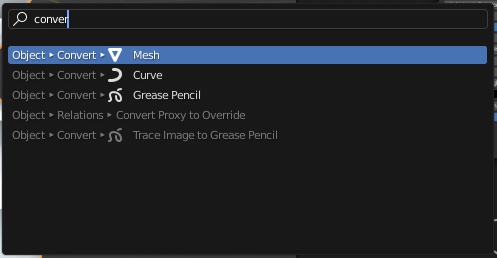
Convert the curve to a mesh, and voilà
The baking is painfully slow though, I’ve had the time to write this post and it did 2%… On a 2k texture… Gonna be a fun couple of days.
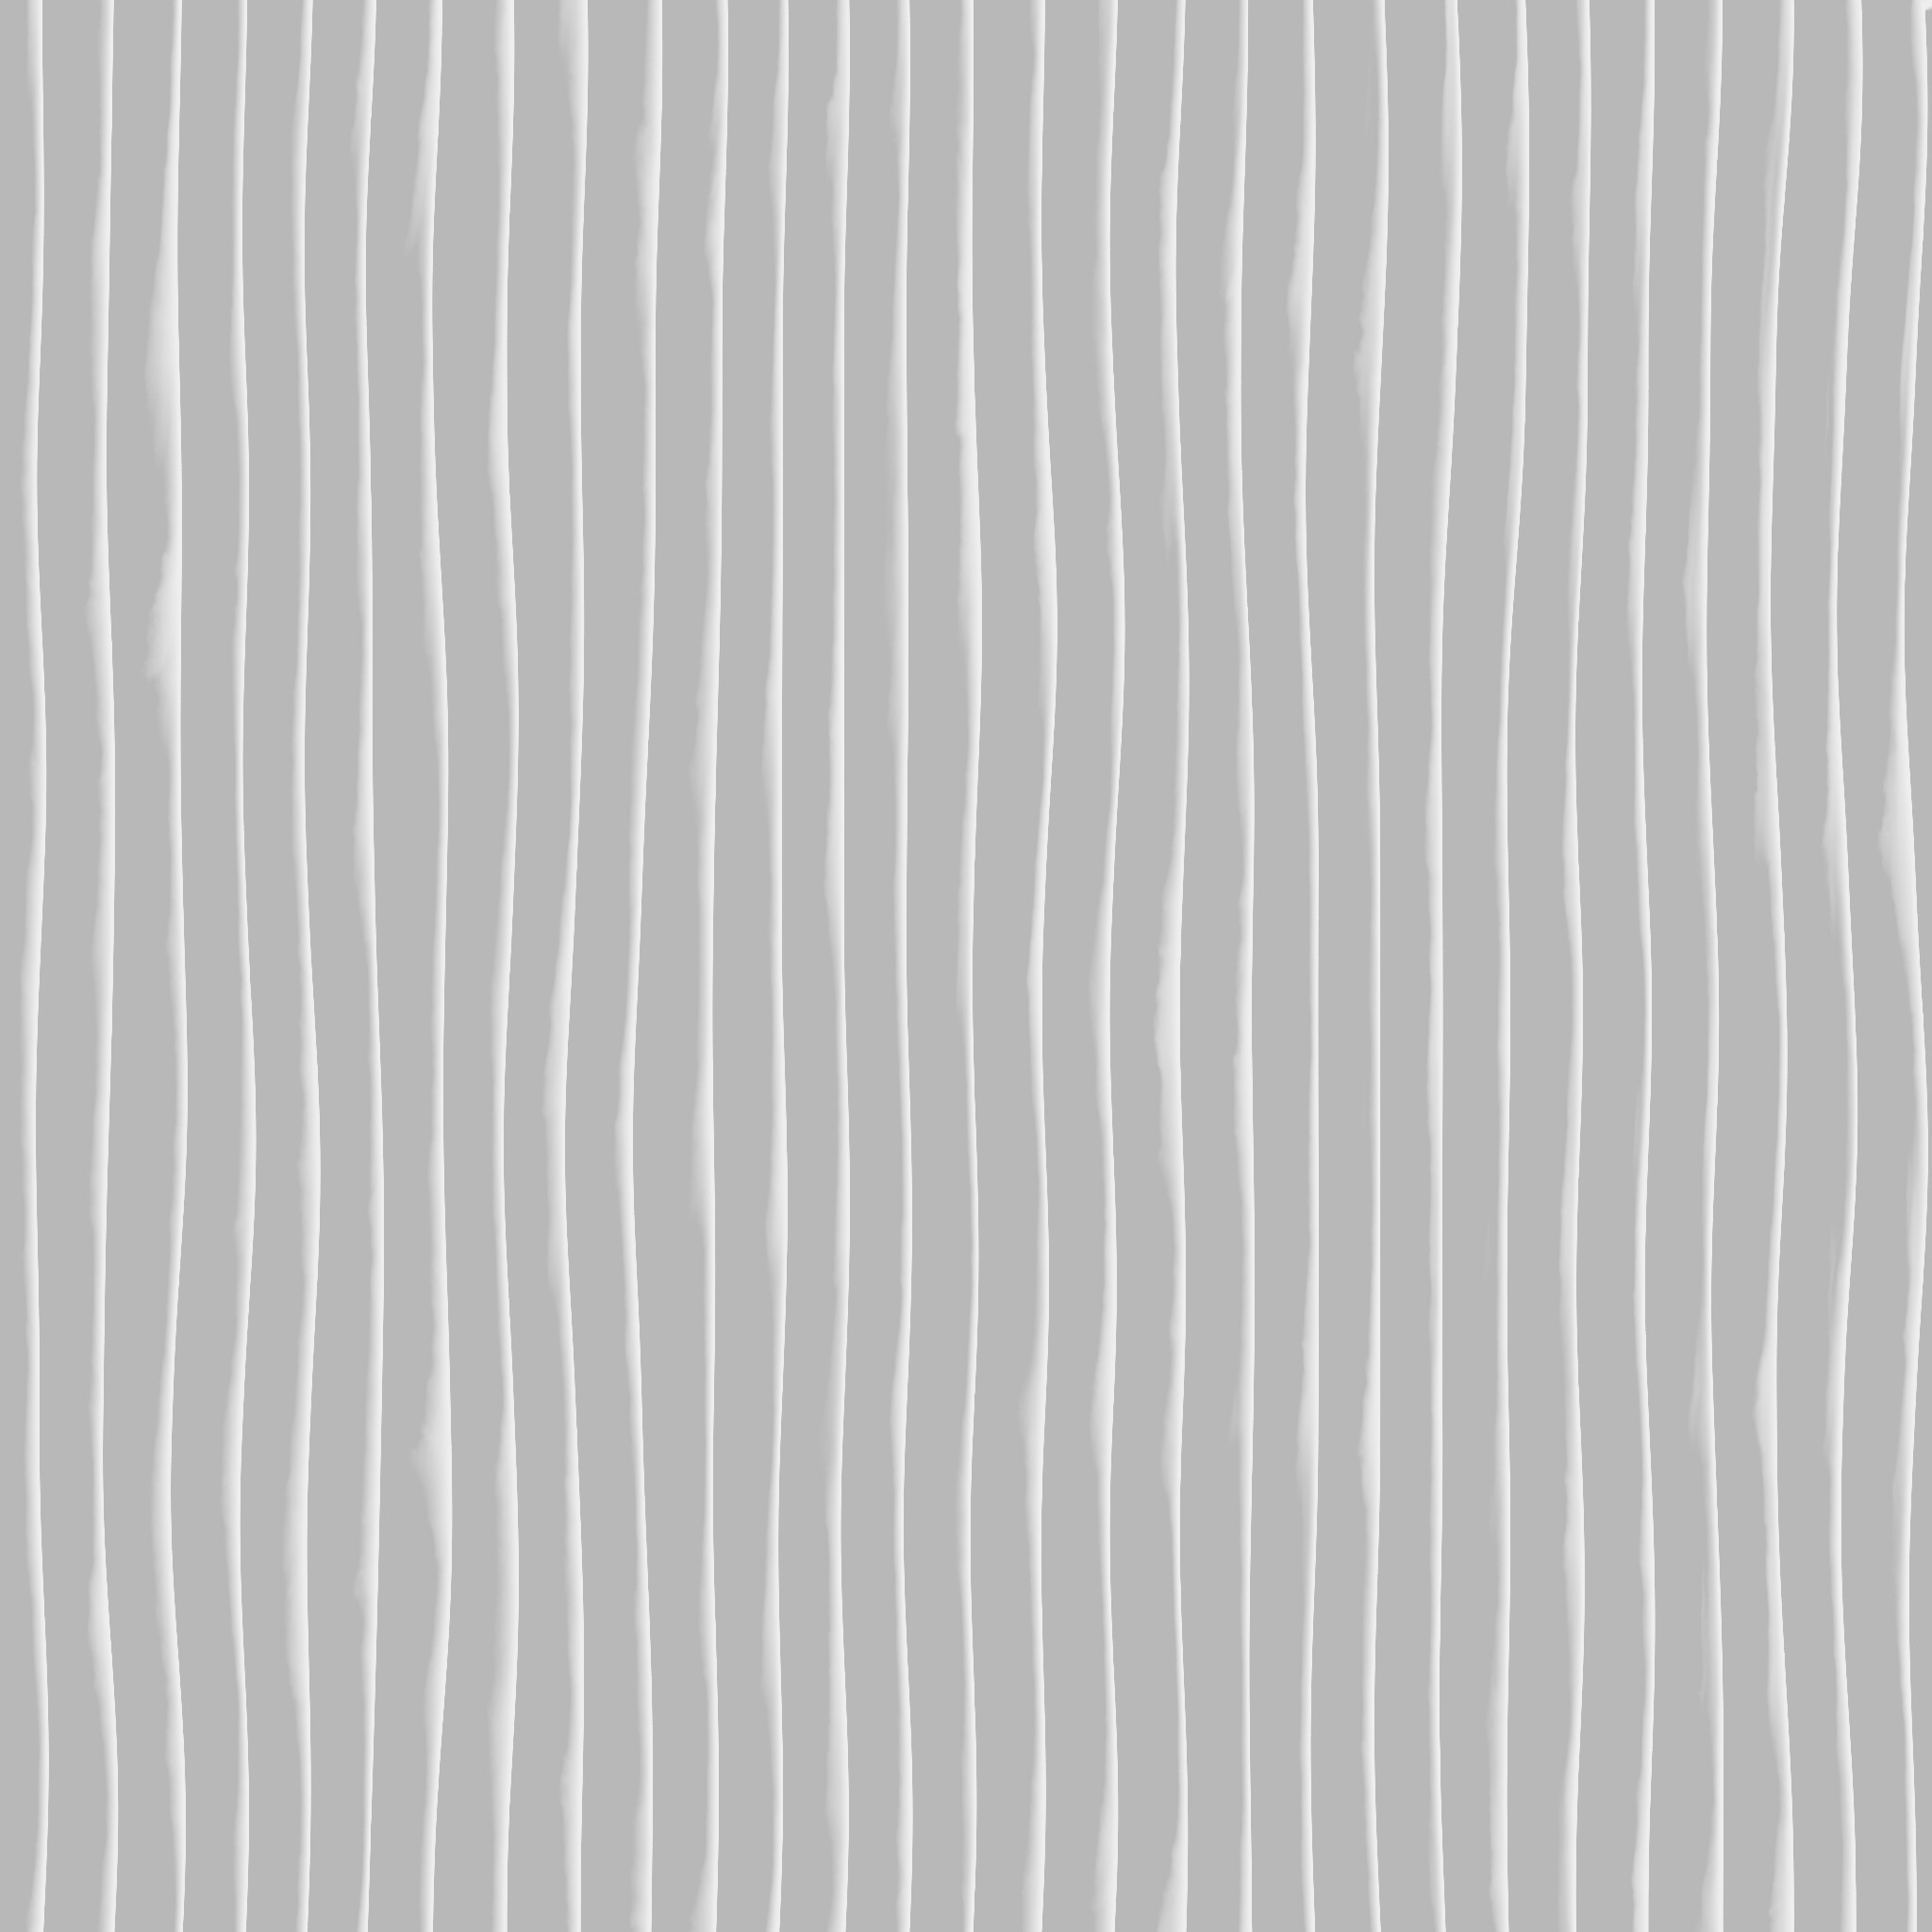
EDIT: it did the 98% remaining in 5 seconds, you’re forgiven Blender. Resulting displacement map:
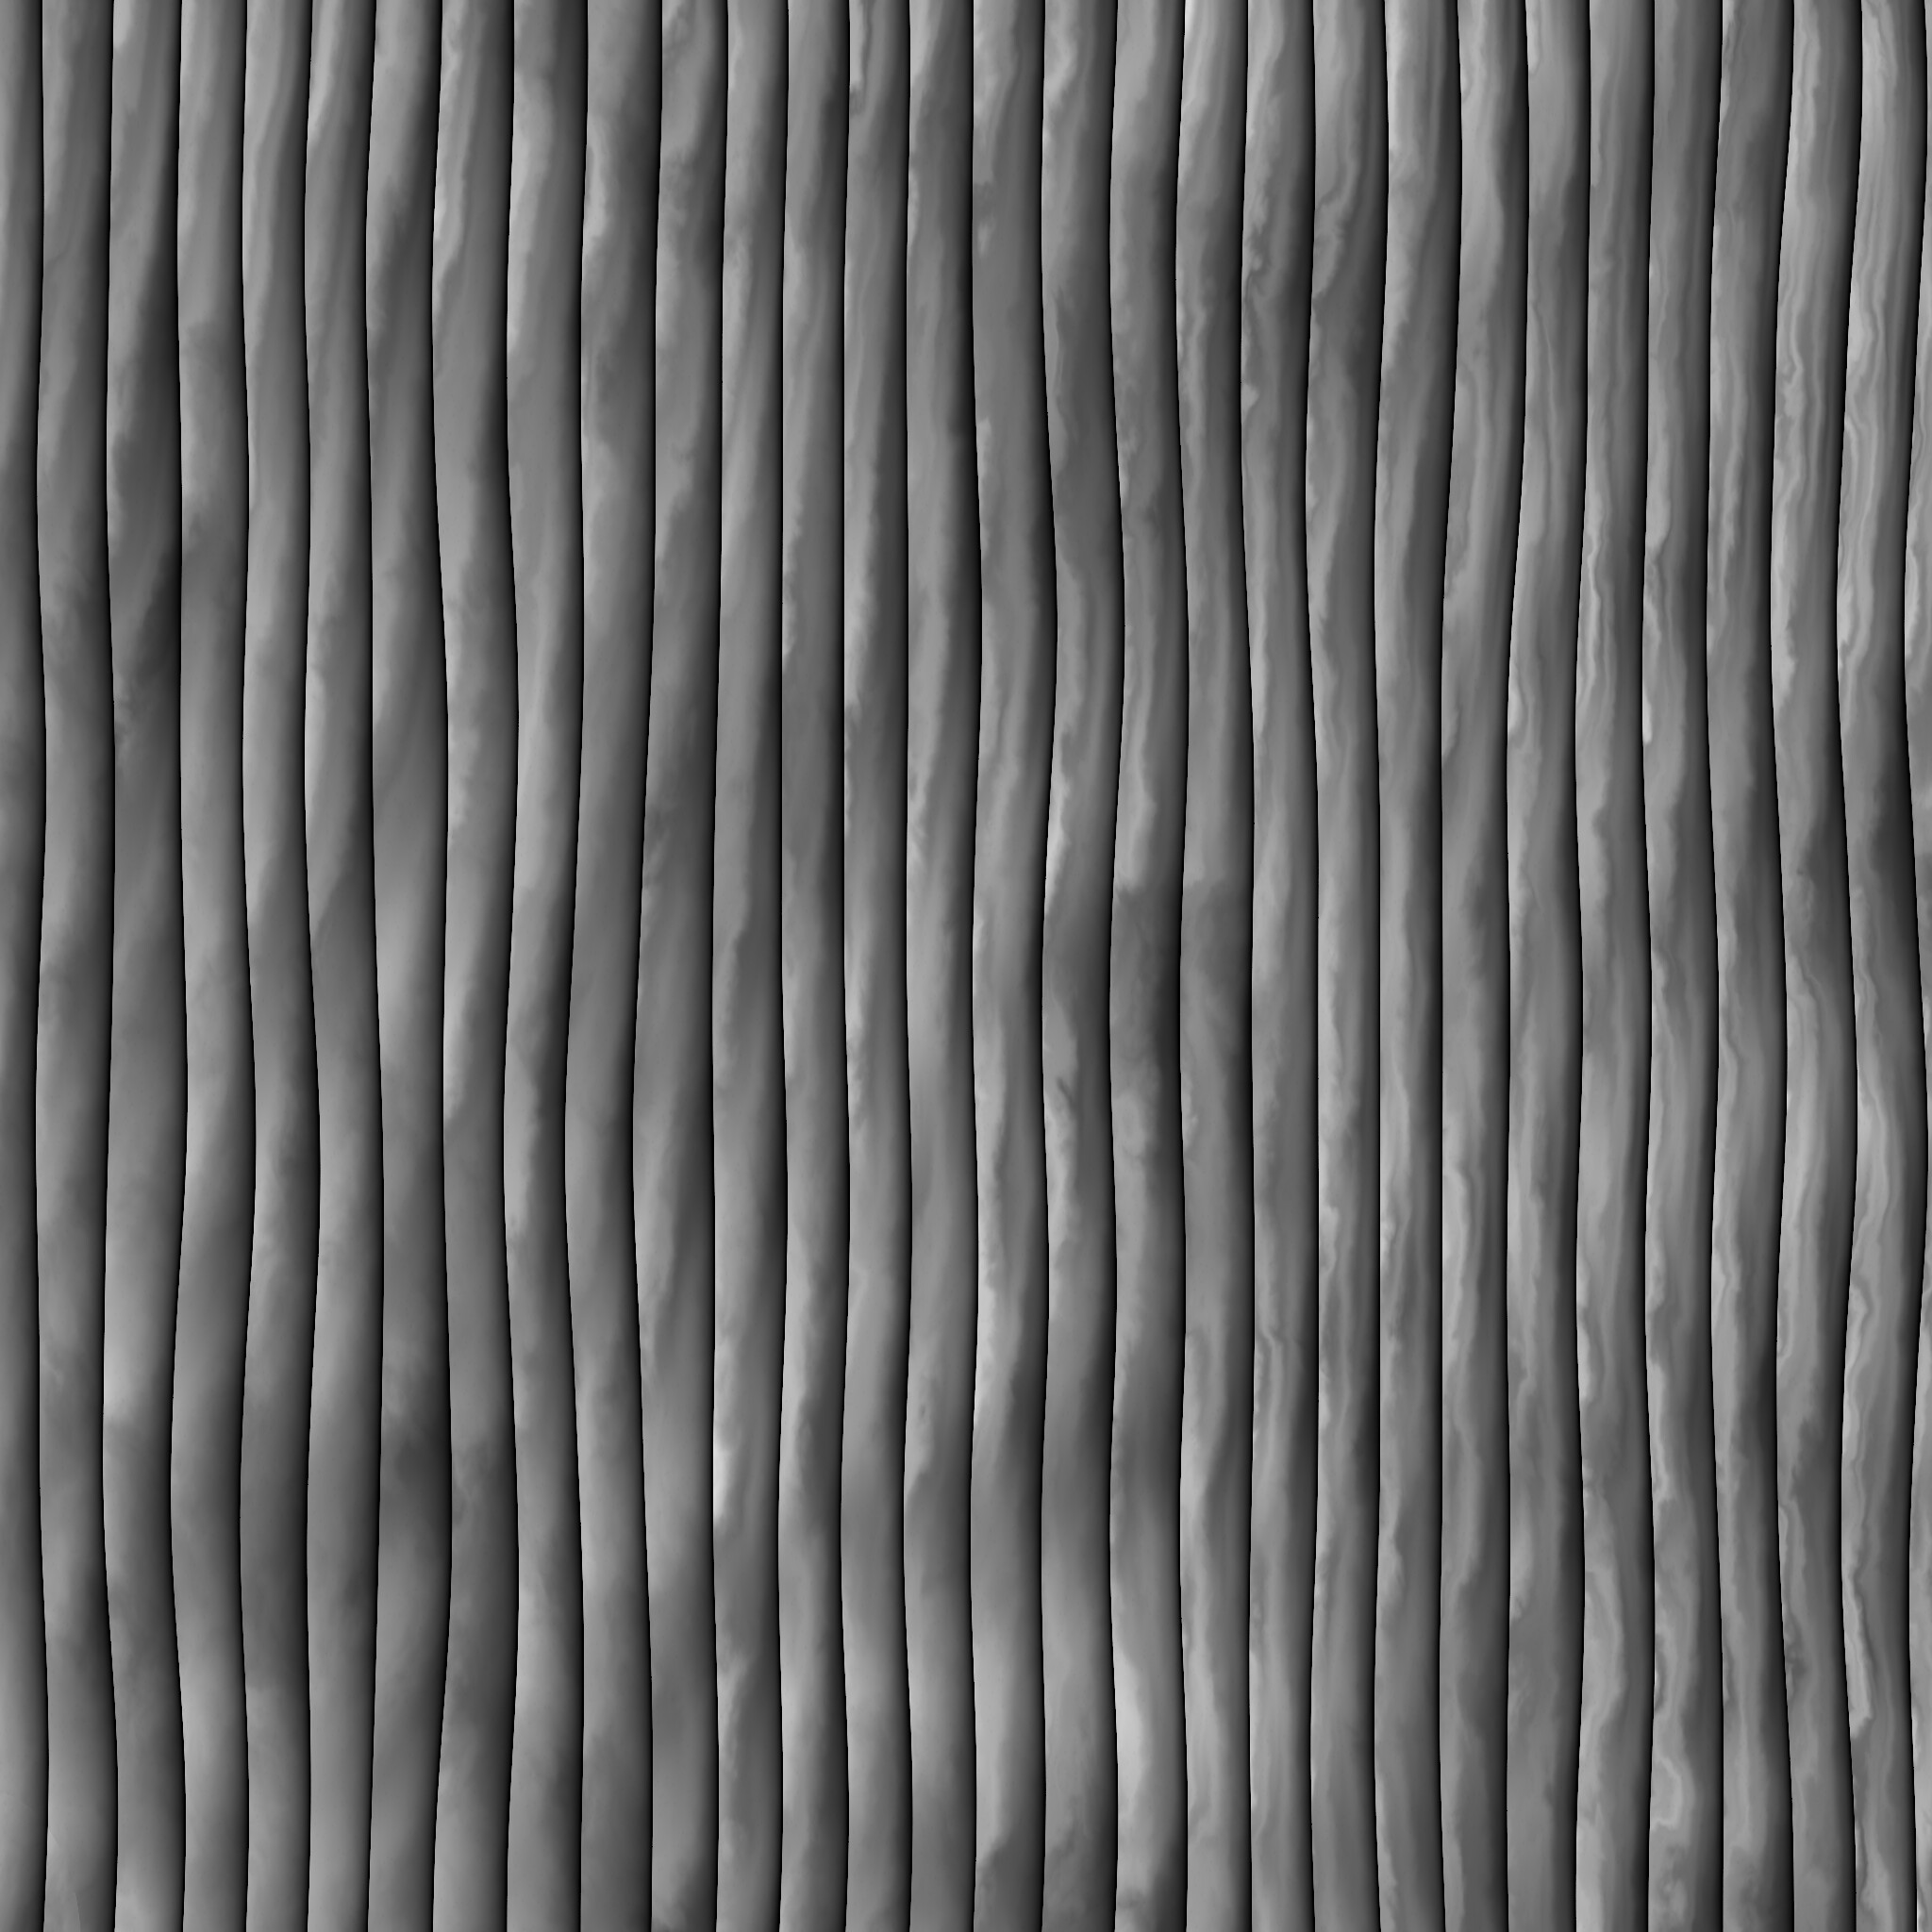
Now I can apply it as a displacement map and bake the geometry if I want.
It looks a bit worse… Preparing the scene for real-time will hurt.
2 Likes
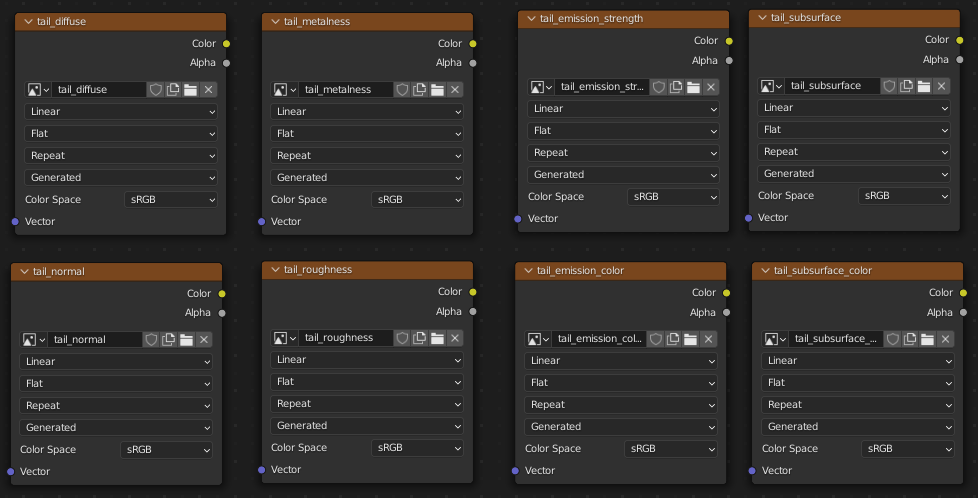
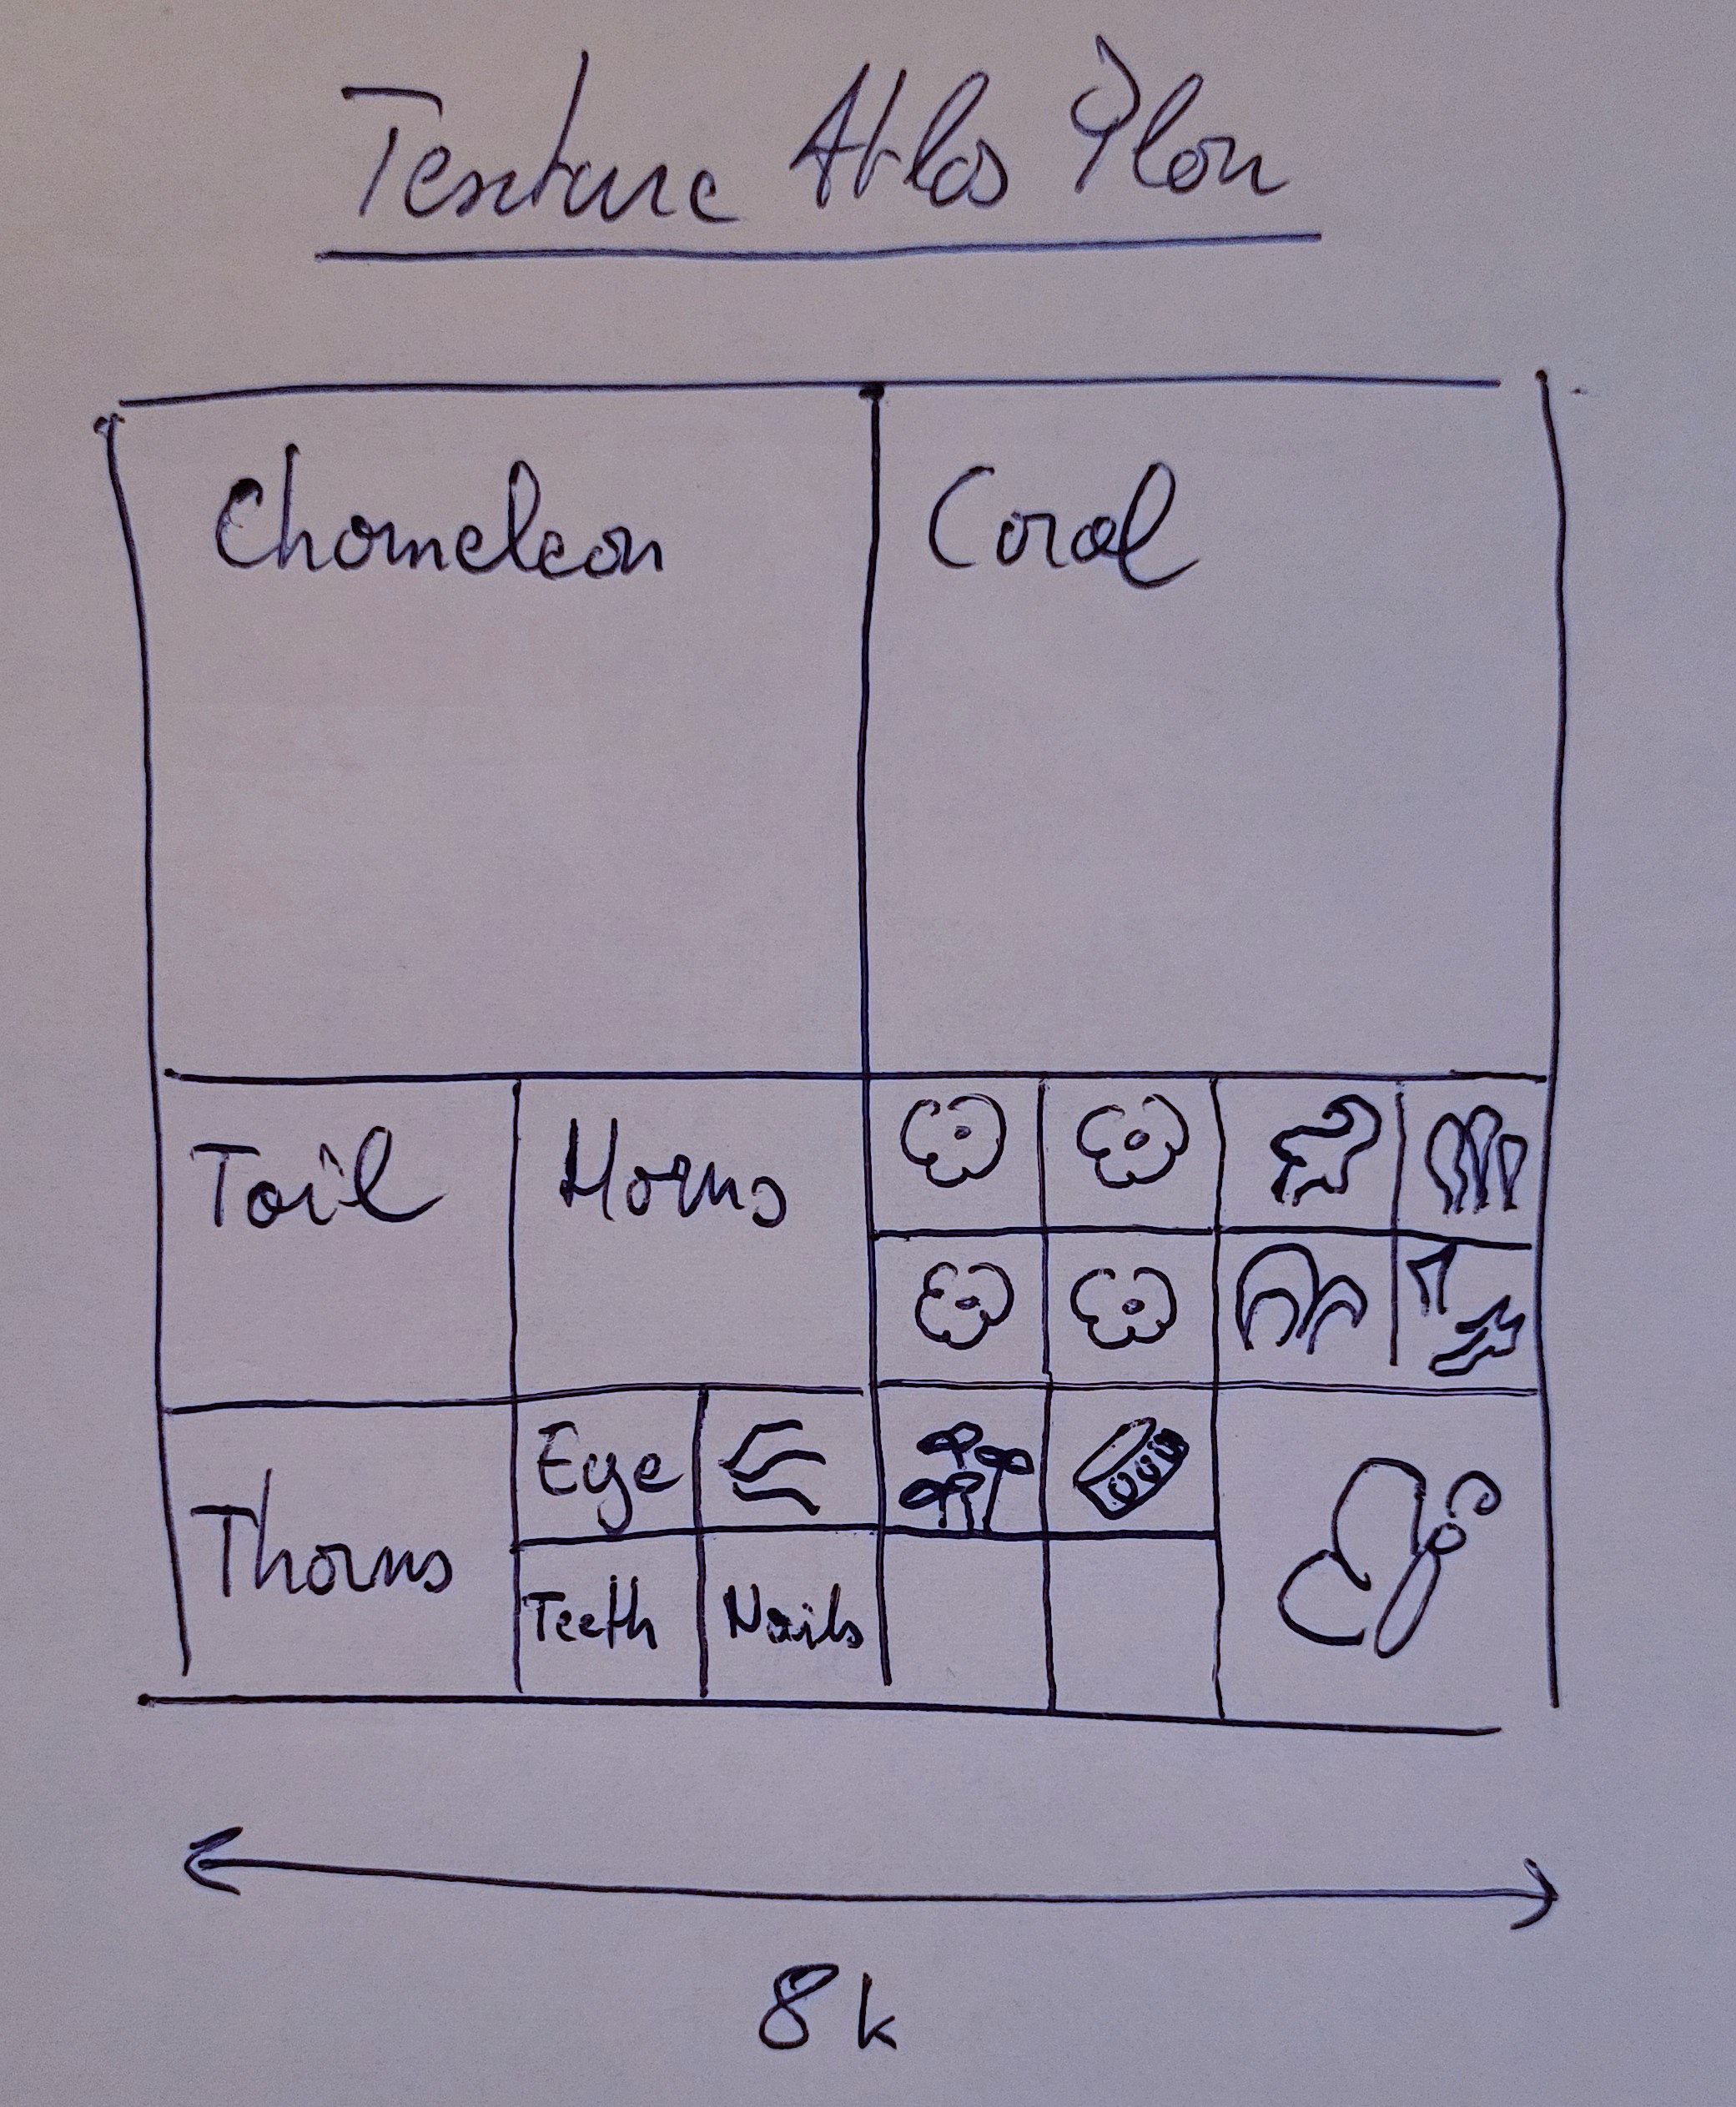
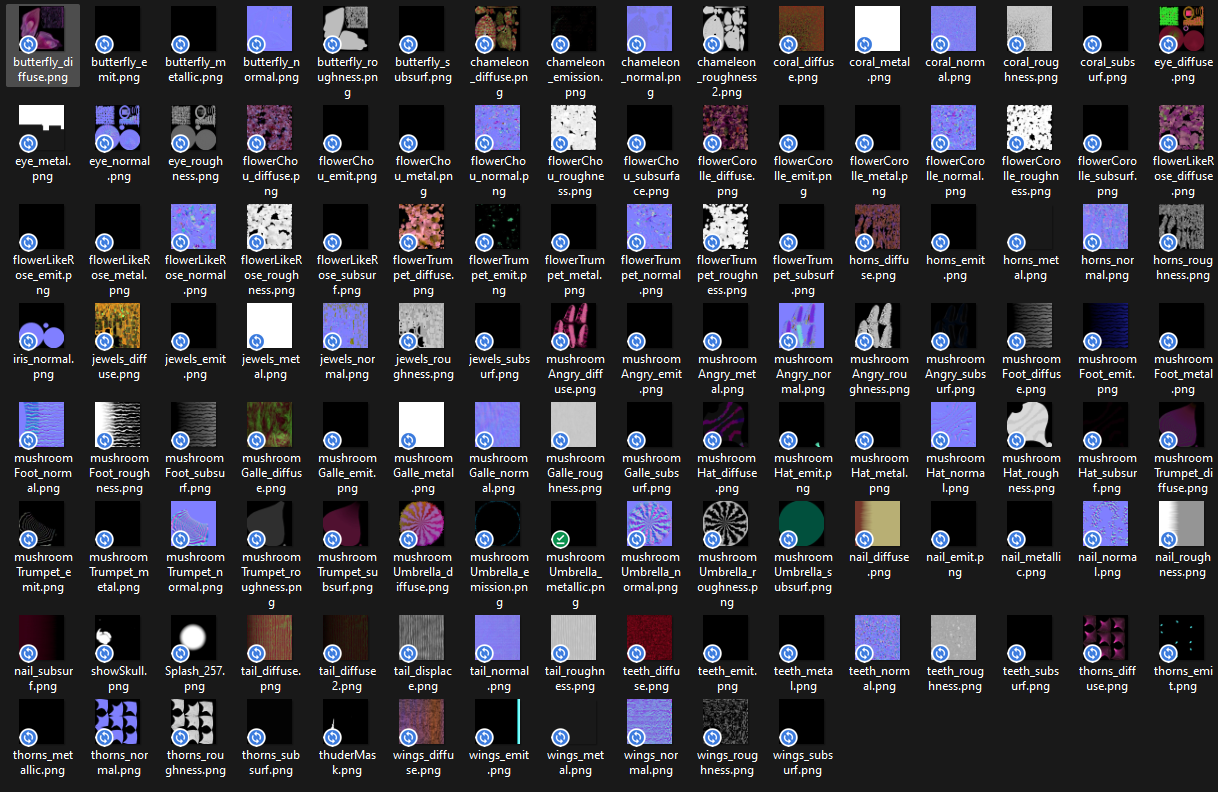
Baking time. My plan is to bake elements individually in reasonable-sized textures, then group them together in an atlas. I think I could be super smart and use advanced atlasing techniques, but I’ll simply go a scale/translate the existing UV’s manually, that seems like limited hassle.
I’ll post the textures for the tail, then it will be more of the same.
I plan to generate textures for all channels, even if I fill them with black or white manually in case they are unnecessary. This way, I can combine everything more easily at the end (easily?).


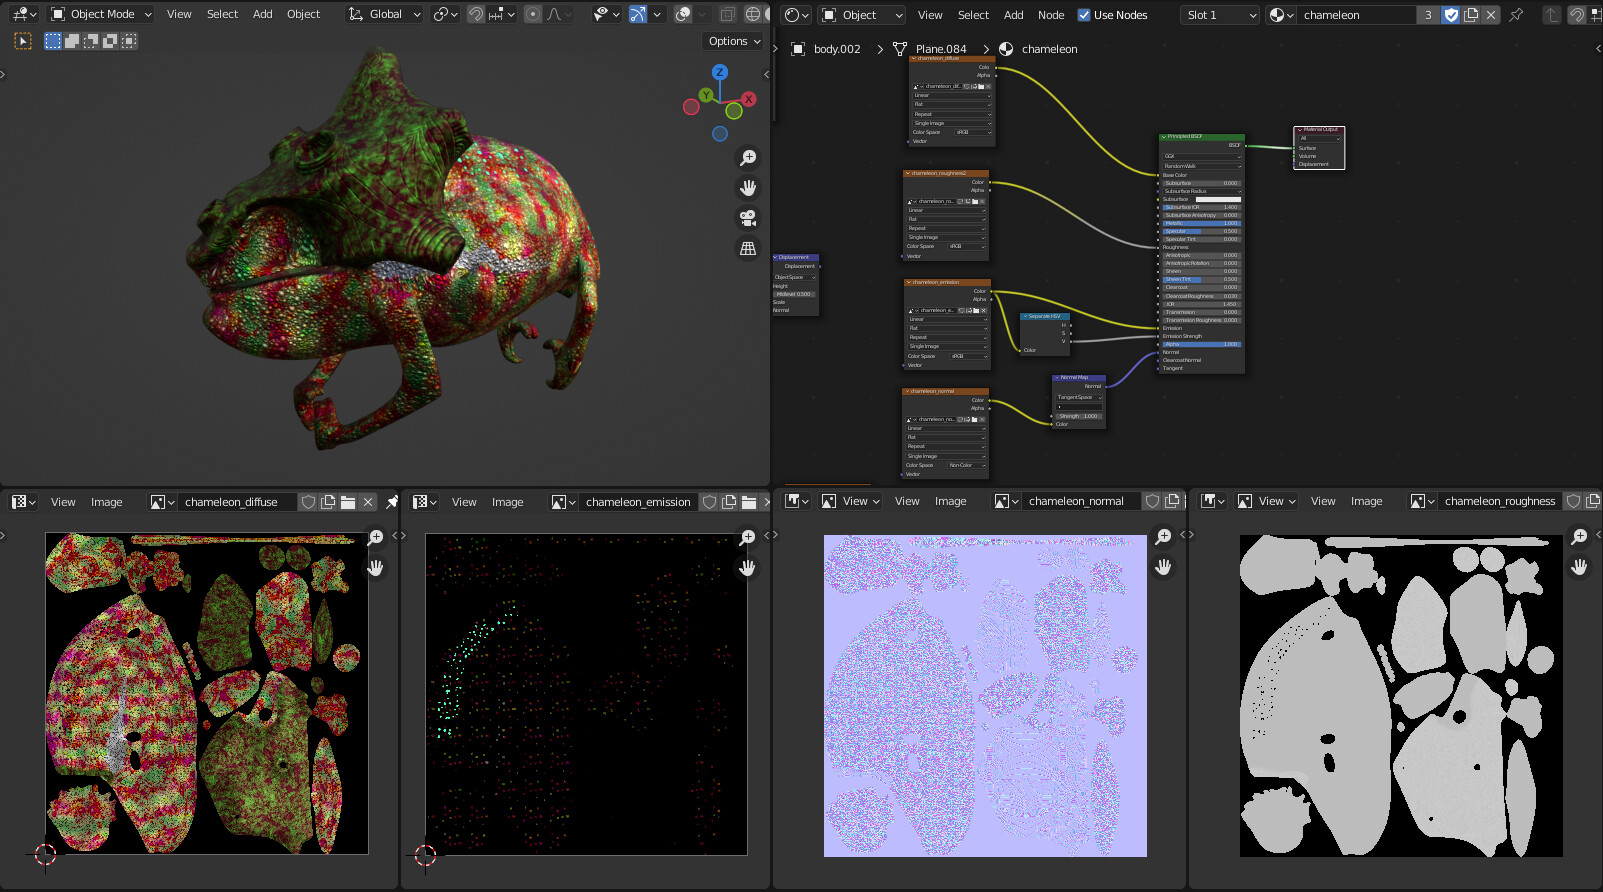
What had to happen happened

All went well in the end (I struggled with too dark diffuse, but deleted that from the post, soilution provided below by Bandinopla. I’ve also learnt that the roughness map should keep its sRGB color profile, I always thought it needed to be non-color)

2 Likes
if the PBR material has metal or subsurface info in it the bake will look darker. Remove that info from the PBR node temporarly while you bake, that happened to me too!
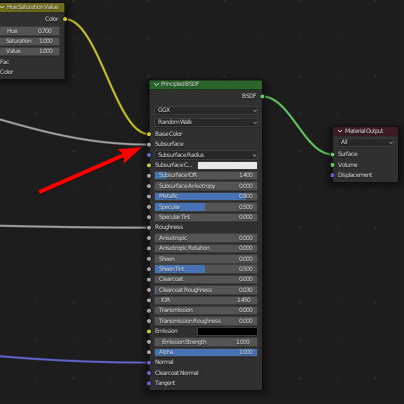
1 Like
Thanks! I have used a pure emission shader in the meantime, that worked too, but really good to know!
Edit: your solution is much better, I got stuck when having some mix shader nodes preventing me from plugging color into an emission shader. Turning the metallic factor to 0 everywhere did the trick ![]()
1 Like
Let’s try that and see if it works…
After quite some baking and numerous crashes, the base chameleon works super fast in Eevee it’s great.
Onto some more baking!
1 Like
I keep on baking, that’s as painful as anticipated. I believe I spent a good 10 hours baking by now… Lots of waiting and fixing issues in between the waiting and the crashes. Loads of fun, I now remember why I was happy to step out from the real-time world.
Side note, I’ve decided to get rid of the Grasswald assets, as they are the only ones in the scene for which the licence is not 100% clear. Everything else is either made by me, CC0 or CC-BY. I’m not sure whether I’ll want to make the model downloadable or not, but at least I’ll have the opportunity to choose.
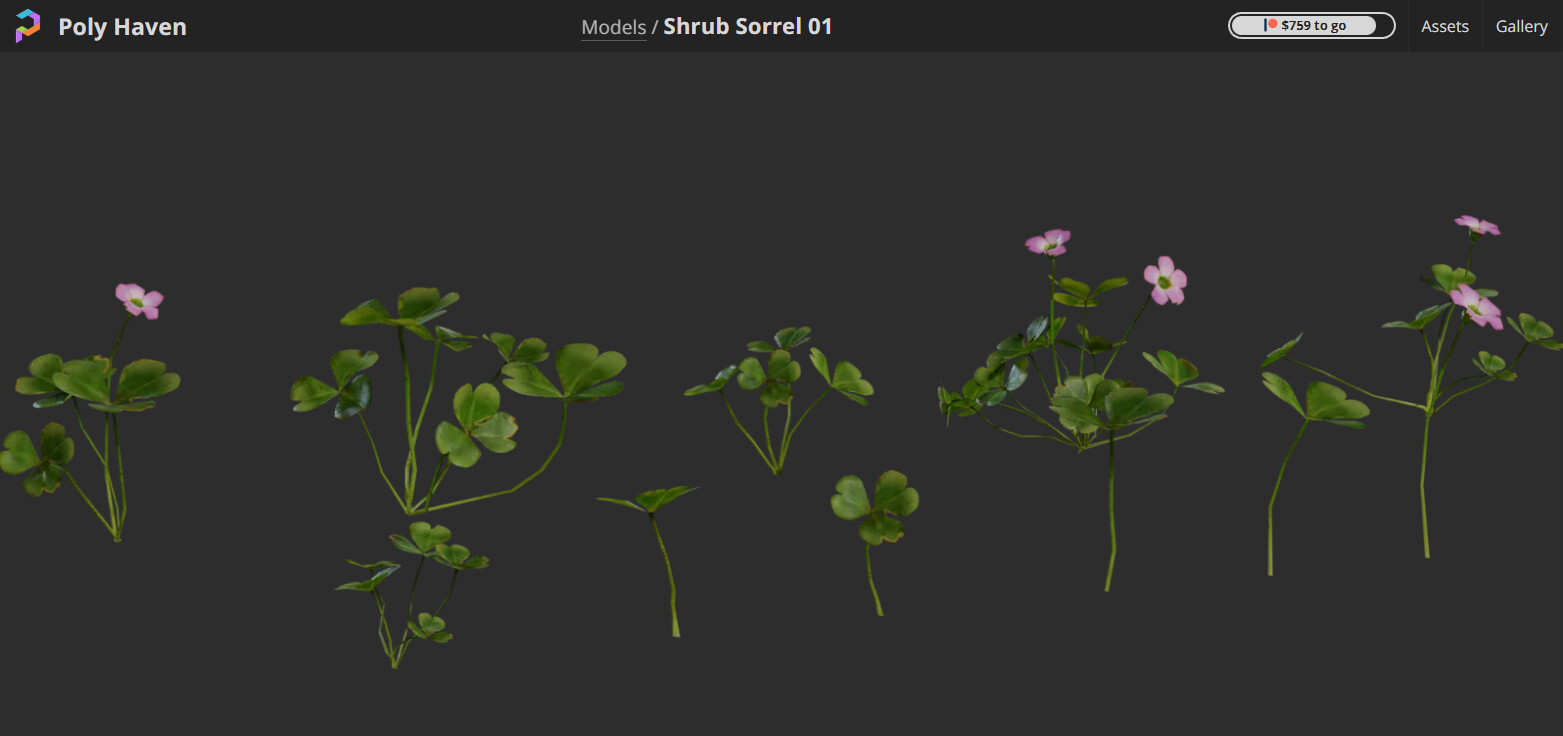
I’ll use the polyhaven assets, which are increasingly fantastic.
Like my fellow participants, I start feeling really burnt out on the project, it will be good to do something else again.
2 Likes

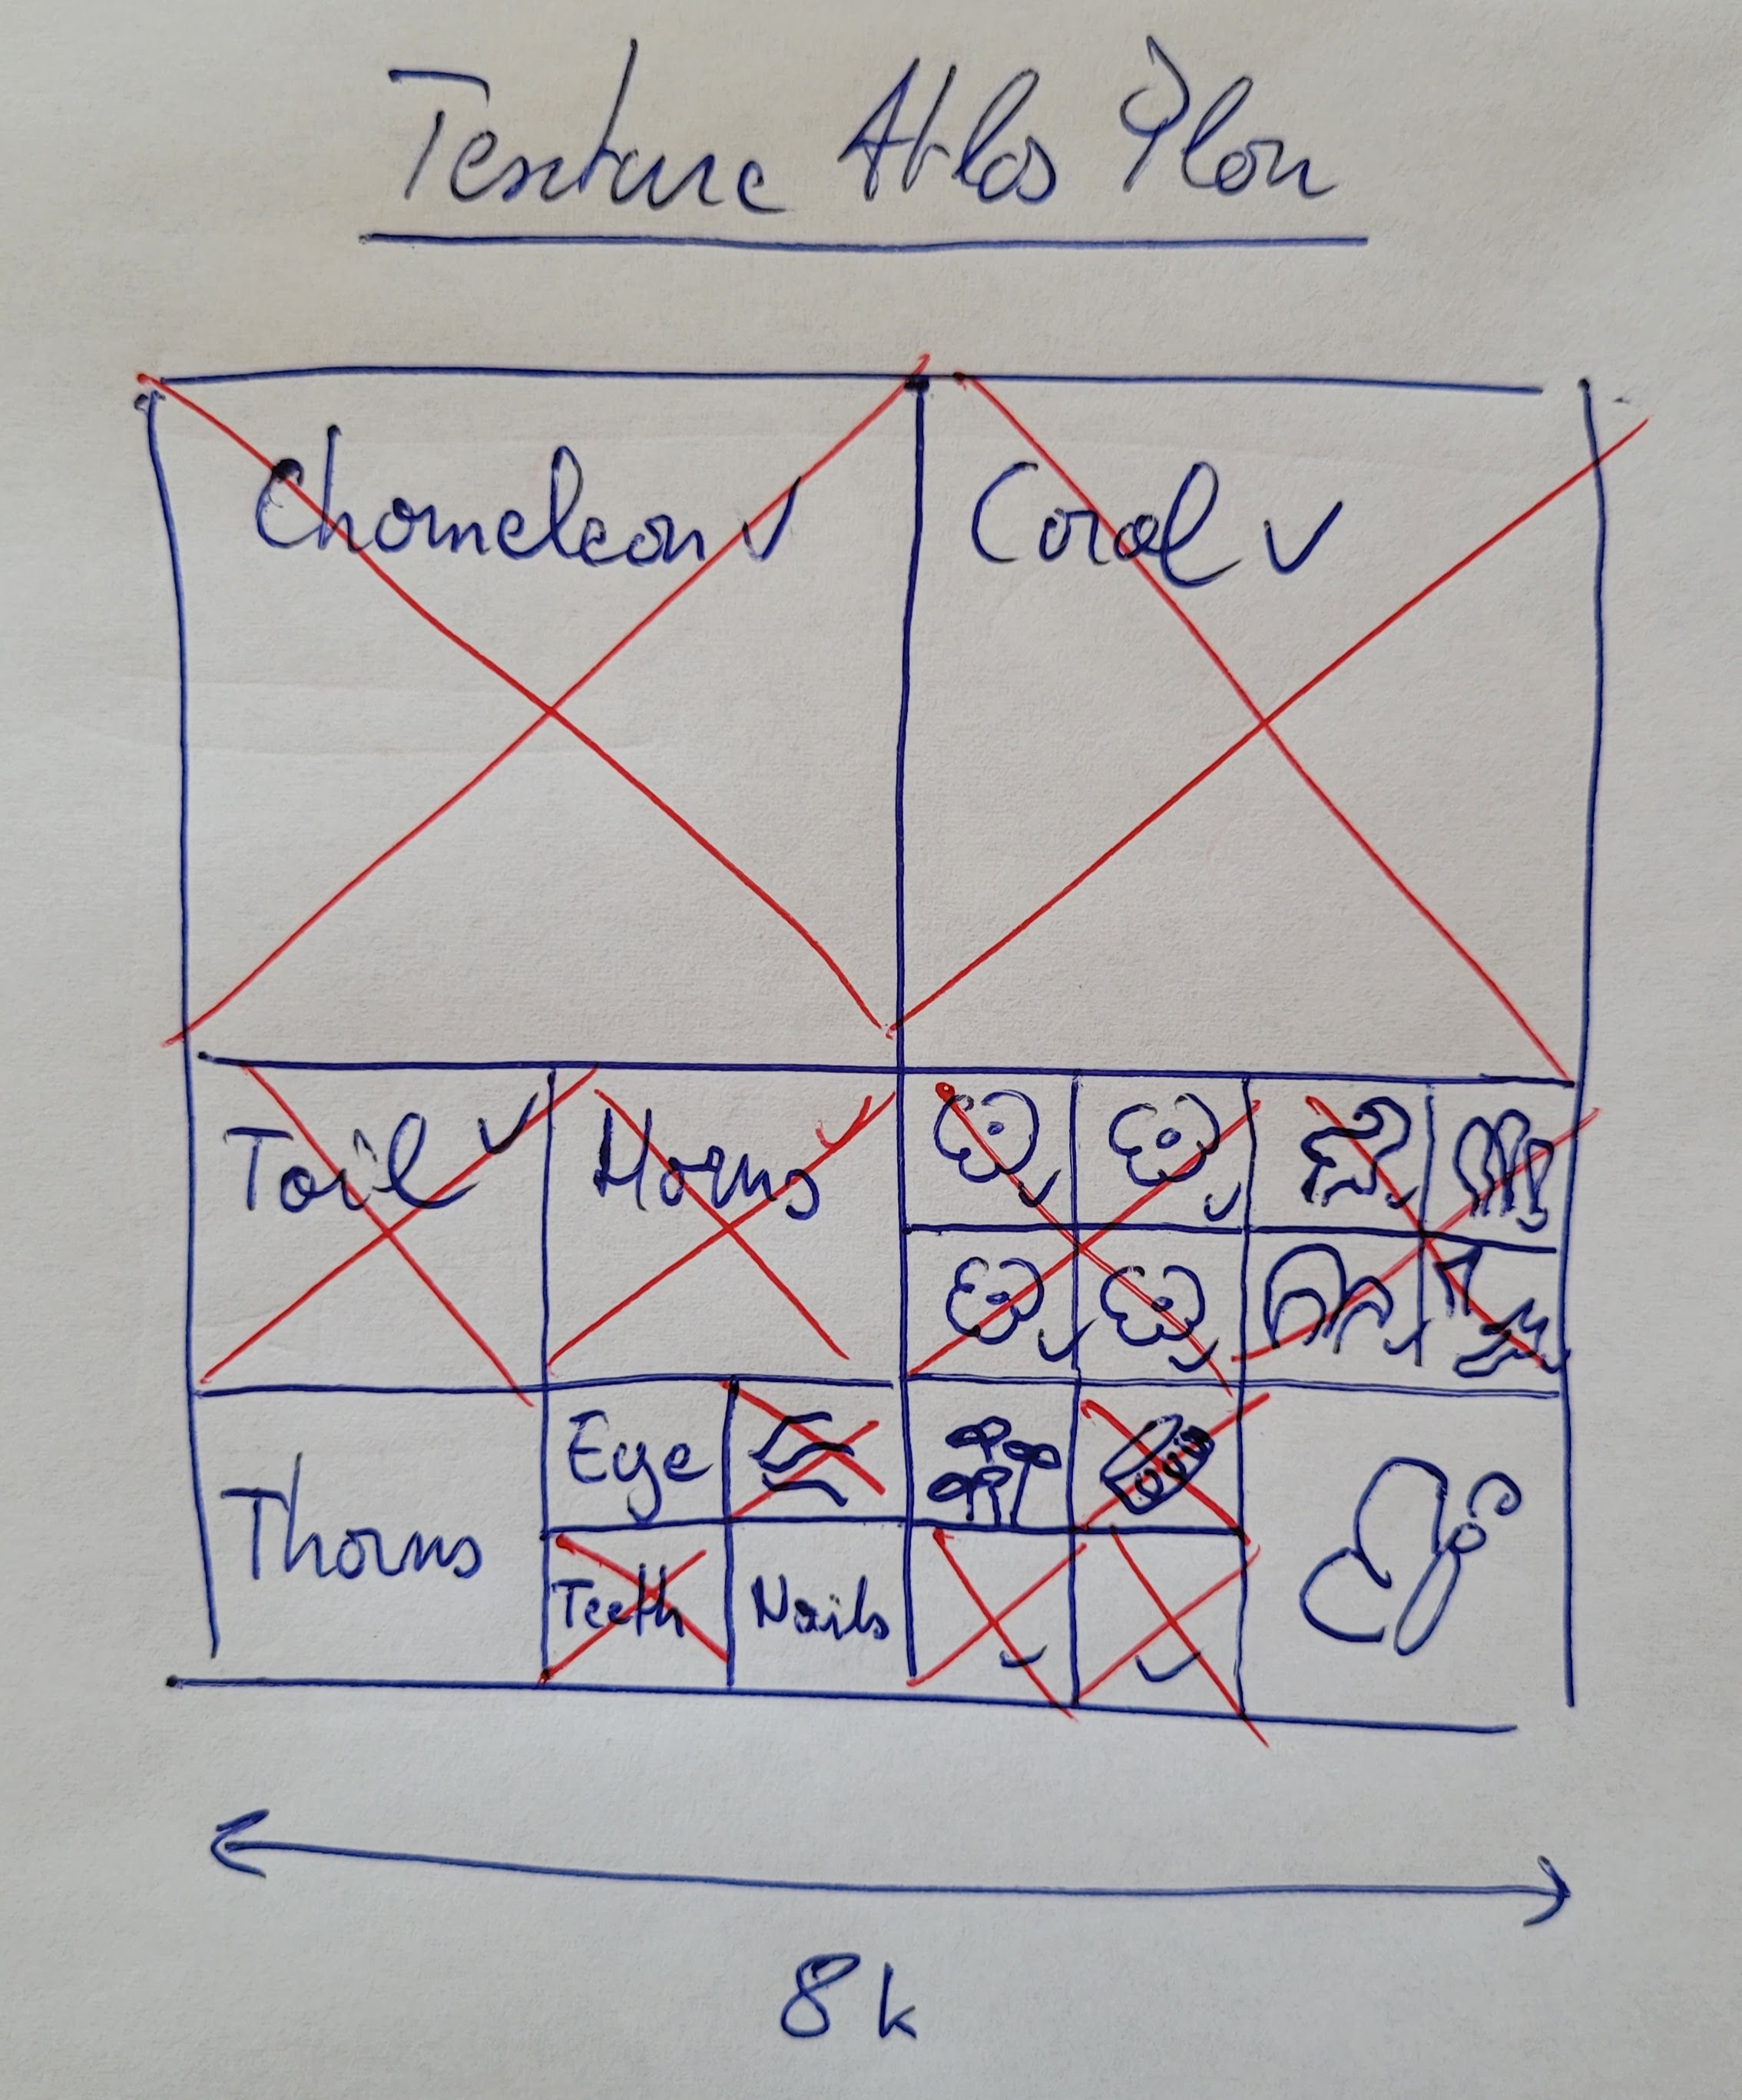
I baked everything!!! ![]()
![]()
![]()
That’s an Eevee render below, I’m not too dissatisfied. Some further tweaking, and time to go to sketchfab!
Oh… And compiling everything into a single material too ![]()
6 Likes
That’s nice to see it move real time, I admit…
1 Like
A thing that this challenge made me (re)appreciate is just how much fun and satisfying Eevee is!
1 Like
You’ve been selected to take part in the next season of The Great ̶B̶r̶i̶t̶i̶s̶h̶ Blender Bake Off
2 Likes