Hi all,
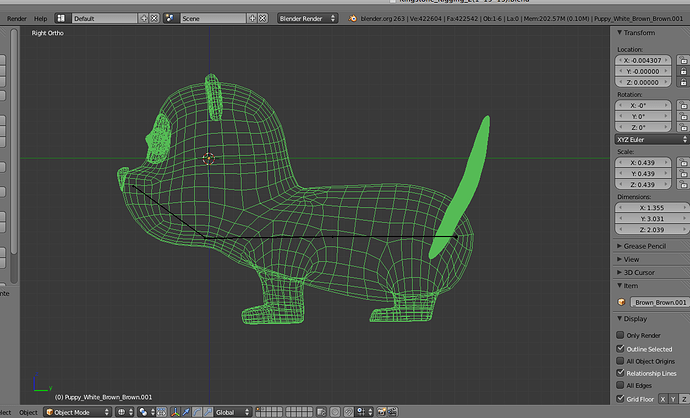
I have been posting about a blend of a puppy that I am working on lately. I have a mesh that I downloaded and one that I sculpted from a basic cube. In the photo there is the puppy in profile.
t therear isthe tail that I sculpted. I have joined the two meshes and while the main body is fairly easy to rig and animate, the tail is nearly to deform when there is a bone attached to it. I think that this is because of the amount of polygons that make up the shape having subdivided the cube so many times to make the tail smooth. I have tried to use weight paint but this almost freezes my computer when trying to do this…
Is there a way that I can keep this tail and use weight paint. If not, what sculpting methods work best for rigging?
Any help is appreciated. All the best,
B

