Hmm, just a guess (since no one else has answered) - but maybe you could use a stretch bone to give the stretch part then use the moving box to drive a shape key to make the tube fat and skinny.
The only problem I can forsee is that this isn’t really based on how far apart the boxes are, but more on the location of one box so the object would need to essentially stay in one place.
You can use the Bone’s SizeY as a driver for the tube but I’m not sure how you’d also move the boxes the wat you wan to.
(I’m just thinking out loud here)
I just made a simple setup that heads in the right direction - but it isn’t perfect.
Make a shape key with the tube. The basis is undeformed (or maybe short & fat), Key 1 is stretched and skinny (stretch only one way, eg to the right). Add a bone and make this bone (Ob: Armature, BO: Bone) a driver for the tube’s Shape Key (Key 1). Use the bone’s Pose > Size Y as the Driver Channel.
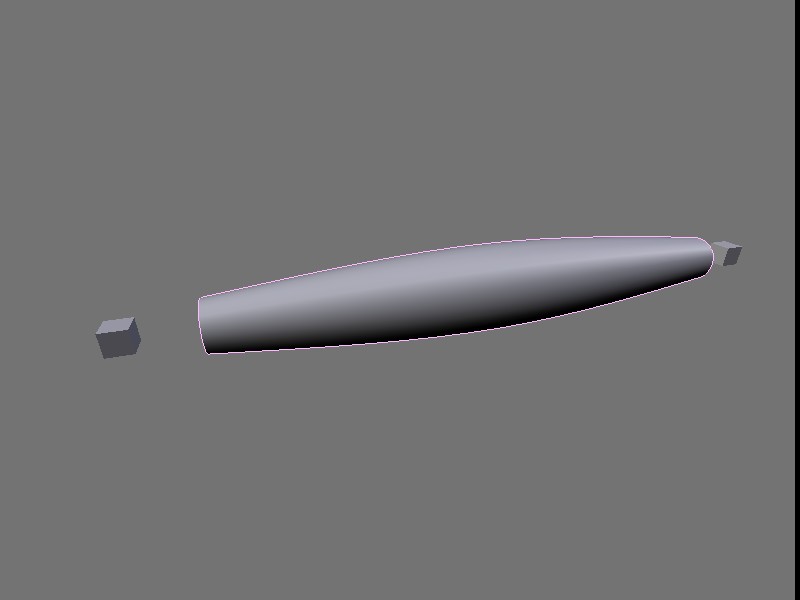
Make a cube at each end (or sphere or whatever.). Put the first cube on the left and the second cube on the right end of the tube (this is just because we’ll be moving the second cube and we want the stretched shape we made earlier to go in the same direction) Parent Cube.001 and the tube and the bone to Cube. Cube.001 will be used to drive the bone’s size Y IPO while Cube can be used to move the whole setup.
Select the bone, go into it’s IPO > Pose Channel. Select SizeY from the IPO channels list then make Cube.001 a driver using LocX as the Driver Channel. You’ll probably have to make a curve for the bone (press I > Size in the 3D window in pose mode then give the curve a linear slope in the IPO window. Adjust the slope to alter the rate of stretch as the cube moves.)
Now, when you move Cube sideways, the bone will stretch and as the bone stretches, it drives the tube’s shape key, making it longer and skinnier.
It’s rough but might be a starting point or might give you (or someone else) other ideas.
I can’t upload from here but if none of this makes sense I’ll see if I can upload a blend file from home later.
BTW, this probably should have been asked in the Animation forum.