
Step1
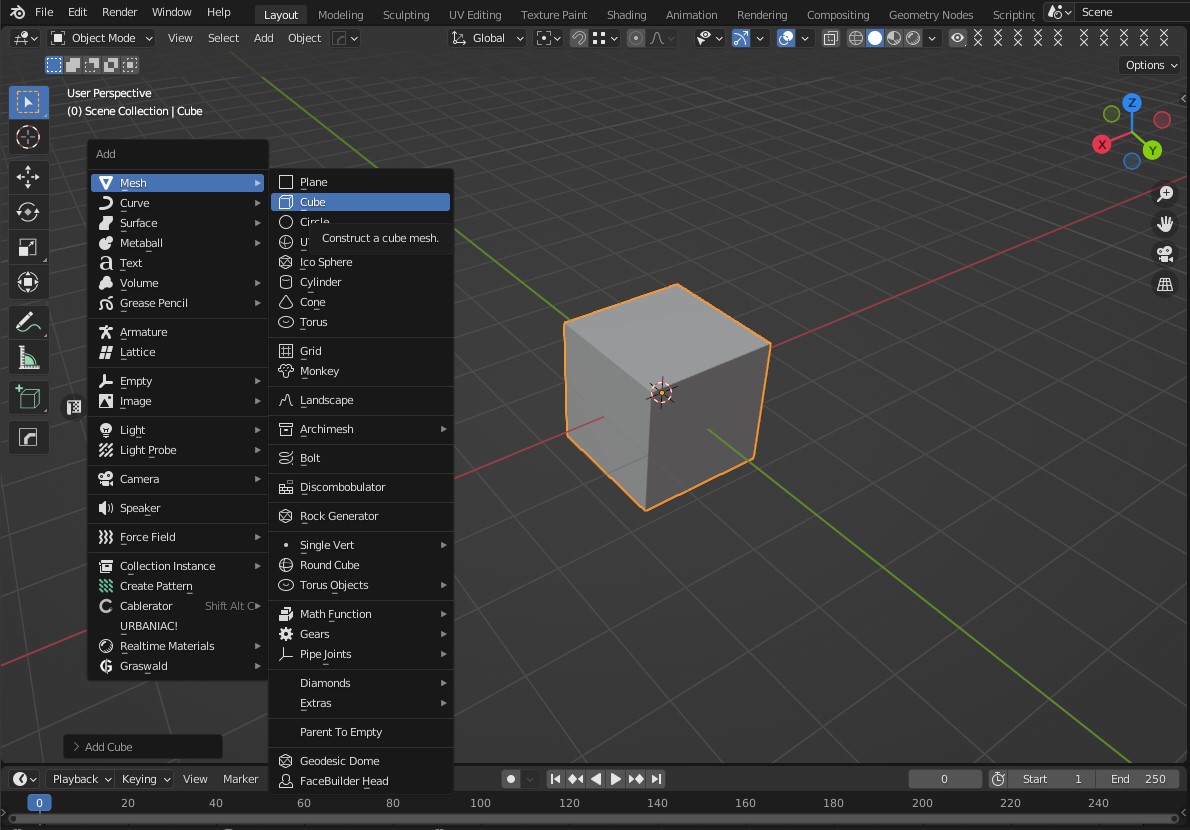
In the first step, we need a cube, but instead of making the cube from different faces, it is much easier to create the cube in the Blender space by pressing the combination key Shift + A and in the mesh section, the cube option and in the workspace, The cube is created in the center of the Blender and is ready for you to easily create the cube with its different parts. Work with parts and faces as vertices and transform it into different volumes. Apart from the cube, you can use other ready-made meshes and modify them. But in this tutorial I will use the cube.
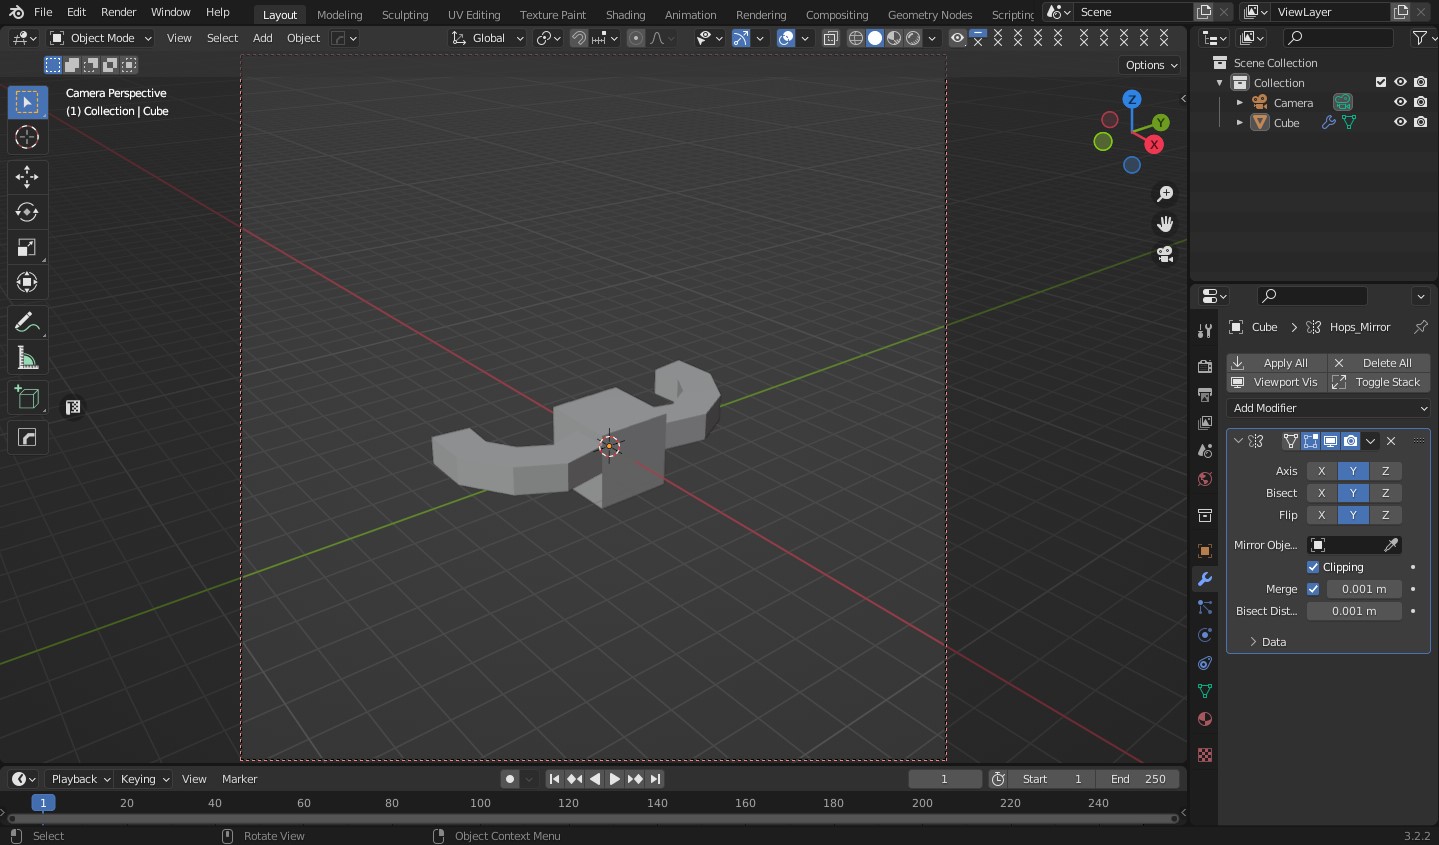
Step2
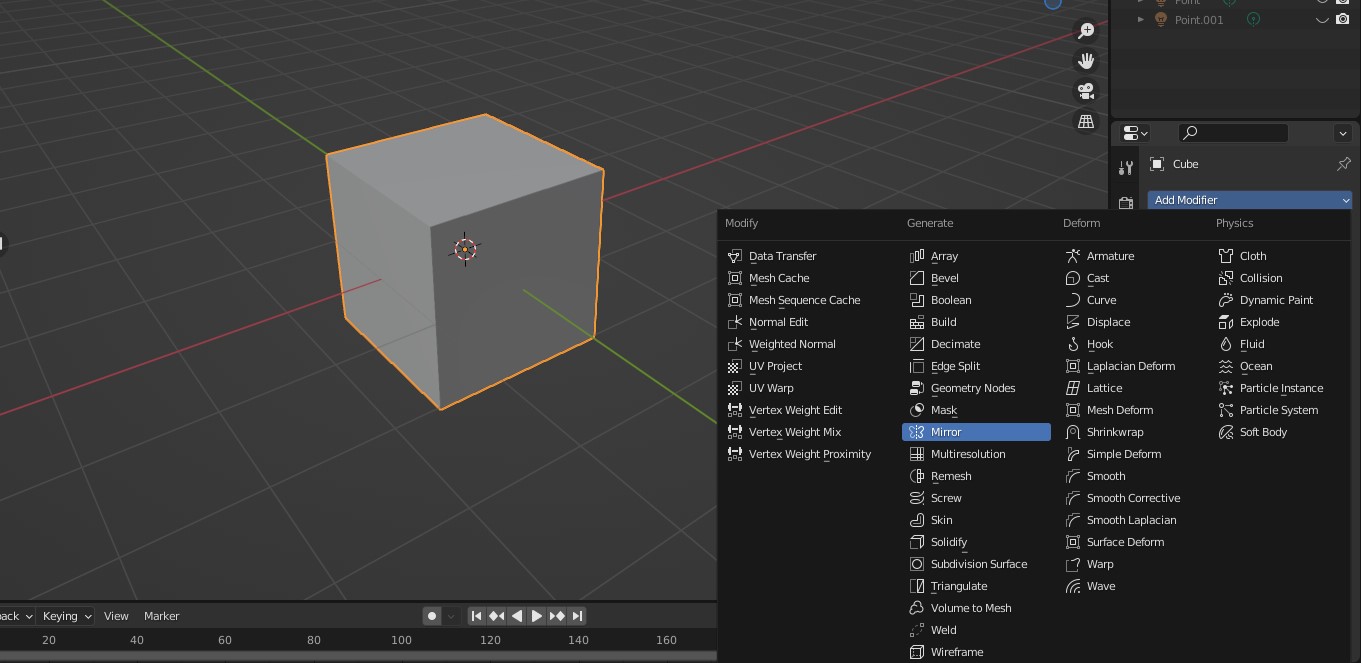
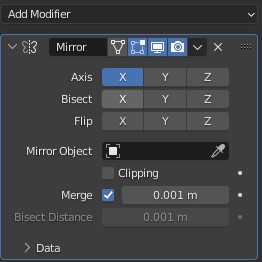
At this stage, we should use the mirror option to make changes and build the character very easily and quickly. This step is very easy to do. Select the cube and select the mirror option in the add modifier section. In the mirror settings in the Axis section, select the X option so that any changes we make in one half of the cube will also be made in the other half of the cube. If you want to use the mirror in other coordinate axes, you can select other axes from the Axis field. Do the same as the axis X - Y - Z
Step3
In this step, which is very important, we must select the cube and select the tab key to enter the edit mode and select the number 3 key to change the faces of the cube so that we can access the space to access the faces. From the cube, we start the changes at this stage. At this point, I thought it would be simpler and neater to start with cubic faces, so that I could have more regular vertices, segments, and quadrilateral faces. As I started to build ideas in my head, I realized that my cube had a lot of sharp and broken corners.
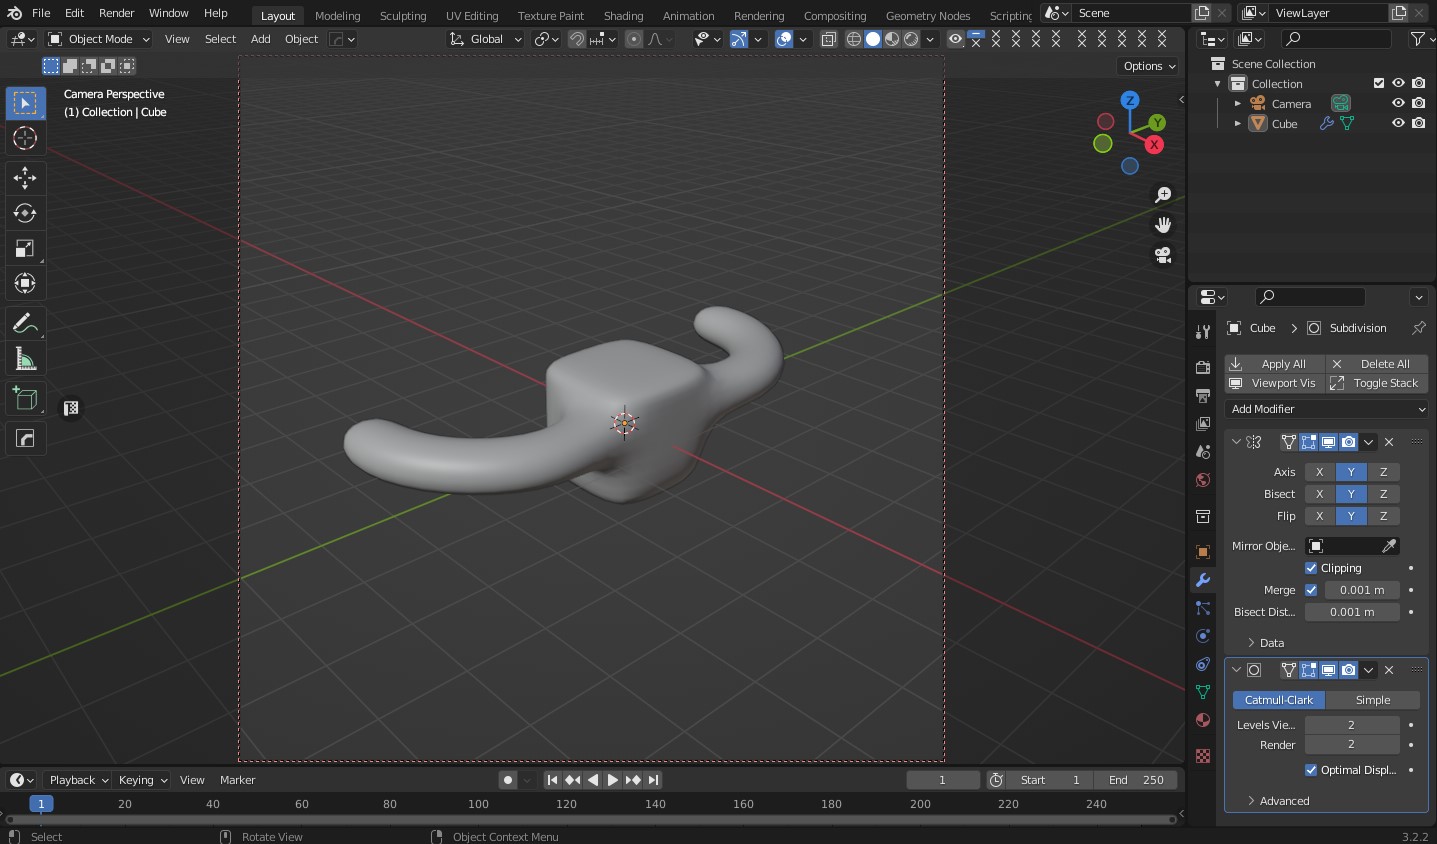
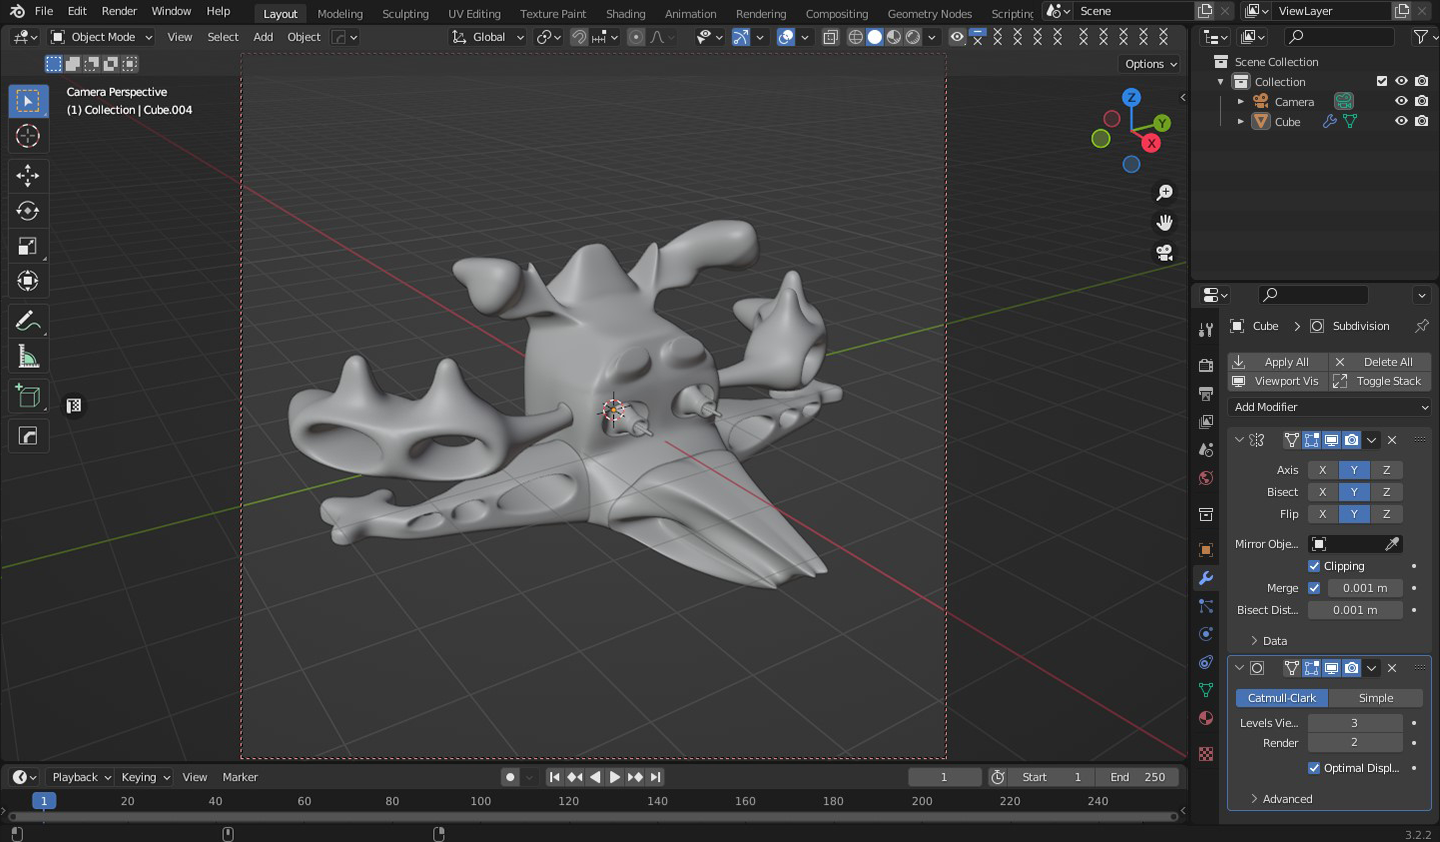
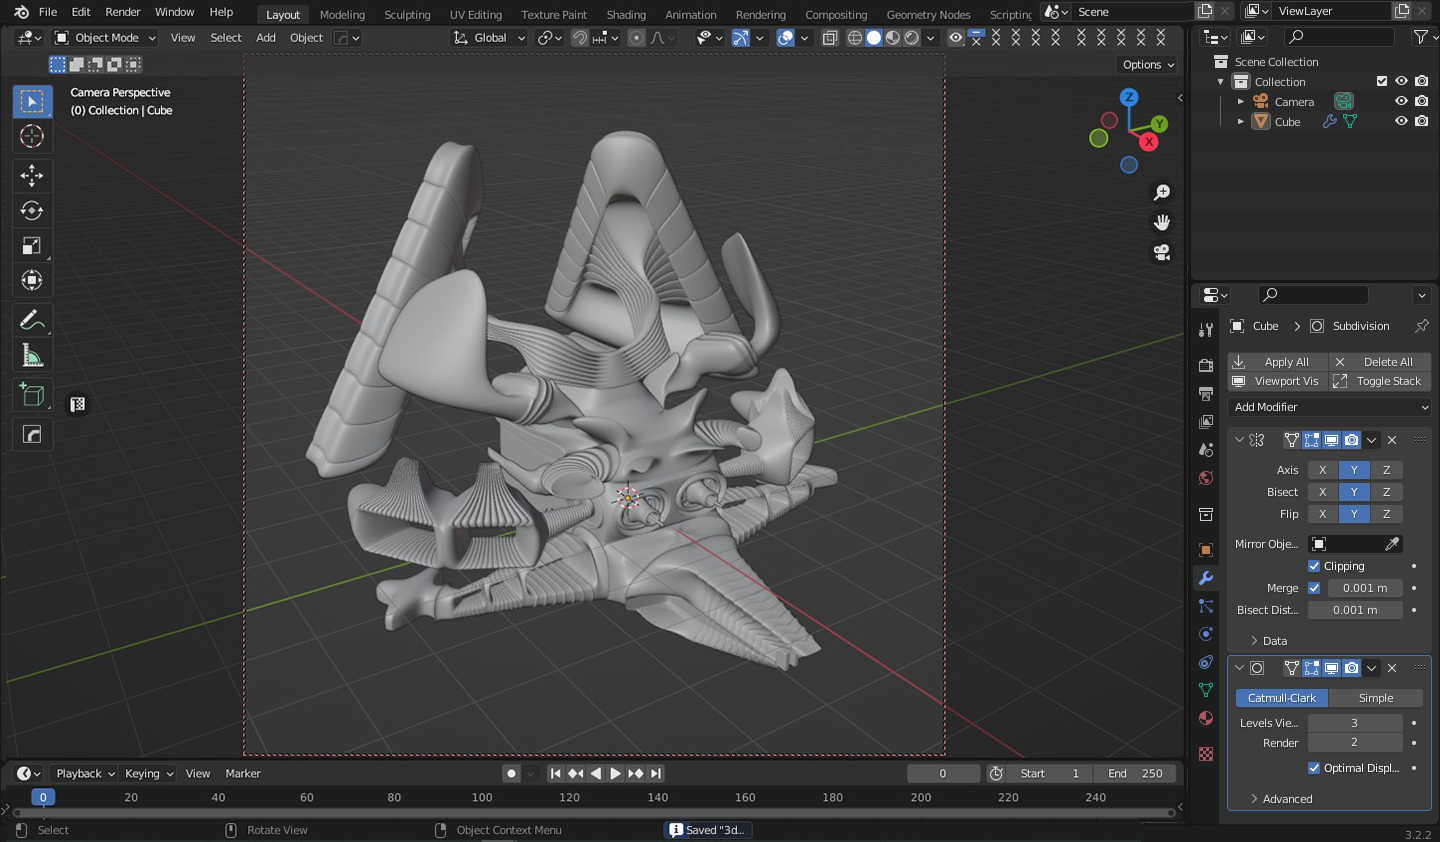
Step4
In this step, we need to soften the cube to have a smooth cube with smooth and uniform angles. To smooth the surface of the cube, select the cube and apply the subdivision surface option in the add modifier section and set the value of the Viewport Levels option to 3, then select the cube and right-click and select the shade smooth option to create . . Now our cube is softened and ready to make some changes and transform the cube into the idea I have in my mind, which is the flying wolf’s ligament.


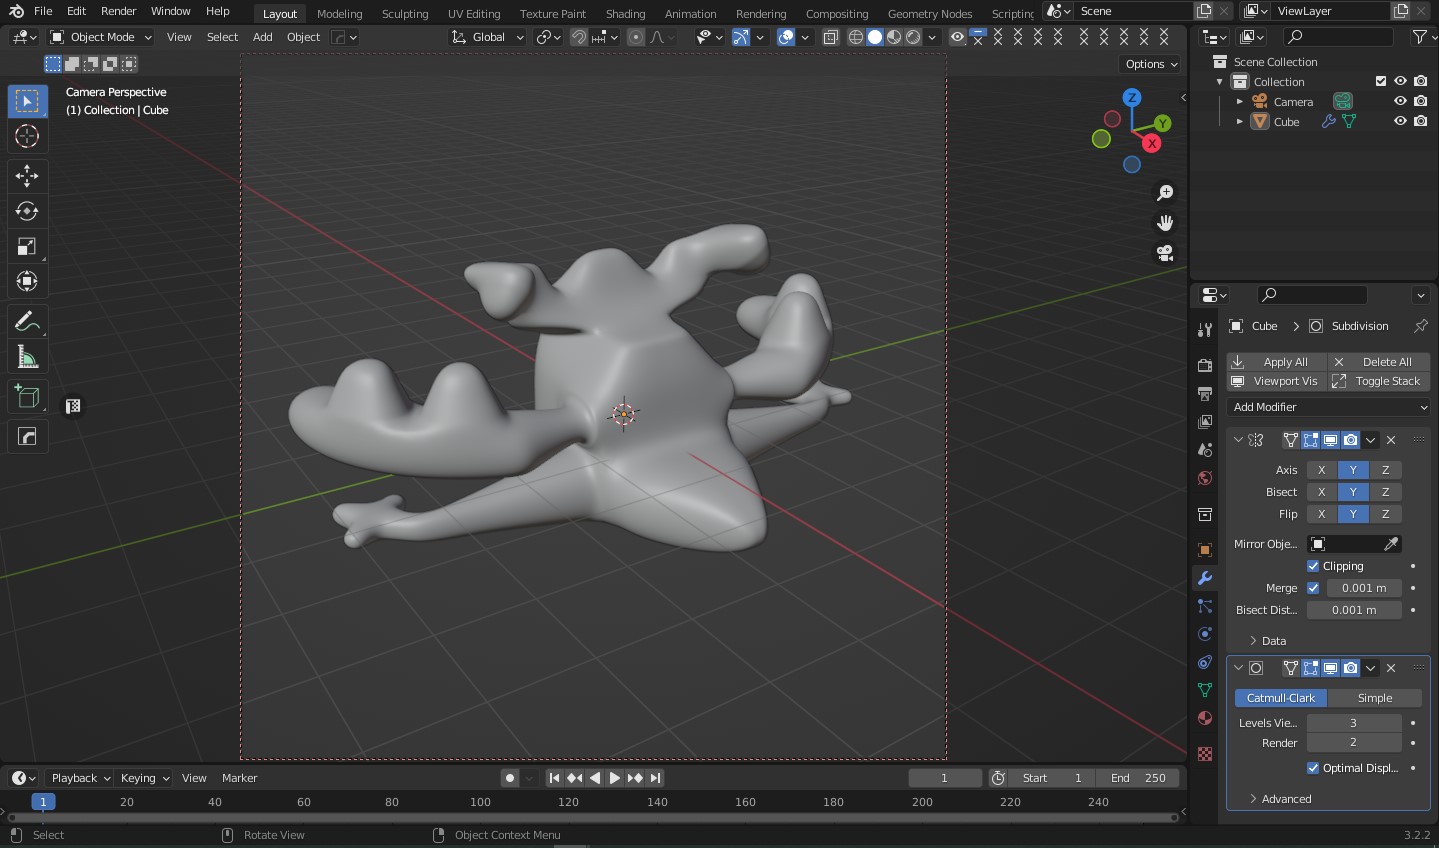
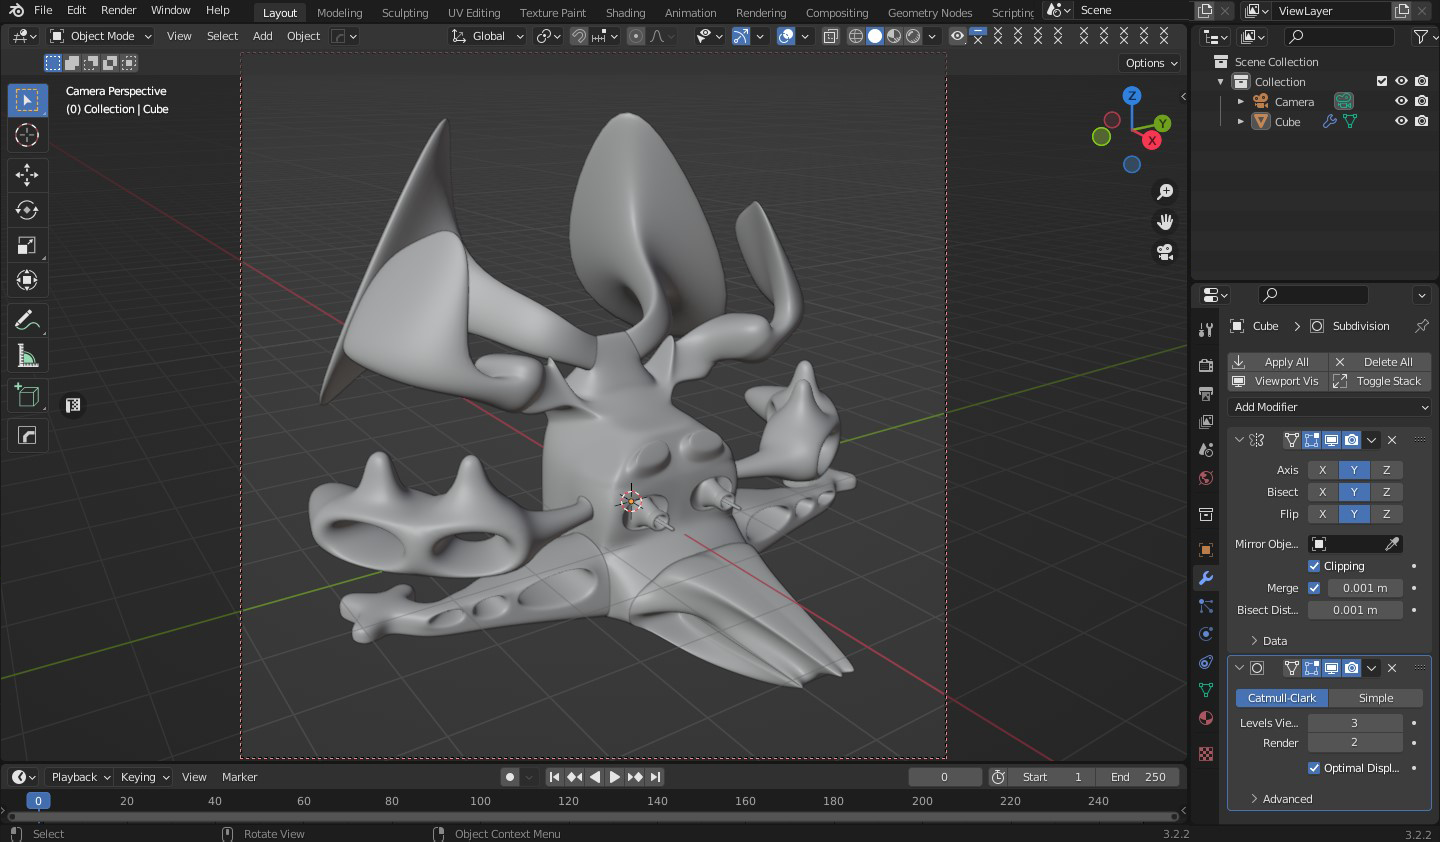
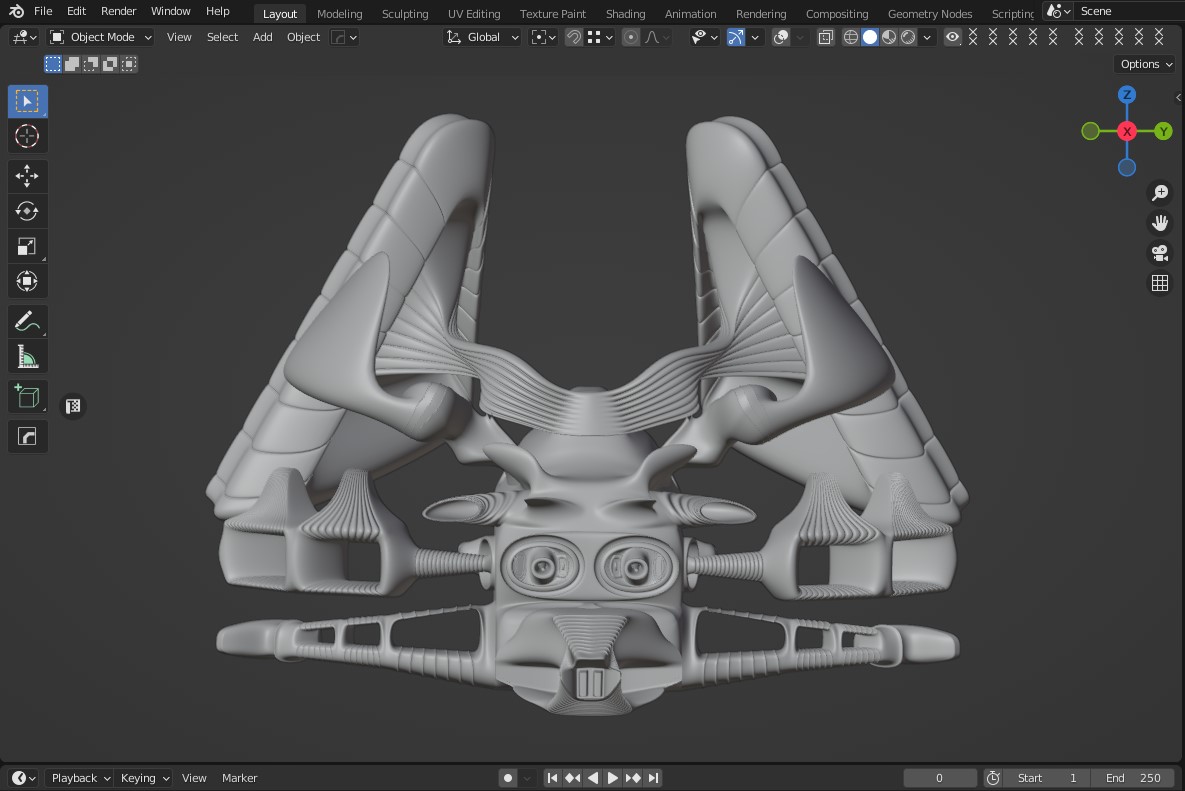
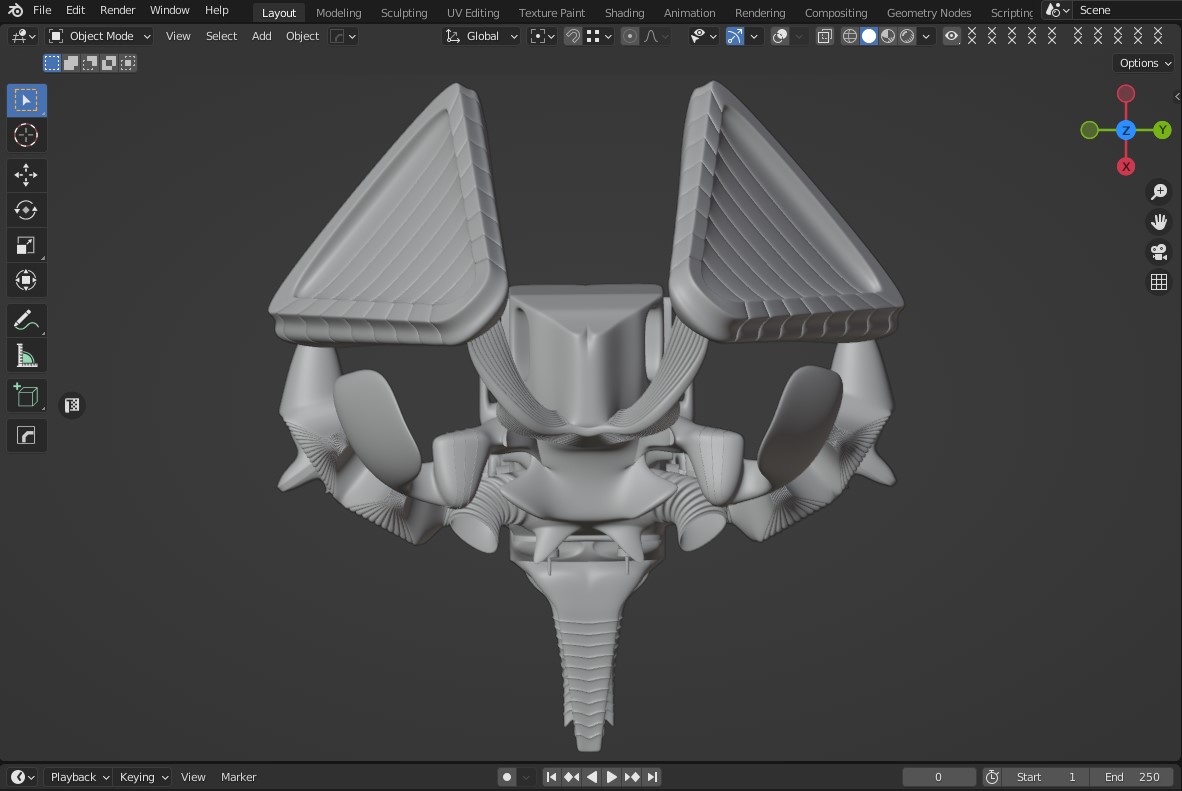
Step5
At this point, our main work begins, we have to play with the faces of the cube to transform the cube into the idea of my mind, which is the flying wolf’s ligament. This step is very attractive and interesting and of course full of modeling tips to get quadrilateral cube faces so that we can easily open the cube created by our mind so that we can easily and cleanly attribute the materials to our model. At this stage, no matter how many changes we make, we must save the file and have a backup of the file so that in case the software crashes, we can open the file again from the beginning of the stage and start continuing our work.
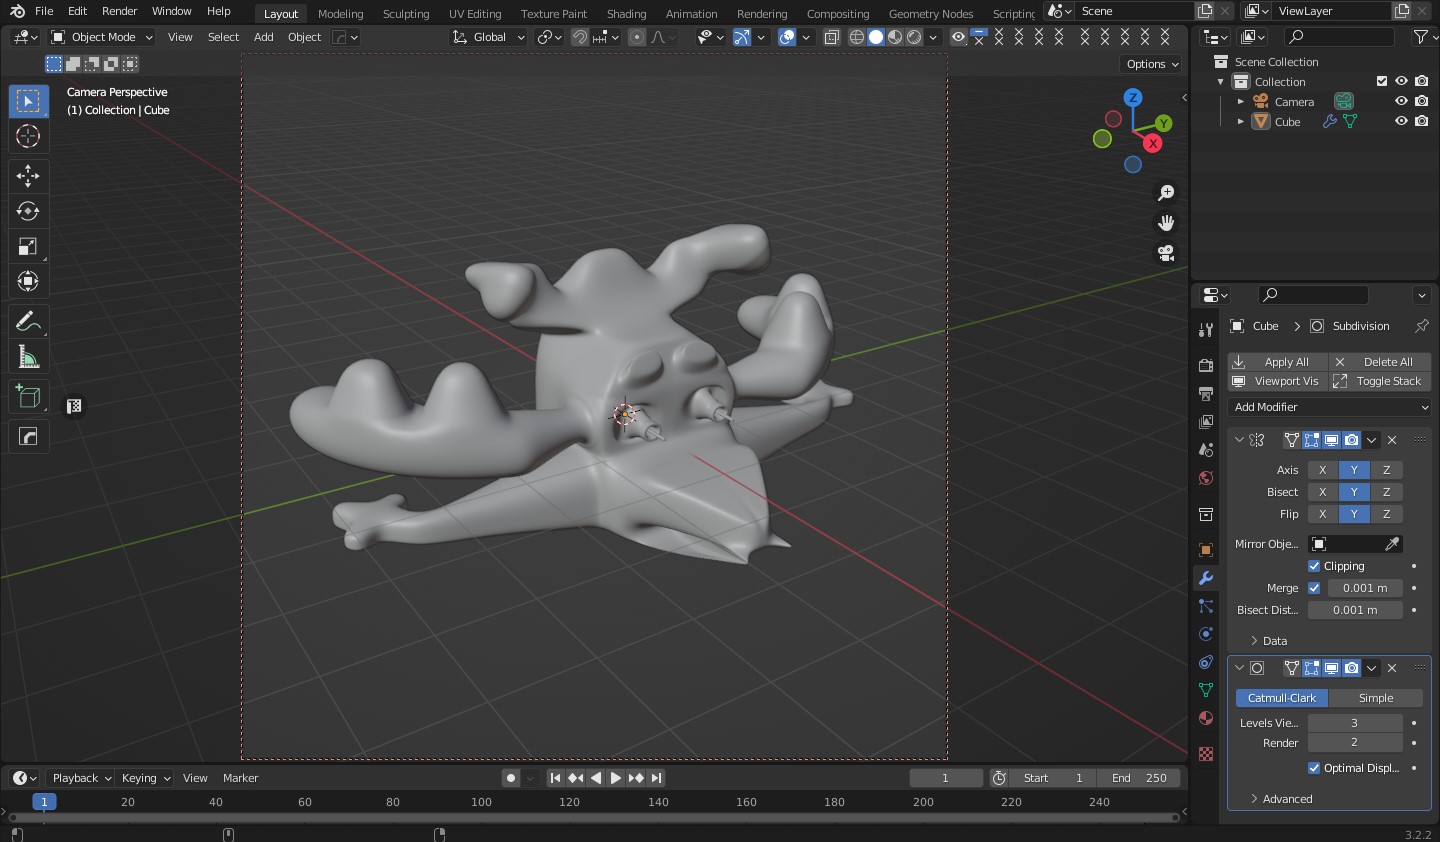
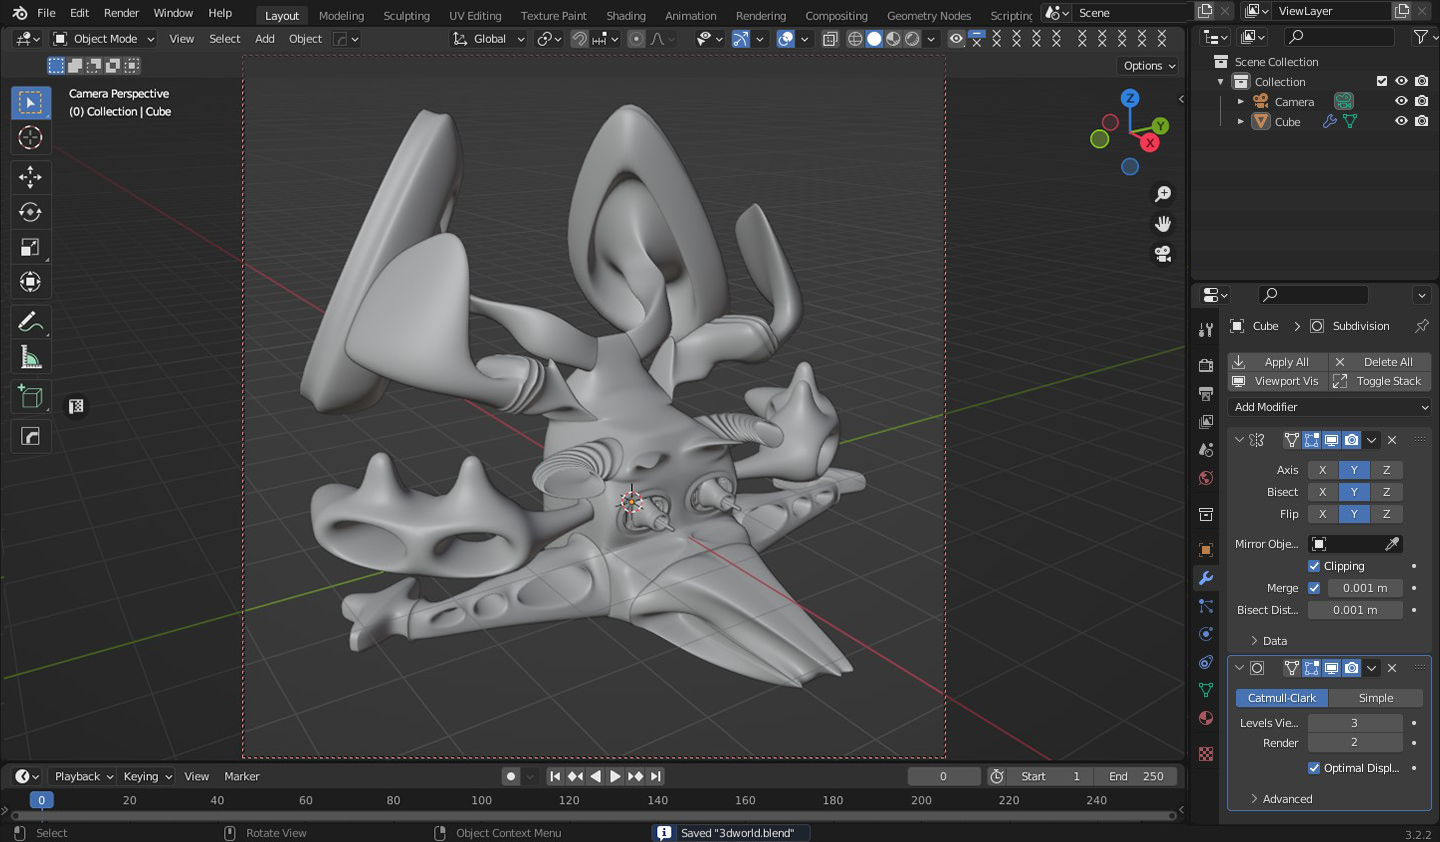
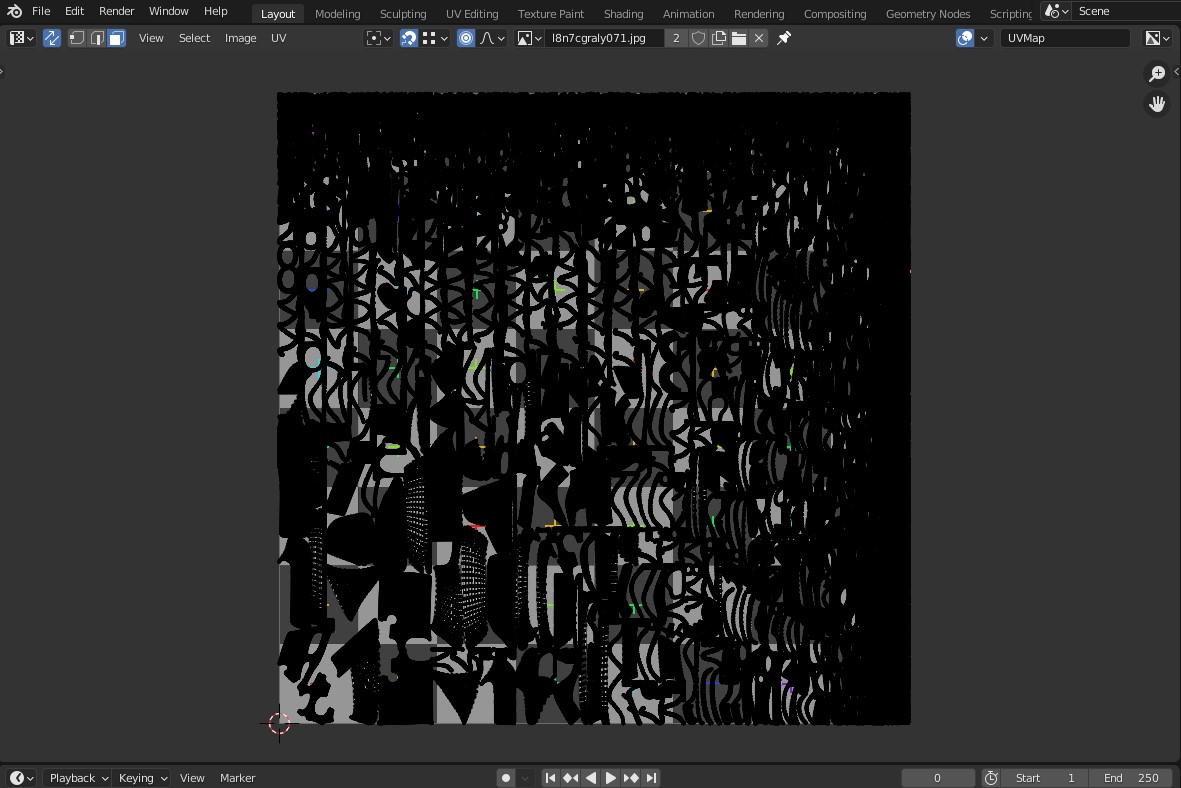
Step6
At this stage, we must carefully and correctly perform the opening process so that the materials are properly and cleanly placed on the model. First, we open the curved and complex parts, then we open the simple parts. Maybe this step takes a lot of time, but it can have a good effect on the material, which is very important, and my advice to you is to make sure you spend time on this step and carefully and cleanly open it before the next step, which is applying the material. Do it easily and correctly and attractively.

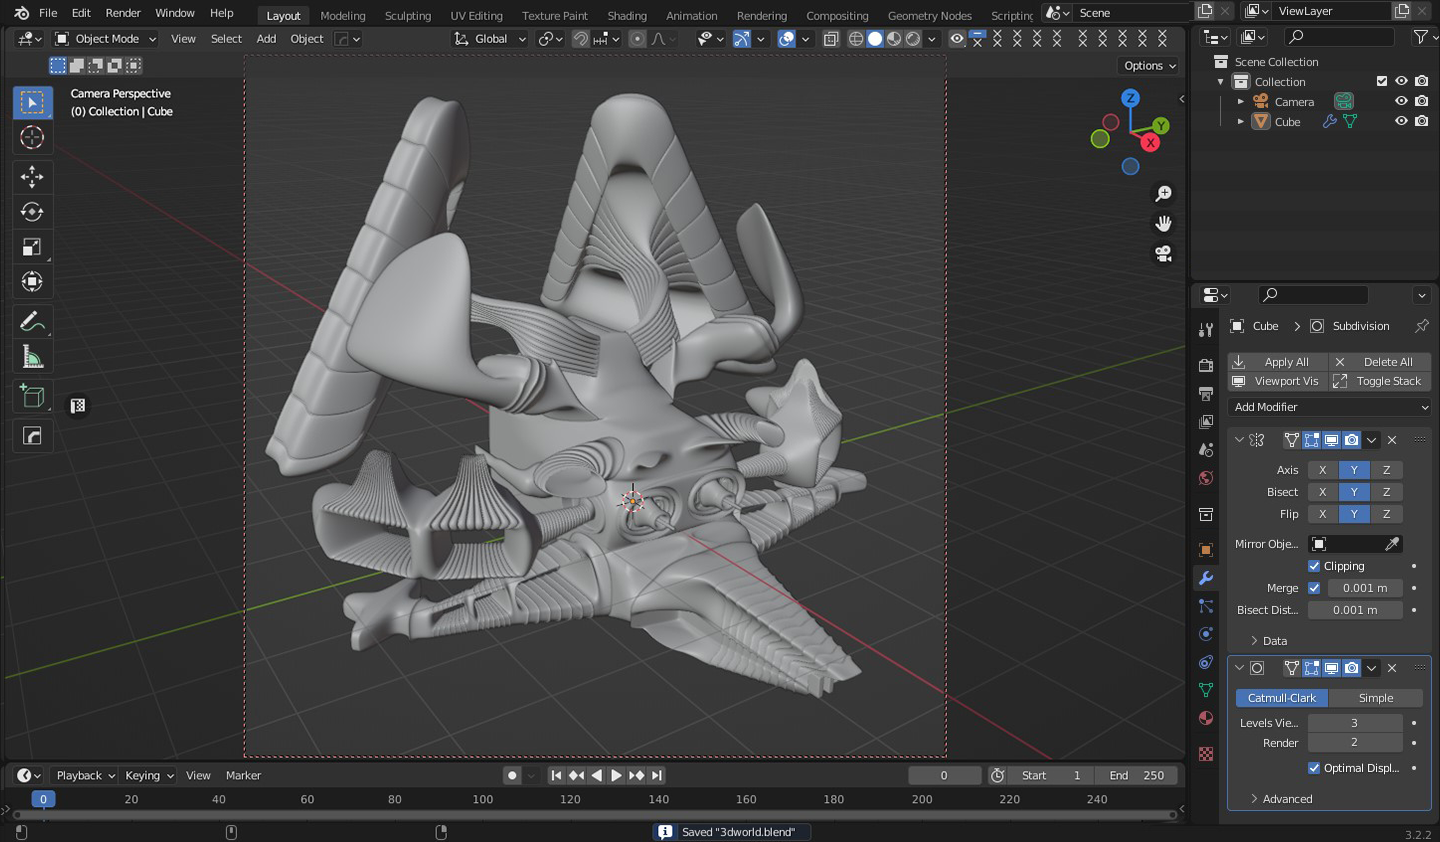
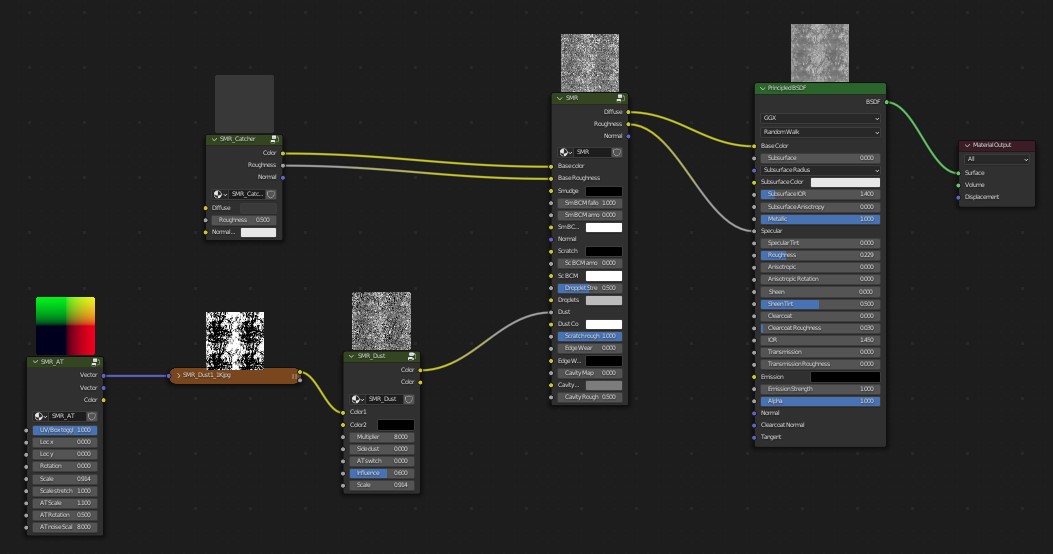
Step7
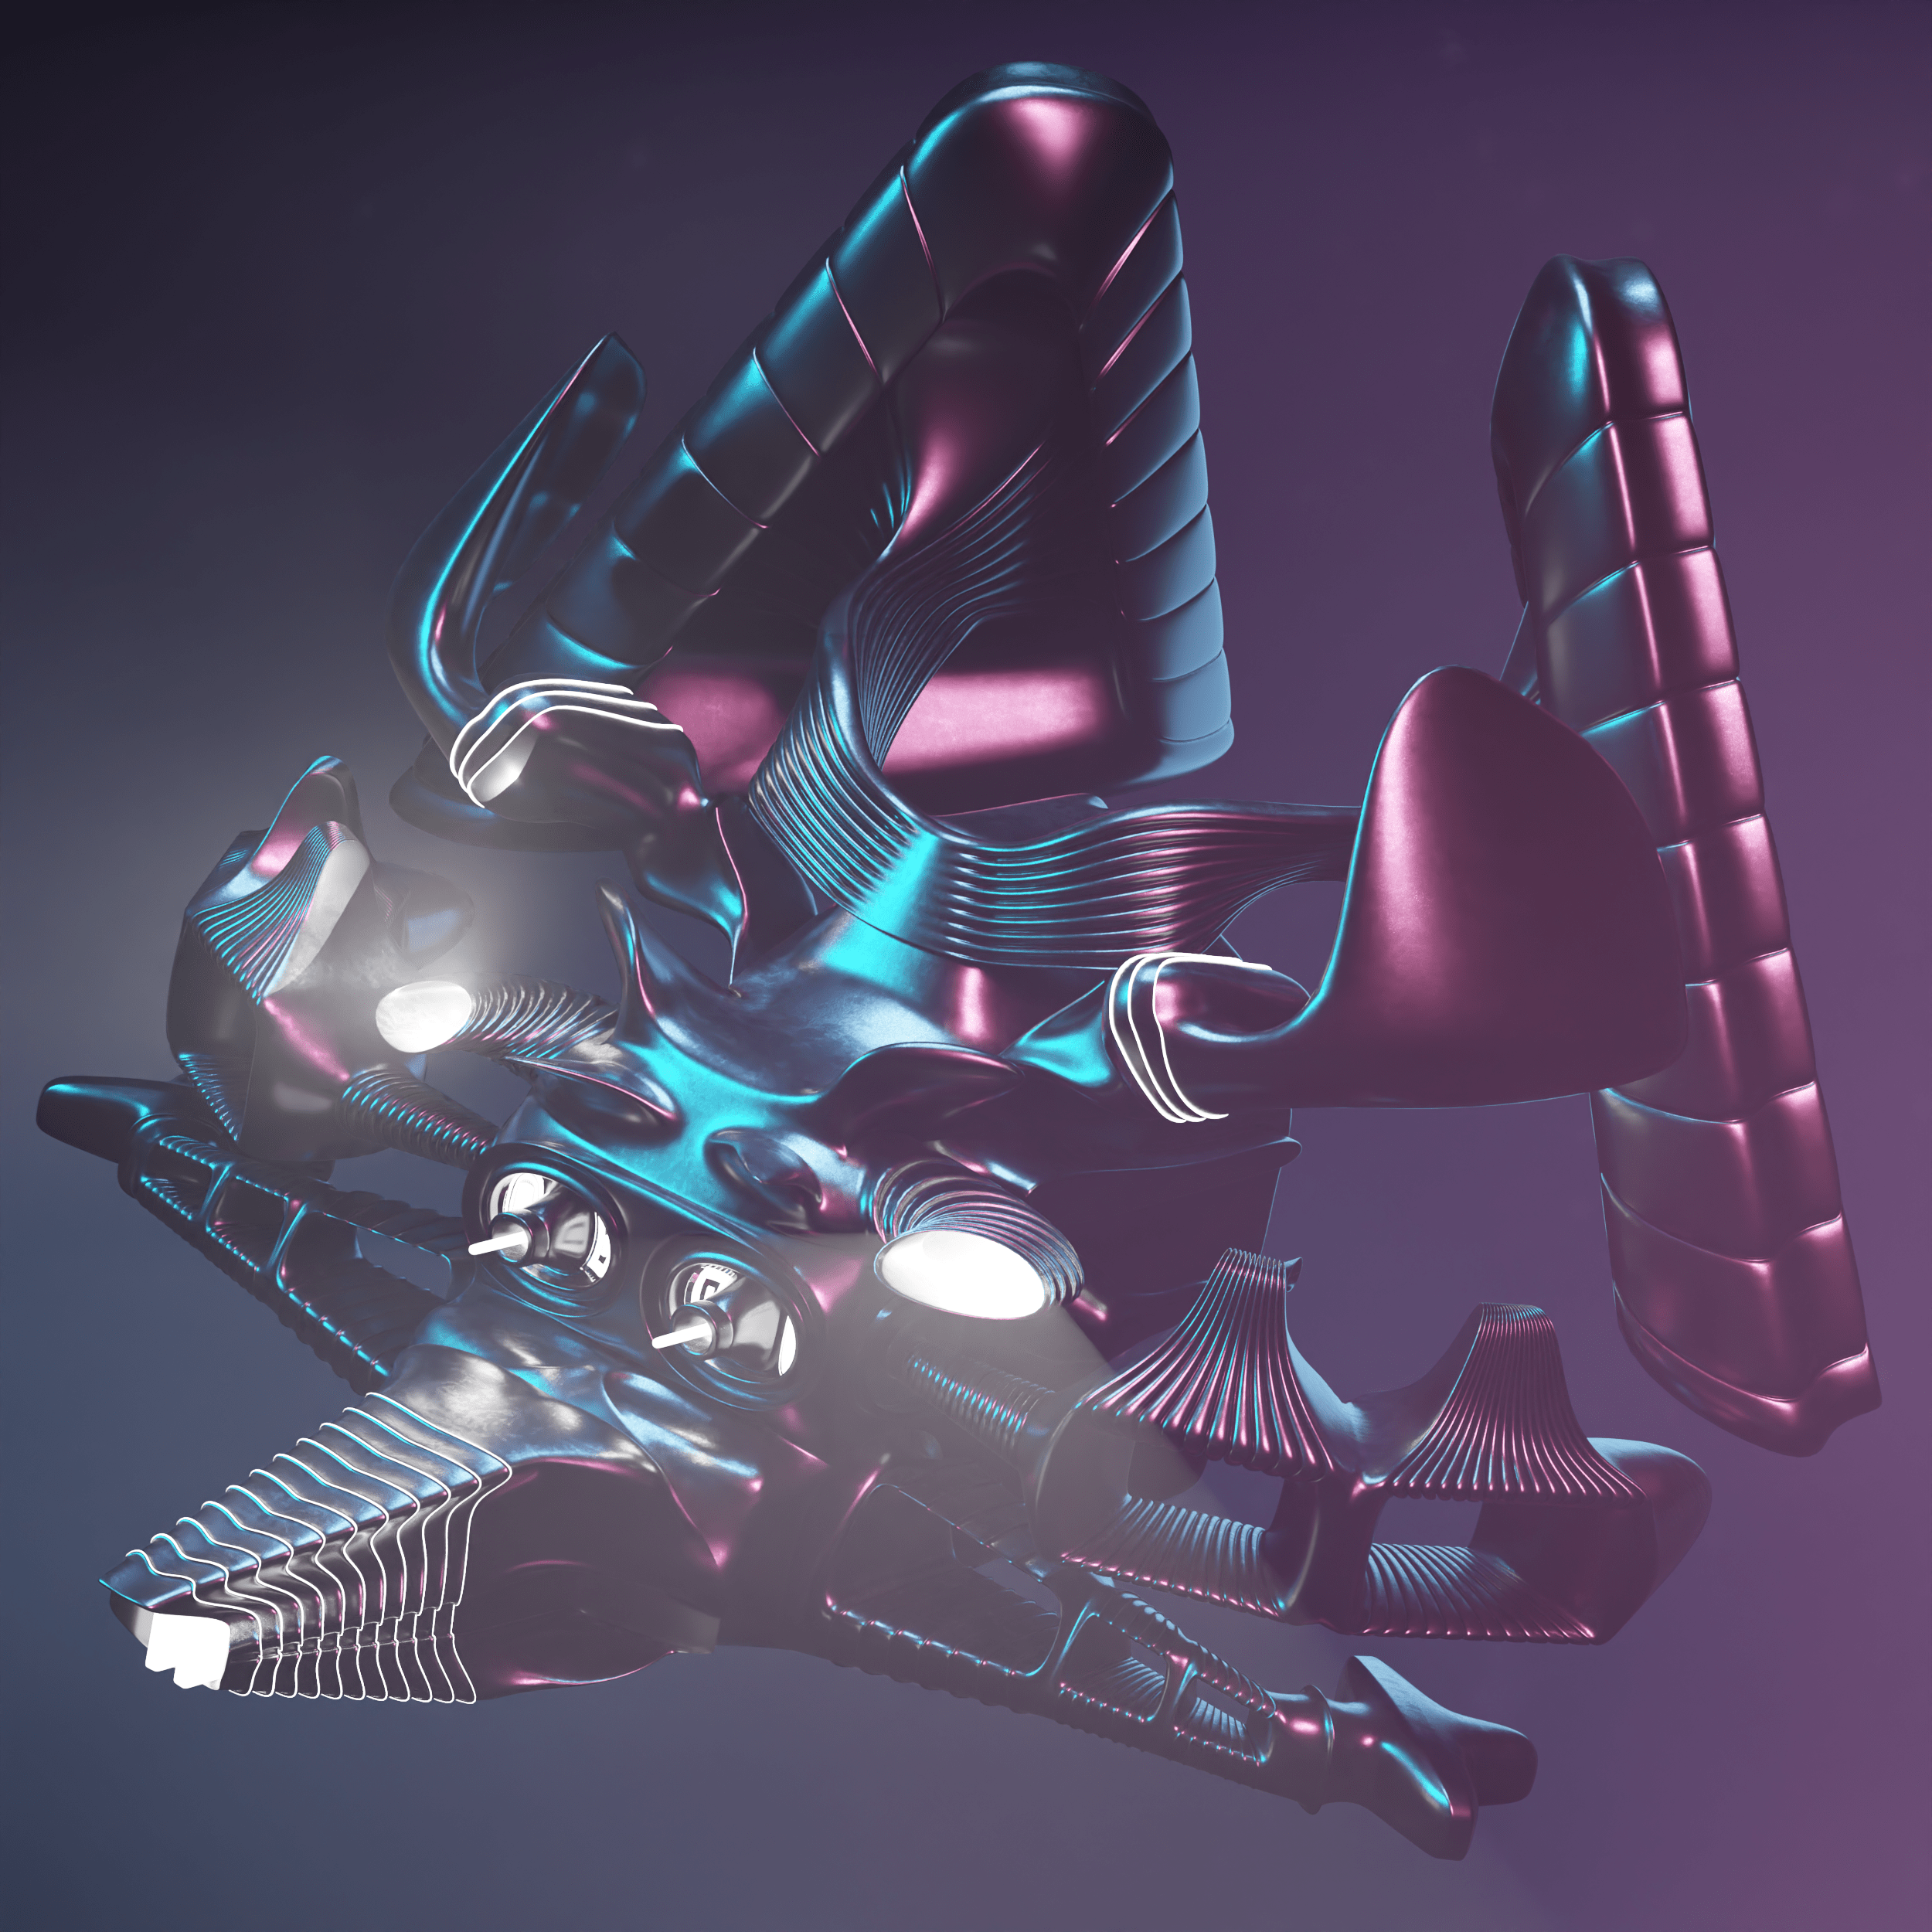
At this stage, for the model, I tried to make materials that have lines and scratches, because my idea was the character of Rabat Greg in flight, and I used metal.
Here, the amount of reflection in the metal of the band is very important because if we use a metal with high reflection, it means that the band is newly made and the metal is new and fresh.
So I use metal almost without reflection to say that this ligament is not made new and works almost as well.
Step8
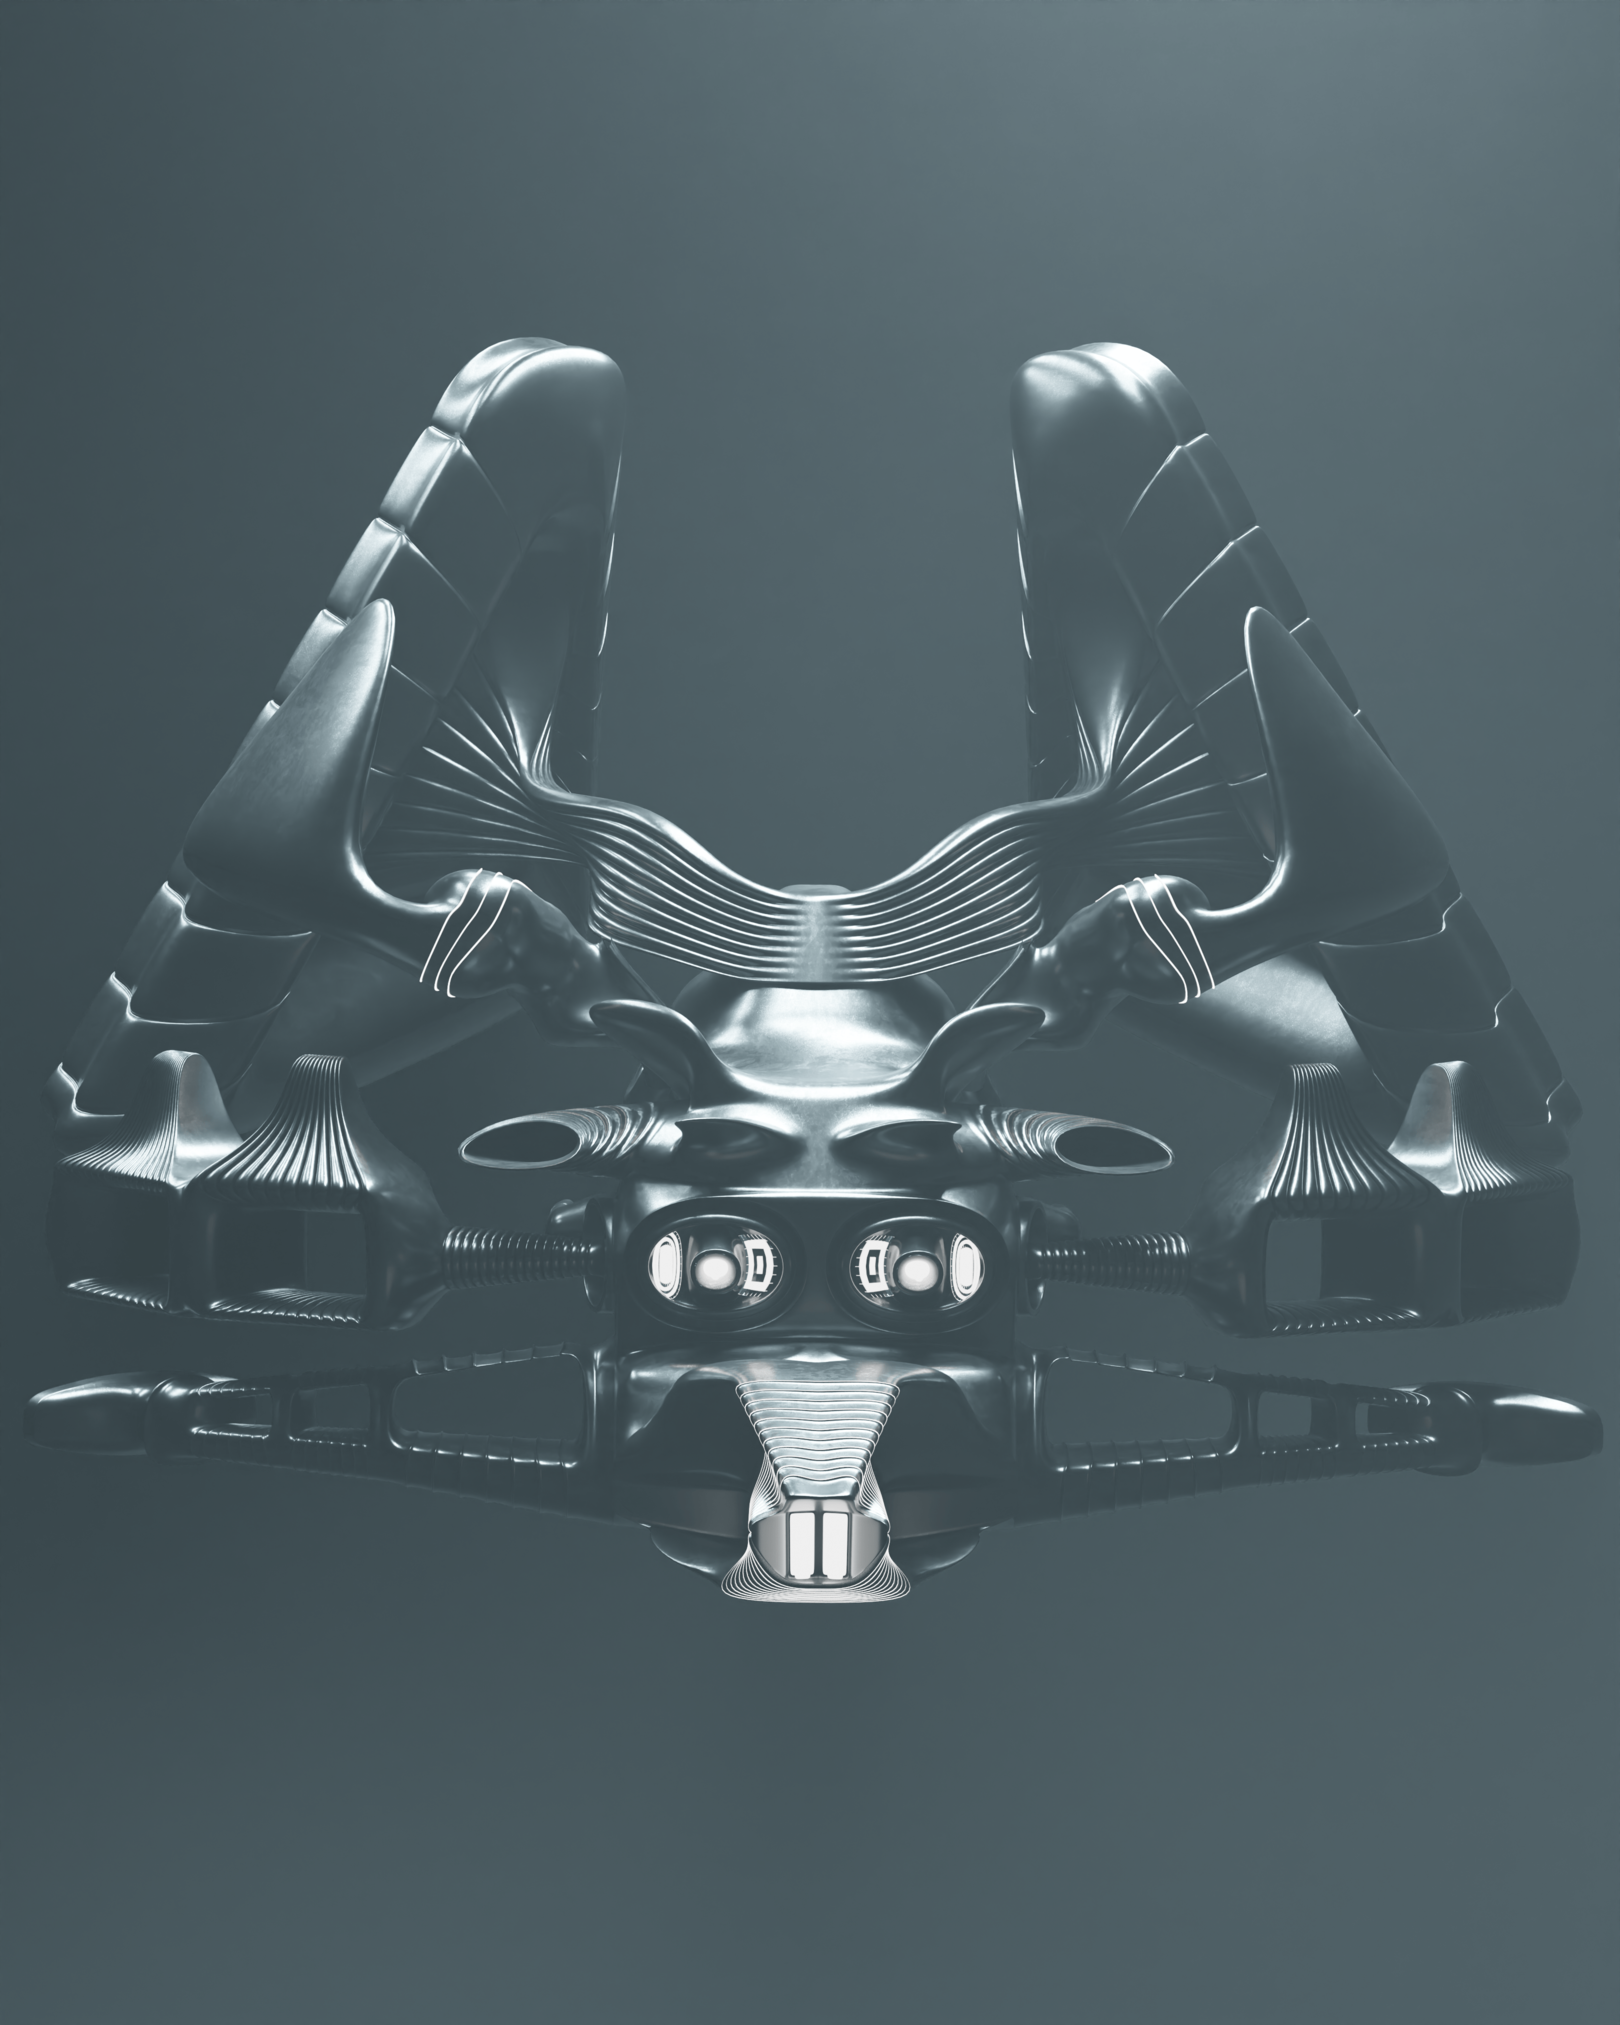
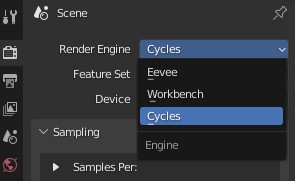
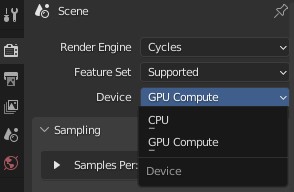
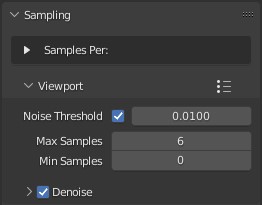
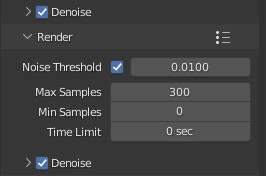
First, in the rendering engine settings section, we set the rendering engine to cycle for better quality. Then, in the device section, select the GPU Compute option. In order to enjoy a faster result in the viewport, we set the max sample option to 6 in the sampling section and the viewport section. Of course, the lower the max sample number, the faster the viewport results will be, with less accuracy.For the final rendering settings, in the rendering section, I set the Max Sample option to 300. Of course, the lower the number, the lower the rendering quality, and the higher the value, the higher the rendering quality. According to the experiences, the Max Sample number should be determined, and for this scene, I set the number to 300. I took into account.
Step9
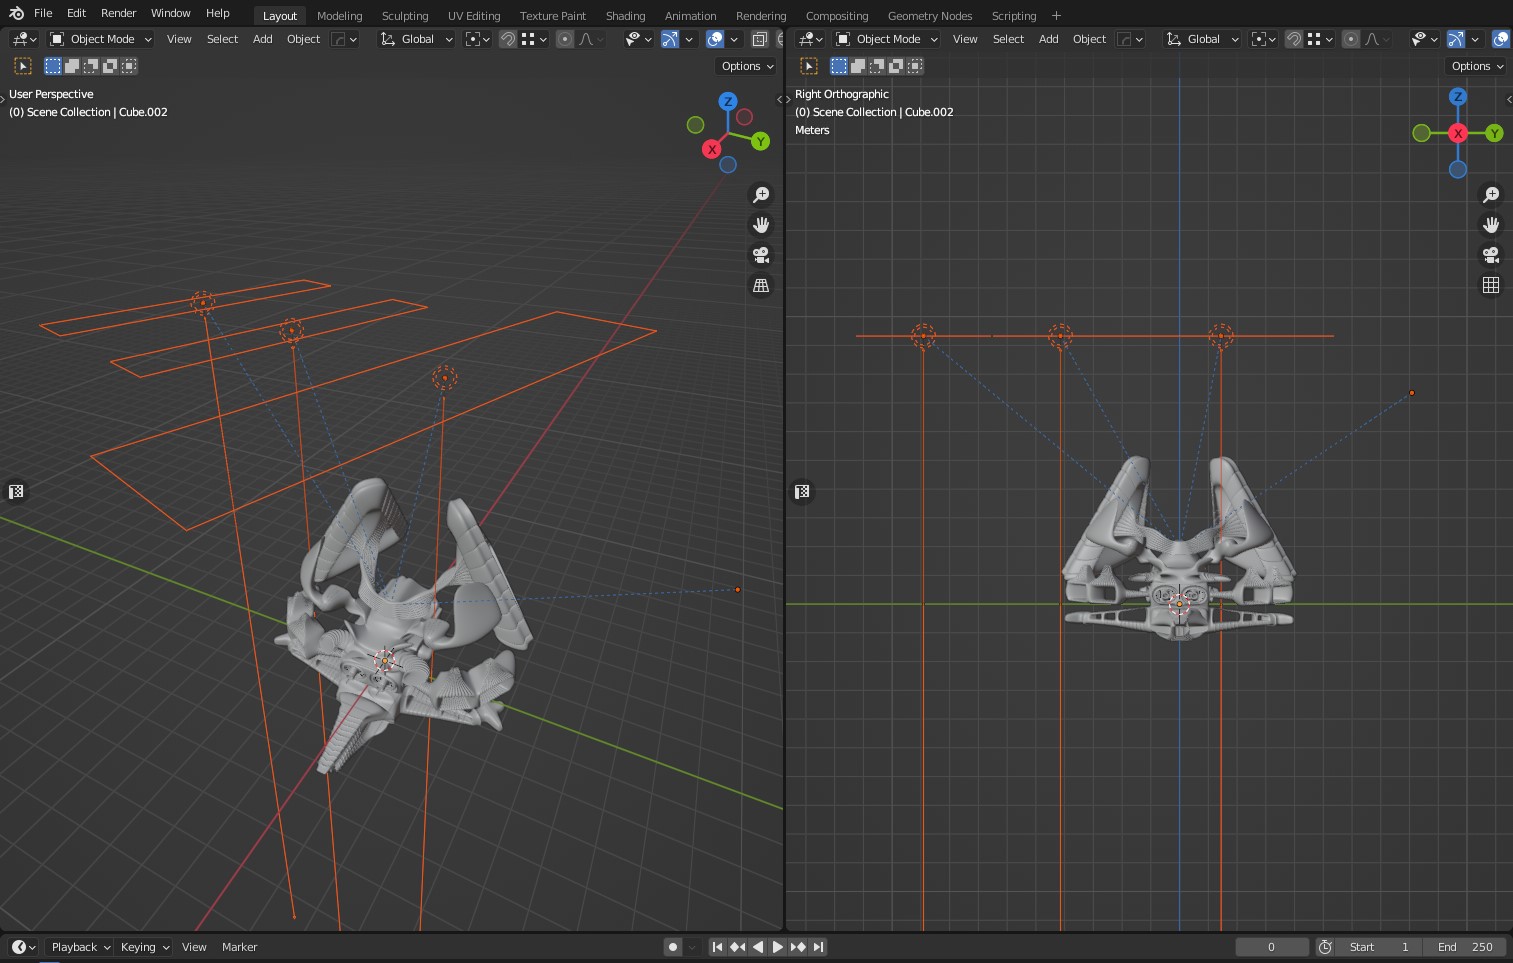
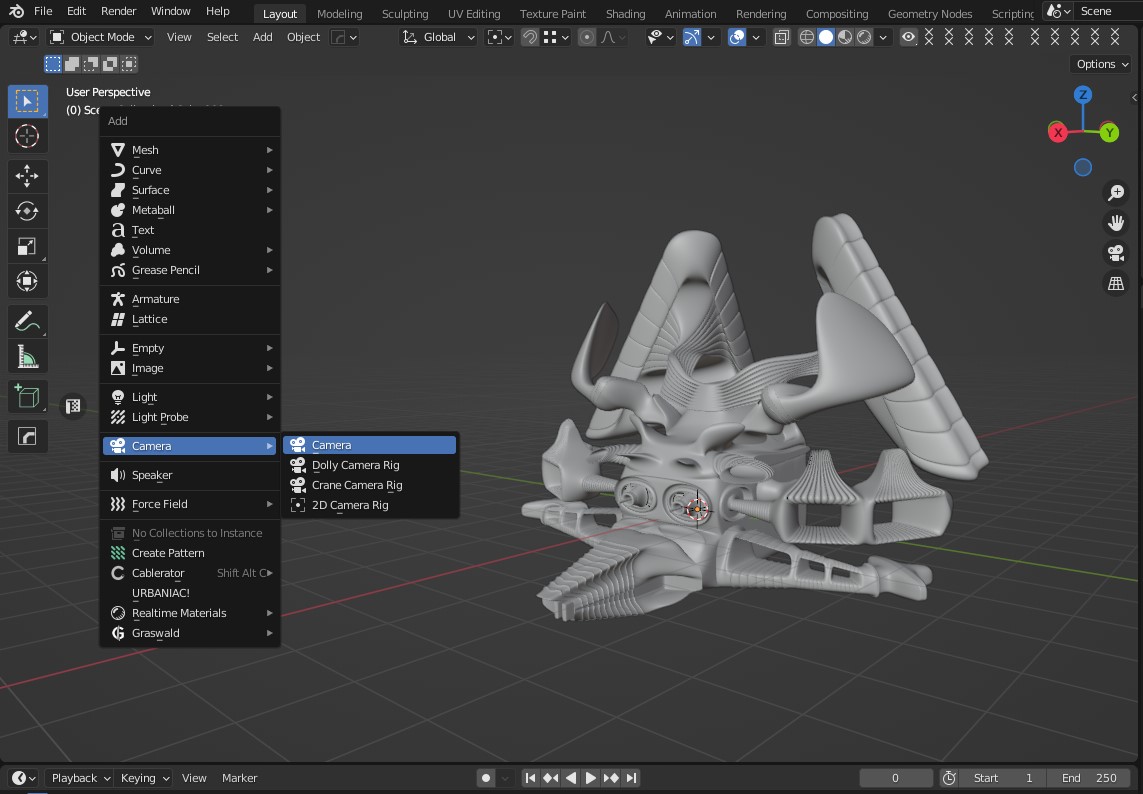
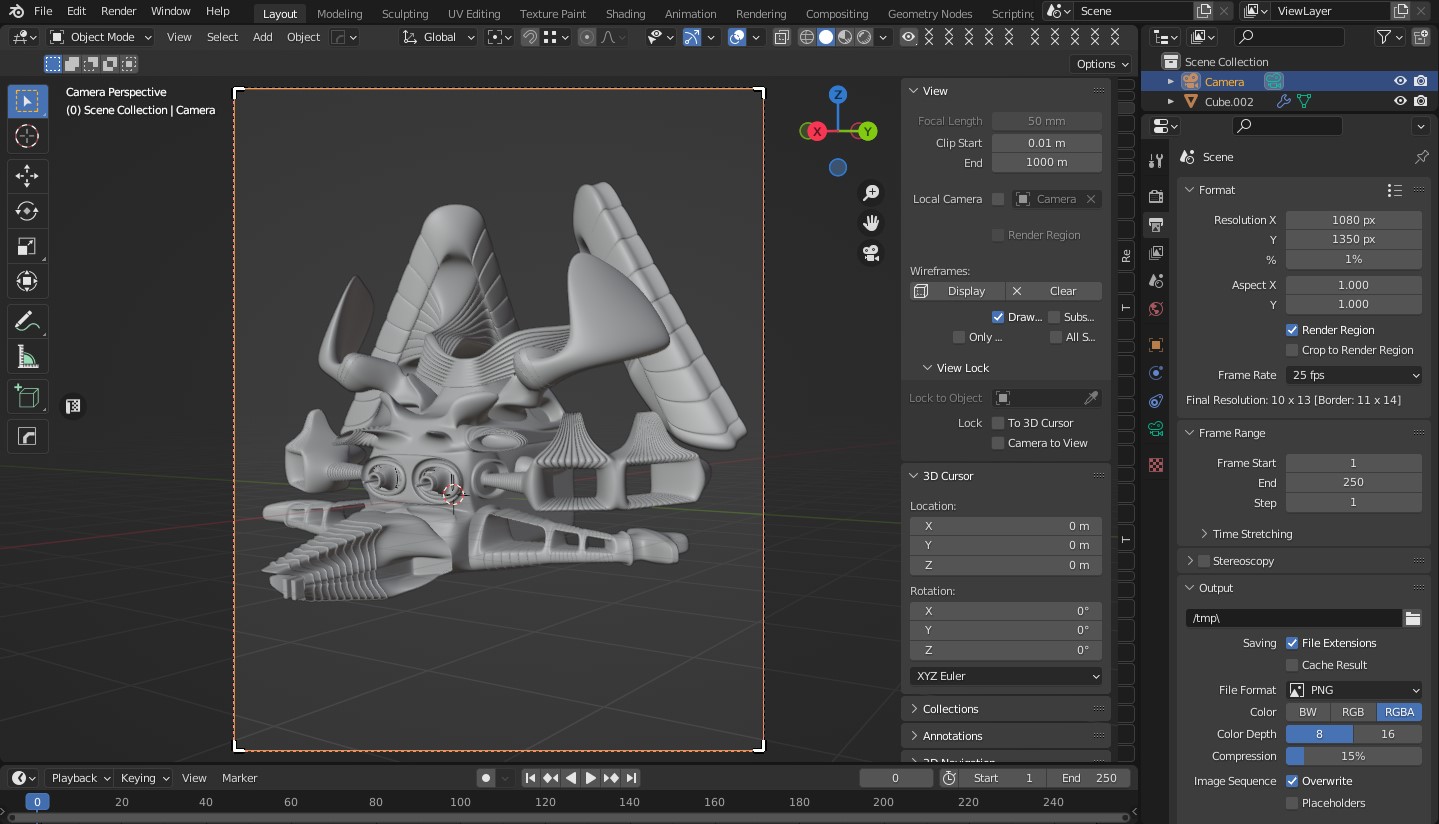
In this step, to create a camera, first press Shift + A and then select the camera from the Camera field.In the next step, press the N key so that the toolbar appears on the right side of the Blender workspace, and in the View section, activate the Camera to View option so that you can move the camera.Then set the resolution format in the Output Properties section.
The camera angle is very important. How you see the model is important. I think we need to adjust the camera view to see all the details, it’s very good.
Step10
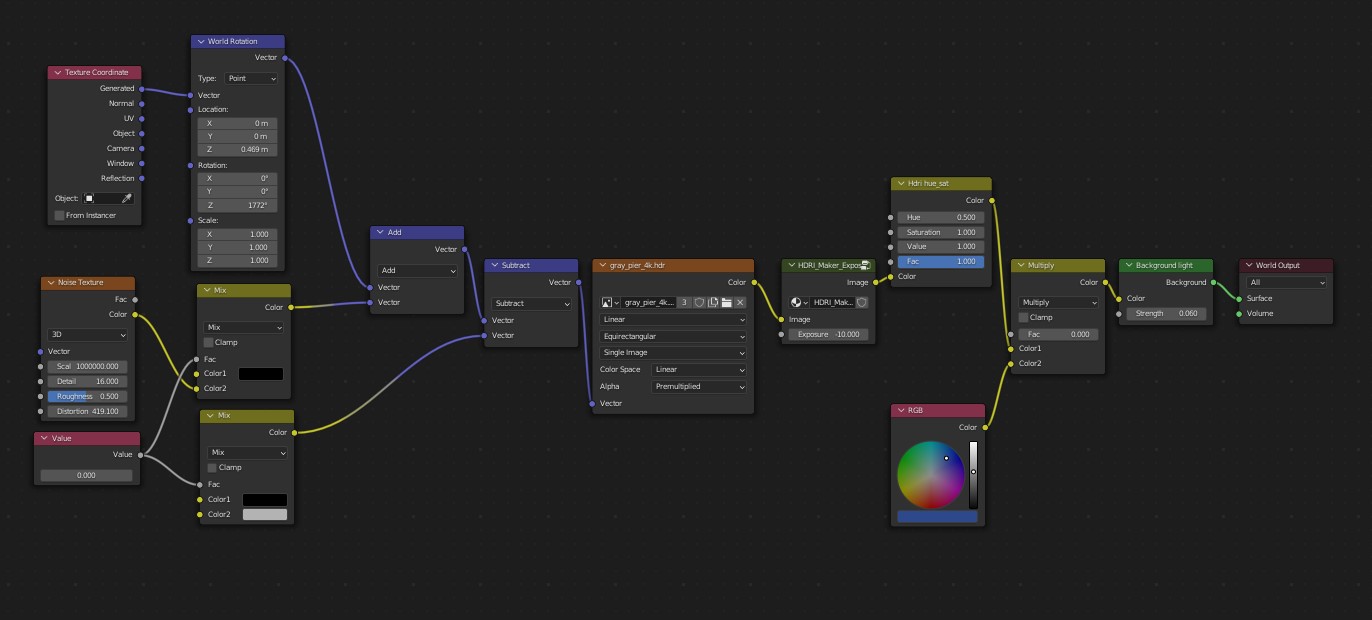
For the lighting in the Blender, I used Blender lights in different directions to create an attractive reflection in the metal material of the ribbon on the upper part of the character of the ribbon, so that it has an attractive and good light on the surface. Character ribbon ribbon To create an attractive and exciting environment, I used a very small amount of fog so that the lights we use in the environment and the lights we have in the body of the ribbon are attractive.