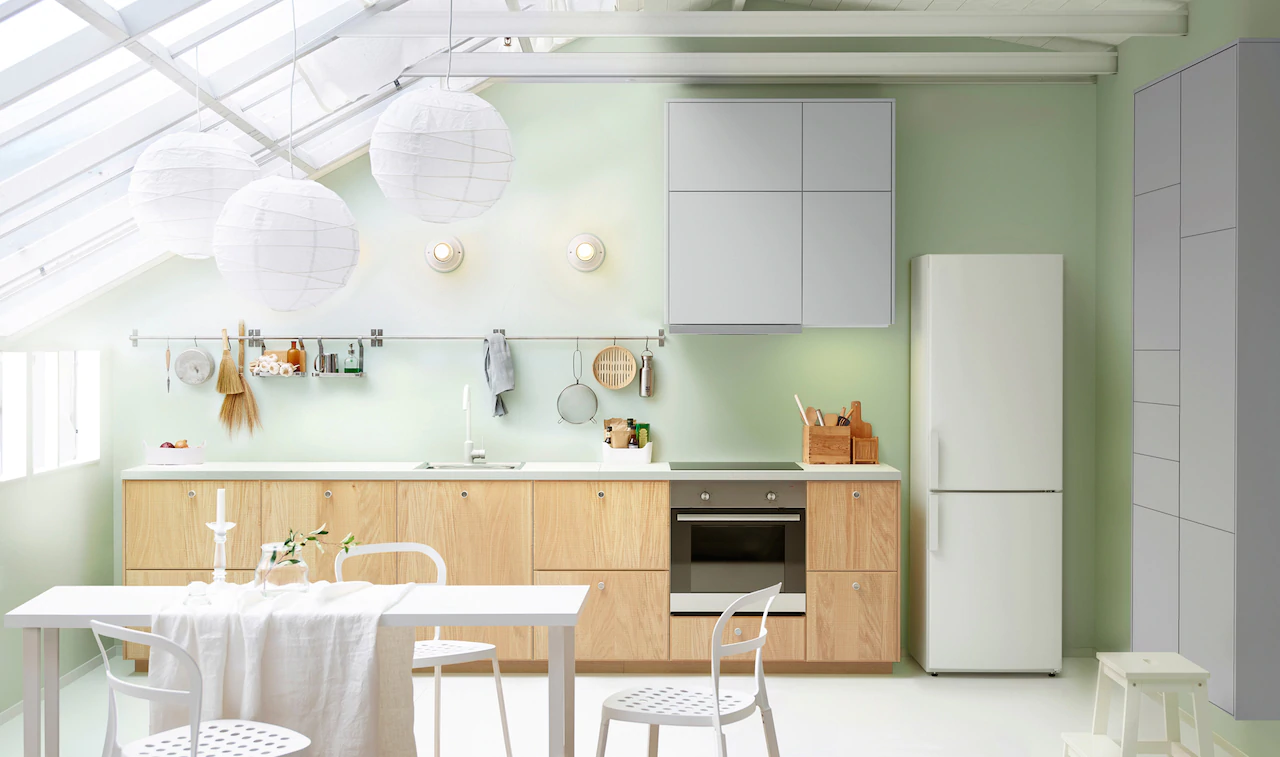
For me, this weekend I challenged myself to copy a “photo” from ikea.
Quite funny to realized by working on it that I am pretty sure it is not a photo or has been at least heavily photoshoped (the table doesn’t match the perspective, has been added)
I have been using fspy for the perspective (not perfect but close enough)
I didn’t realize that creating every piece of furniture will take so long.
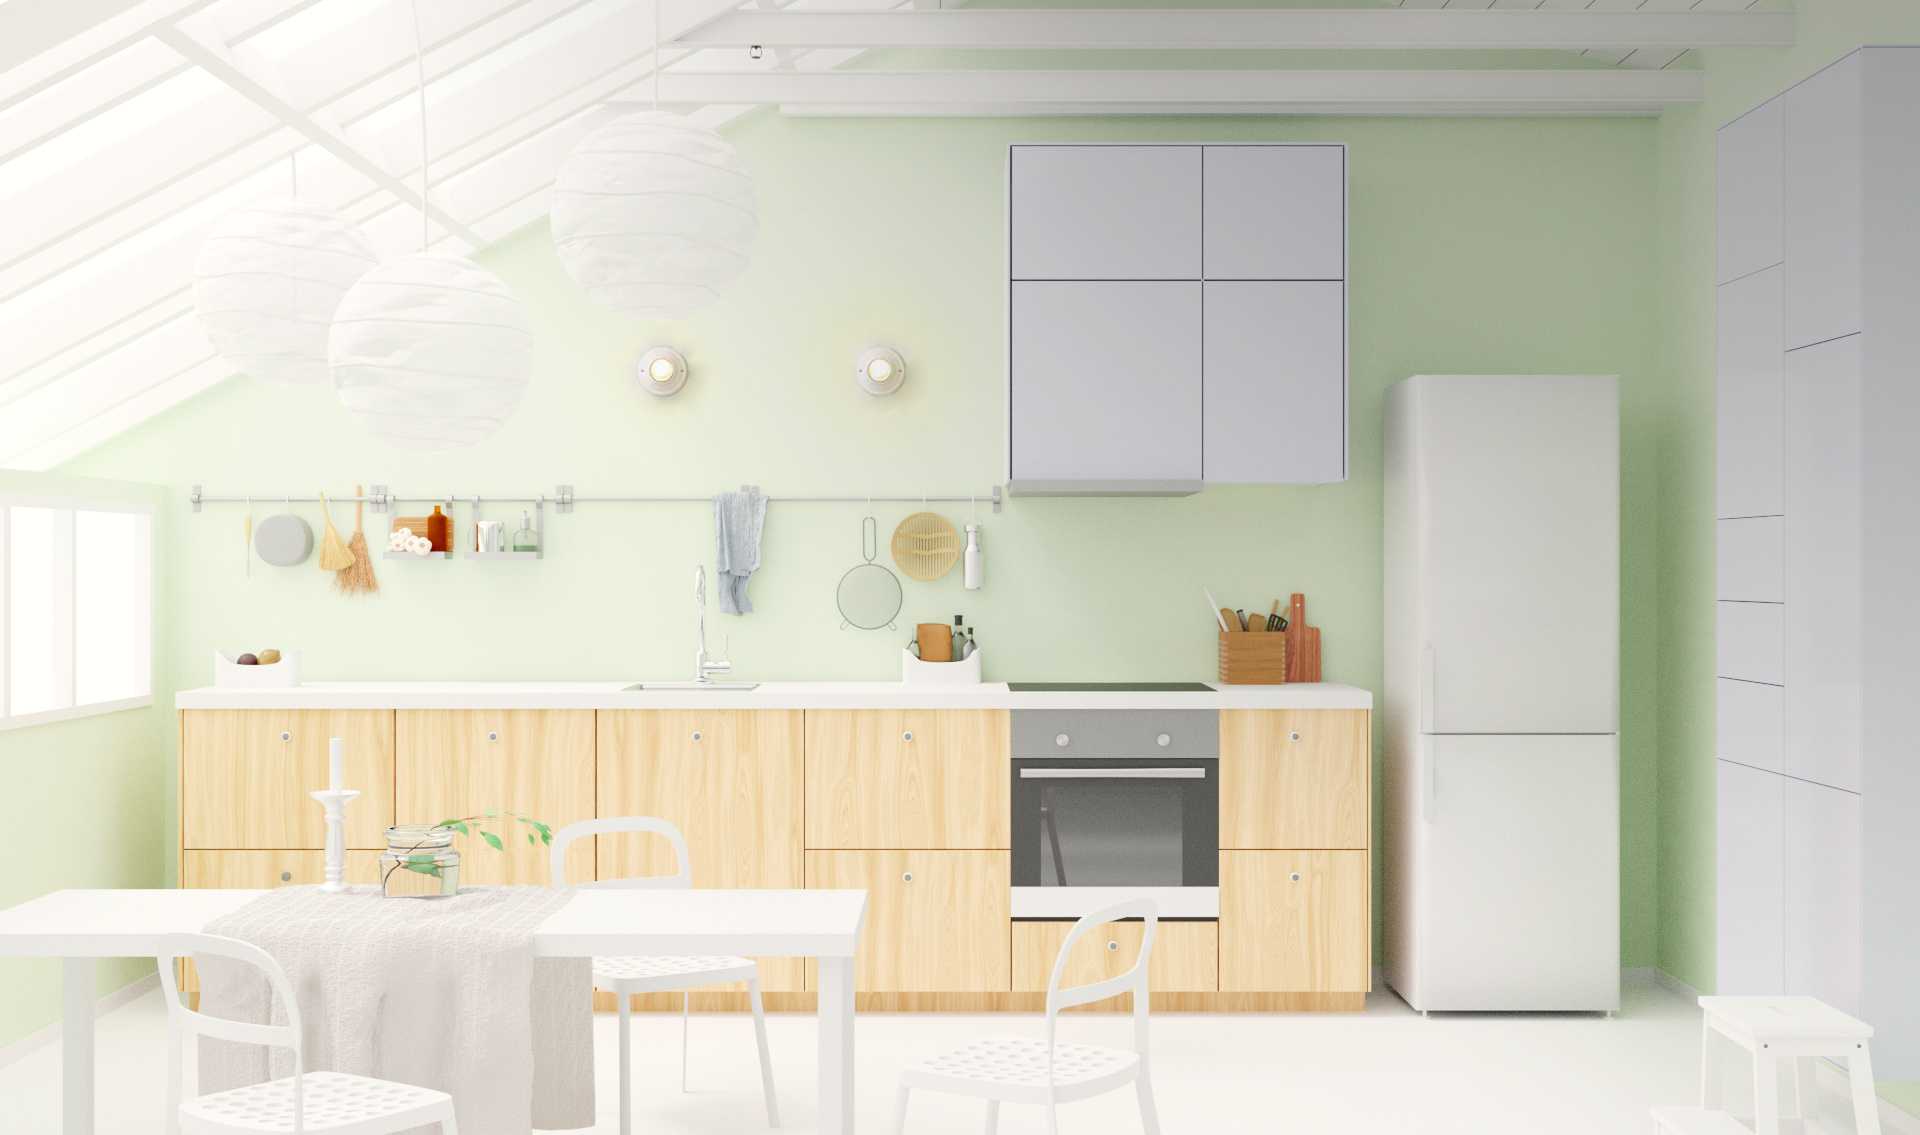
Before I am finishing all the accessories, if you see something wrong with my render, I would appreciate your help
I got stuck with the lamp shader, I tried to shrinkrap a curve to a sphere without any success. If someone has an idea, how to make this lamp shader or any tips, would love to know
And at the moment it looks like there is no wall on the side where the camera is. In the Ikea rendering the front side of the table is a lot darker than the top so it appears there is something blocking the light comming from the front.
I think that is at least one of the reasons why your whites are so blown out.
Same for the top right. There appears to be some sort of closed roof that blocks quite some light from the top in the original whereas in your rendering this light blocke seems to be missing.
Ths light in the reference seems to be coming from a different angle than your light. In the reference you can see a shadow of the upper cupboard on the wall. This shadow is not present in your rendering. The shadow in the original seems to be little bit harder as well which can be seen by the shadow cast by the refridgerator.
The refridgerator material needs more fresnel. As you can see in the original the green wall and the cupboard are heavily reflected in the refridgerator whereas it is allmost pure white in your rendering.
Same for the top of the stove.
For the bluish tint on the beams of the windows you might want to try using an hdri. I assume you are using a sunlight at the moment.
Thank you for the reply, I need to work on several materials indeed.
I closed the room, I need to block the roof to have a better shadow, well spotted.
I also have a white sky and a sun light, I wanted to avoid HDRI just for the rendering time and because blender guru said the difference was not very big (from his last tutorial), but I will give it a go.
Regarding the rendering time: You might save some rendering time but you will waste more artist time if you try to fake the bluish spots instead of an hdri.
For an interior like this with lots of window area I think an hdri can be warranted.
BTW the original image has a couple of artificial lights as well. The two lights on the green wall are rather yellowish which can be seen right next to them as well as on the beams of the window.
There is a light that comes out of the cupboard as well which as a yellow tint.
This yellow tint adds some contrast to the otherwise bluish lighting from outside, so ti probably makes sense to implement this into your rendering.
You can try Cloth Modifier for that. Creating those wires inside (as collision object), reducing gravity, adding forces (to push it inwards towards wires), tweaking cloth settings could help.