What kind of a node setup should I have to match the colorspaces? With this combination, I’m kind of close but the setup looks wrong. I created an HDRI to match the lighting to the real-life image.
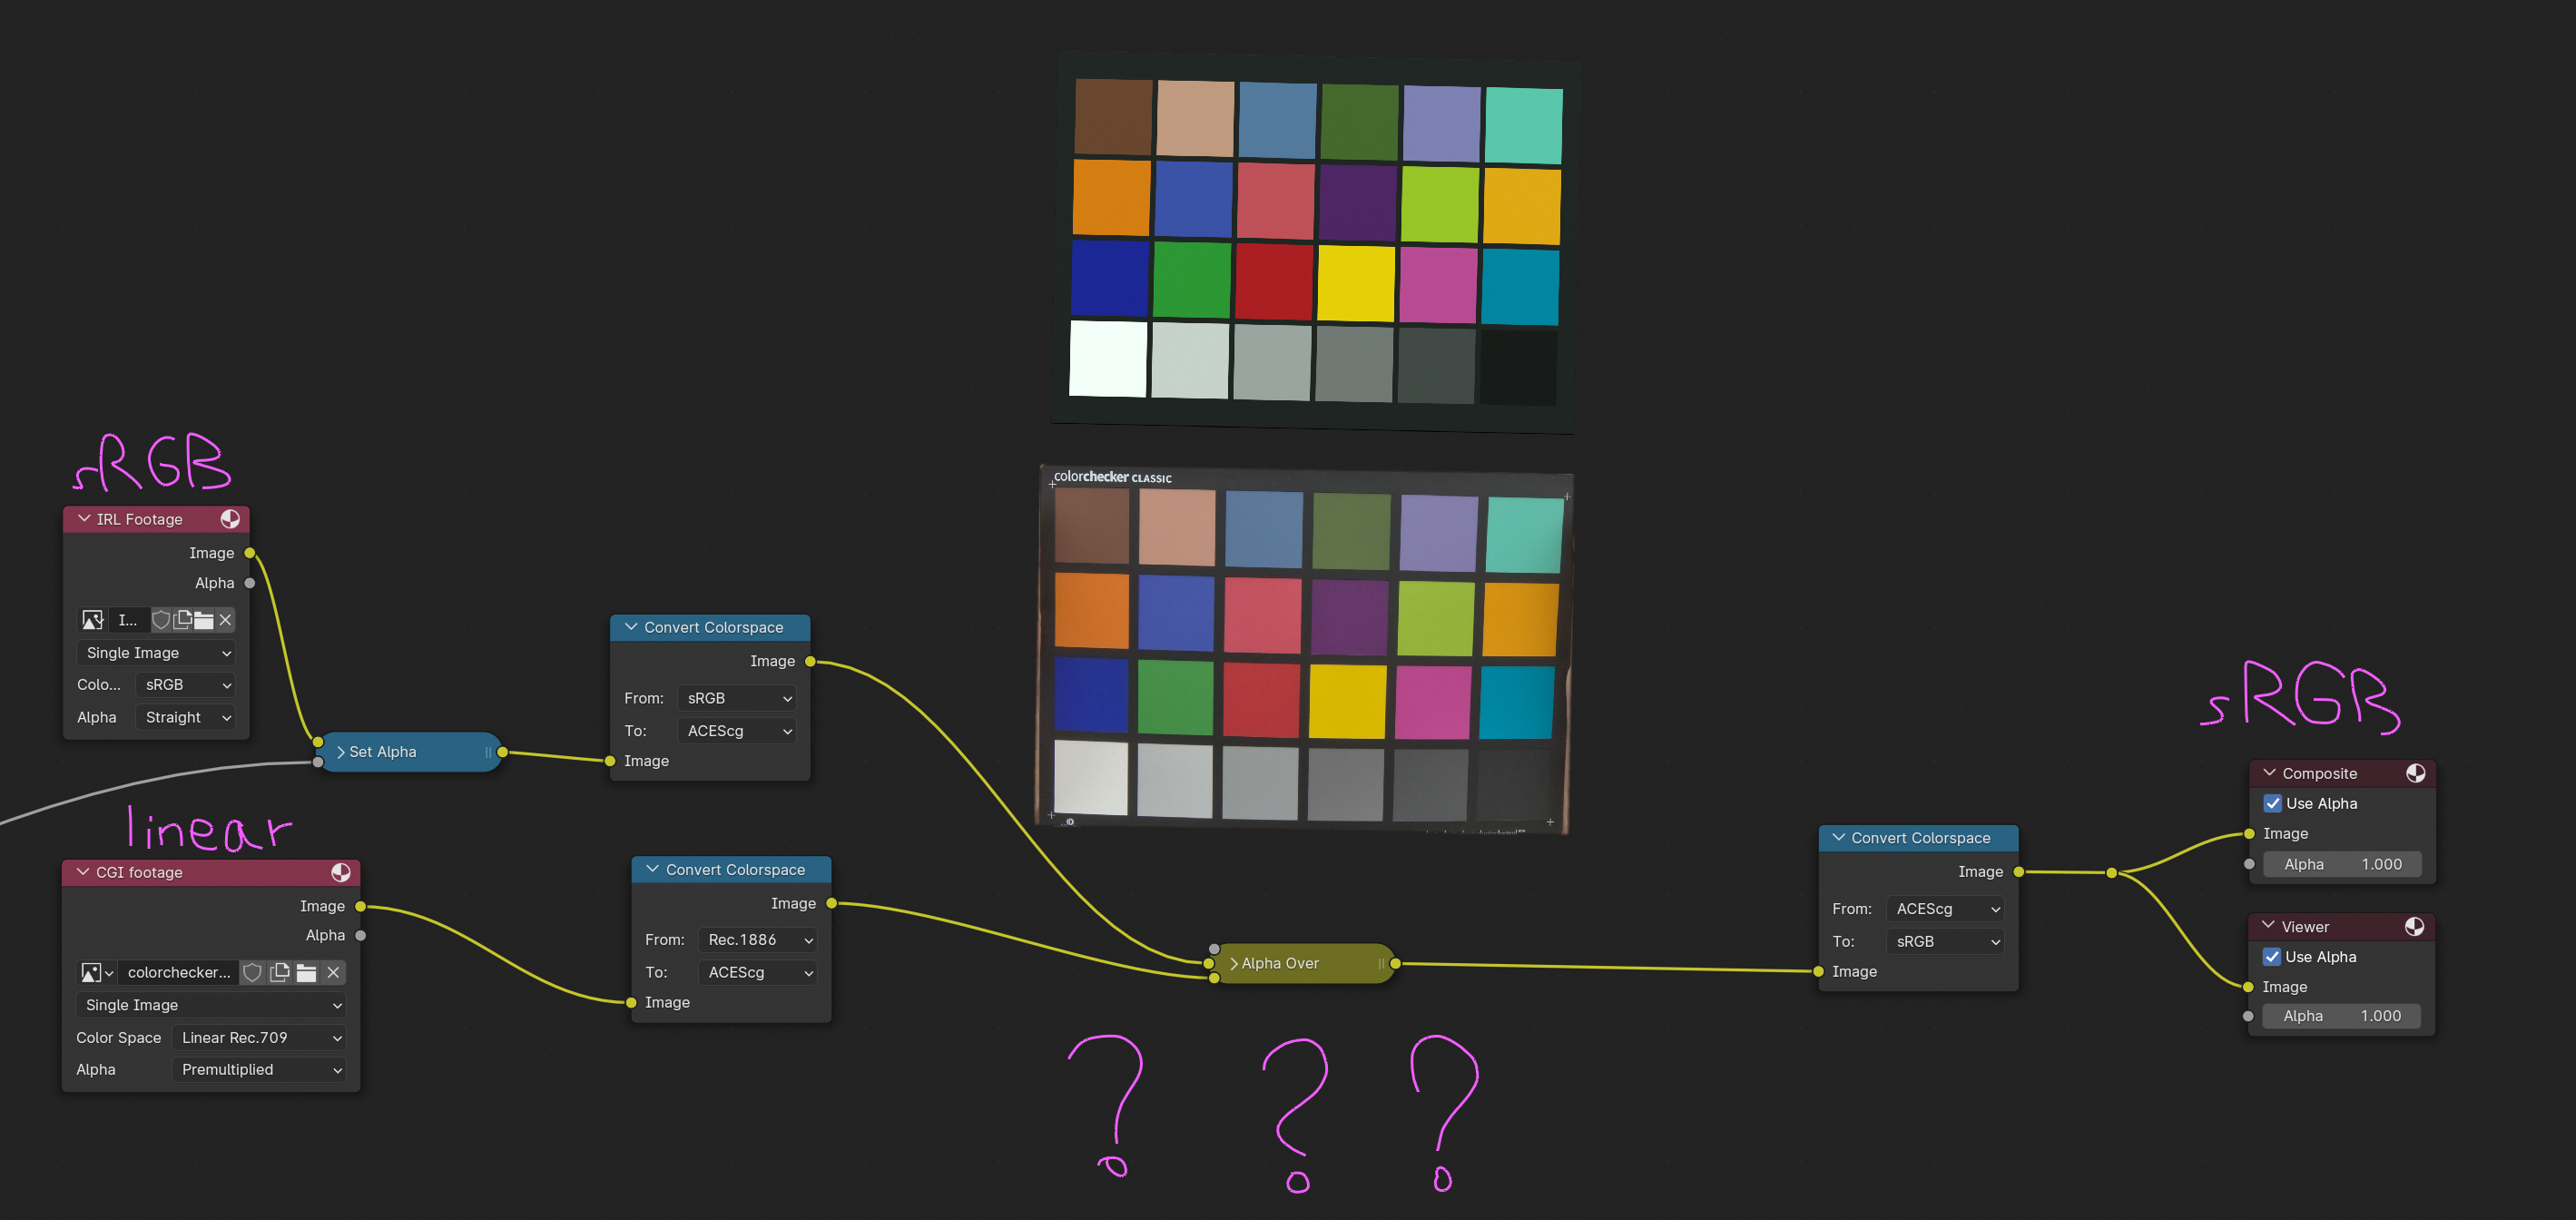
Remember that the colorspace dropdown on image files is already doing an input transform, from the chosen space to the internal working space. If you’re working in, say, linear Rec.709 (as Blender does by default), and you put “sRGB” on an image node, there’s an sRGB → linear Rec.709 transform happening inside that node, before the data even comes out the noodle. So you don’t want to do a second transform on top of that unless you know exactly what you’re doing. If you have footage in one color space and a render in another, it should be as as simple as setting the correct input transform on each, and then they’re both in the same color space! Any mismatches from there would be down to lighting conditions, sensor characteristics, metamerism, etc.—all the fiddly stuff that comes after the ground-level work of getting things in the same color space.
Also, the input transform on your footage being sRGB suggests to me that it’s maybe in a display-referred format, like an already-processed JPG off a phone or consumer camera? That’s also going to make things more difficult, since you always want to be working on scene-referred linear values, and a pre-processed, tone-mapped image off a consumer camera gives you no way to recover that data. That’s why the ideal is a mathematically known encoding like log, which can be precisely “unwrapped” back to the true scene values.
1 Like
I’m now using an adjusted 3D colorchecker model.
Yes previously the background image (real-life picture of the color checker) was a DNG converted to JPEG but now I’m using a EXR with the same rec709 settings.
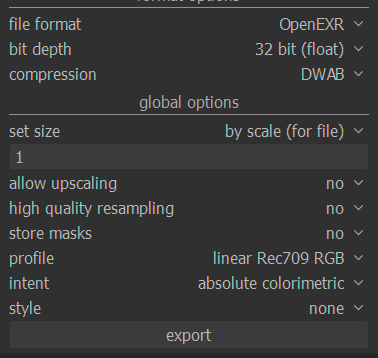
The new Darktable export settings
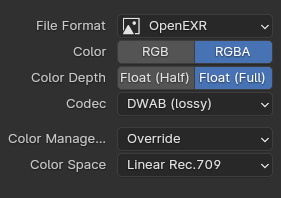
The new CGI render export settings
In the new version the CGI color checker is just rendered as smaller squares.

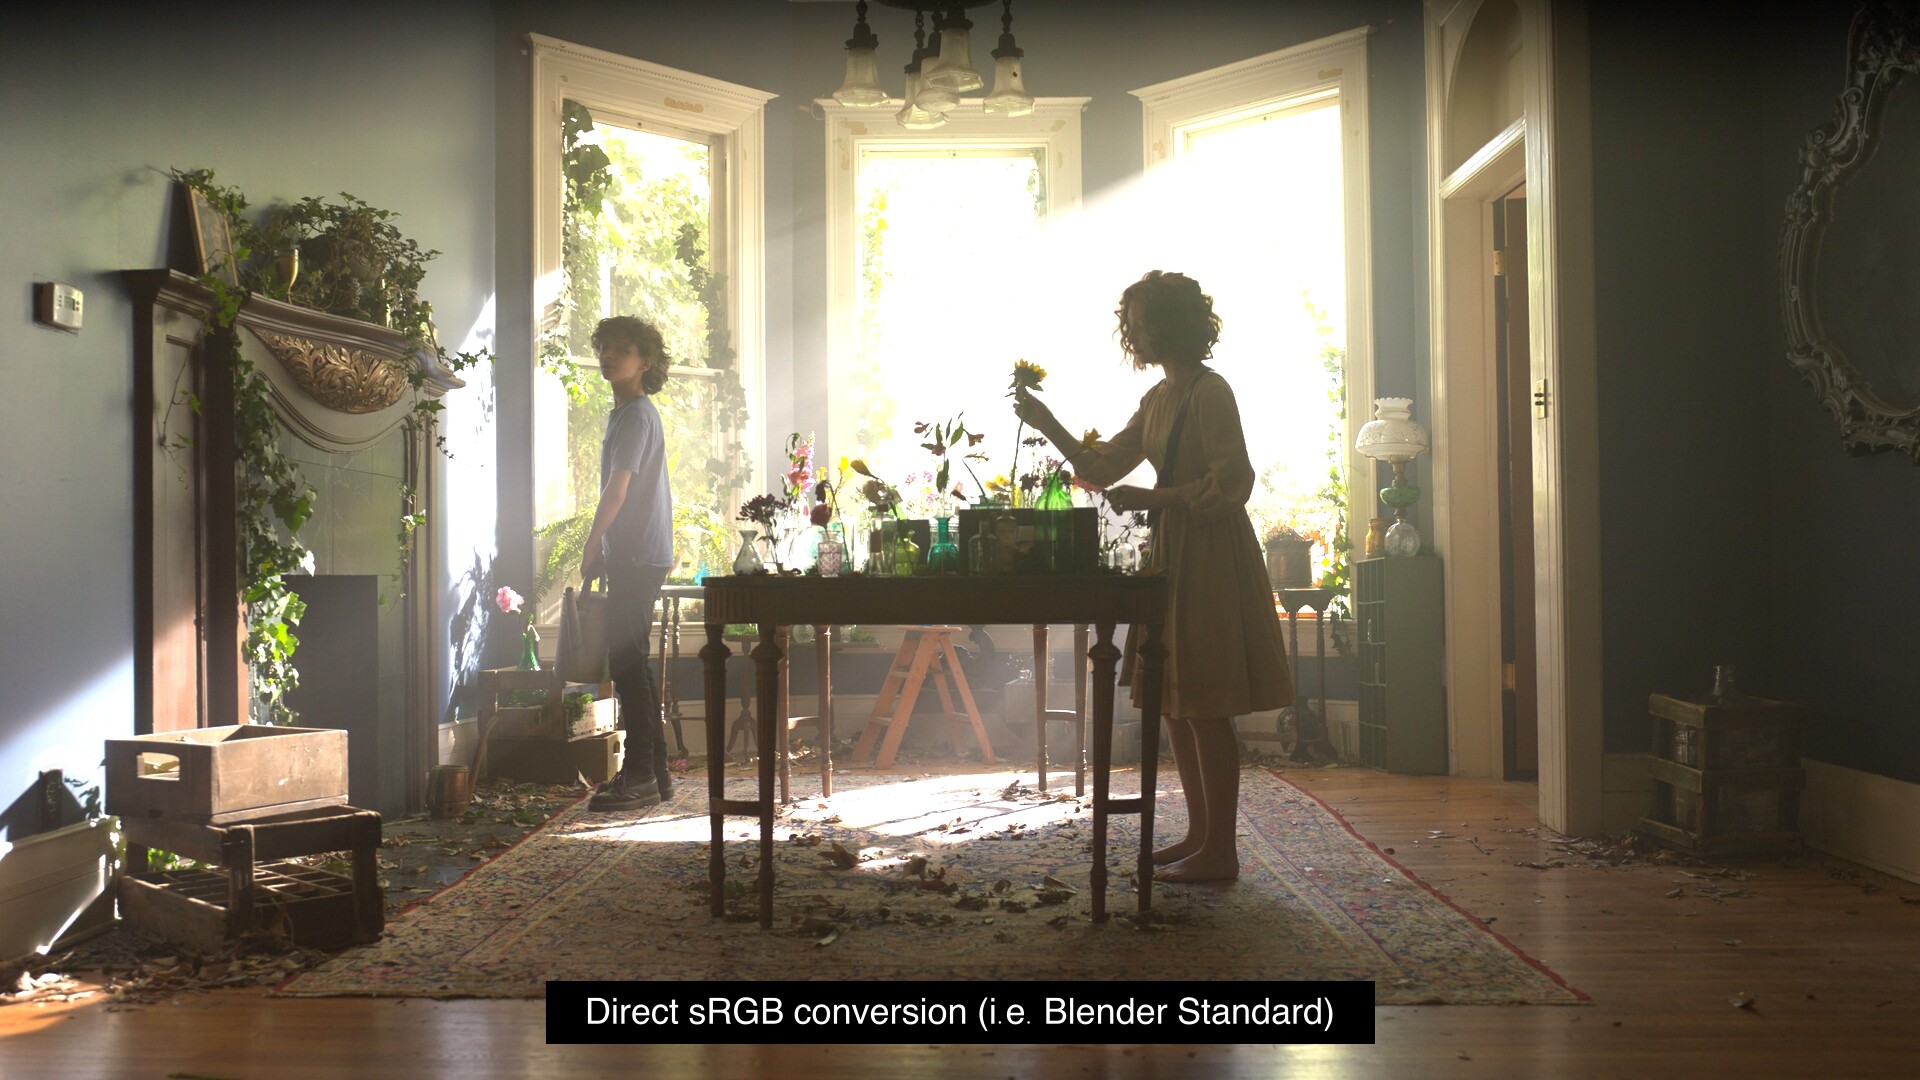
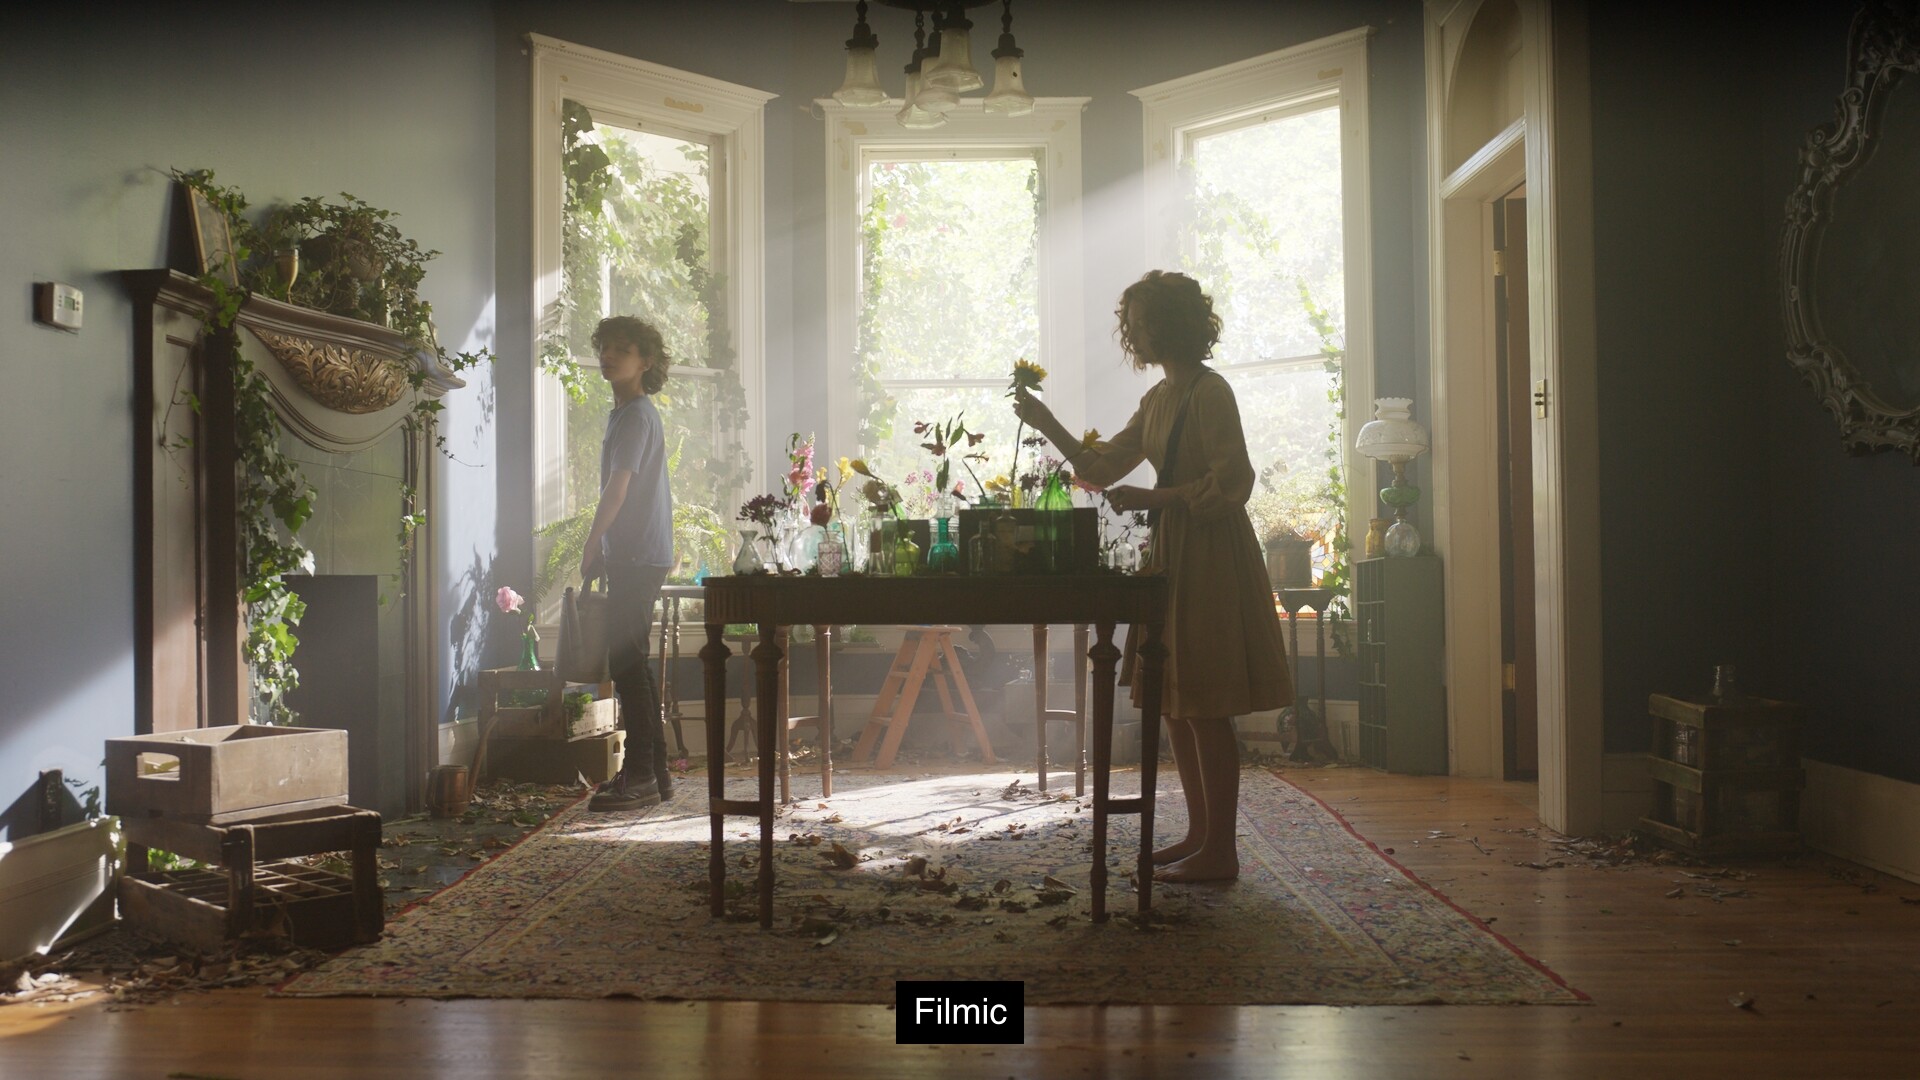
Is now the time to do manual tweaking or did I forget something? I’m also using the “Standard” view transform in the compositor because I thought that I could somehow apply the view transform of AgX just to the CGI footage and leave the real footage alone.
I’m also using the “Standard” view transform in the compositor because I thought that I could somehow apply the view transform of AgX just to the CGI footage and leave the real footage alone.
You’ll usually want to go the other way. Once your footage is linearized, it’s scene data, and needs a view transform to look good, same as everything else—so the transform simply goes on top of everything, footage and CG alike!


2 Likes
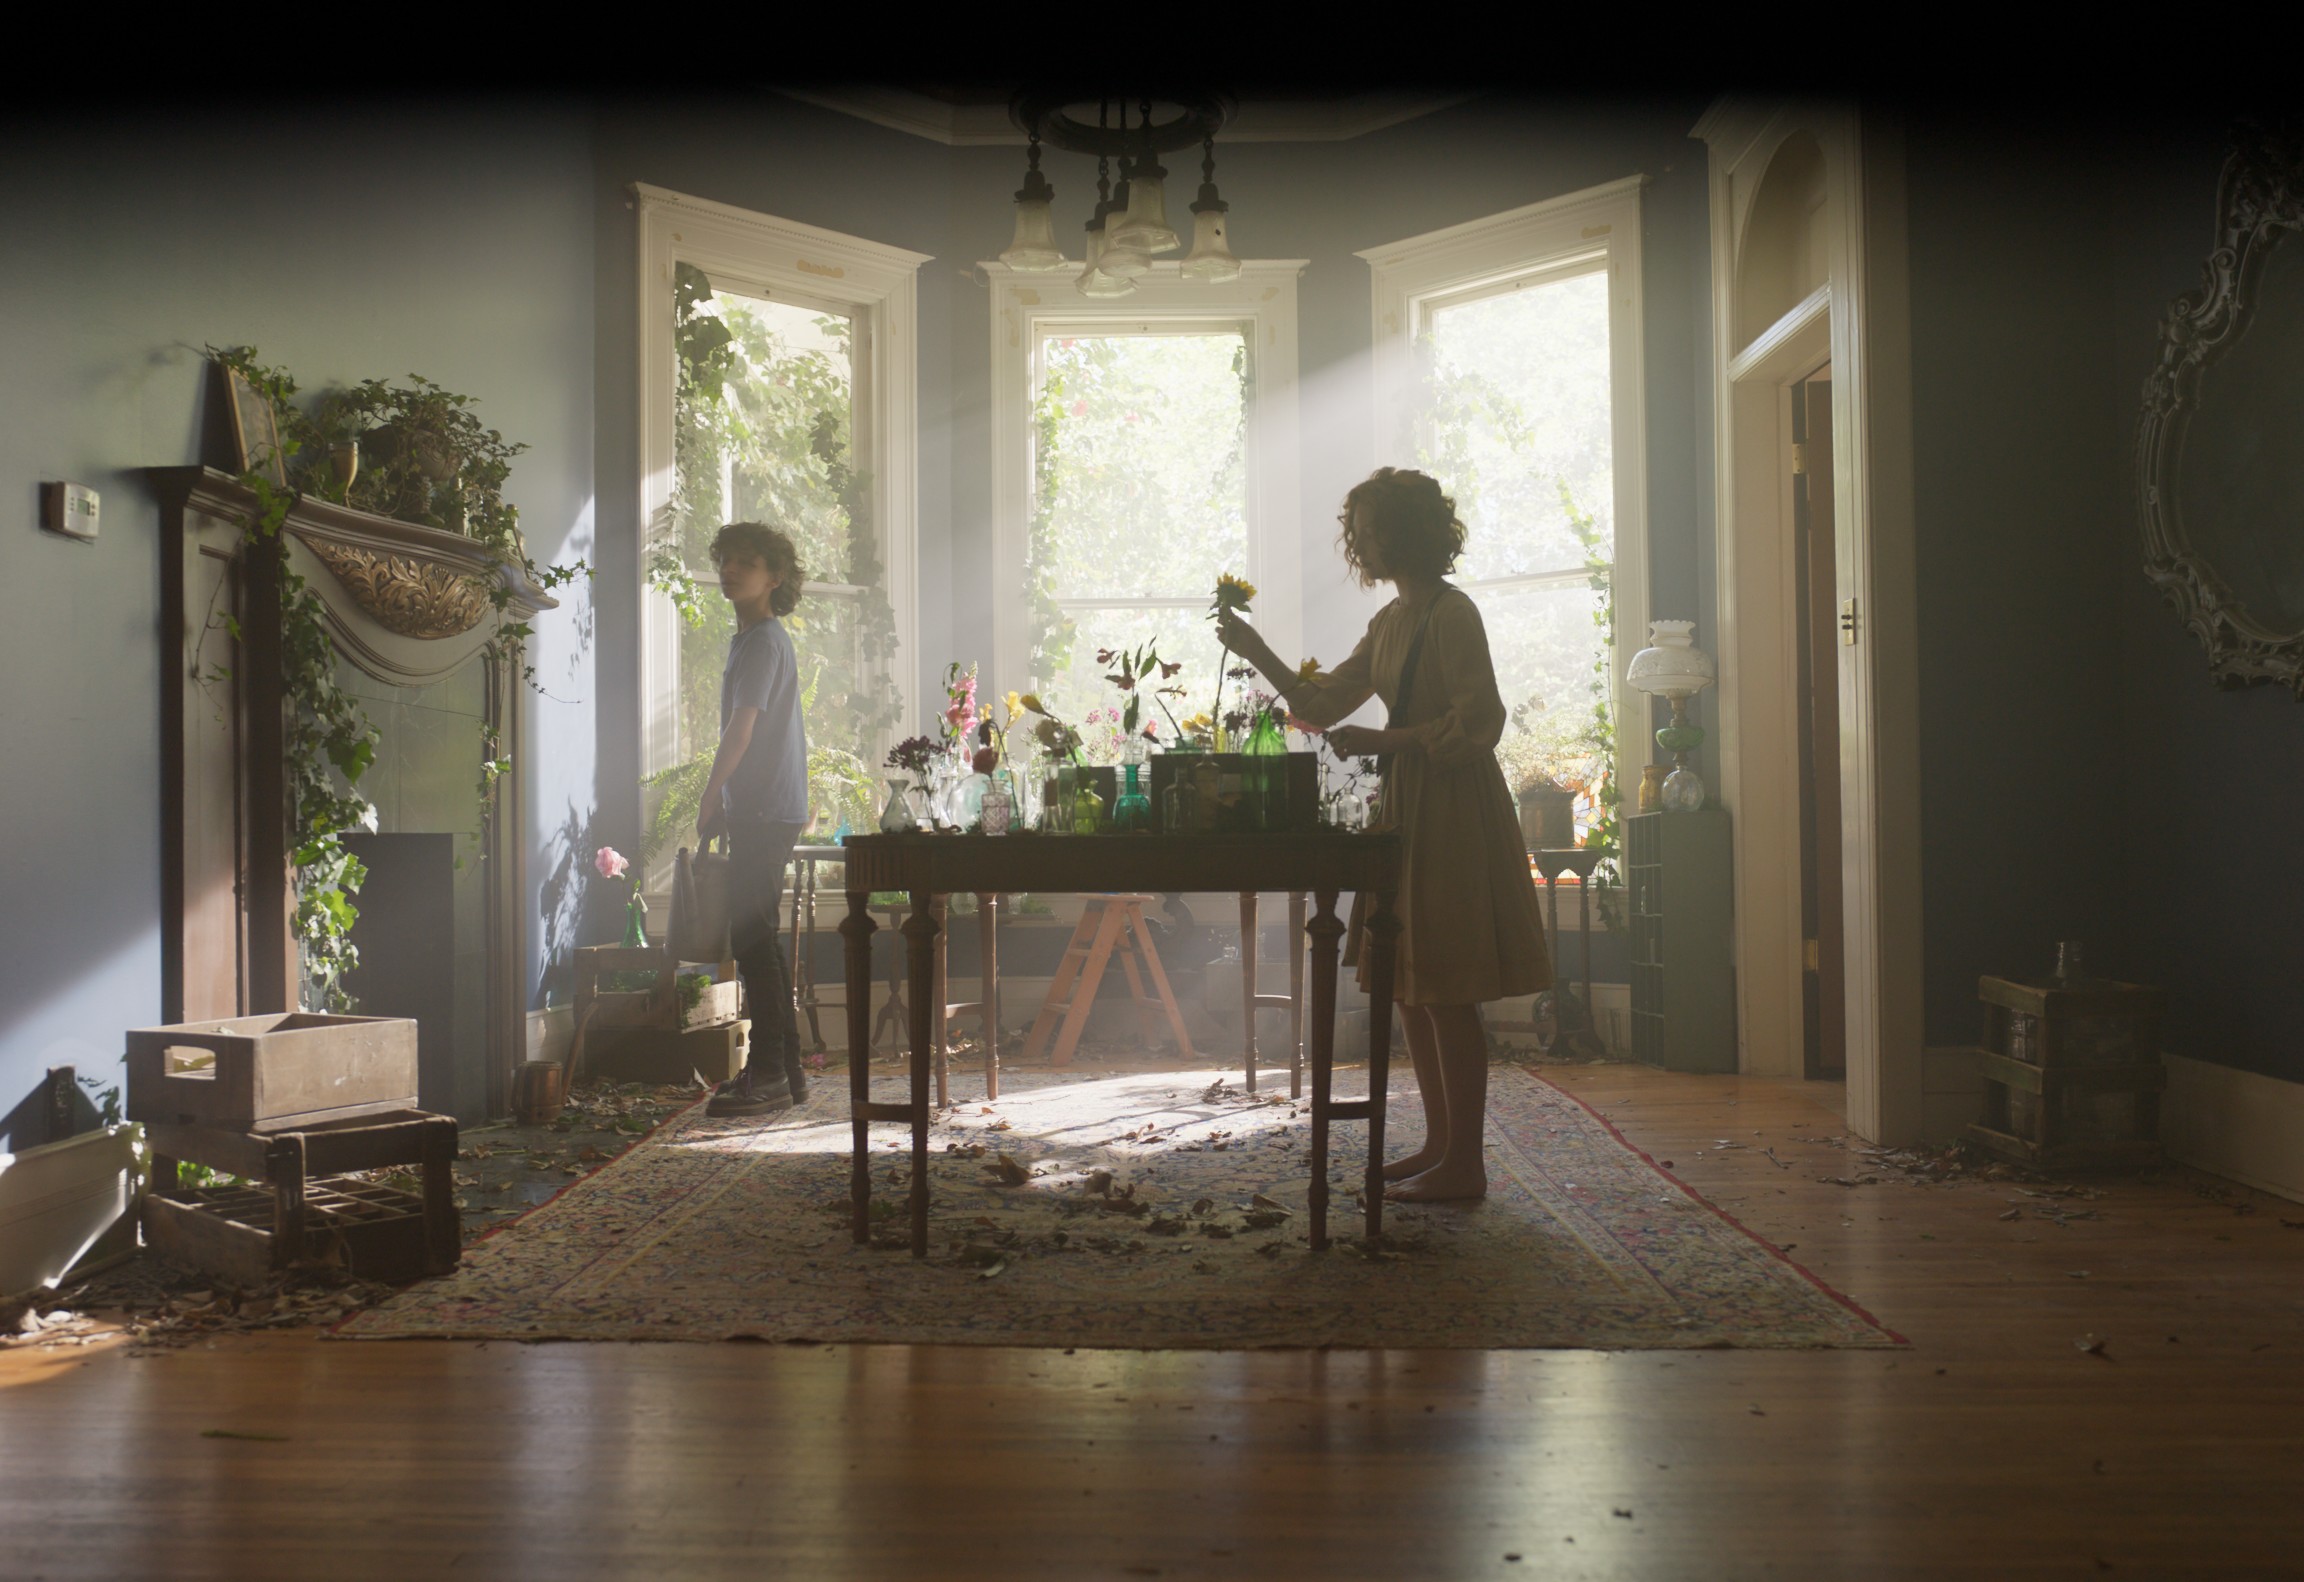
This Image looks great for light compression comparison.Is it available for download?
Yes, it’s one of Arri’s Alexa 35 sample clips: https://www.arri.com/resource/blob/297210/17b095dc68842f8dca22f614810e0134/alexa-35-encounters-sample-logc4-clips-data.pdf
1 Like
Thanks.Some nice images there,the files are huge (24gb) though.
Yeah, bit of a hefty download! Too bad you can’t grab single frames from the outset—I had to download the whole beast, then just picked a few choice frames for future use and deleted the rest. I wanted to share that single TIFF I used, but at 100MB it’s still well over BA’s size limit.
Can you export the file as EXR dwaa,maybe with Resolve?
Sure! Here’s an ACEScg EXR. Had to scale it to half size as well to get it under the size limit, but the original’s 4.6K, so you’ve still got plenty of pixels to play with.
acesCG half.exr (4.2 MB)
1 Like