I’m trying to recreate some metal couch legs, and I’m pretty stuck. I’ve tried a lot of different ways of doing such as beveling it or proportional editing, and I’ve started over from scratch a couple times. I can do most of the leg, but when it comes to the top I need to have an oval shape and I usually end up with a rectangle of some kind.
Here is what it’s supposed to look like:
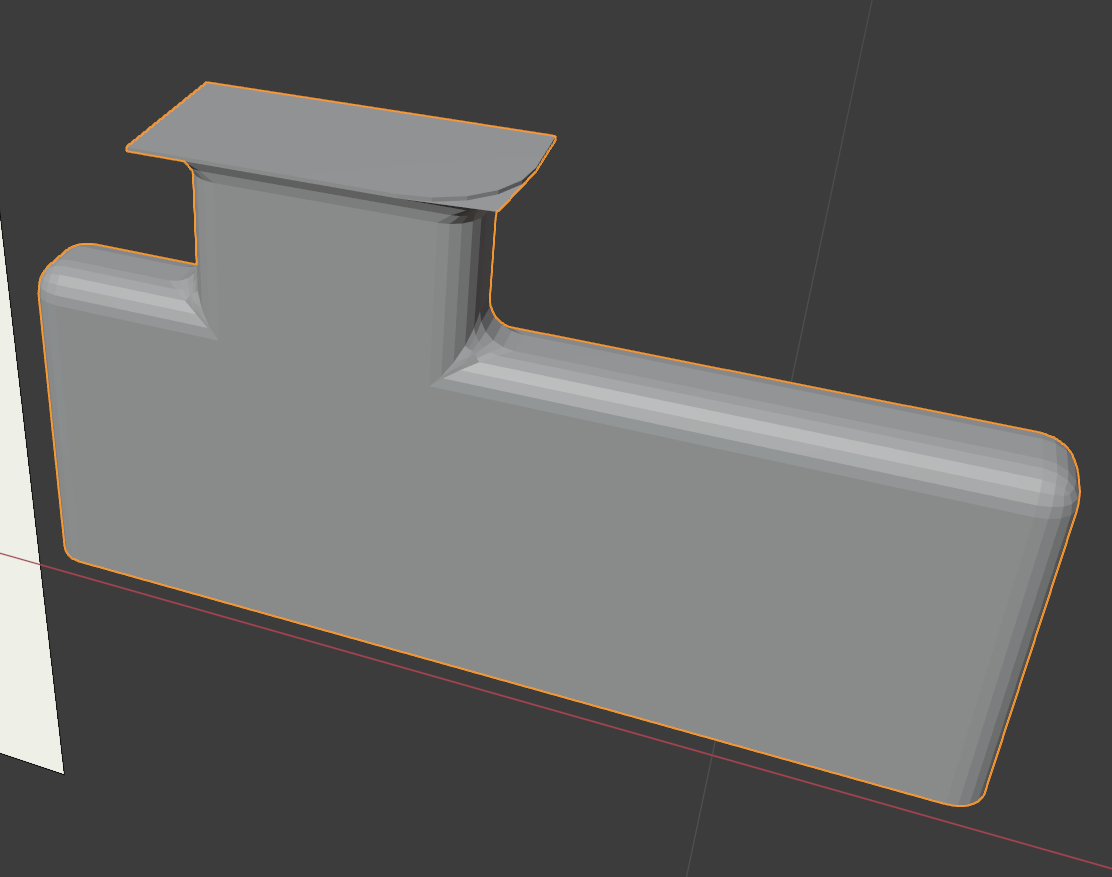
And I can get to around this point before I get stuck on the top:
When I try to bevel the edges on the top I have this issue, among a variety of others depending on which way I try to do it:
I would appreciate any advice on an easier way to model this. I’ve tried subdivision surface modifiers a little but I’m struggling with it.
Thanks!
Start with a simple flat profile with beveled corners, solidify, bevel the outer corners with clamp, merge center verts, then scale and move the top with proportional editing. Add some cuts to hold shape.
couch_leg.blend (184.4 KB)
1 Like
Thank you! That’s an excellent description and I appreciate the step by step in the blend file.
One more question, when you scaled the top with proportional editing to form the shape, did you use a mirror modifier to ensure that both sides were identical? If not how did you?
No, I just selected the whole top and scaled  Using the Sharp falloff. Oh and, of course beforehand I added some edges across top part so there’d be something for the proportional editing to curve.
Then I just moved it down, letting proportional editing to squash the curve a bit. From there it was just adding geometry for subsurf.
Thanks, I’m trying to improve my modeling abilities and that helps me understand your workflow there better.