It turns out several people are interested in learning about how I made my “Crayon Style” shader,
so I'm going to try my best to explain it.My procedural "Crayon Style" shader in an animated form (what it was originally created for) #b3d #bnpr pic.twitter.com/jEWD80dPZK
— Garythesnail132 (@garythesnail132) May 21, 2020
First off I used Blender 2.79b (Yes, I know there are newer versions. But this is the one I’m used to), and it’s all done in Blender Internal
For object modifiers I only used a Displace modifier to keep the objects from looking too perfect
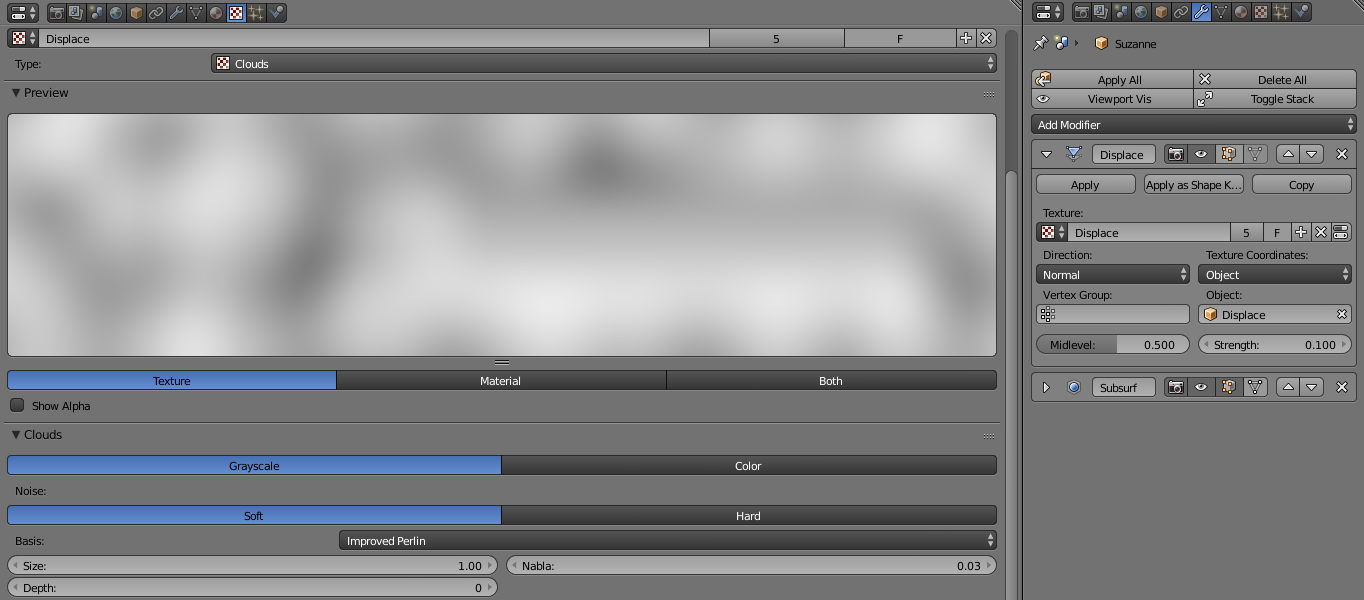
The Displace is modified by an empty which has it’s transforms changed by drivers based on the frame

This is the material node setup for each object. The disconnected Material input is used for the Color pass in the compositor(This is important later). The other input is a Node group used for applying a (semi)random color per frame to each object

This is the “Random Color” node group. It uses the current frame and a modulo operator to get a ranged(0-1) value. Some extra randomness is added using the object’s position and random value. The final value is then ran to a color ramp and outputted

Next is composition

At the start I take the random color and convert it to a range of 0.0-1.0 that is used by several nodes

Next is the pattern generation of the “Scribbles”

these are the noise textures I used


These four nodes use the “random” value to offset the textures

This is the result of all of those nodes

The next group is the nodes to create the outlines. I chose compositing instead of Freestyle for a better render performance

The work is done by this group. It’s a modified version of the “Edge Node” group that I downloaded from the Blender NPR site

This is an overview of it. If you would like to know how it works you can read the article on the Blender NPR site But I can explain the changes I made if there’s interest

This is the output from “Outlines” group

The next group is the “Paper Texture” group. Used to make a background for the image. It uses two of the previously mentioned textures and another frame/modulo driver for it’s offset

This is the result

Finally I combine those groups

The first node masks the area using the alpha from the Color render pass

Then the color from the Color pass is applied using that mask

All white color is then masked off

Resulting in this. which is then used to mix in the background texture

The final two nodes add the background and outlines to the image

And this is the complete image. I’m bad at explaining, so If I didn’t explain something completely just ask, I’ll gladly explain it more thoroughly
