In version 2.79 there’s the regular solids / custom.
You can select “snub cube” which is a cube with vertex and edge truncation.
So, my question is, how to accomplish the same starting with a cube and then adding appropriate edge and vertex truncation?
Since, Math Functions don’t currently seem to be functioning in 2.8 beta, I’ve taken to exploring how to achieve some of the same models by other means. See the attached blend file for some examples using the Bevel tool. By clicking on them, you should be able to see the Bevel settings. By clicking on the “X” under the modifier, you can then see the model from which the beveling began - mostly icosphere or cube.
Bevel, at least not that I’ve been able to figure out, doesn’t seem to be able to take me to the creation of a snub cube. So, perhaps there’s a different method or I’m just missing something.
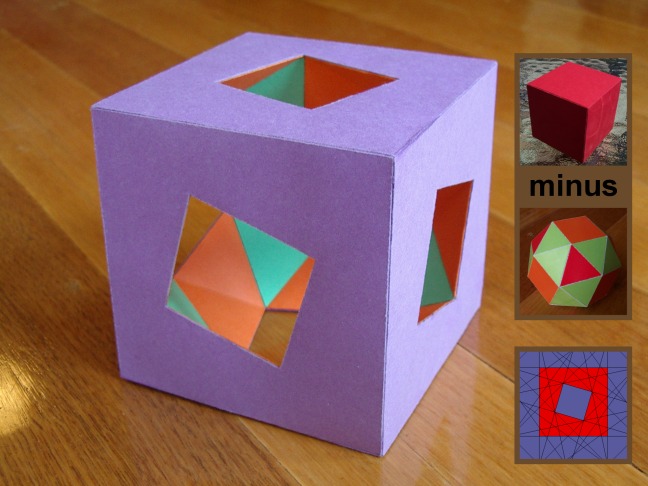
“The snub cube can be generated by taking the six faces of the cube, pulling them outwardso they no longer touch, then giving them each a small rotation on their centers (all clockwise or all counter-clockwise) until the spaces between can be filled with equilateral triangles.”
It can be a right or left rotation. The angle of rotation is uniform. The distance of expansion is consistent because the triangles are all equilateral.
But, (for us non-mathematicians), the distance is vague as well as the rotation.
Knowing the distance of expansion. The subsequent size of the cubes and the specific rotation, left or right, would help.
Either that or how best to achieve accurate vertex / edge truncation.
First check length in N Panel.
Ctrl+B until 50cm.
Select the small faces and Alt+S to scale everything to 50cm.
Set pivot point to Individual Origins
With selection in place hit R and Z and confirm.
F6 panel set orientation to Normal and Length to 16.5.
Select all deformed faces and hit Ctrl+T.
Select the square faces again and hit Alt+S to scale to 50cm again.
That is what the addon gives you.
I made it in 2.79 because 2.80 has a bug in rotation which I reported and is confirmed.
Thanx. Really helpful. Wasn’t able to get to 50 cm exactly. (Also had to remember to set units to “metric” under the Scene Panel. I figured 50.x was probably going to be close enough.
I’m going to cross post a link over on the Sverchok post. Maybe there’s something in Sverchok
that helps (or can) with this.
There doesn’t seem to be (that I’ve noticed) much in the way of edge or vertex truncation (specifically).
There’s also, this, from Youtube, which helps to understand the process, but, again, not much in the way of exactly how to get there as explained using Blender.
The snub cube is an interesting example though.
According to that explanation, a snub cube is the same as a snub cuboctahedron or snub octahedron.
Interesting.
Note: The “Truncate, Expand, Snubify” link referred to in the vid is dead.