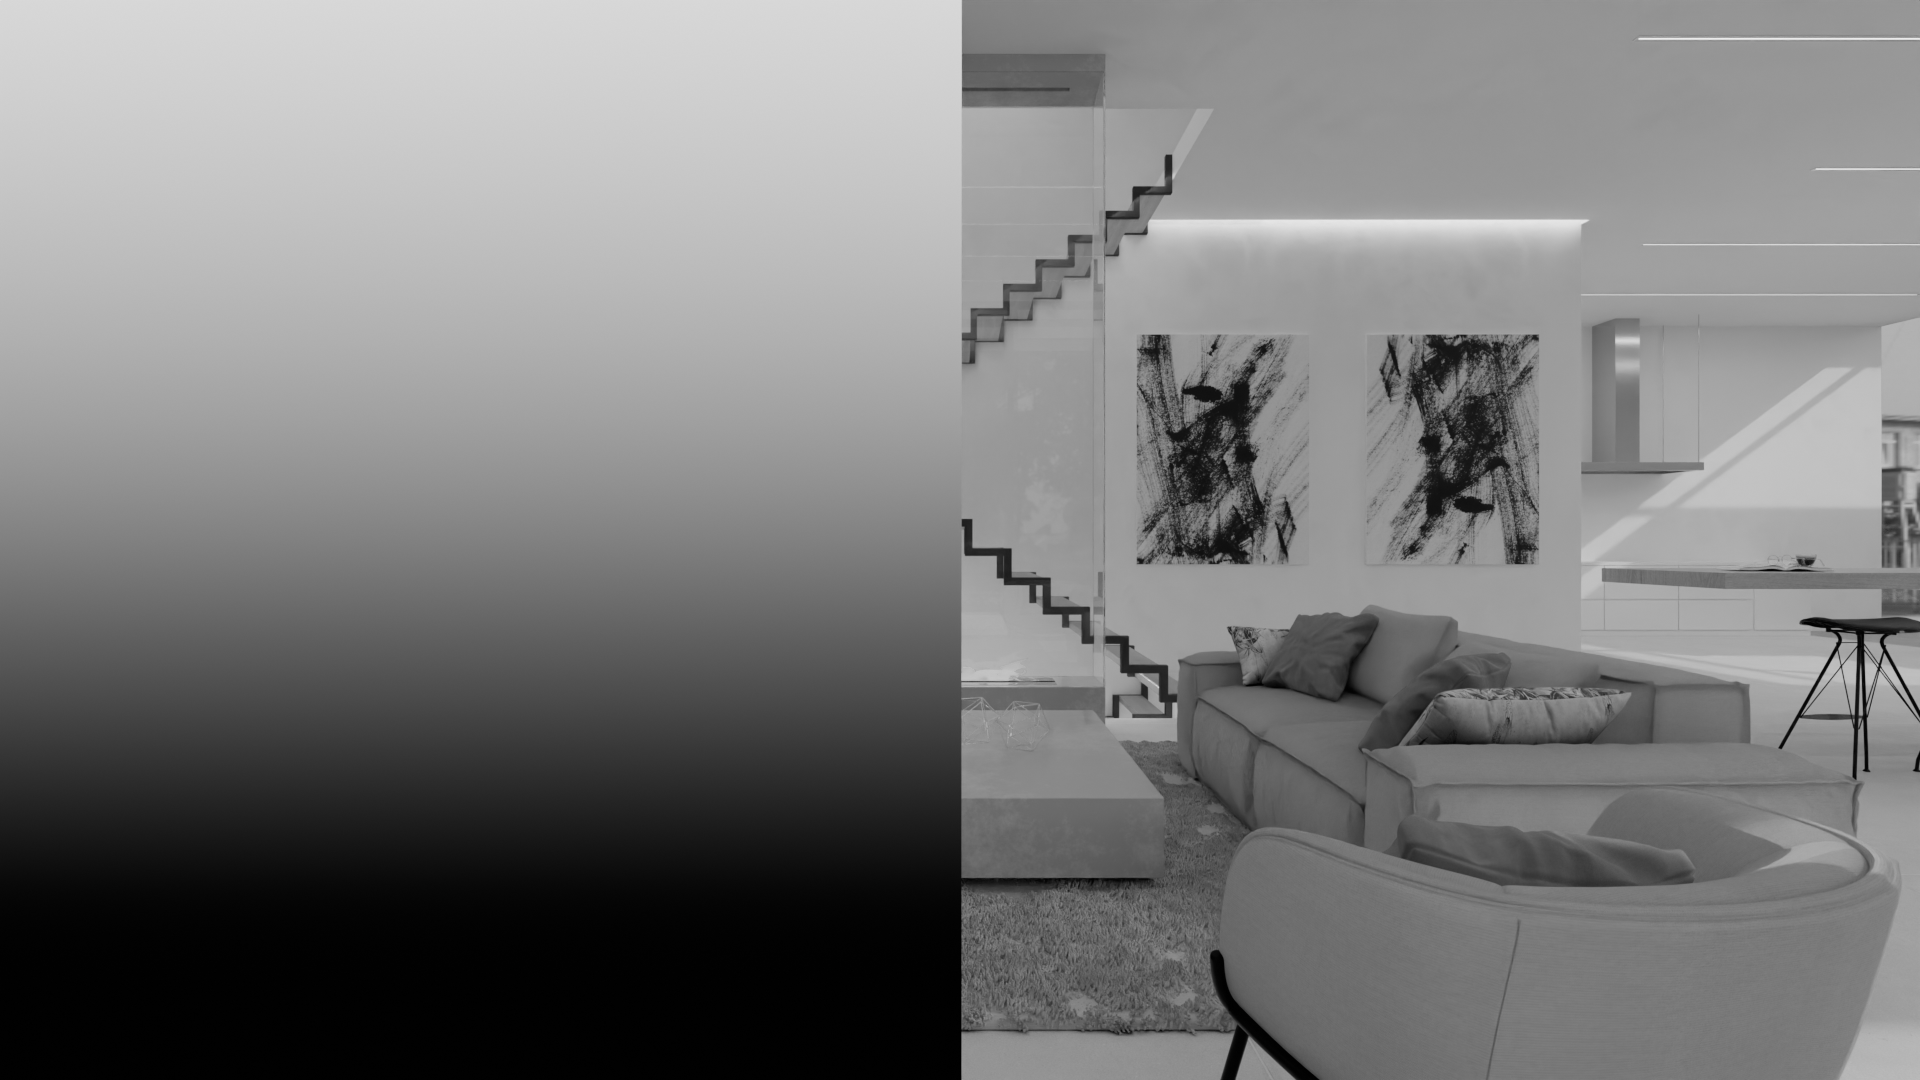
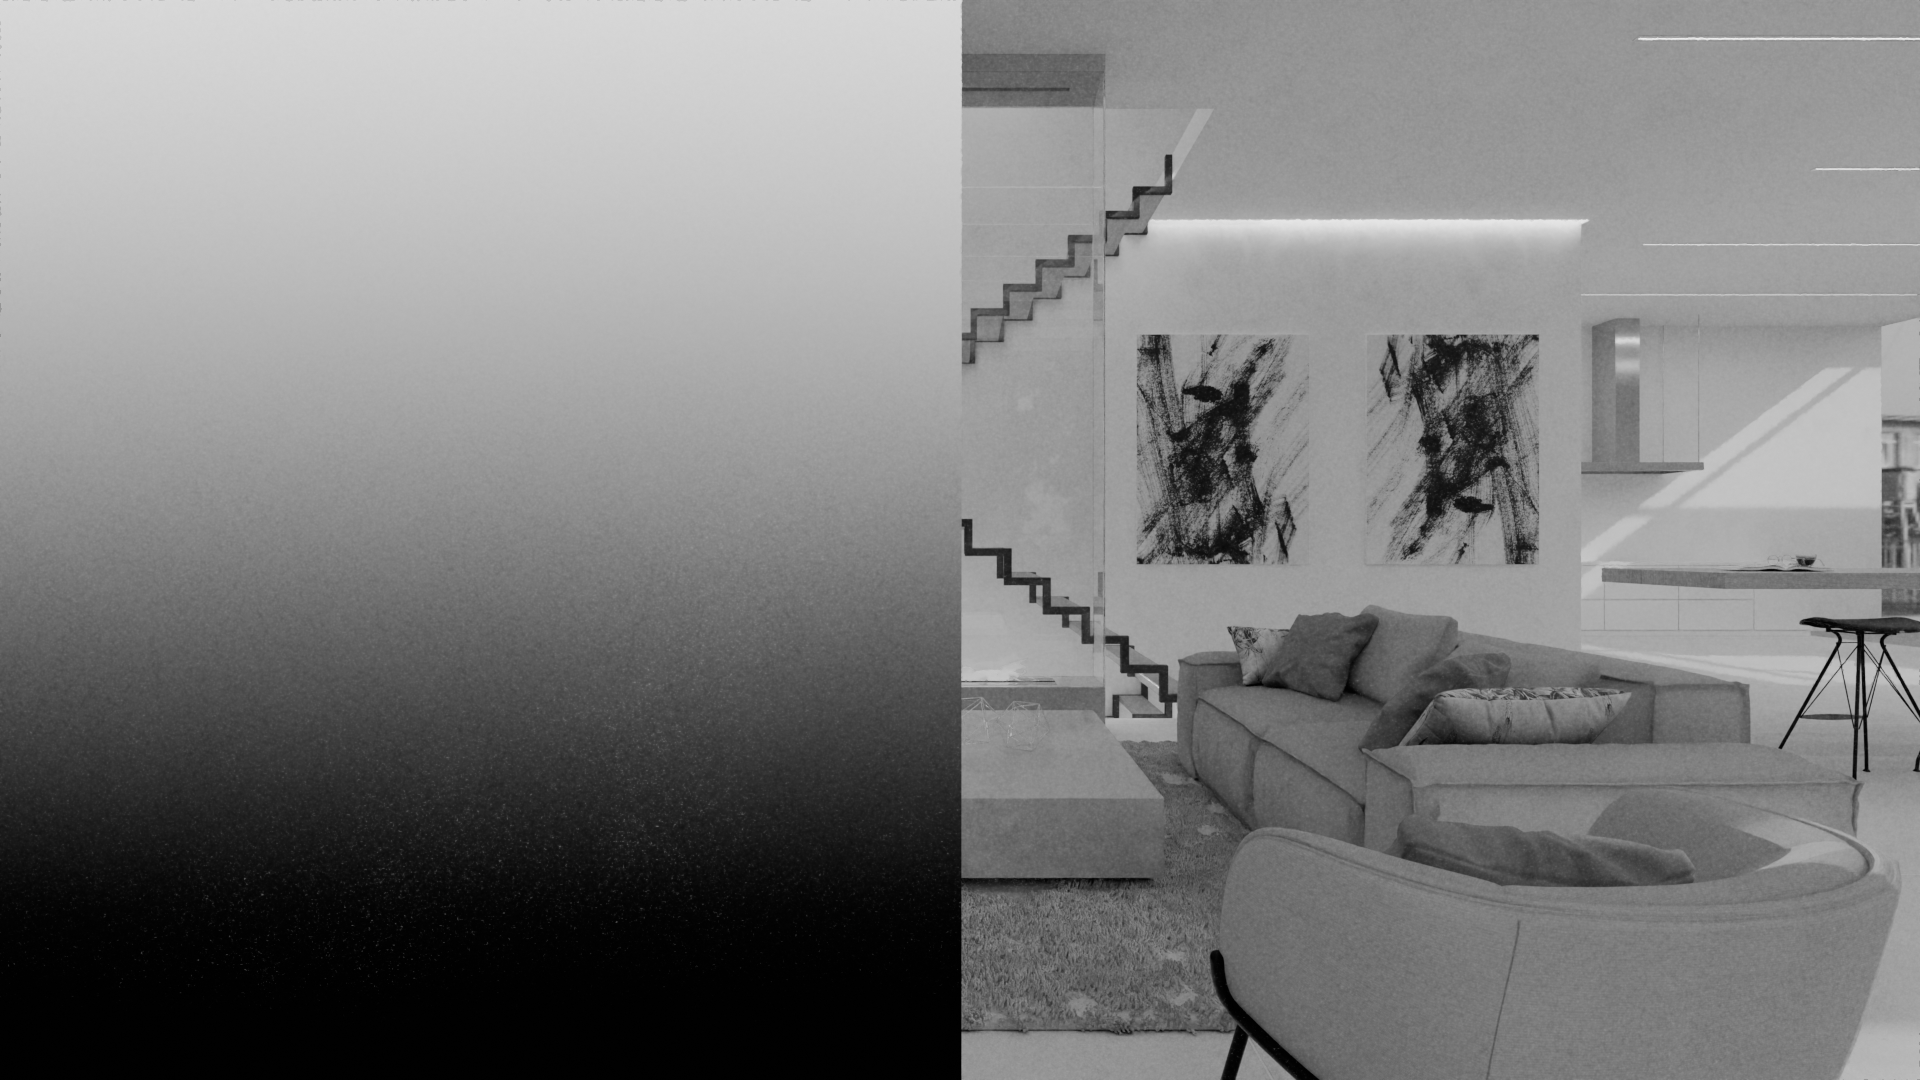
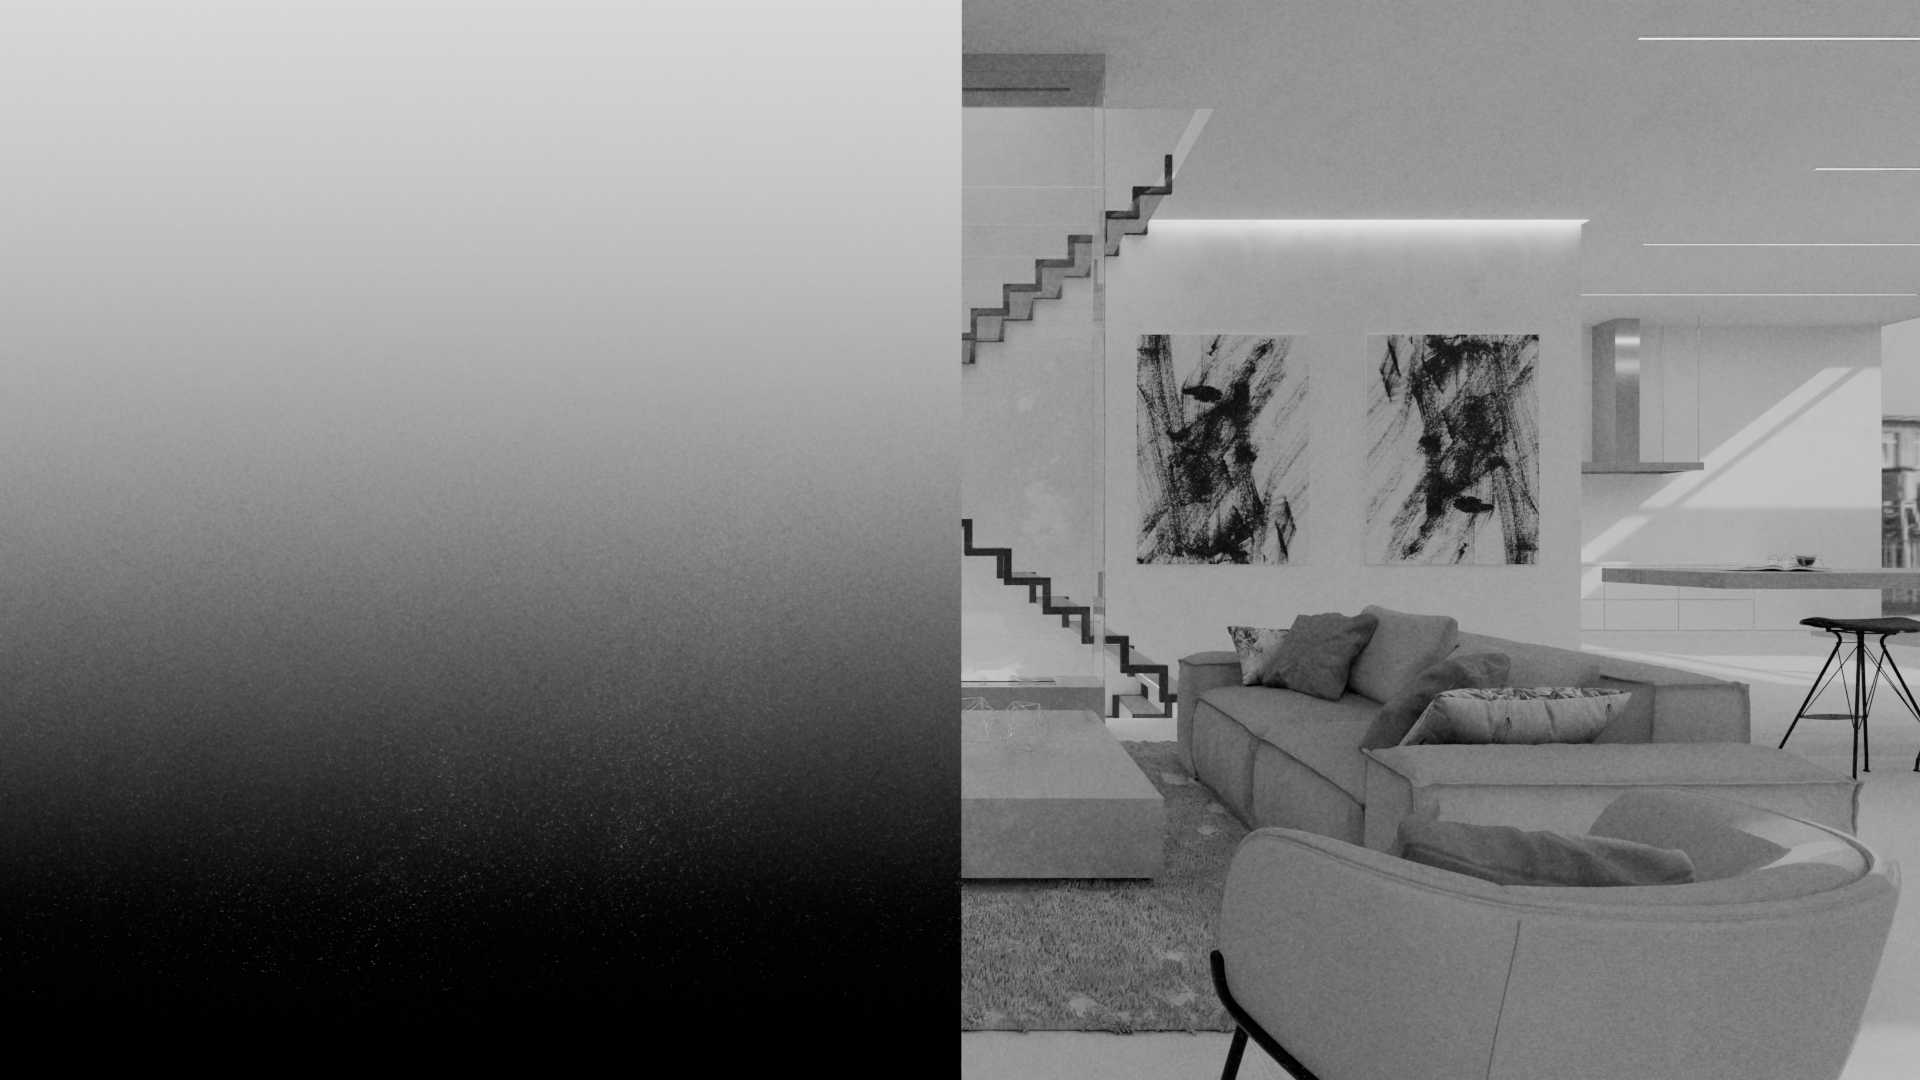
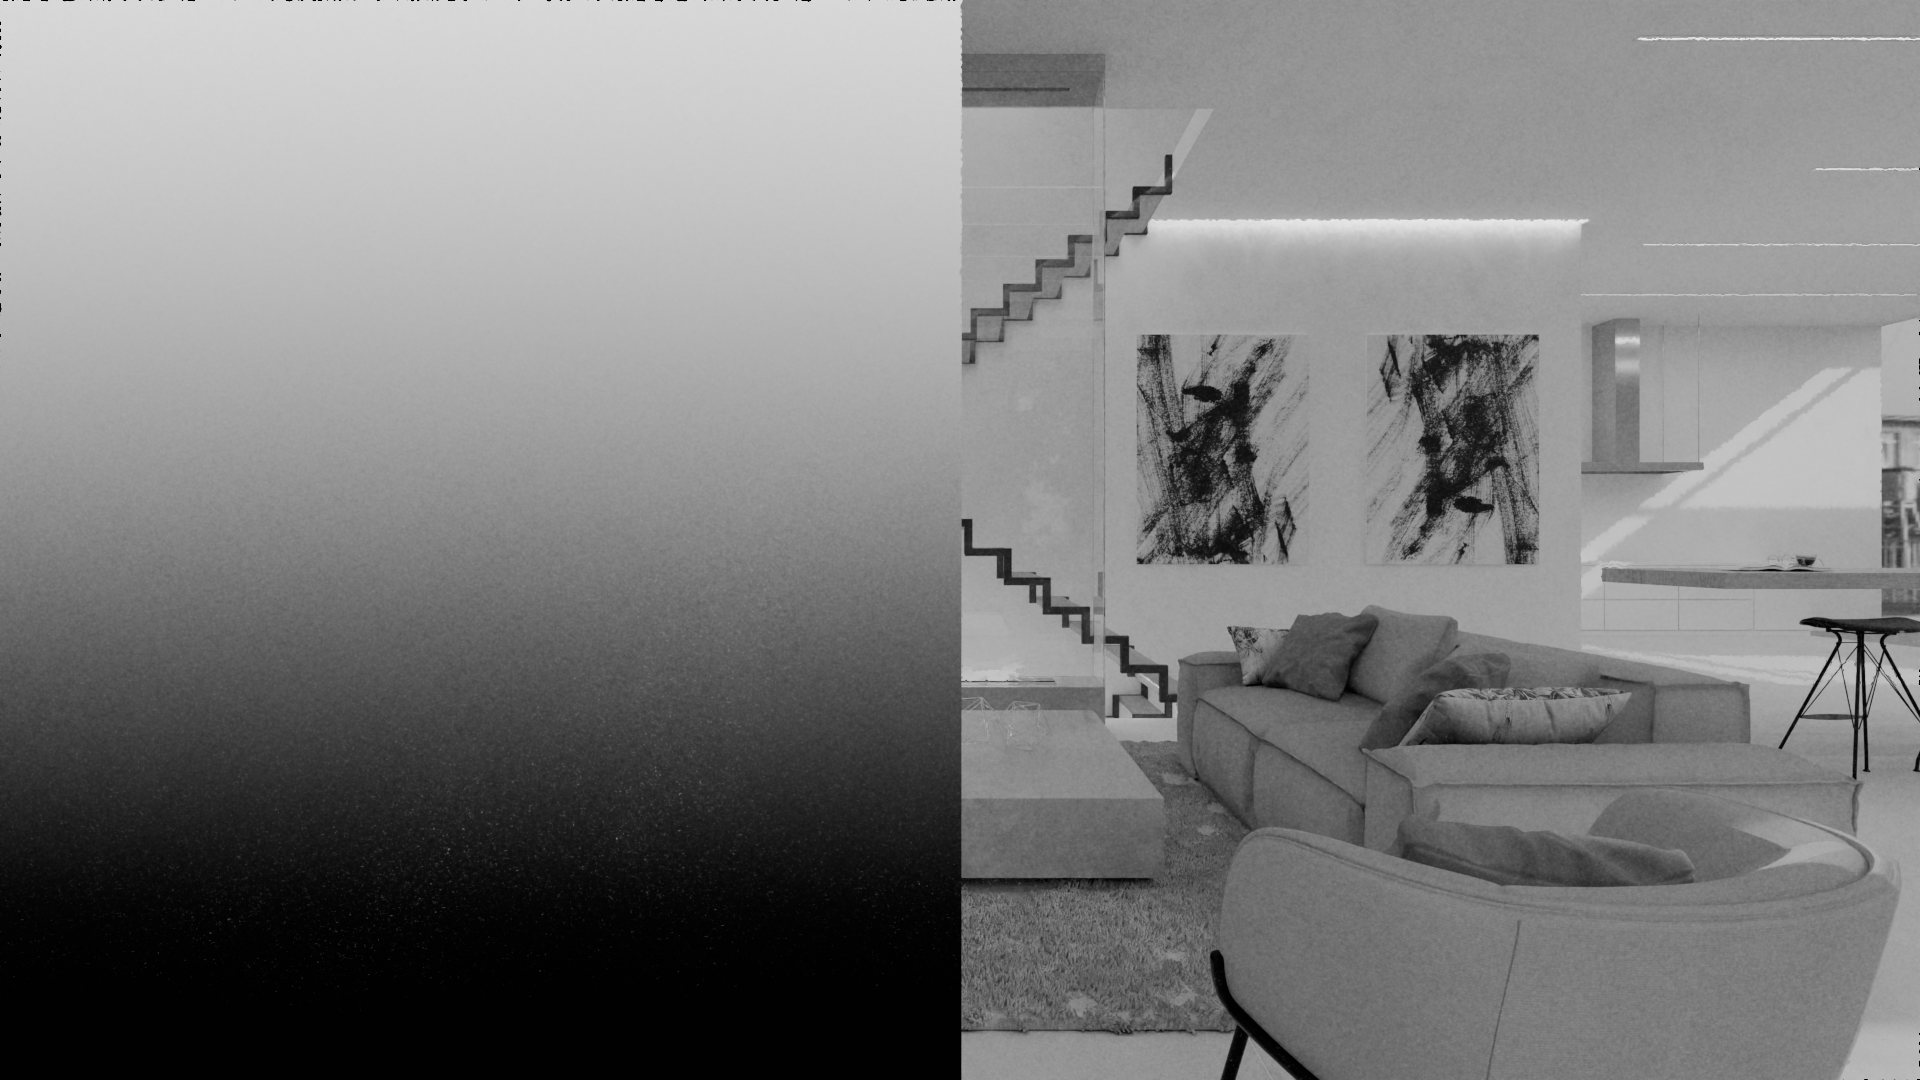
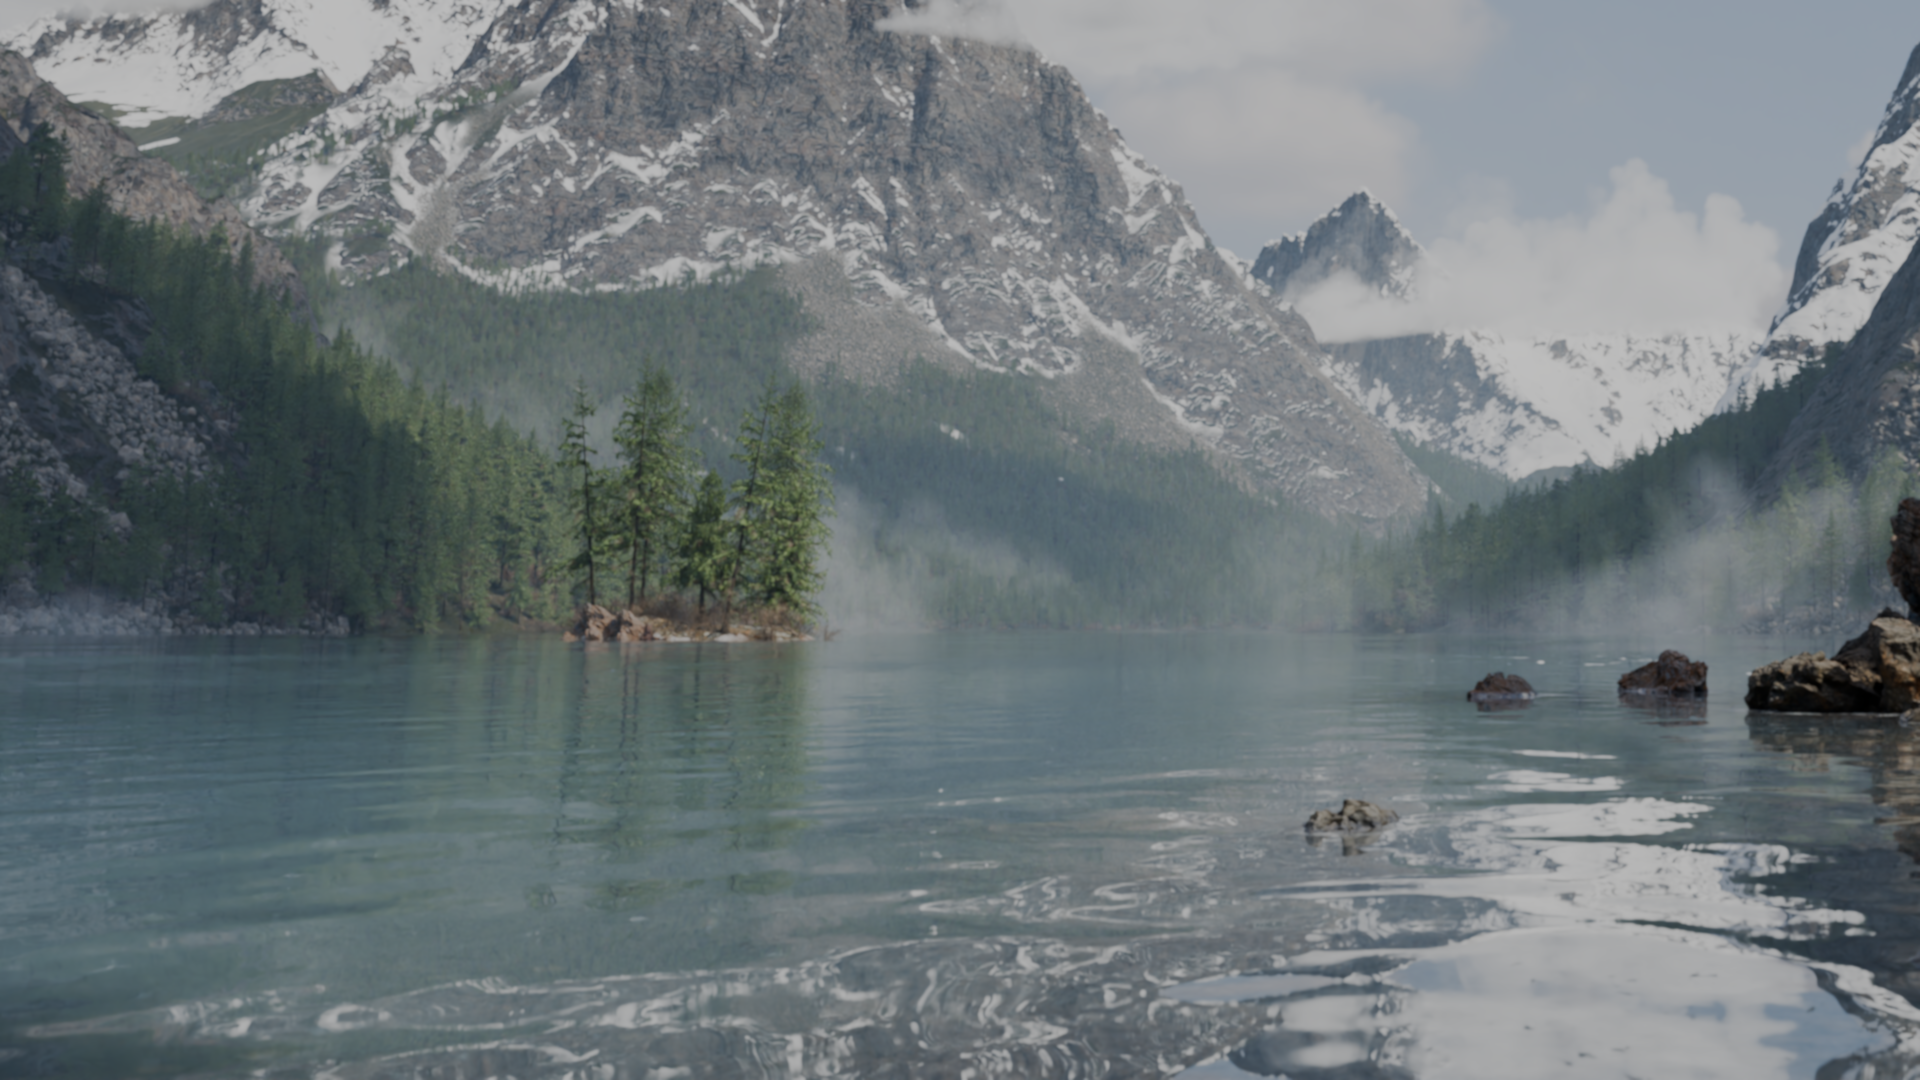
Creating accurate procedual film grain in compositor

Thanks for your insight, to be frank I have insufficient knowledge to fully understand what you’re talking about in your tonemapper thread, but I agree if we’re simulating the physical properties of film we cannot ignore the tone mapping aspect, which is also partly why some imagery look so obviously generated.

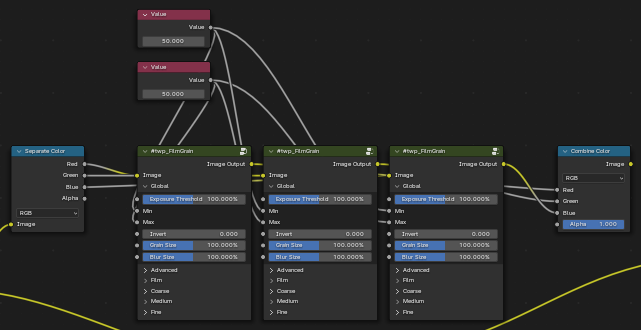
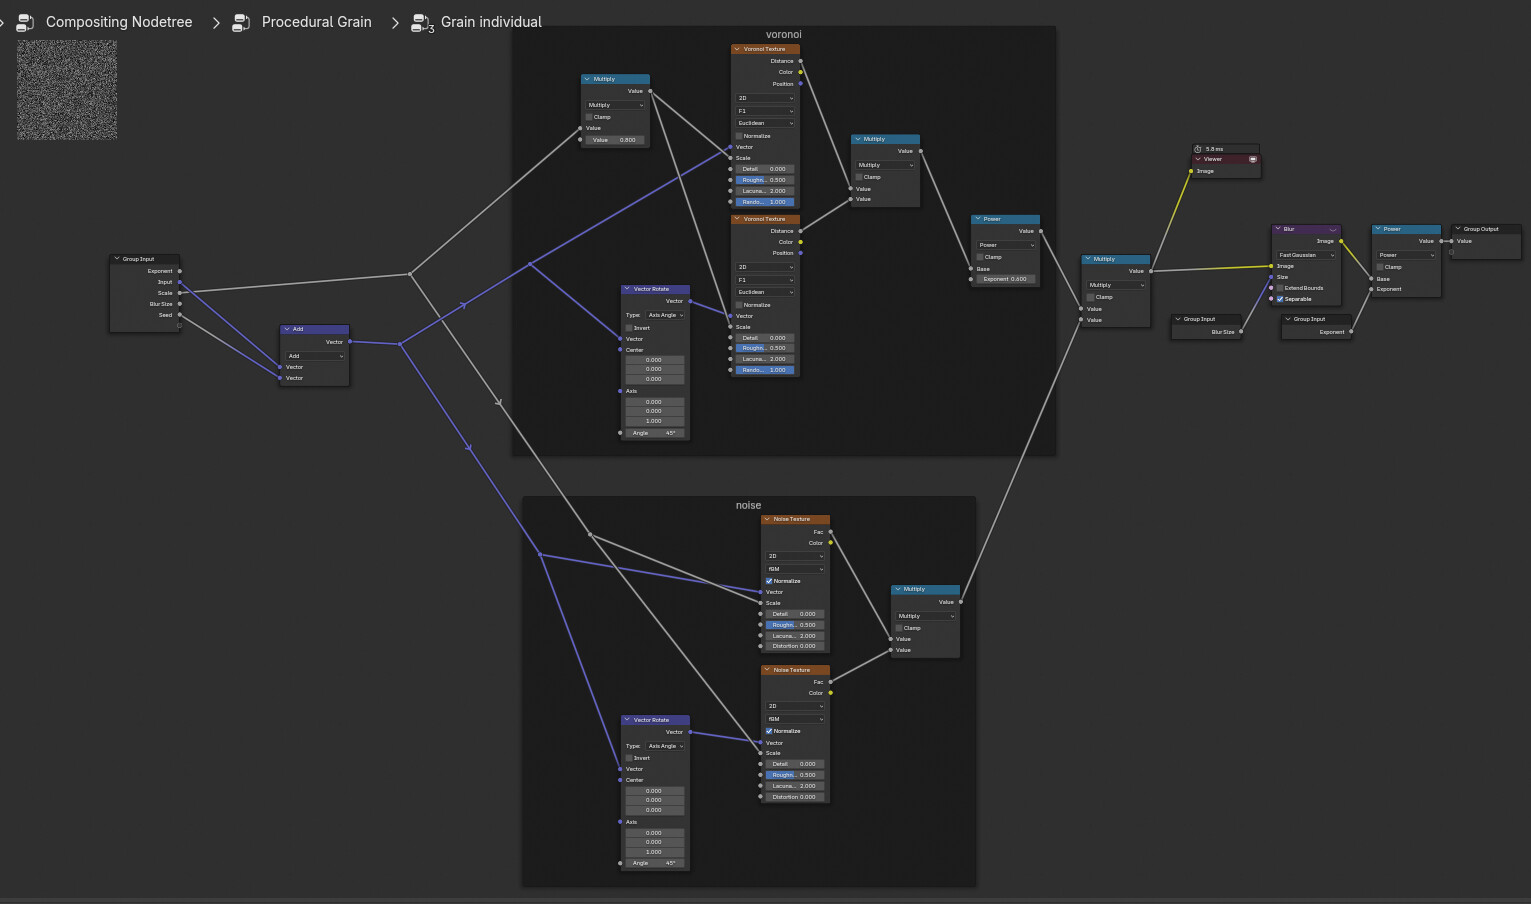
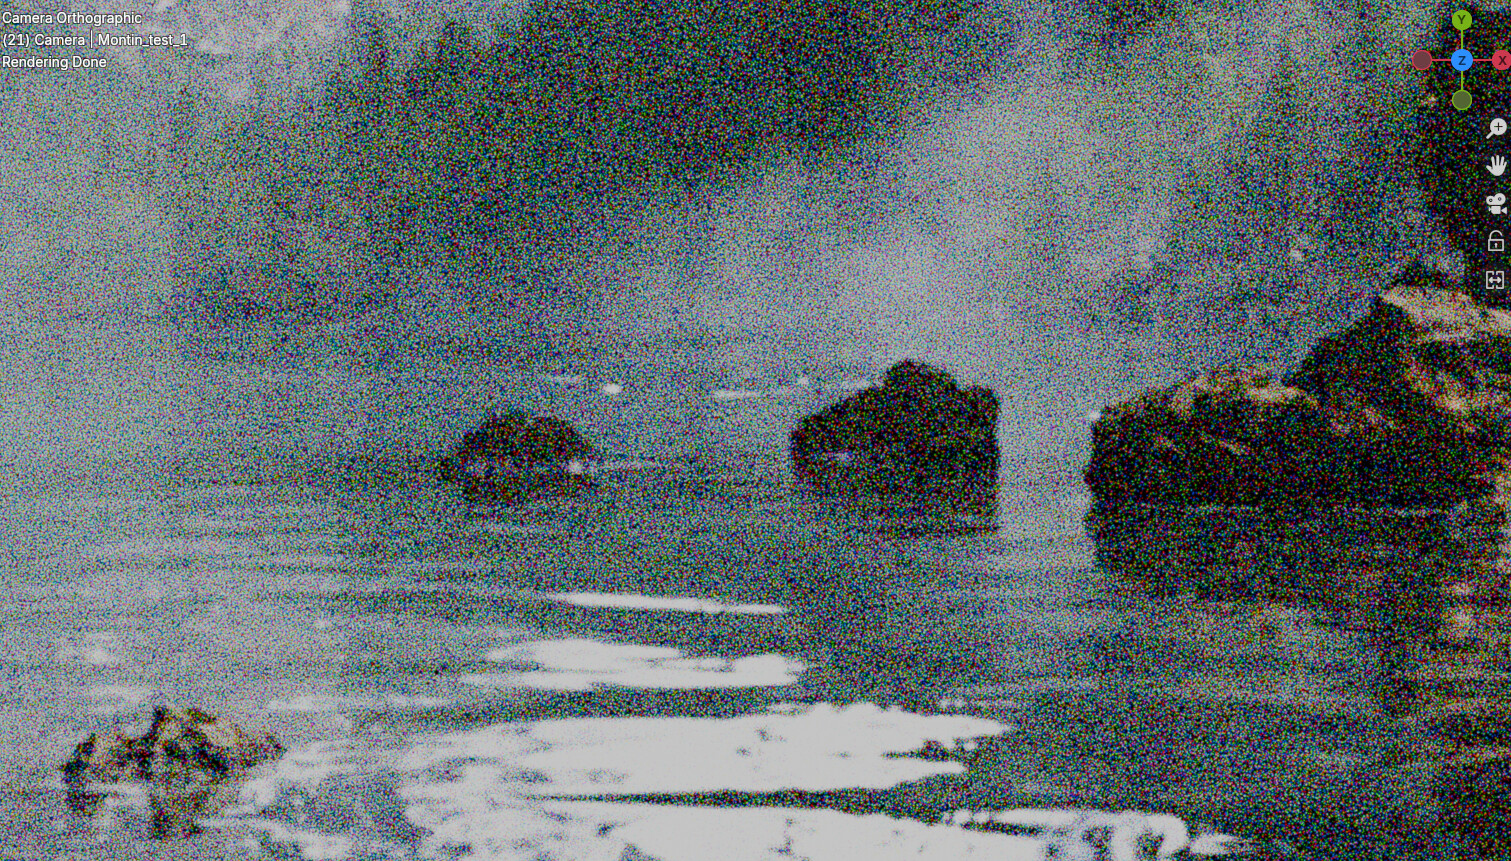
My method is very much an approximation with everything adjusted by eye. With these nodes I hoped to achieve exactly what you have described here, what do you think of this approximation?

I like the black and white outcomes of my node group much more than coloured ones and I think it’s because of a lack of simulated colour reactants. My original intention was exactly as you described - to move beyond overlay to sophisticated layers of particles that simulate or approximate real exposure. I plan to update this group with separated colour passes and the paper you referenced will give me plenty to work with. As the sciences of film exposure is still very new to me I might need your help in pointing out the obvious mistakes.

This sounds amazing. Would it suffice if I simply duplicated more of the micro grains in my set up and tweaked their settings? What would be a good enough simulation? And as shown before I simply used a colour mix node to make the additive particles blend in a bit, but that might be an over simplification.
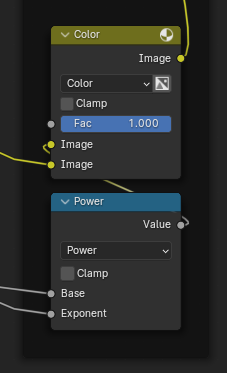
image
If you could help me understand how this could be implemented in blender that would be super helpful!

Thanks again for your thoughtful comment.

Tbh this looks to complicated.Nothing wrong with that.However, for the compositing is the best to keep the node build as small as possible unless you need to rebuild a function etc.

This is the setup for the grain overlay i talked about.A HSV color node to have the V for the luminance,then inverted to have the fac for mixing the grain overlay.
You could tweak it with contrast or multiply even further,but for the short test it looks ok as is.And as you know grain should look more subtle,altthough i like some grainy bw photos.

I think there are many ways to try this.I would start with a bw simulation to get the desired grain look.And if this is done it can be applyed to the color layer.

If reading through the filmgrain paper is that for a silver particle of 0.2-2 microns the colorcoupler size attached to this silver particle are around 25 microns .

But if you want to calculate all particles for 3 color layer then the compositing gets really slow.

A more simple idea would be to load 3 different 35mm film grain textures ,like in my posted setup,to have a different distribution of grain in each layer.

Working with such textures would be way faster than calculating every particle.

If you want to calc the grain from scratch.Then i would try the film grain dctl code how this grain looks and try to match the real grain size etc.

edit,i have searched for information about film resolution.The thing is,you have a theoretical high resolution of analog film.However,i think the best is to use the common resolutions of a typical analog film scan and the typical resolution of a cinematic camera as a Arri Alexa.This is 4k resolution.

I have read that the Alexa mini LF (with the big sensor),its pixel distant is 8,25 microns.
Then you have the Bayer pattern of 2 green 1 red and 1 blue peer pixel.Times 4 for one pixel gives you a resolution of 33 microns if debayered, if i am not wrong.This is close to size of 25 microns of the colorcoupler clouds.

Higher resolutions making not much sence,because its MTF details of high frequency image signals starts to blur at one point.Unless you have a 8k monitor and 8k scanned film as reference maybe in the future.

This has been immensely helpful! You’ve outlined many dos and don’ts for this project and I just need to digest them now, optimization is indeed a huge part of it as it’s already getting sluggish, taking around 2 seconds to simulate BW particles. Accounting for particle sizes at 4k scanned resolution may just worsen it. I still want to stay true to the intention to create procedural film grain so a lot of experiment needs to be done on my part. Thanks for the help!

Gather some paper and code

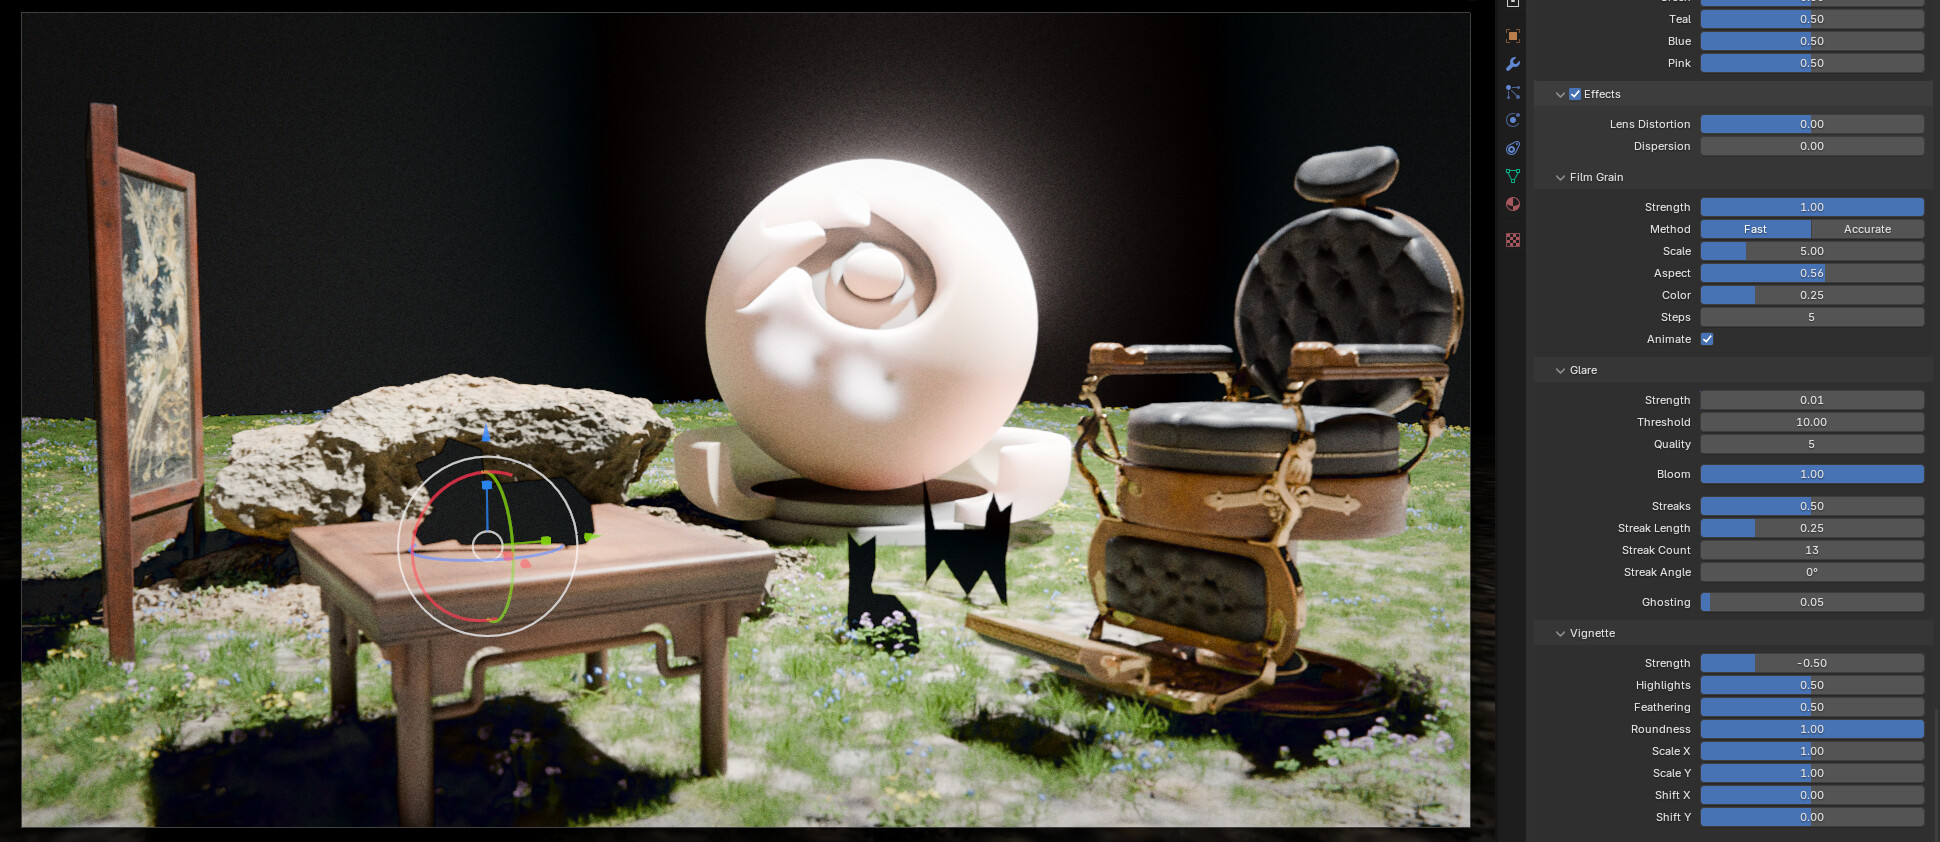
To my surprise, simply using one noise group for each colour channel on coloured images already produces much more acceptable results than before, and performance wise it is not much worse than using one group. This only simulates the digital scanning artifacts but it gives me hope that I can create many more “layers” that each respond to one part of the spectrum, and I’m planning to add interference from infrared light using a depth channel (some film capture more than they should which gives them a more atmospheric look).

image

NODE GROUP CAUSES CRASH IN 4.2

Just narrowed the problem down to recent changes to scale nodes. Compositor CPU compute will most definitely crash your blender and GPU compute will sometimes handle it after a long wait. It’s very hard to trouble shoot when the program just hangs. Please be patient and don’t use this node group in 4.2 for now.

I really wish that this can be generated by the engine based on the film settings and provided as an AOV. Regardless, this sounds like a great take on this important issue.

Hi all, quick update for state of this node group in 4.2

I didn’t end up fixing it. I tried the Render Raw addon and the whole work flow, how well they work with the RenderSet addon, and their implementation of procedural film grain all fit my needs better than what I had made myself.

In particular the viewport performance is great, it allows you to add colourized noise, and though the accurate method is not perfect, it is an interesting effect that some of you might be interested in. I highly recommend both of these addons for productivity.

I think a lot of people had high hopes for this node group and I’m really sorry I couldn’t update it to work with 4.2. I’m taking the lazy route and will stop releasing updates. Please note that this node group in its current state will be re-released under CC0 here on BA, you’re welcome to use it any way you like.

Thank you everyone for your suggestions and support! It’s been fun trying to figure this out together and I hope this node group will continue to help those of you who has a need for it.

Compositor Prodedual Film Noise by Yifu Ding.blend (605.0 KB)

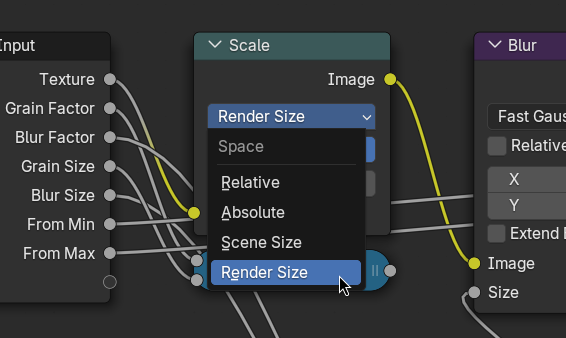
Hi there. I have just discovered this topic and decided to try fixing this node group to use in my own renders. The fix seems quite simple: change the ‘Space’ option of the scale node inside the grain layer node group from ‘Relative’ to ‘Render Size’. I am not sure if the result is the same as before, but it is usable.
I only tested it in Blender 4.4.
I hope this will help someone in the future.
Снимок экрана от 2025-05-28 19-34-41

Hi StarMage, welcome!

I tested your fix but unfortunately setting the scale node to render size removes any and all scaling and it will prevent the node group from generating noise at different scales.

I am happy to know that there is still interest in this node group and I also kept getting emails from Gumroad about new downloads. Honestly, for black and white images I prefer the implementation here over the one from RenderRaw. So I spent some time figuring out a way to make this work in 4.4.

Specifically it was the noise pattern not respecting the scale input from the texture panel that broke the group, so this newer version will have to use Voronoi and Clouds for the larger scaled noise patterns. It will be noticeably different from what it was before.

New features:

  • A value compensation slider for the multiplicative pass so images are not significantly different from the input
  • A subtle displacement filter for fuzzy edge especially near bright edges
  • More detailed tooltips
  • Fixing some of the inputs that weren’t working as good as they could be

This new version I’ll upload on the Gumroad Page and as a direct download
Compositor Prodedual Film Noise by Yifu Ding.blend (824.5 KB)
.

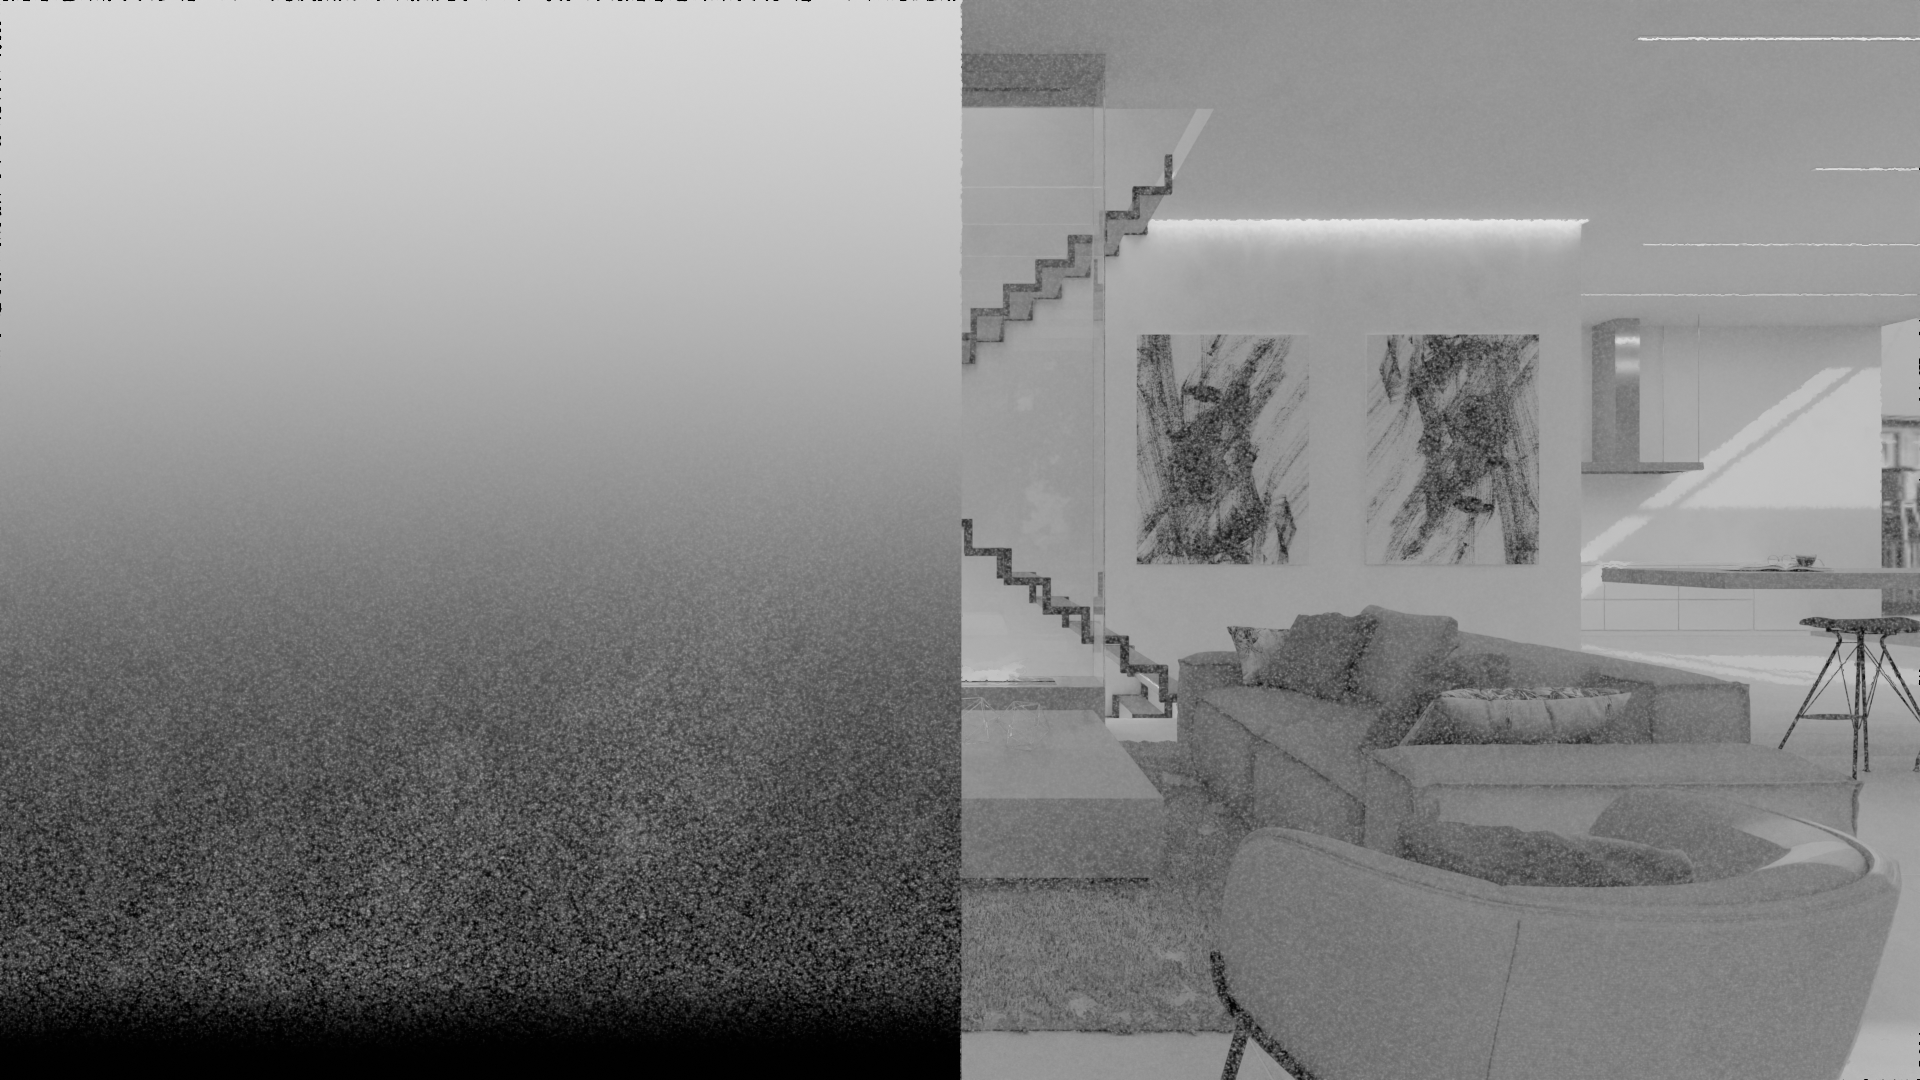
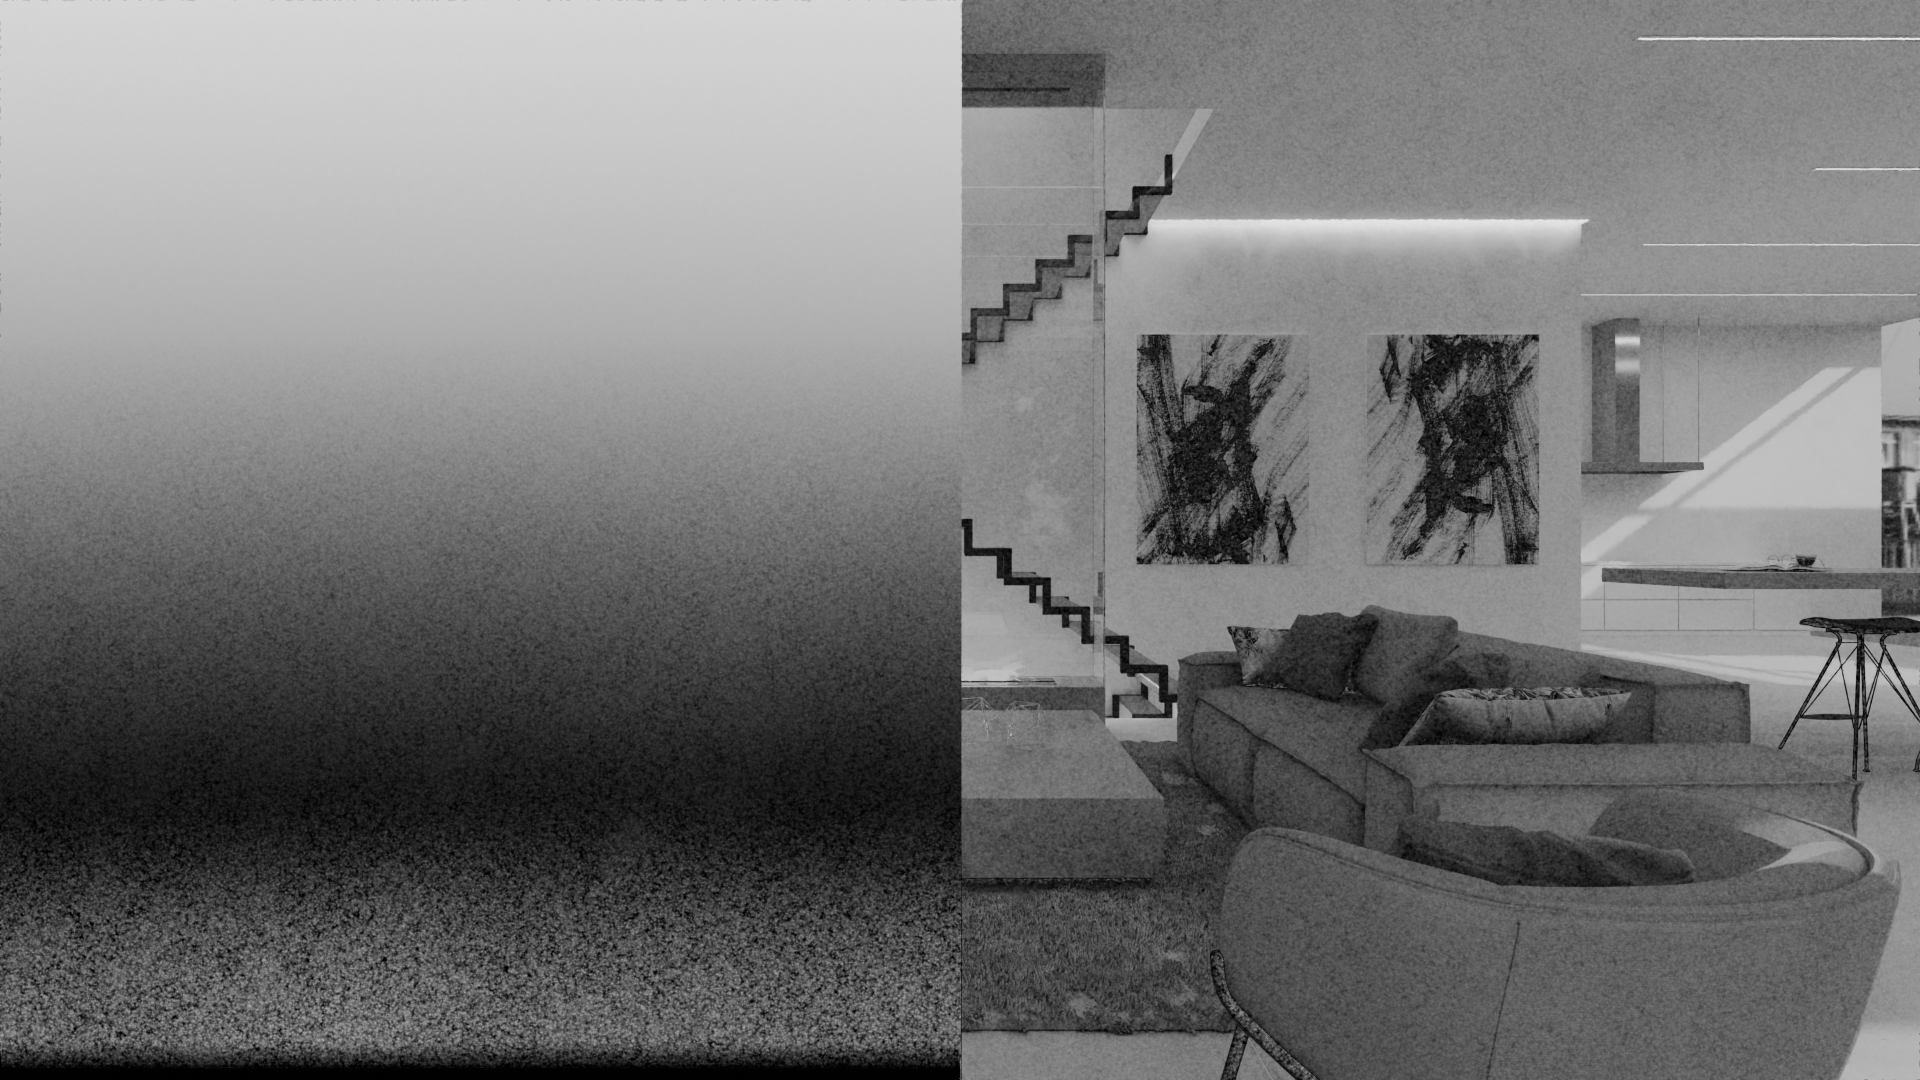
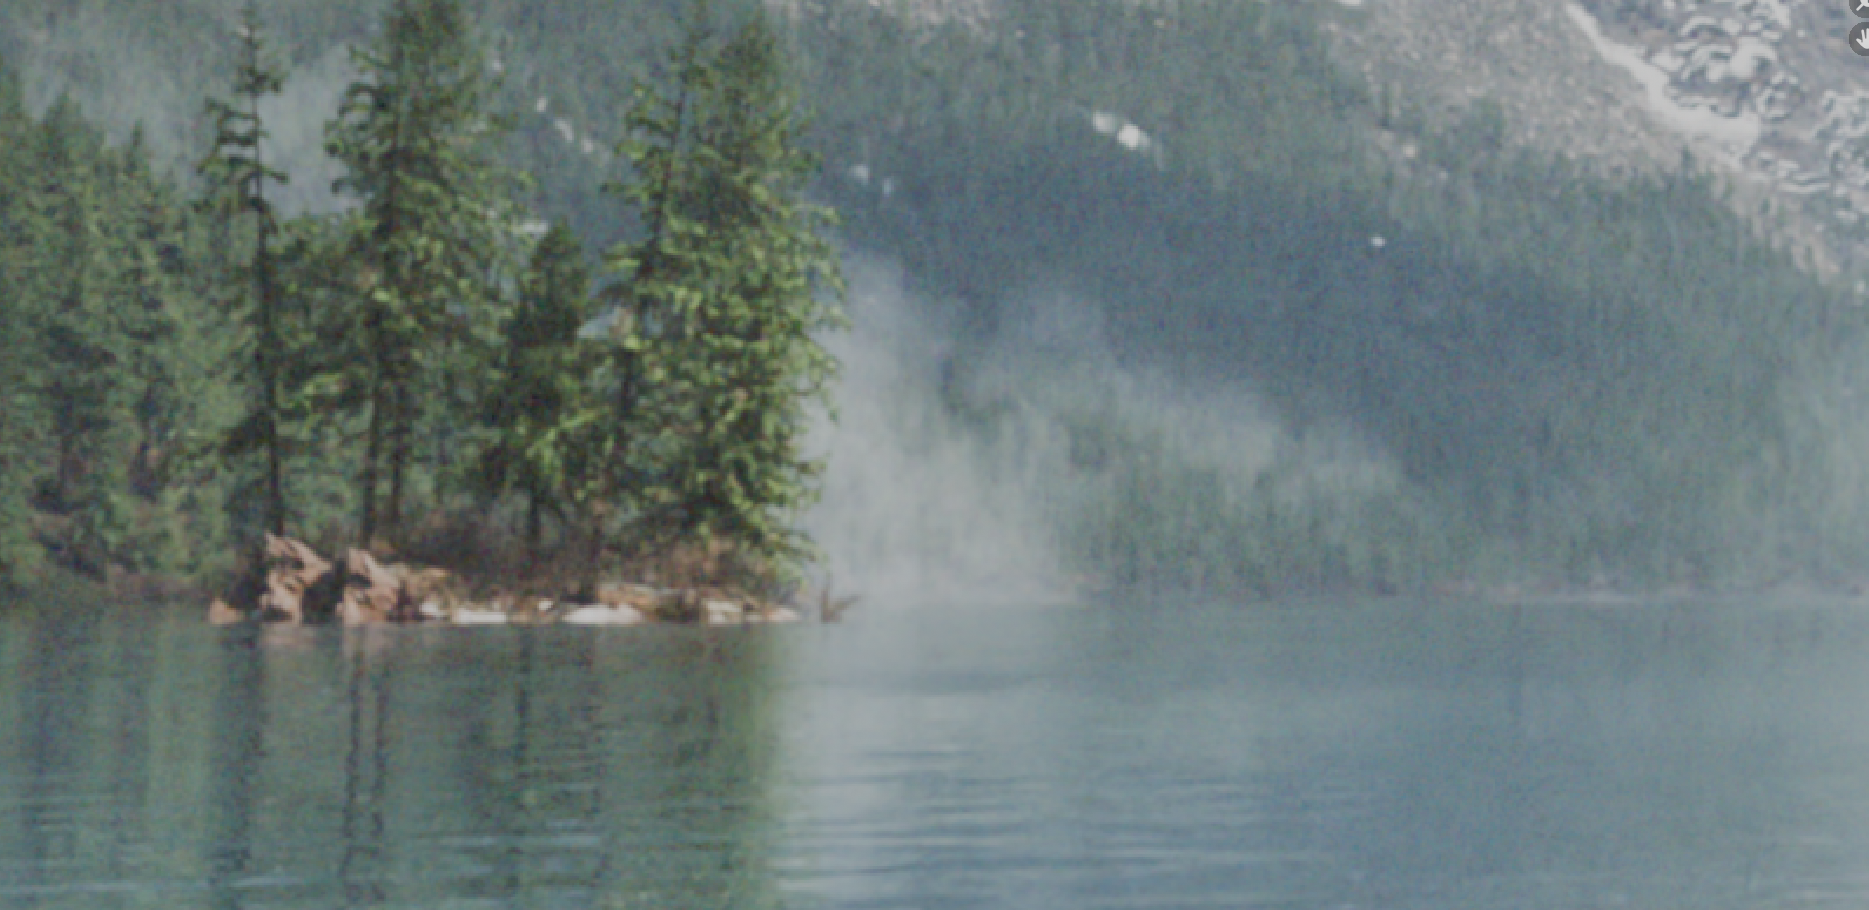
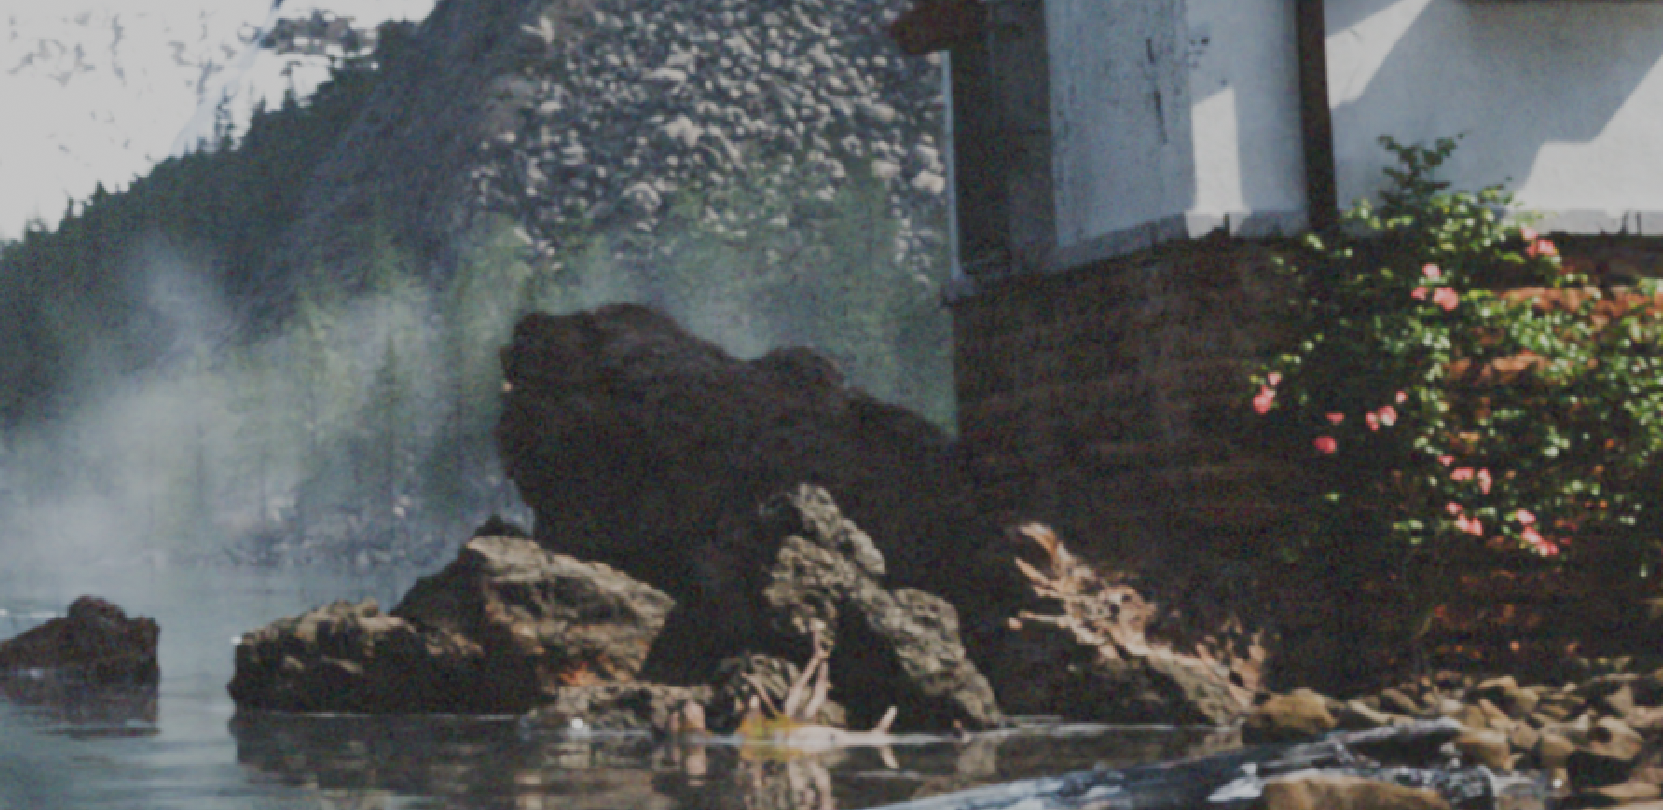
Examples *Left: No Displacement* *Right: Max Displacement*


Faded


Textured


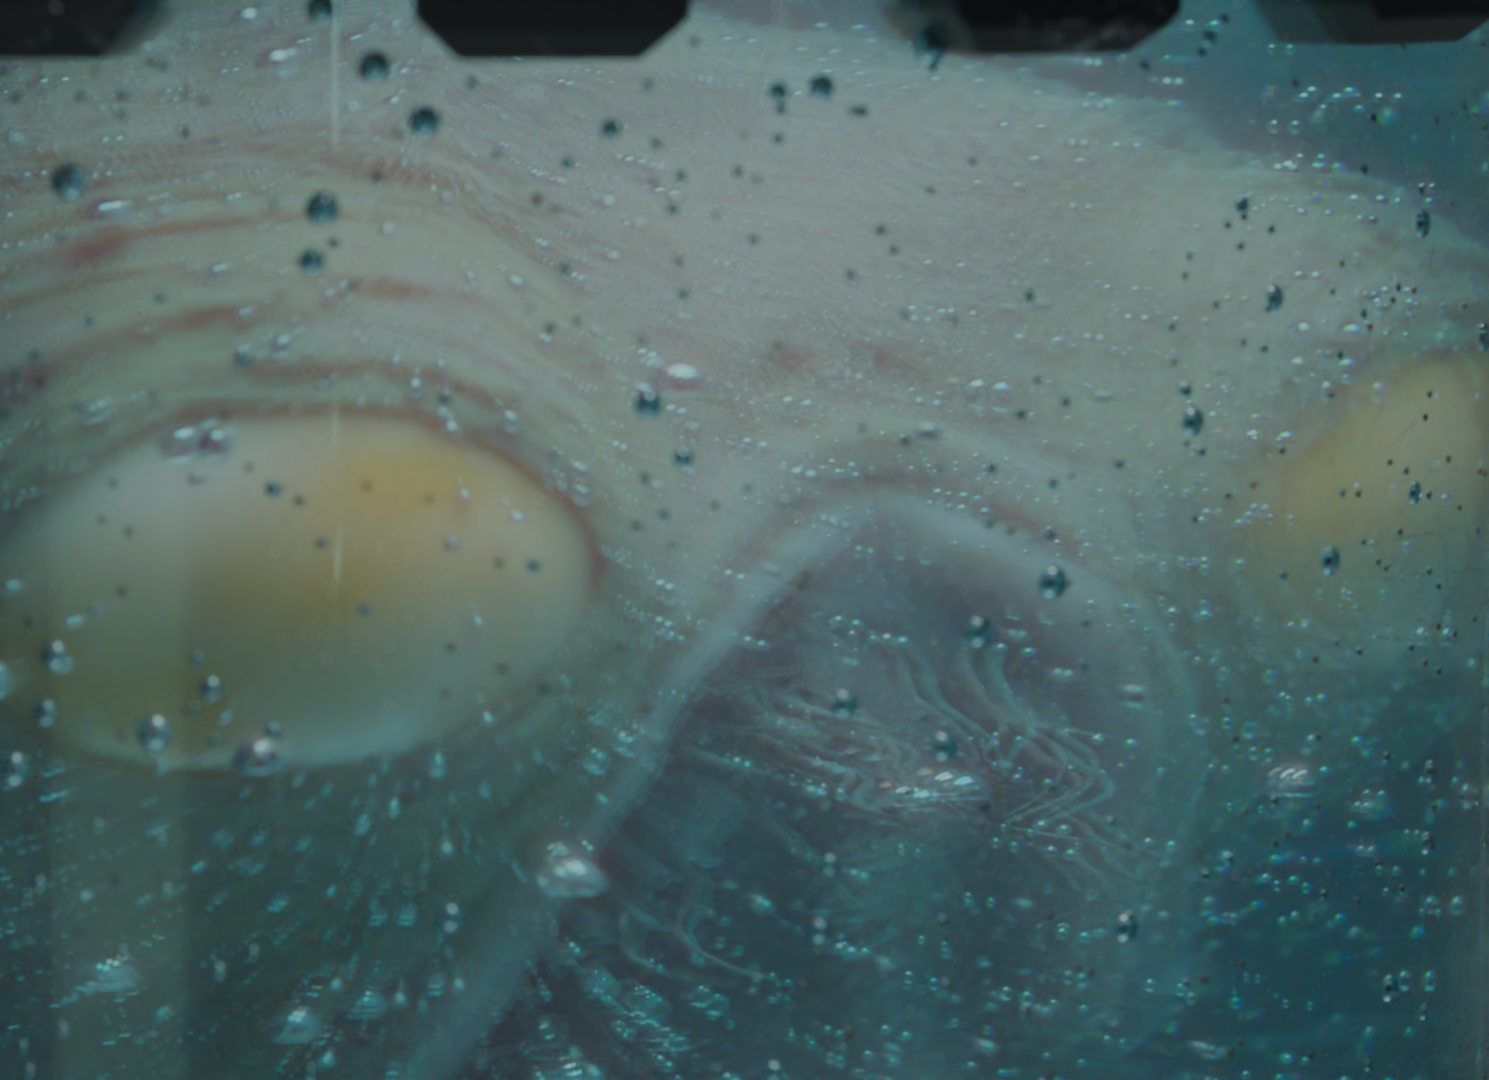
Whatever this is

Interesting thread!
With the new release of blender 4.5, and the new support for the different textures in the compositor I also had a go at making some grain.

My setup goes the overlay route, and uses a combination of noise and voronoi textures which look like this:


Then I influence the grain contrast by the Lightness value of the image I’m applying the grain to. So I can control how much grain I want, both in the shadows and highlights.

And I have 3 separate grain patterns for each color channel to get some of the color noise. But since I also wanted to be able to control how colorful the grains are I also have a simple black and white grain pass as well.

Here is the final setup:


I do need to boost the values a bit after the grain is applied.

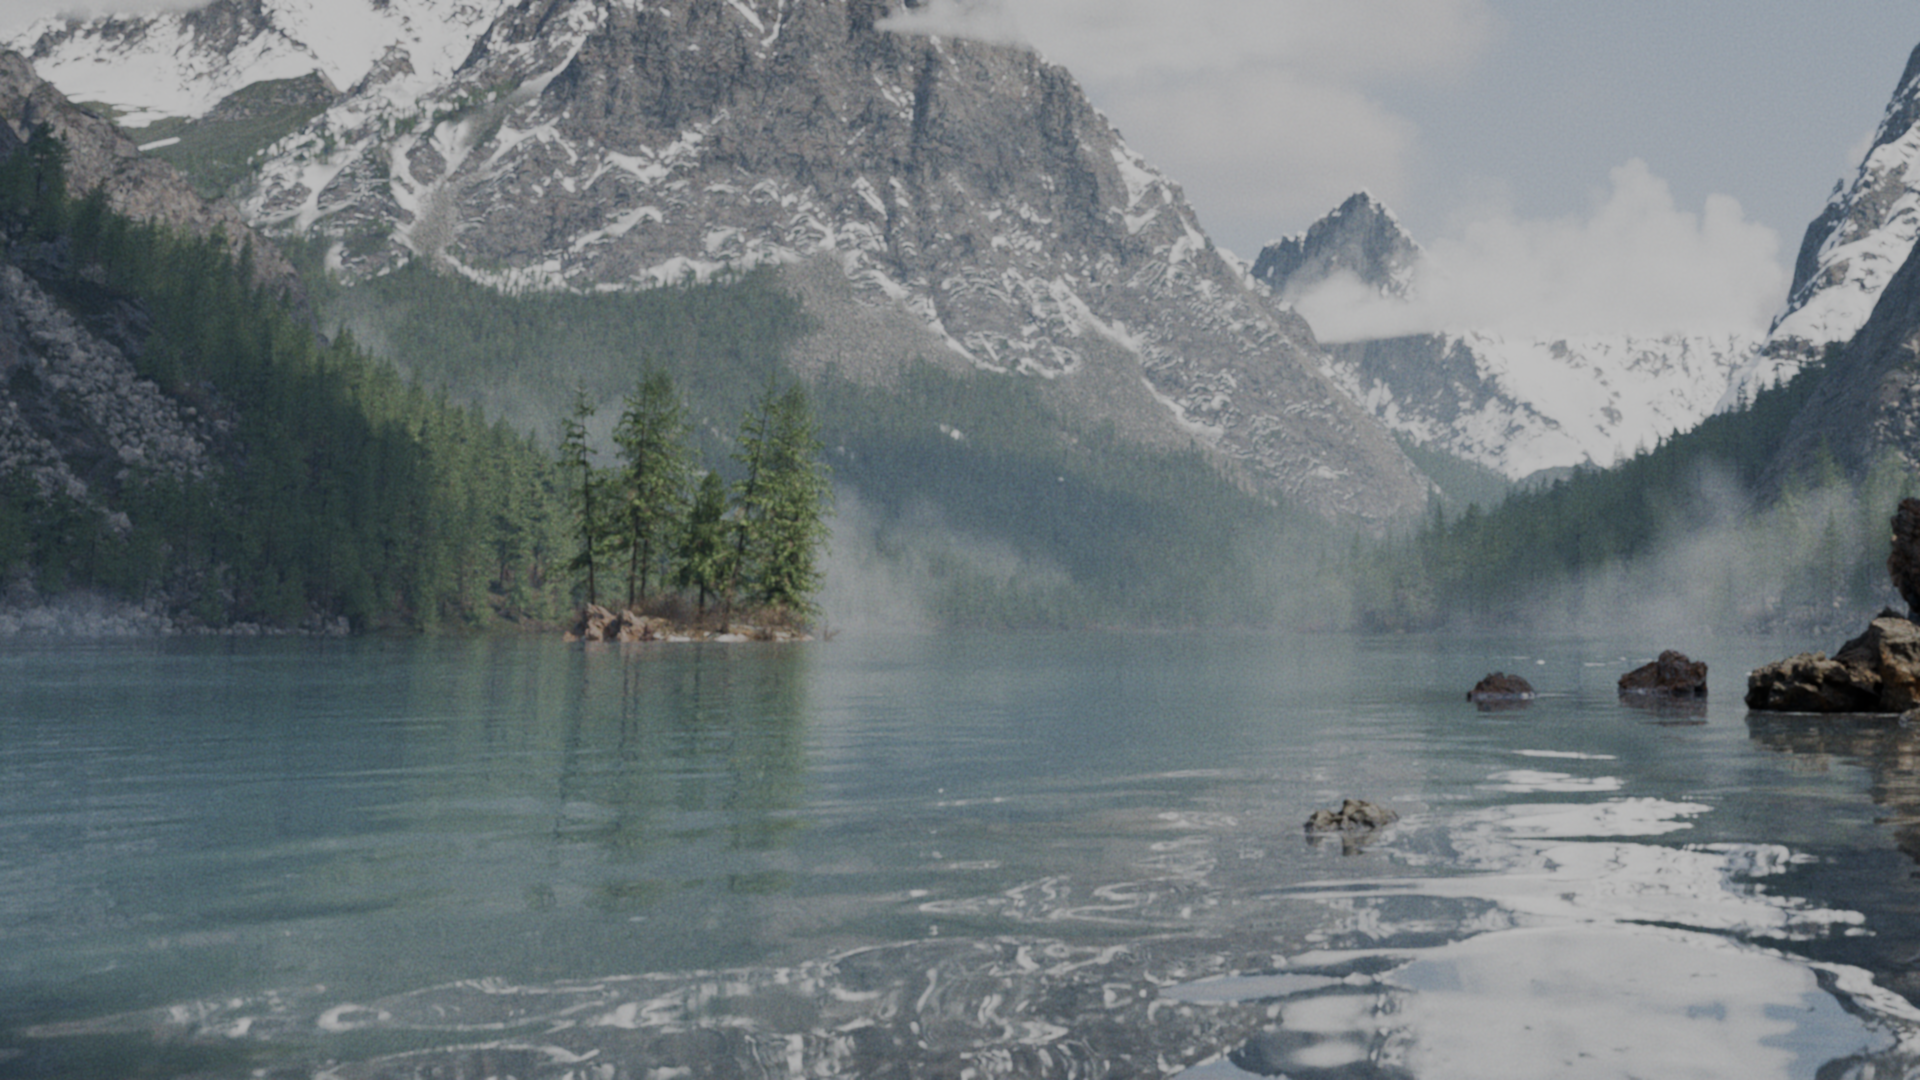
Here is an example:

I might have exagerated the grain a bit too much here, but it is a flexible setup for a reason.

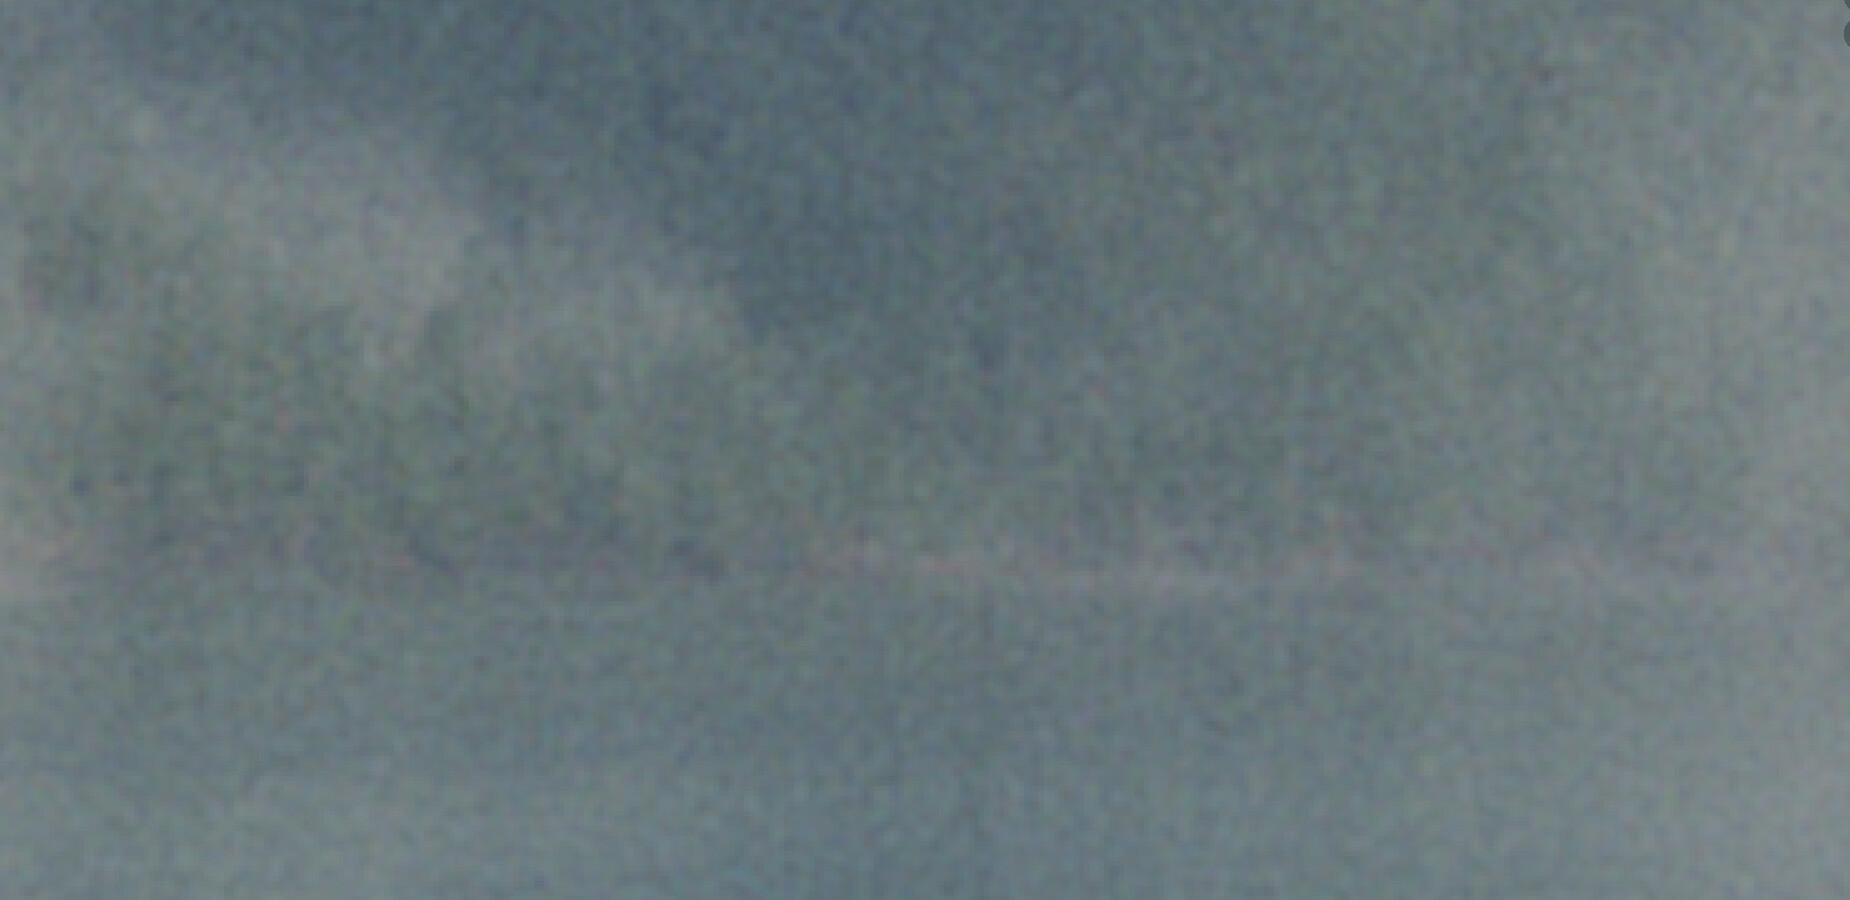
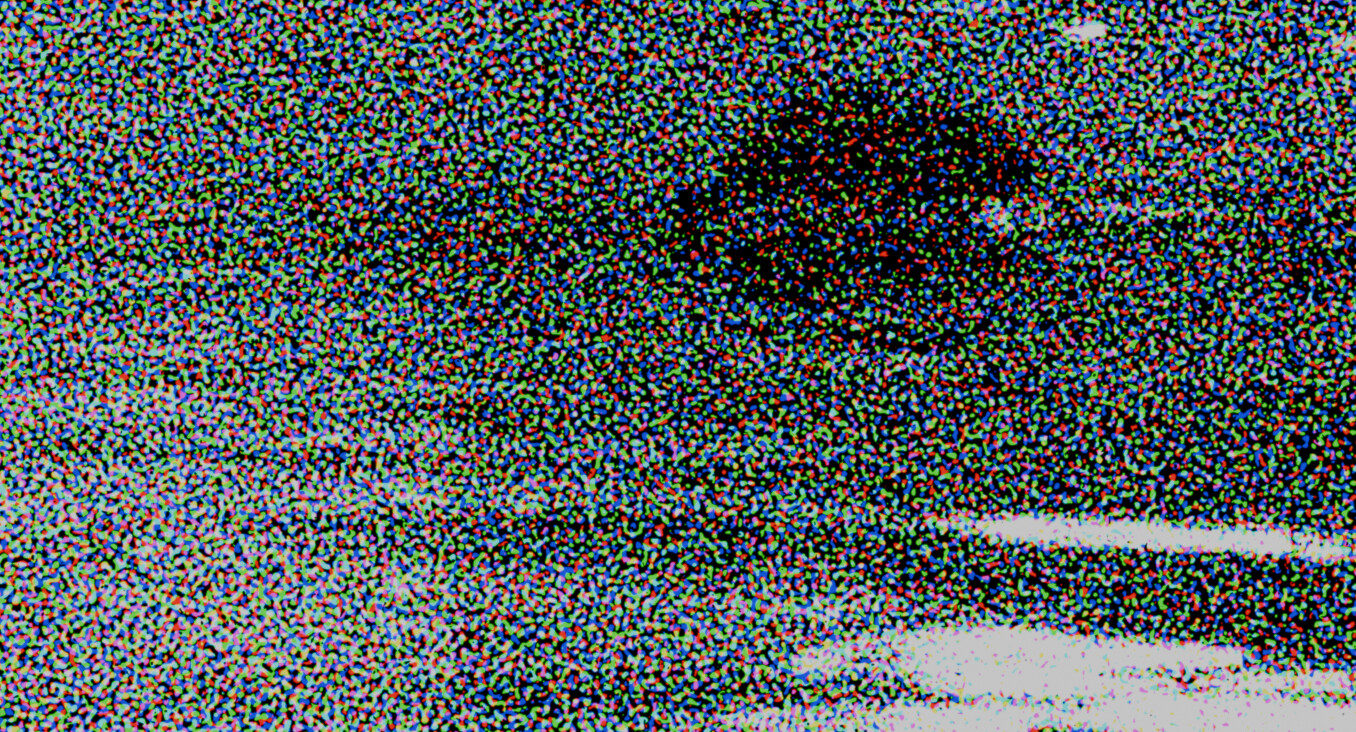
Here is a closeup of the grain structure:

Later on I want to look at other textures to generate the grain structure, for example I think the Gabor texture is a pretty good alternative to the others.

If theres interest I can share the nodegroup once i’m done experimenting.

I have also tried making a setup where instead of only overlaying the grain texture on the image, I instead reconstruct the image using the grain itsself. This should be essentially emulating how the whole grainy business works in the real world.
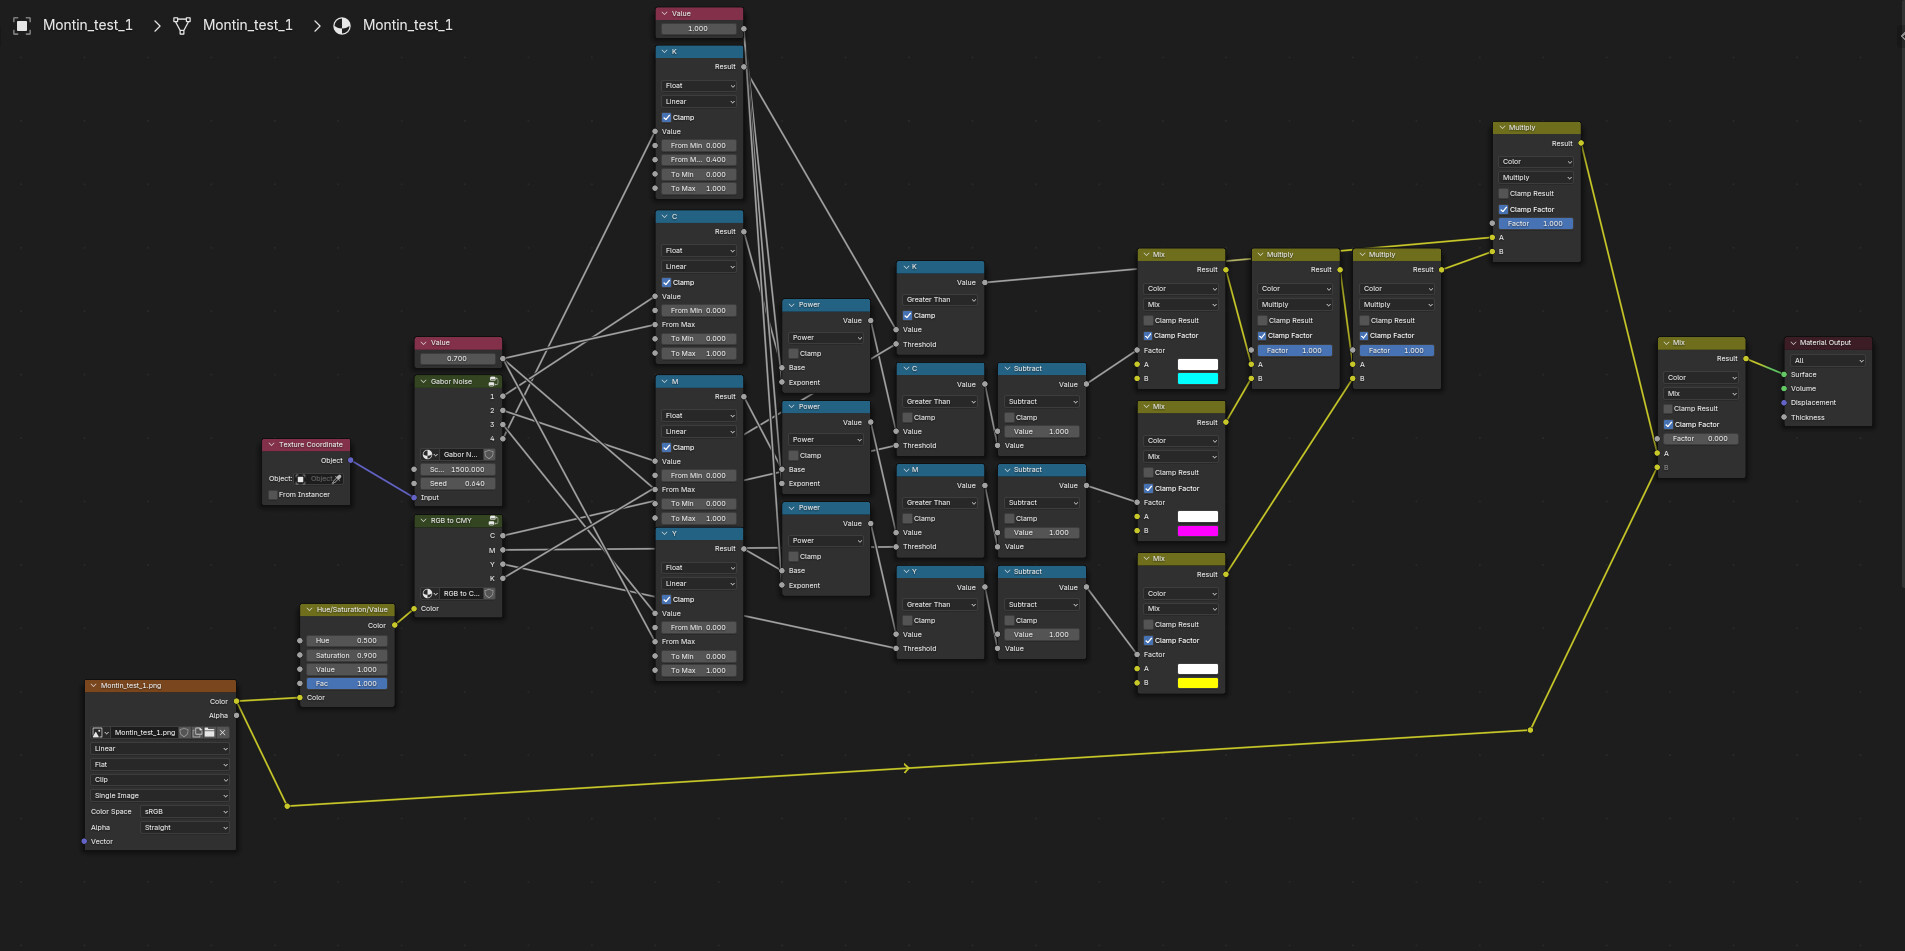
For now I made a setup in the shader editor isnce I am more familiar with that.

In this case I am using a Gabor texture as the grain pattern. I then separate the image into its CMYK channels and essentially influence the grain by the image.


This way I do not get details smaller than the grain itsself, which can be a problem with the overlay method.

I then combine these passes as the CMY which is a subtractive method of showing color:


In theory this is somewhat how film grain works, allthough for the best result I think decreasing the grain size and softening/denoising the final image then results in a nice grain pattern. I might also need to change the grain pattern for better results.

Here is the grain pattern you get from this method:


One important thing of analog film (which would be simulated with grain) is that every color emulsion layer has three different Agx particles of size in the layer.
For fast,mid,and slow sensitivity.
The fast particles are small for the highlights,mid midsize for midtones and for the shadow region the slow and larger ones.

This gives you the fine grain in highlights to mid grain in mid tones to the larger grain in shadows

You may need to upsize your grain producting image layer /cmy before resize back to final image to handle the grain size better.

You can do this without upsize however if you want to simulate a real grain subtractive color system you want to use a upsized color grain layer because of the subtle overlappings of such tiny grain.

In high quality film its hard to even see grain with the eye.