There are 4 threads here and many videos on youtube already on the topic of film grain but none seems to address the photorealism side of it. I’ll admit it is pointless to go for realism but after trying all of the available solutions, I must say that although some of them look great and is good enough for most cases, I still want to take it to the extreme and see what else we all can offer in creating the ultimate film grain node tree.
If you are interested in helping out, please upload your own version of film grain and share some thoughts on this topic. Alternatively, download my work in progress (1.5 MB) and point out any flaws or potential improvements. Any input is welcome and greatly appreciated!
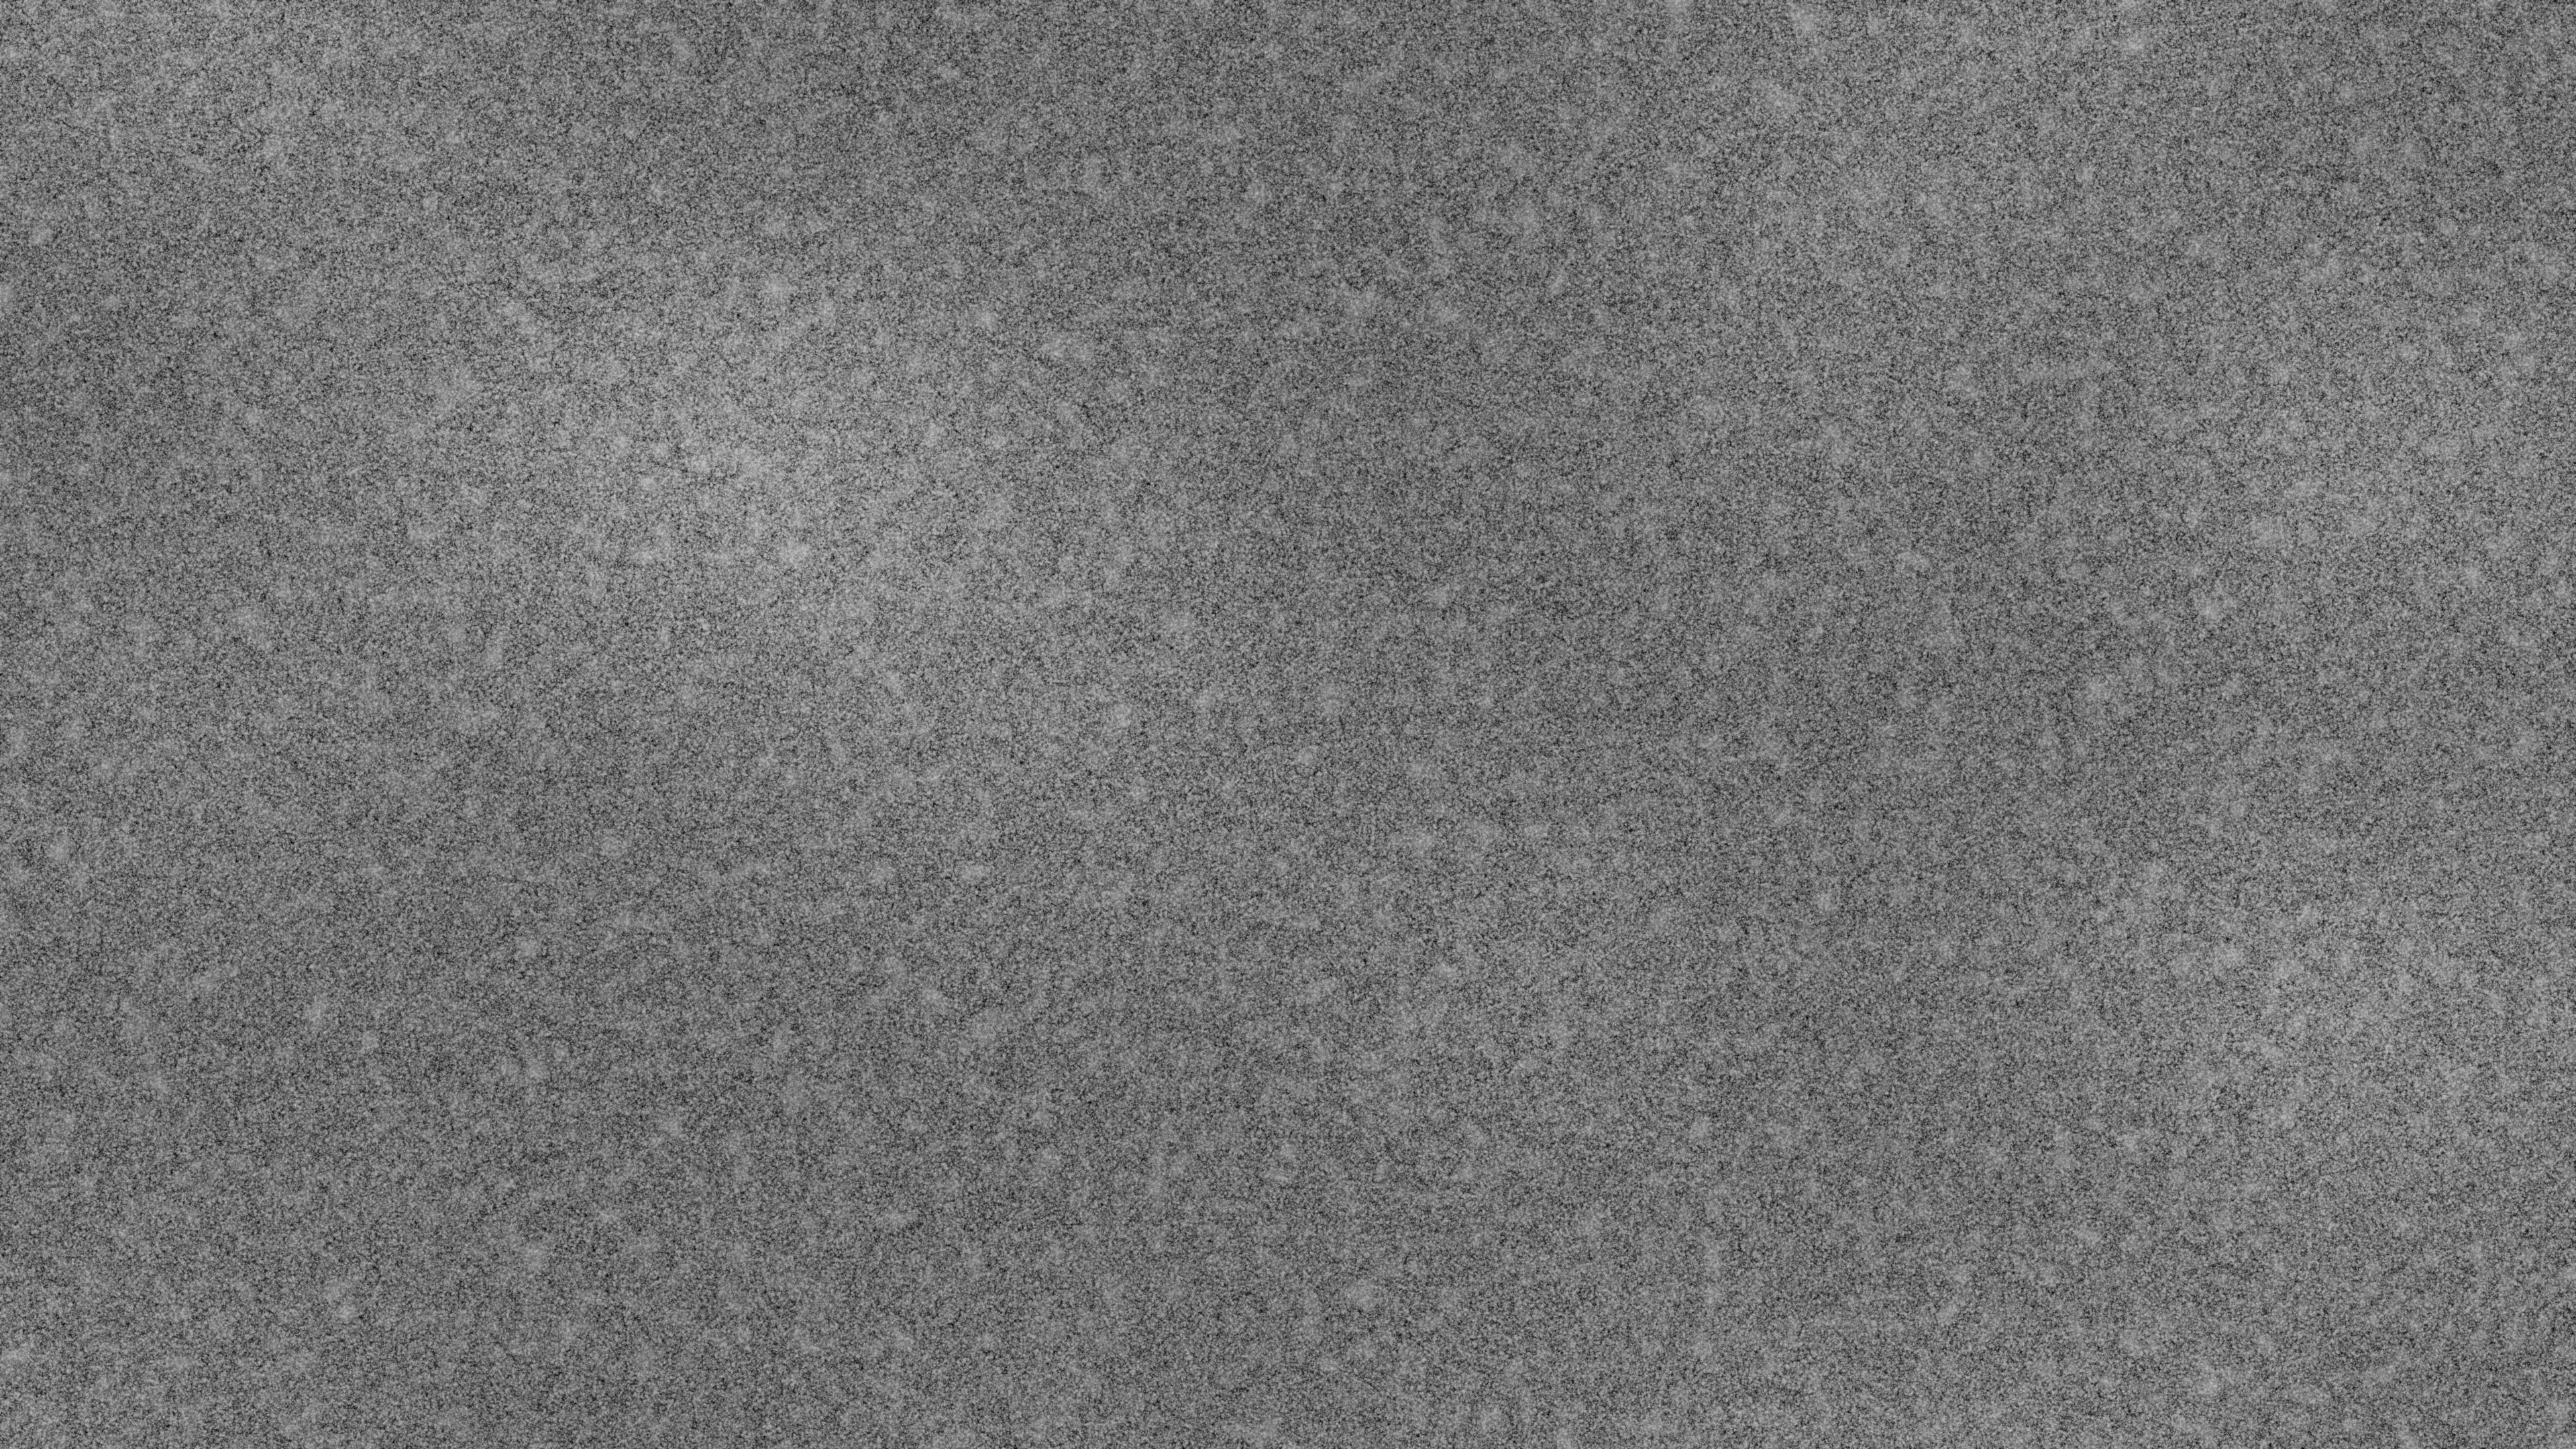
My biggest question so far is whether the black pixels should be affected by the film grains. When I look at real 35mm film photography it seems that there are film grains everywhere. In that case, should pixels with a lower value be handled differently than the rest? I also get the feeling that my grain is much too uniform and not pronounced enough.
If you genuinely want to be photorealistic I suggest you research film structure and emulsion http://www.sprawls.org/ppmi2/FILMSEN/
However as noted in the wiki page https://en.wikipedia.org/wiki/Film_grain FGO or Film Grain Overlay may be random but is disconnected from the exposure or image forming. This will result in something less than photorealistic.
There are halation effects and dye layer issues to take into account.
Good luck though it sounds like a cool thing to try, especially when Blender’s compositor is upgraded to realtime.
Yeah, that was my thought: unless it is part of the image creation it won’t approach photorealism, ever. An overlay can never approximate film grain.
I wonder if grain would be better as part of the sampling system. One can get nice filmic grain by under-sampling an image. But it is too stochastic for animation. Perhaps figuring out how to get less noise (meaning motion of the grain from frame to frame) or to make it smoother in motion would be a good research area for this.
Thanks for this info! My small brain got stressed out looking at all that science and didn’t go through all of it, but I think I got the idea. I’ve updated the nodetree to include more grain shapes and artifacts. I’m not sure I understood how it all relates to exposure though, so for now they’re all just a simple mix overlay on top of the original.
I did not know about this! This genuinely feels like black magic.
Yeah, I realize this limitation too. But still, it would be fun to see how close we can get to that effect.
I tried turning off denoising and under-sampling, but it didn’t feel like film grain as these pixels would have variations not only in value. Besides, it’s important to get the scale right so that a 4k render compared to a 1080p would look as if they were scanned with better optics. I’m still working on improving this nodetree so please feel free to let me know how you think it compares to real film grain!
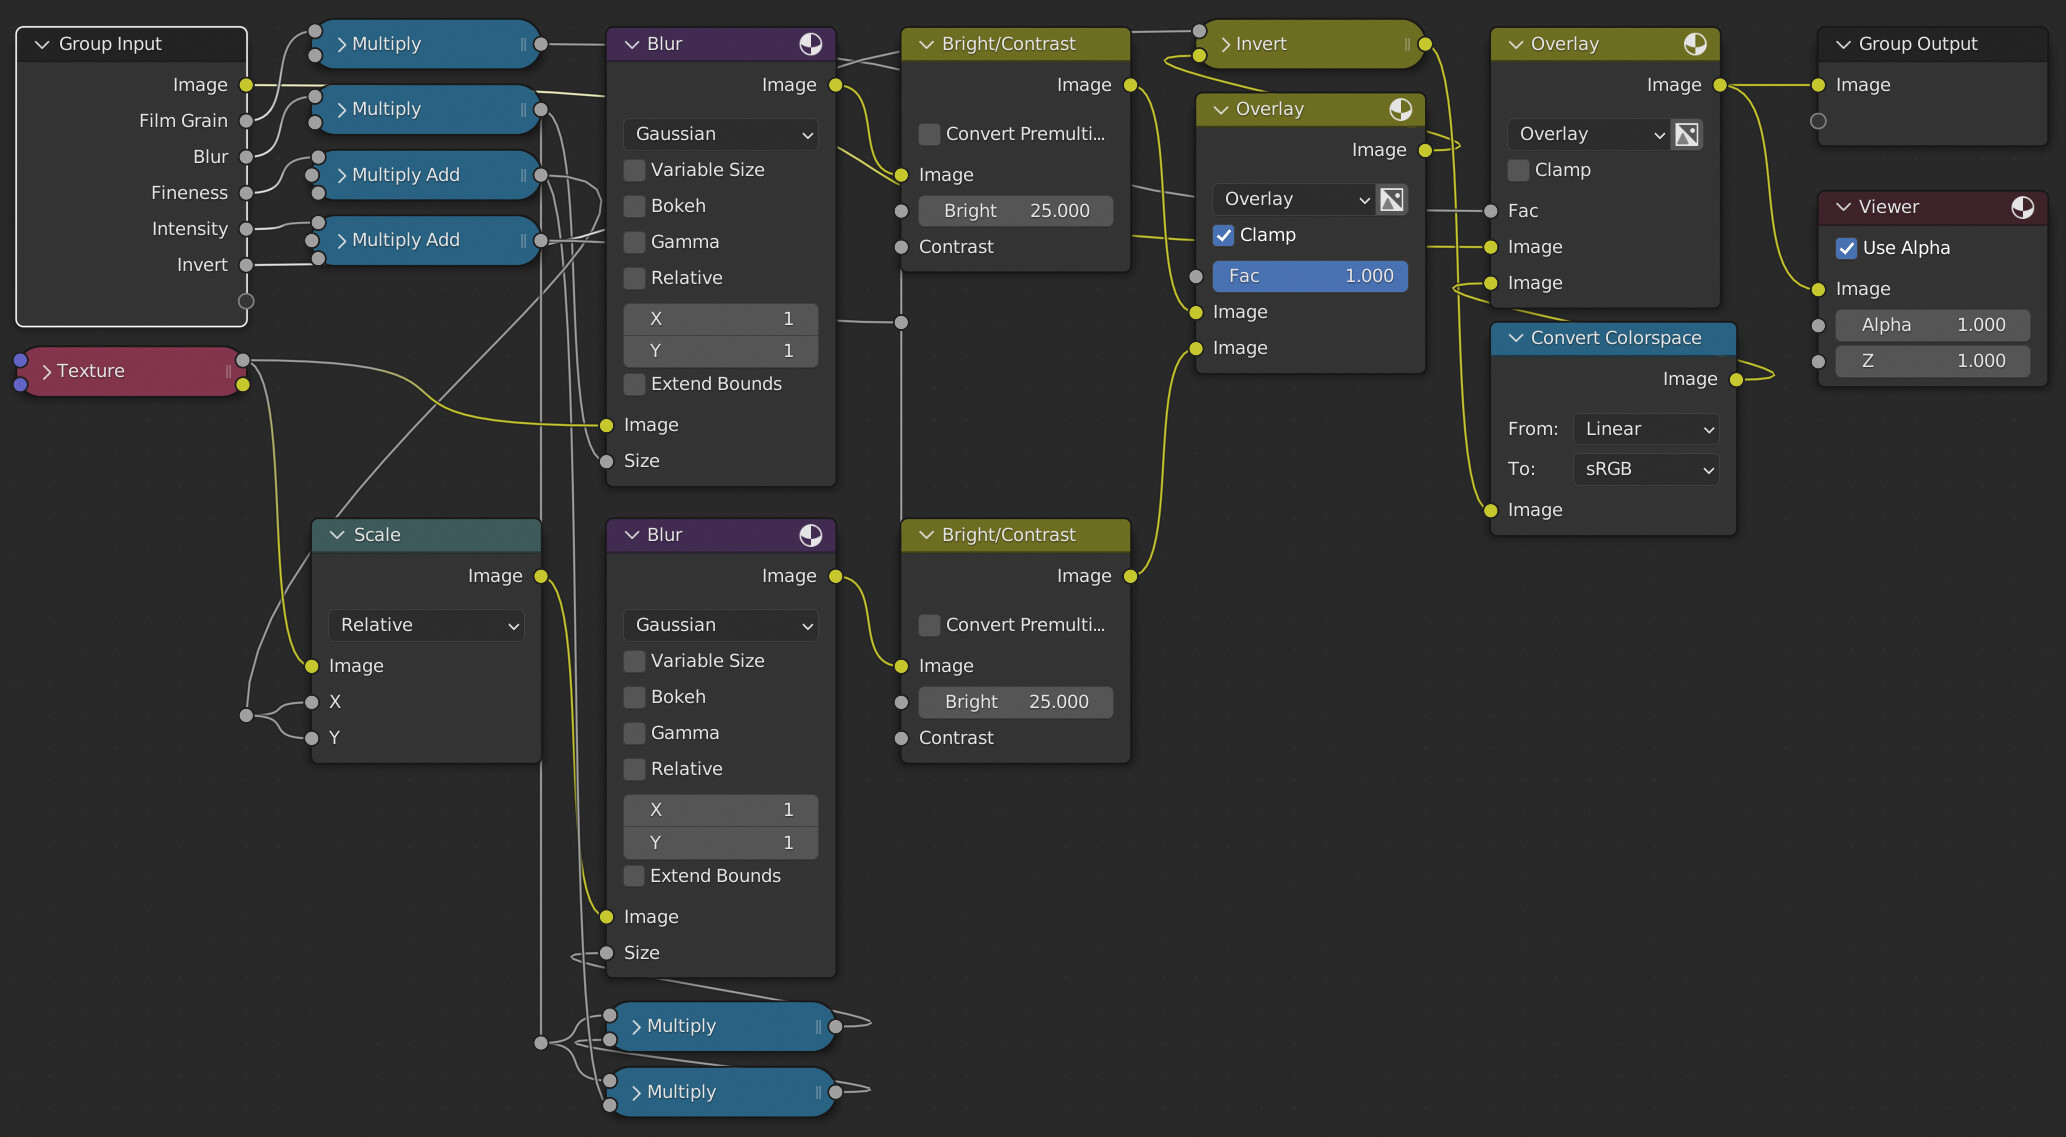
filmgrain2.blend (1.3 MB)
(for the Offset and Offset Factor to work correctly, right click on the field and copy as New Driver. Then in the color ramp, paste the Offset driver on the RGB value of node 0, and paste the Offset Factor driver on the Pos value of node 1. I don’t know how to do this mathematically so for now a color ramp and drivers will have to do!)
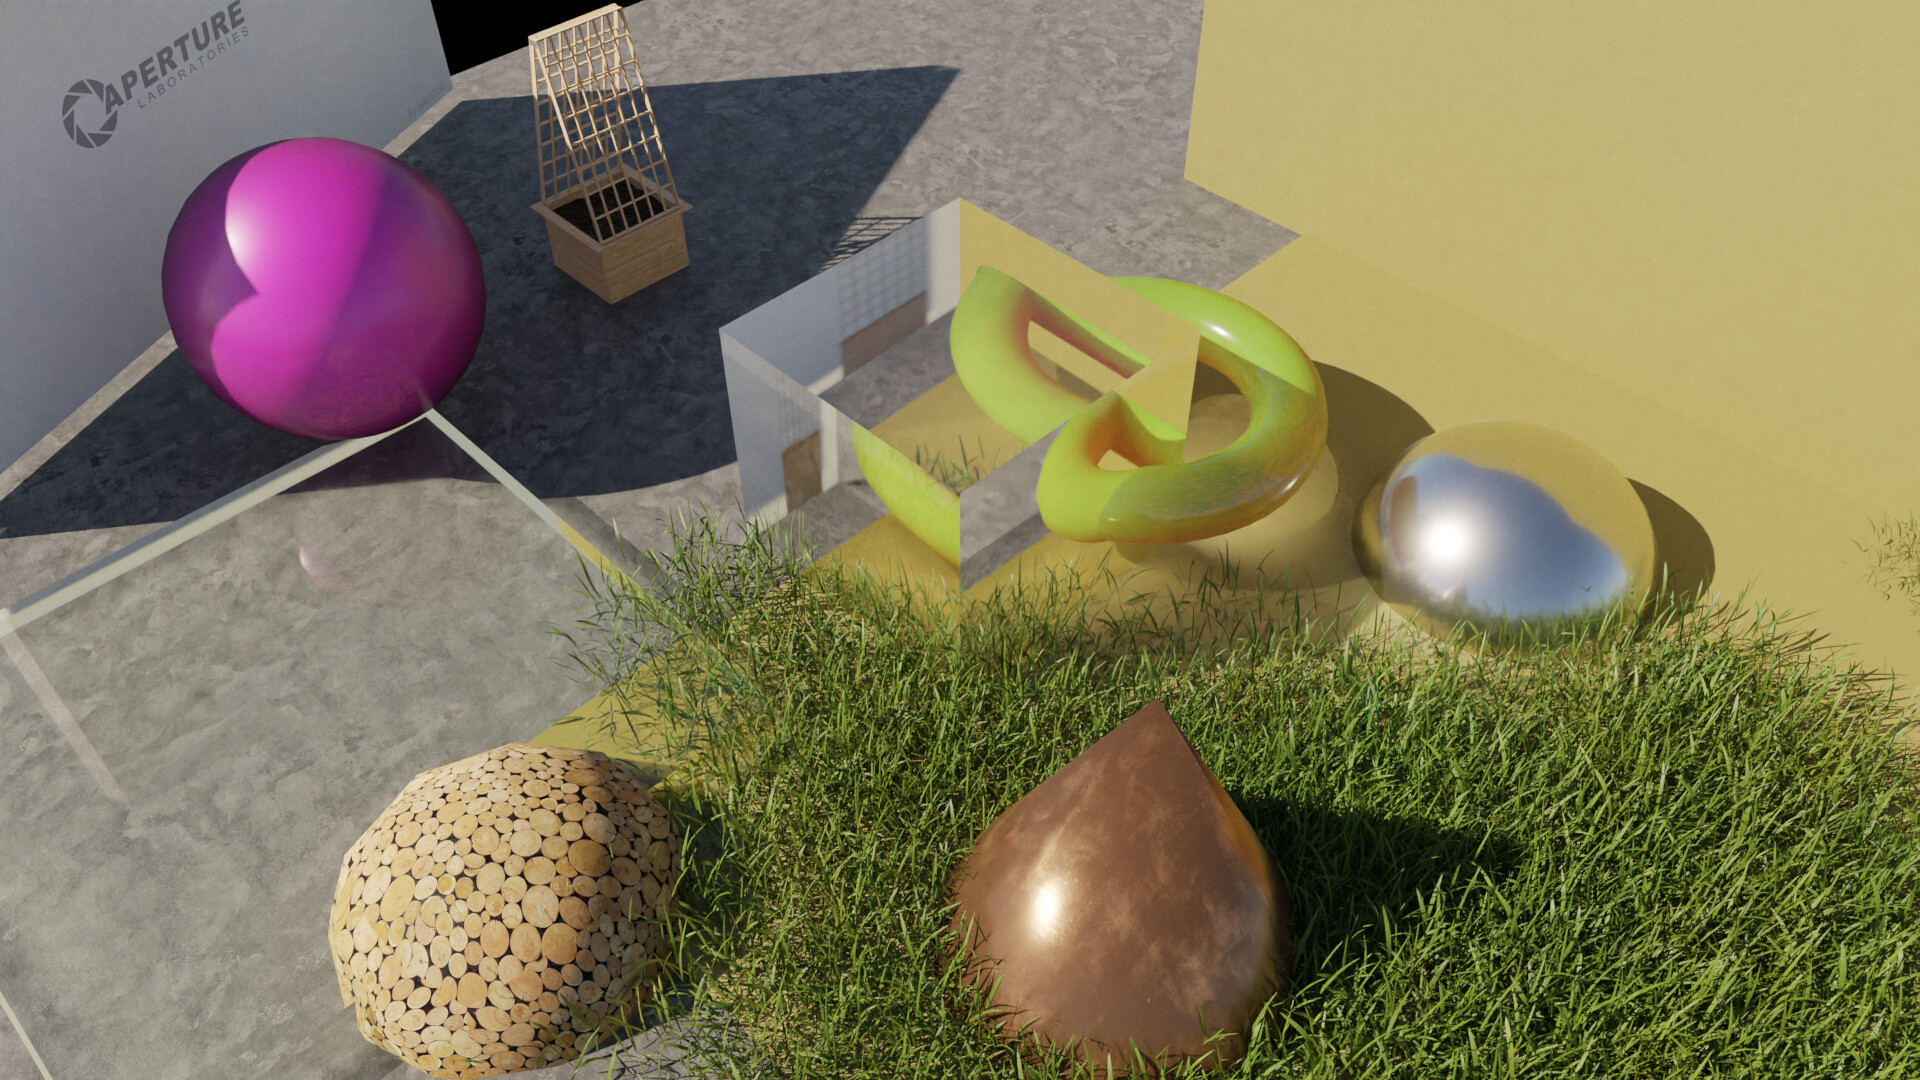
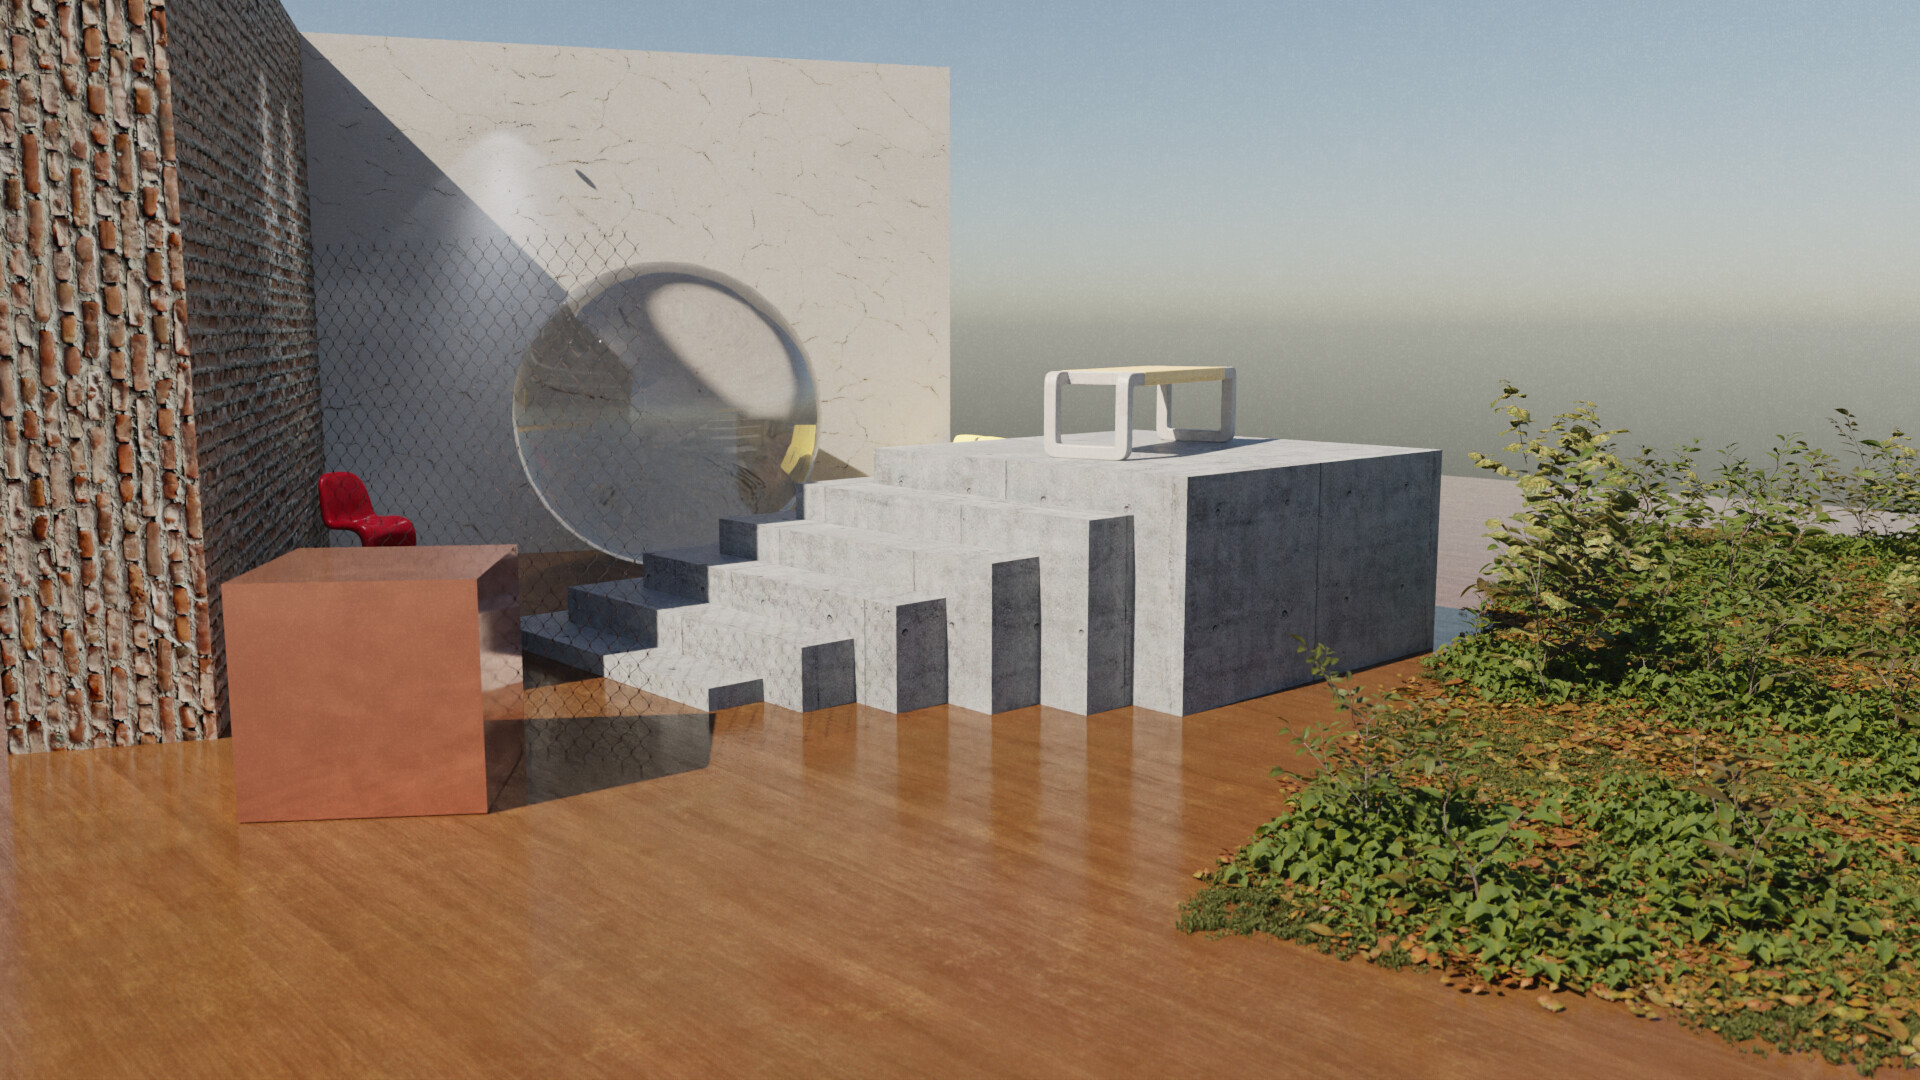
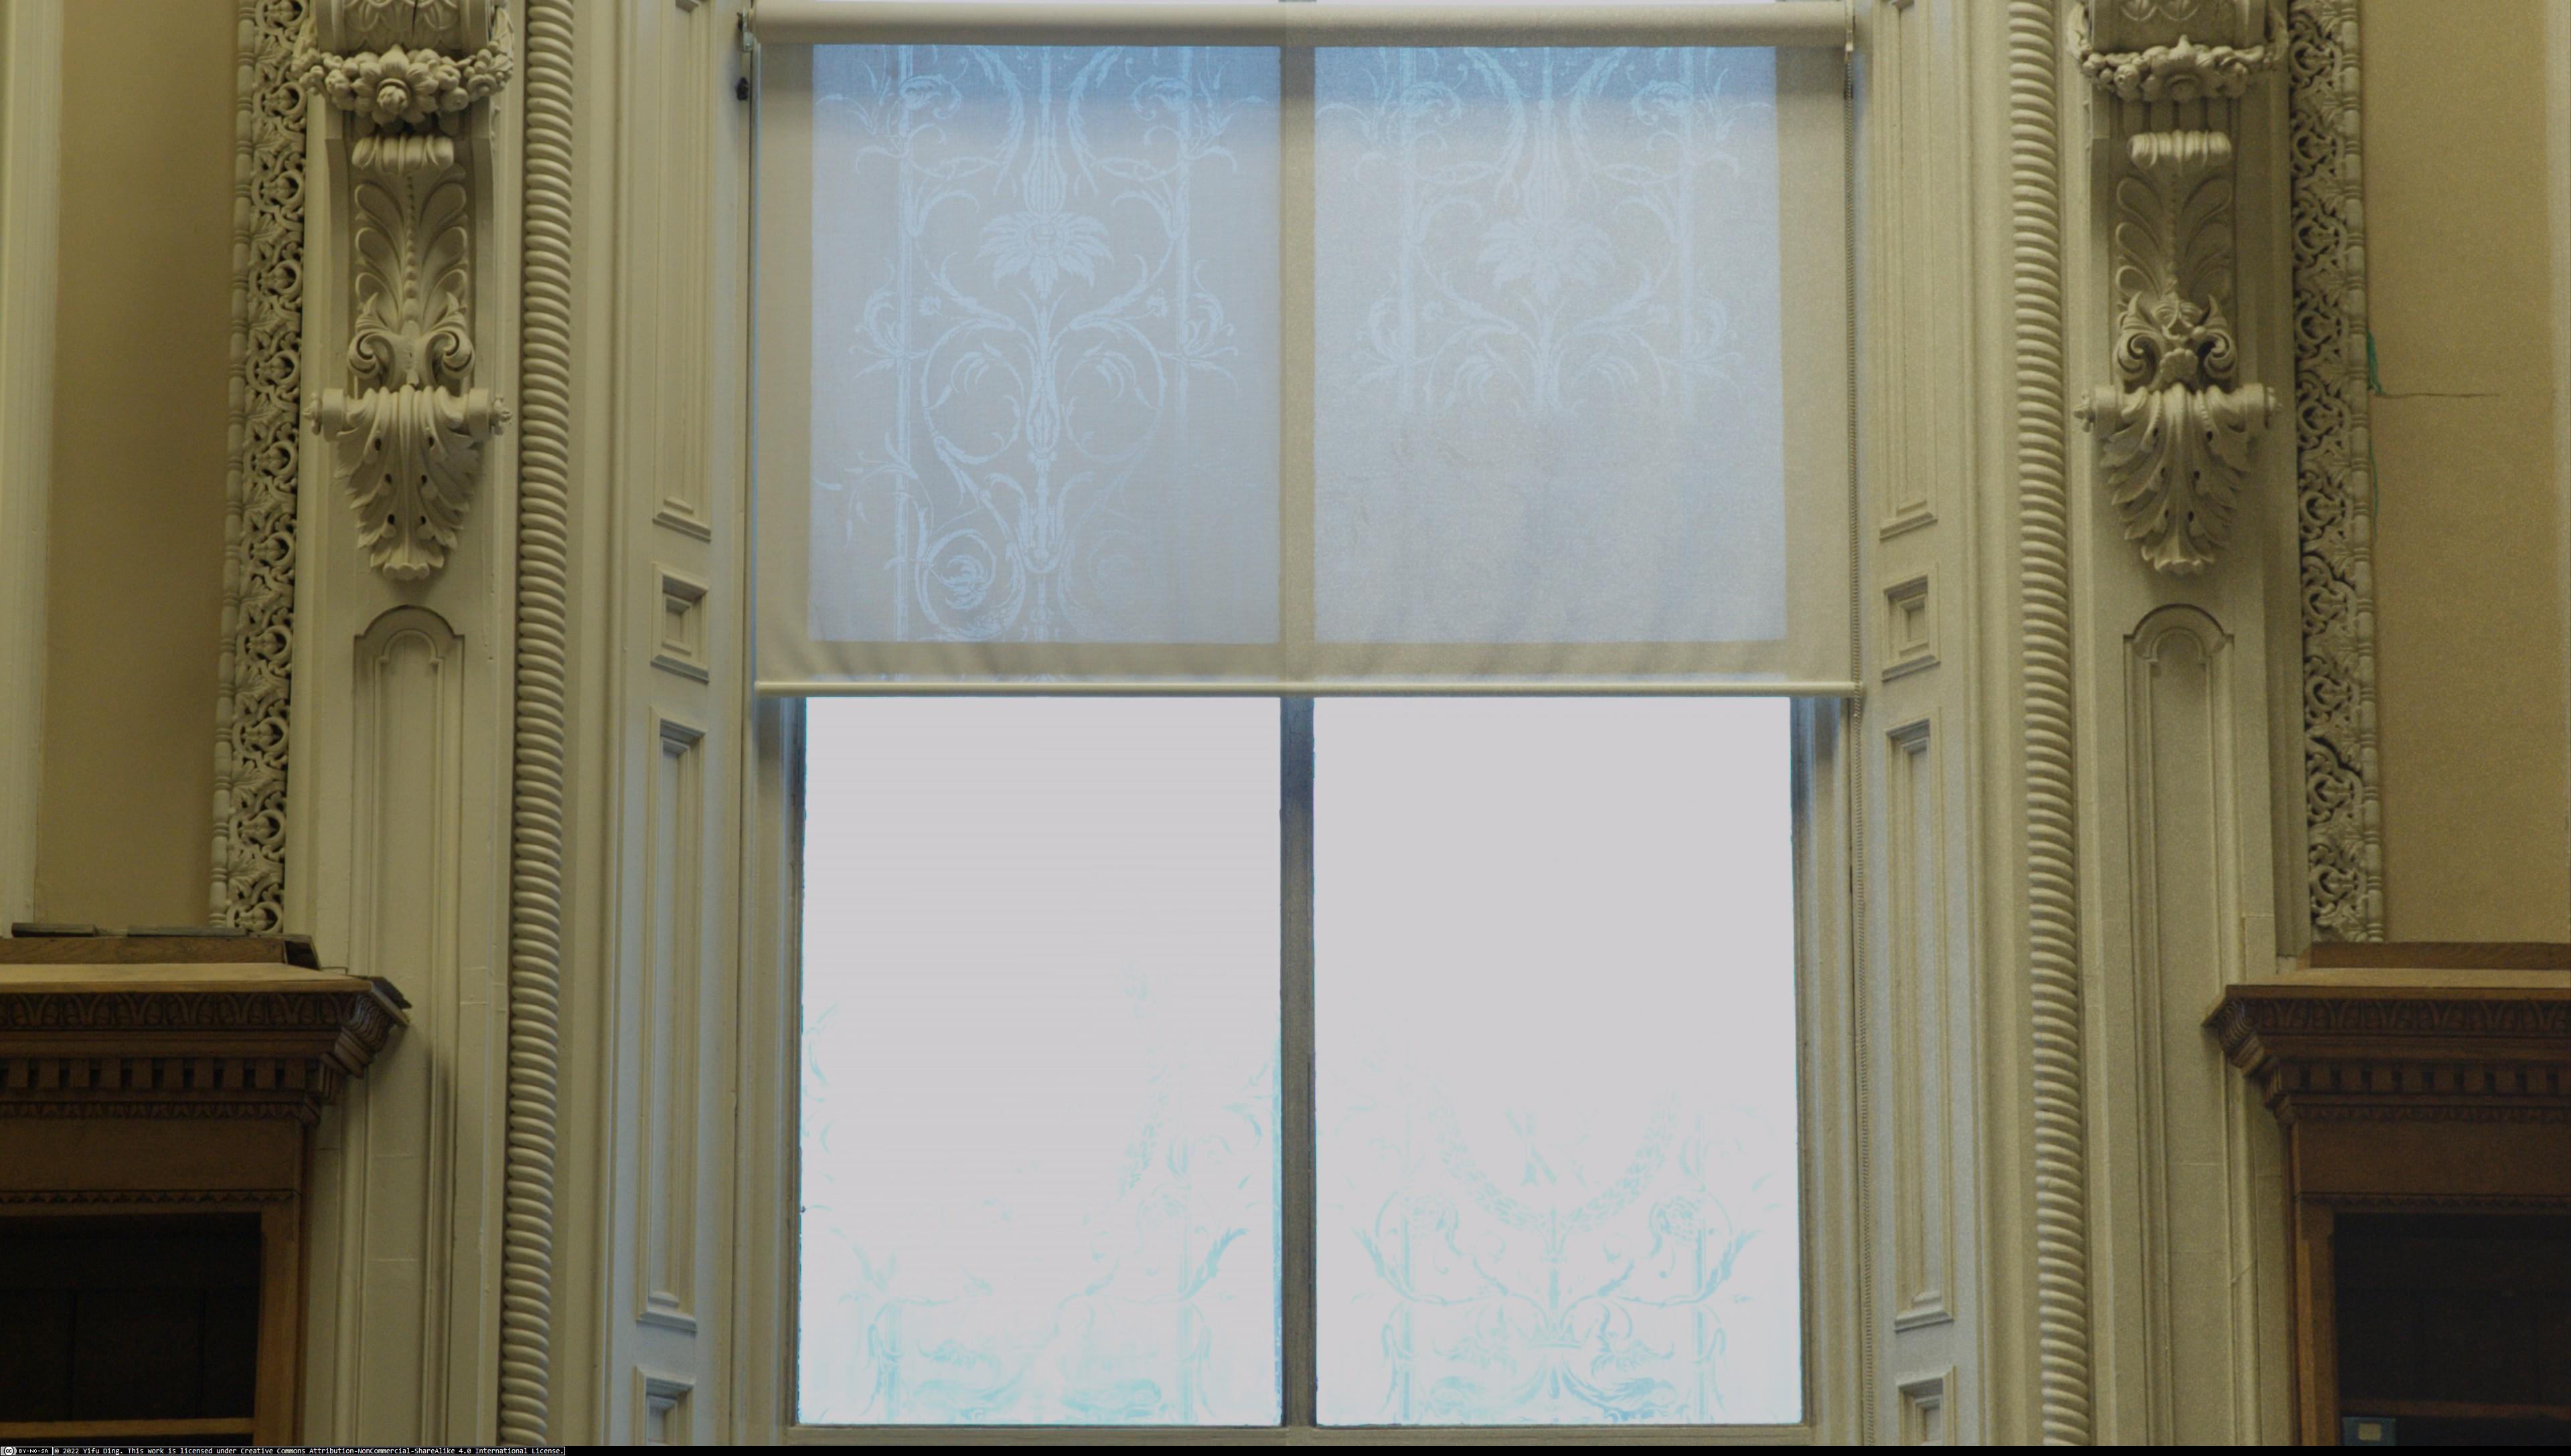
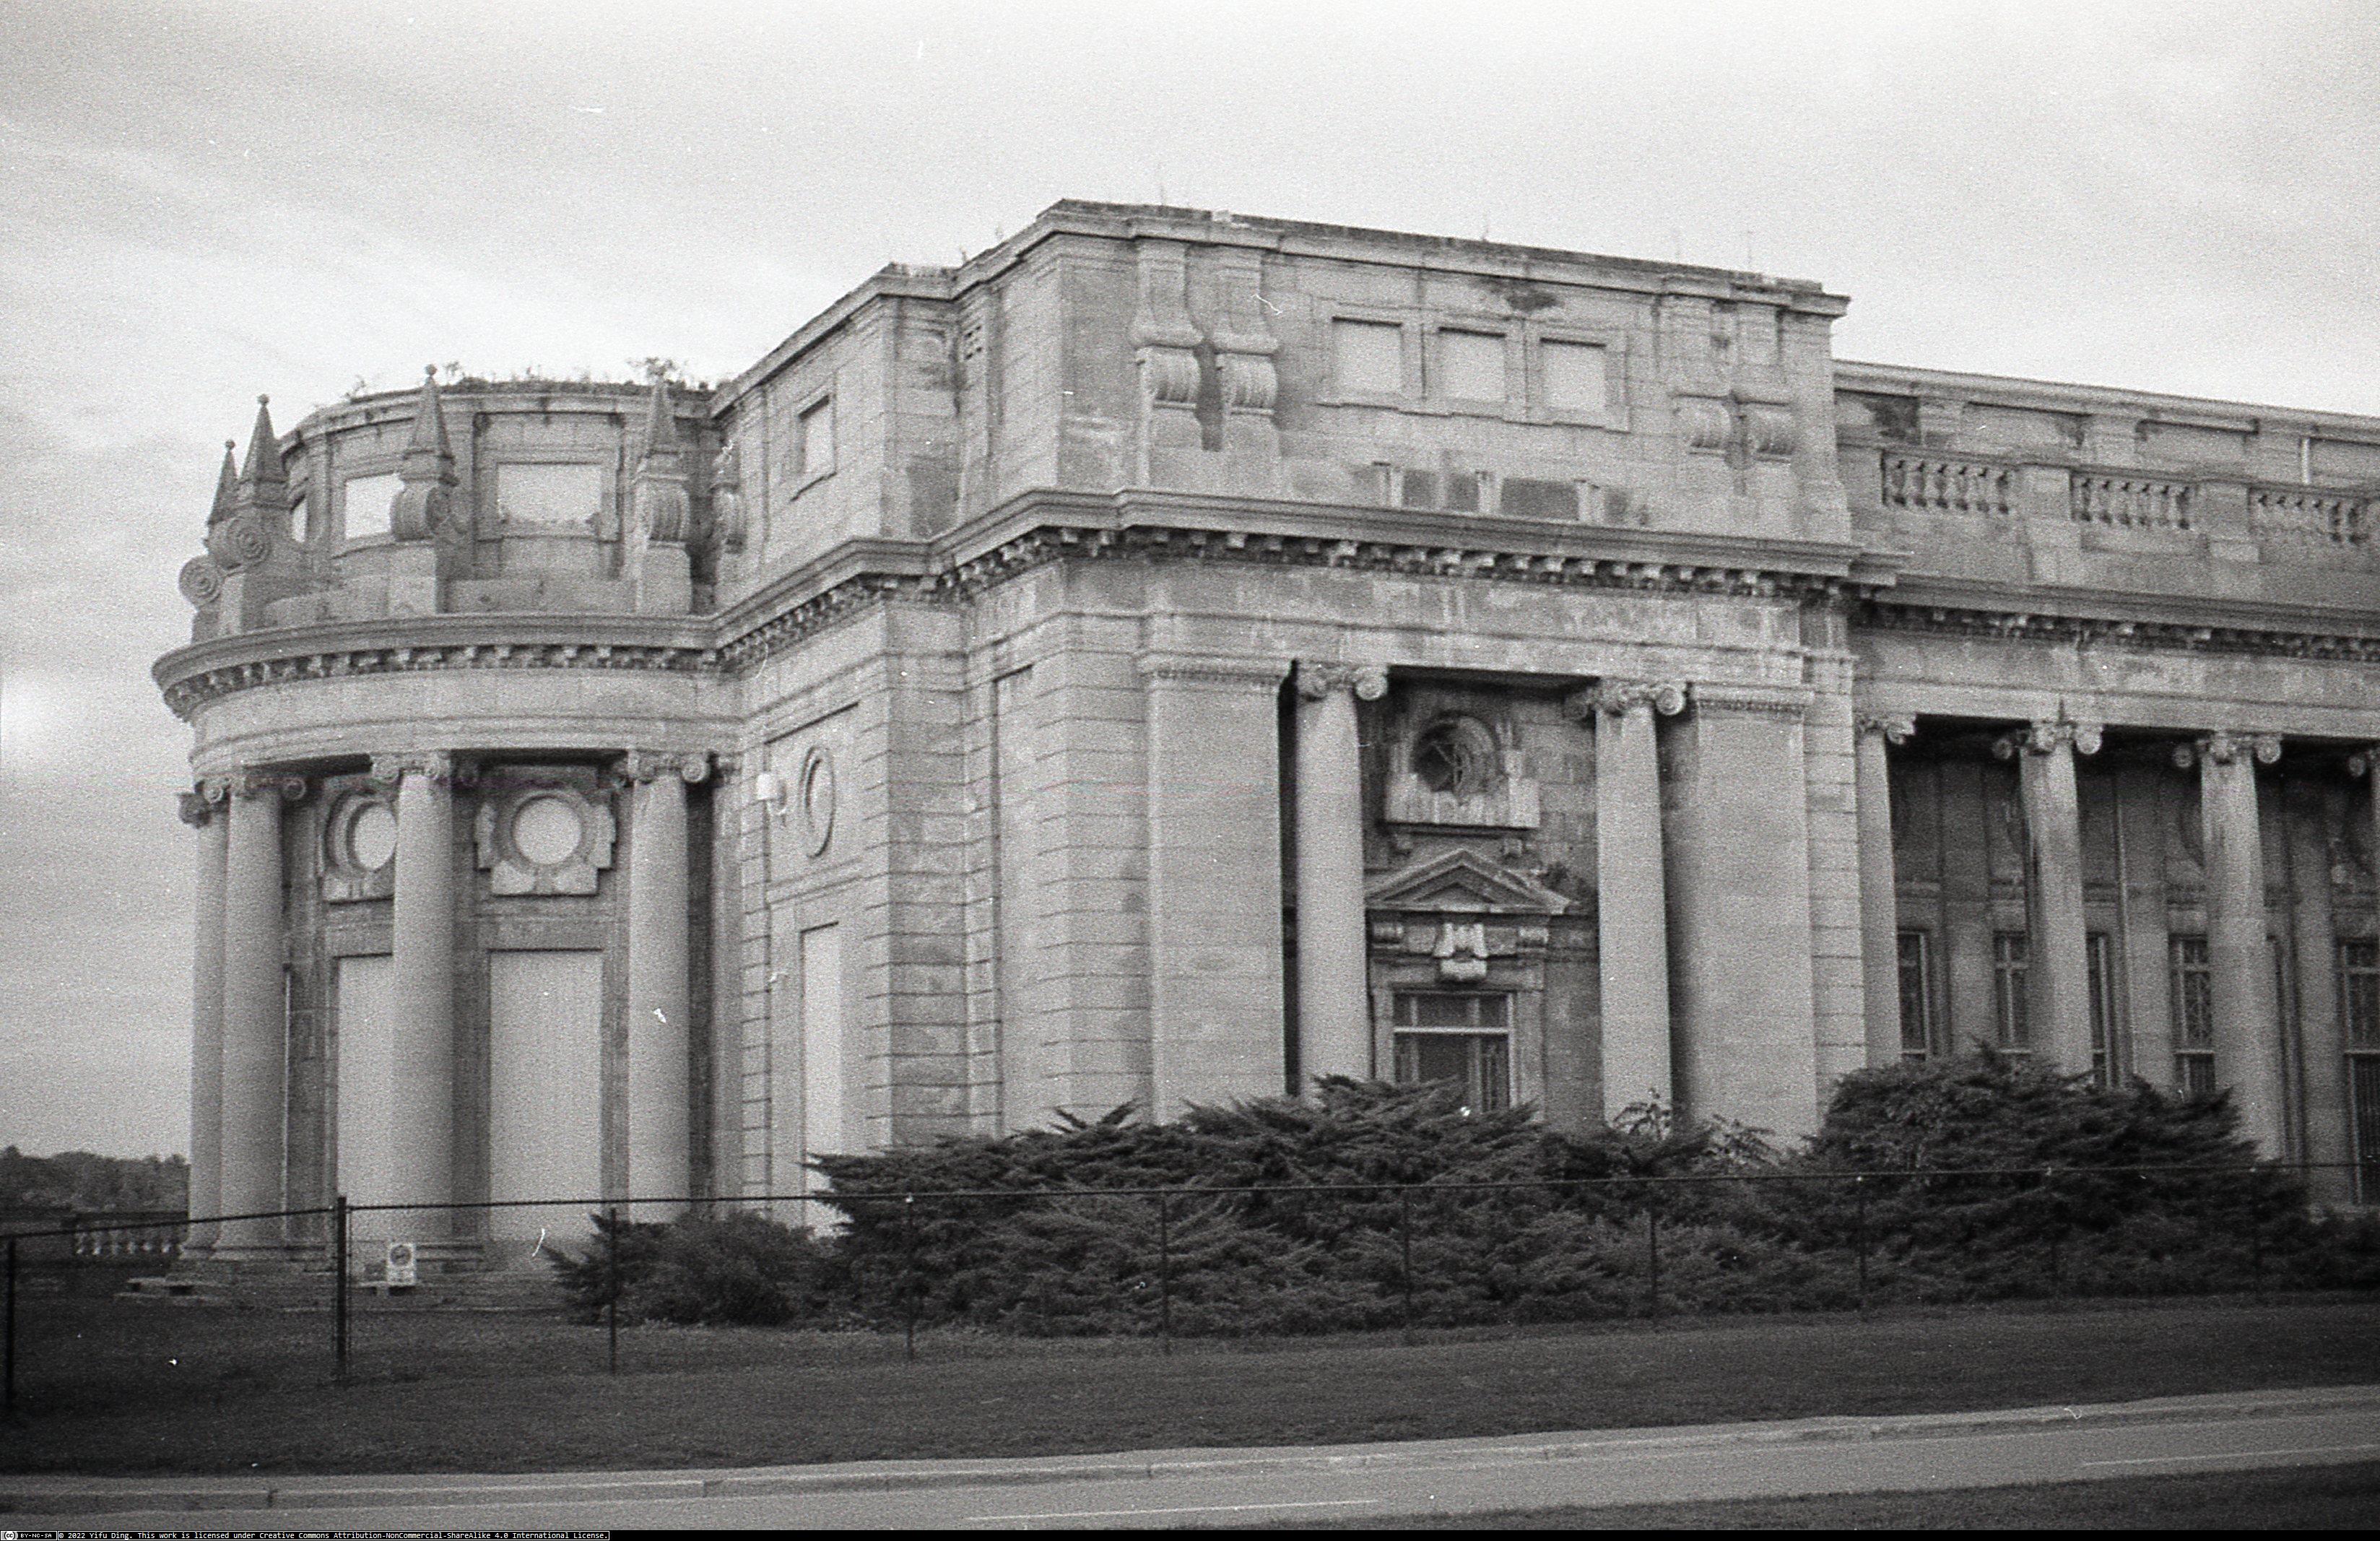
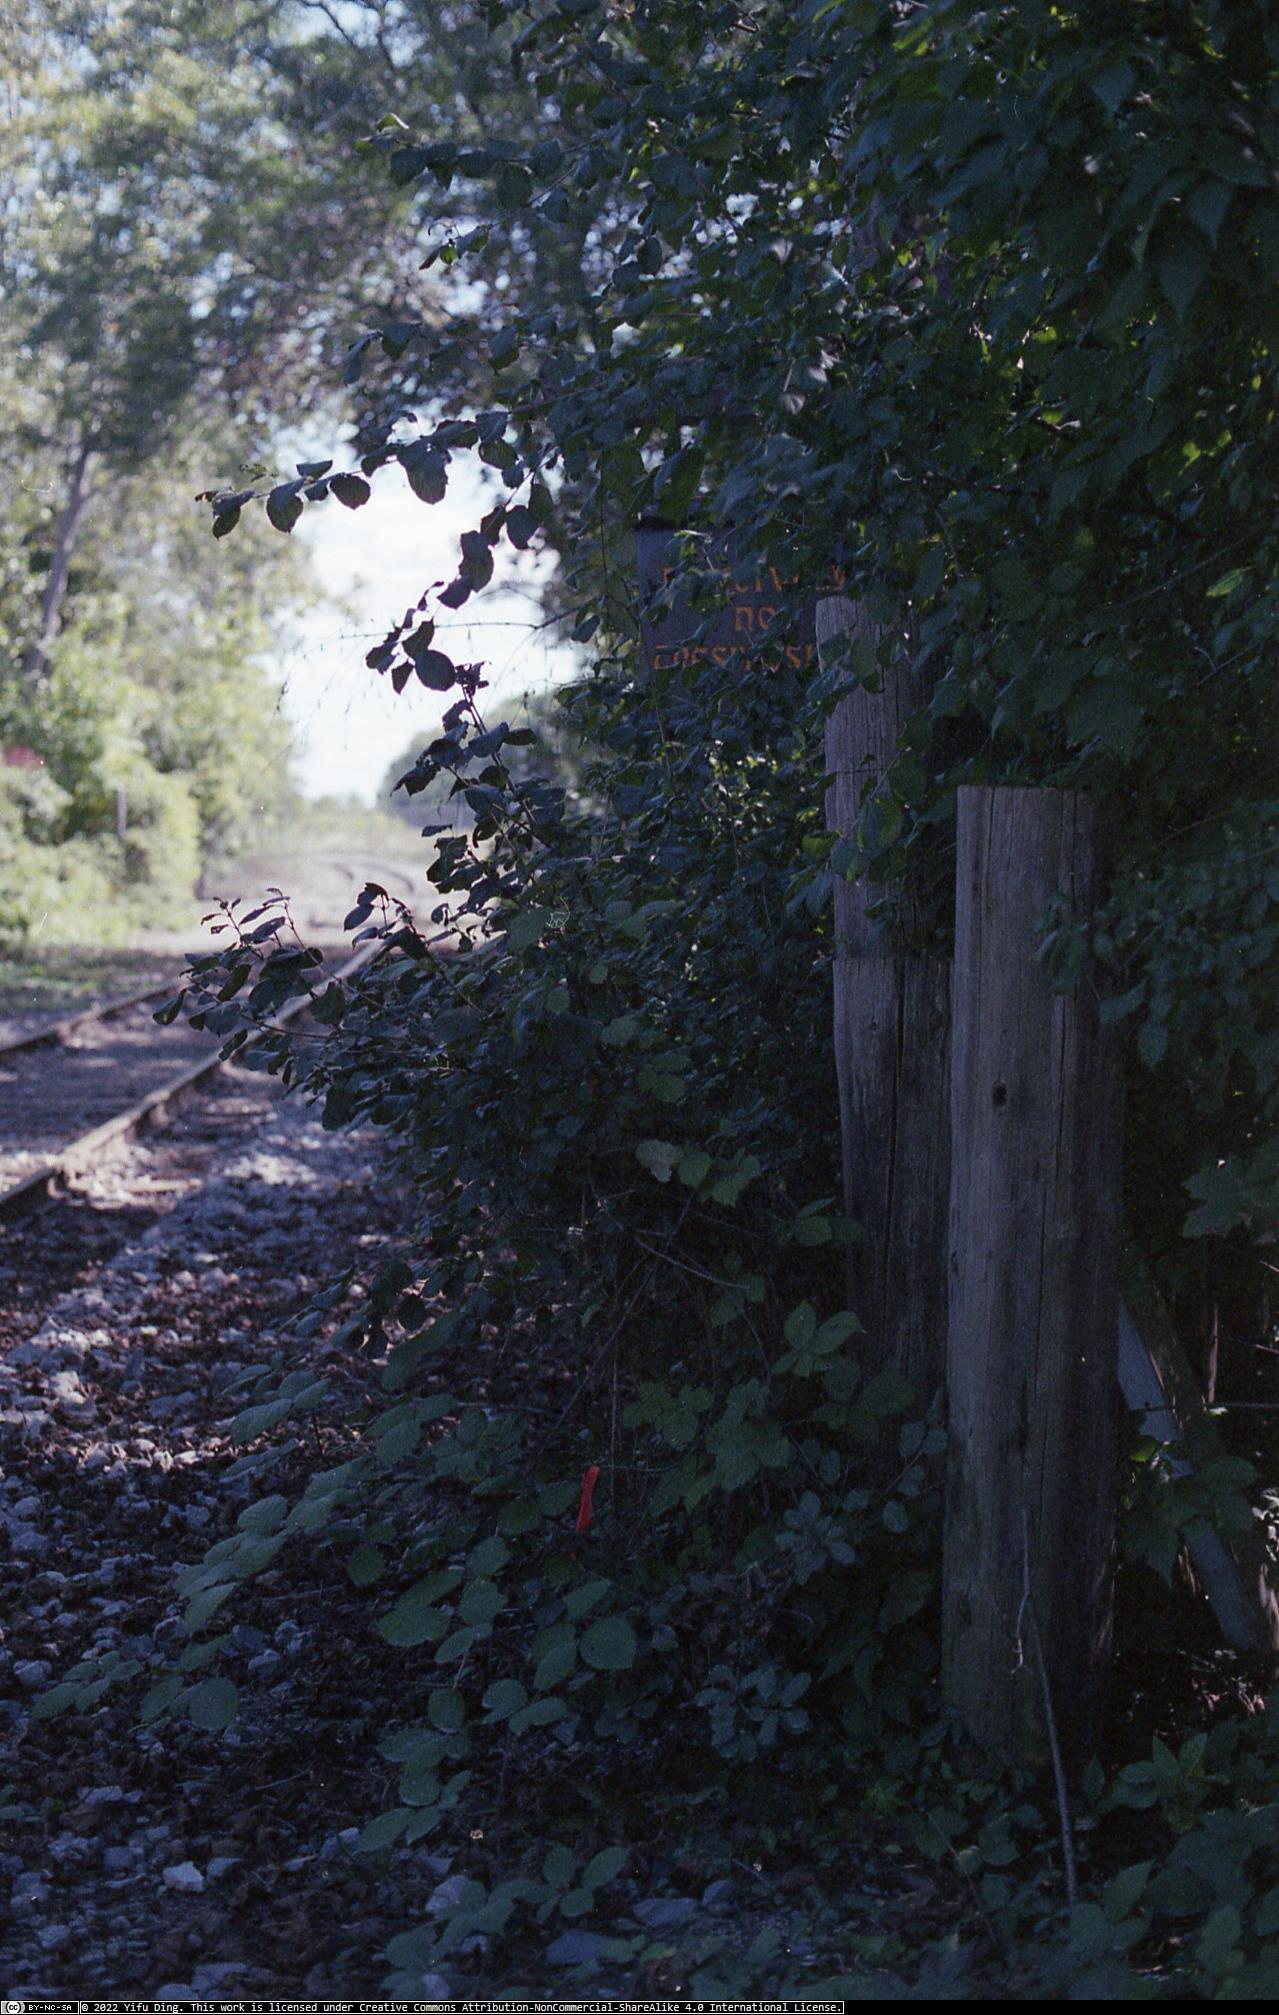
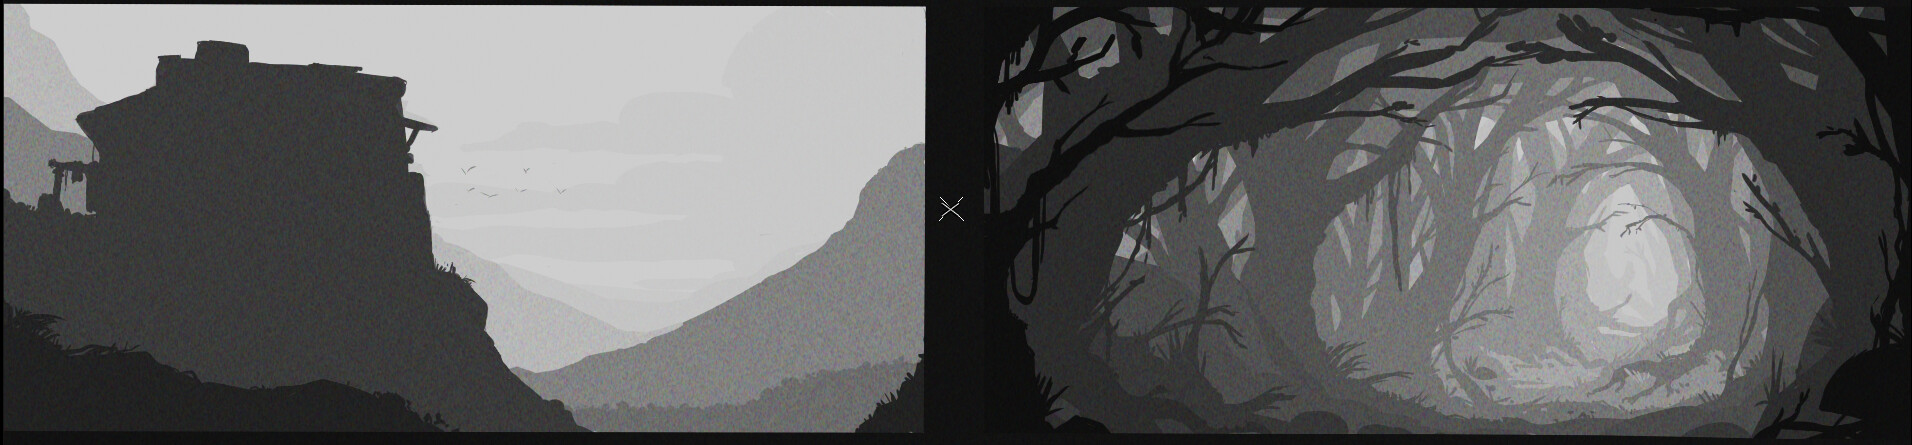
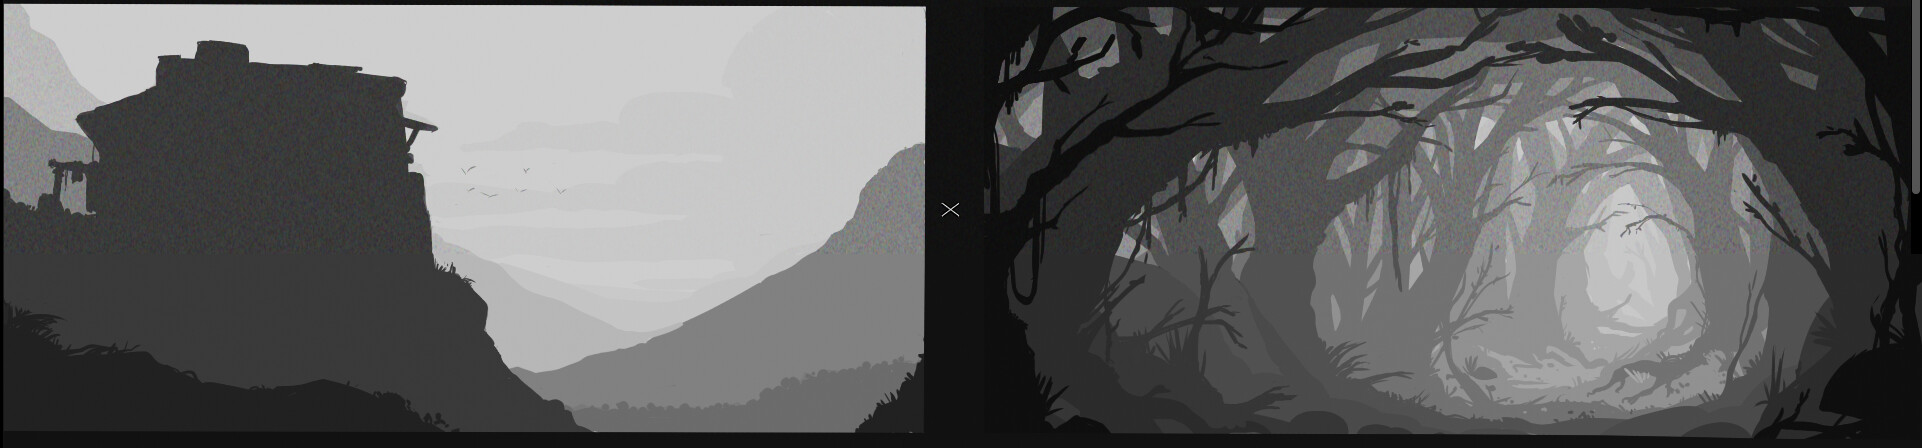
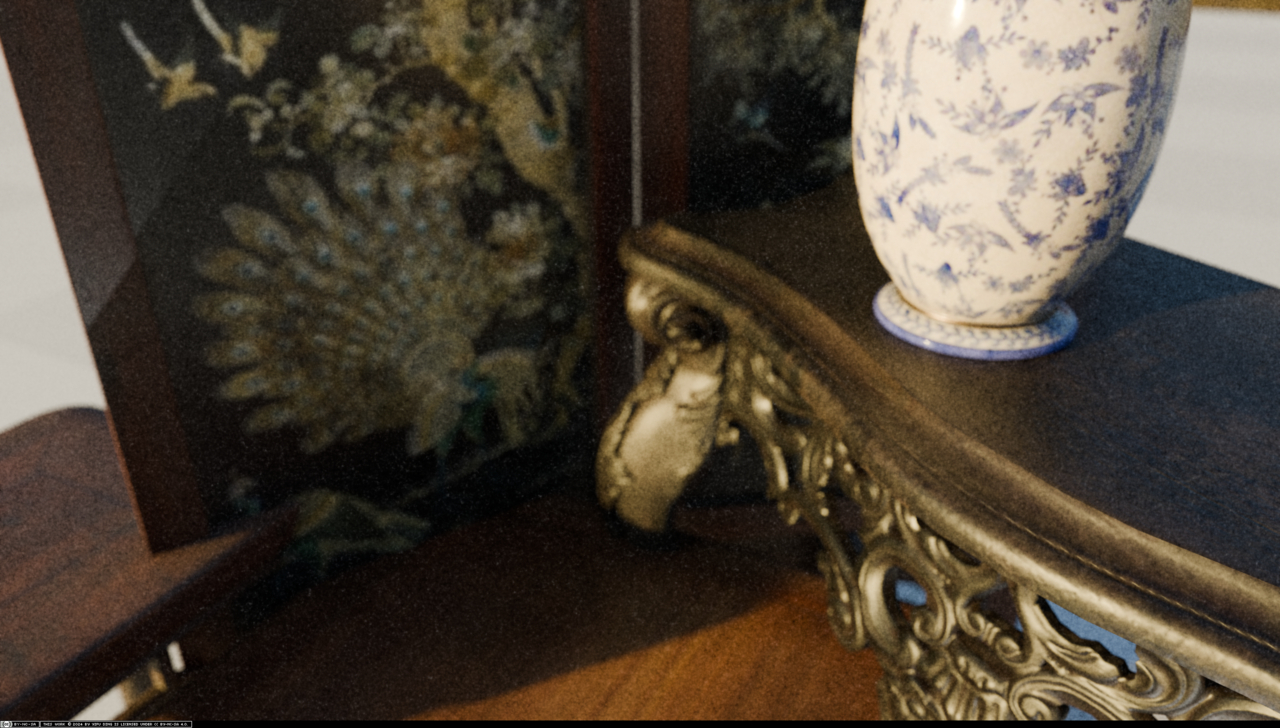
From left to right: Digital photography plugged into the node (split viewer, default settings, 4k); BW reference (digital scan); color reference (digital scan).
Thank you for your interest in this topic! Again, if you’re interested in helping, please upload your own version of a film grain or share some thoughts on this topic. Any input is welcome and greatly appreciated!
Try to remember that color film is made by exposing different layers of the film emulsion and those grains of silver maybe different sizes as well as differently sensitive to the wavelengths of light. The result is that there is subtle coloration variances across a flat field, that may appear uniform when viewed at a distance but quite noisy up close.
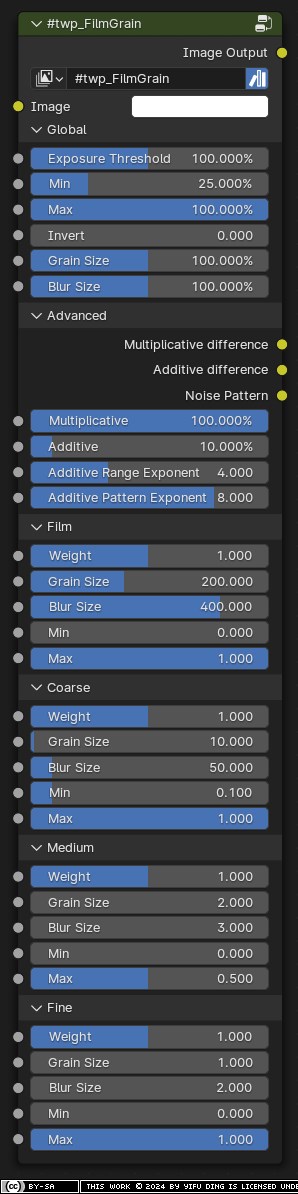
I refined the node group over the last year and used it regularly in my renders. I’d say it’s in a pretty good state now and I’ll share it with you folks. Please feel free to use in your projects and let me know what adjustments you’d make. twp_FilmGrain.blend (734.3 KB)
The node group has not been updated. I’ve been using it in all of my projects and I haven’t felt the need to update it. Do let me know what you think about its current state!
I’ve been trying to experiment using the latest version of your node tree. However, I can’t seem to see the image I’m using whenever I try and plug it in
I actually can’t test your problem more carefully right now because I ran into a rare bug with my blender file that prevents me from using the compositor workspace until the 4.2 release. When I turn compositor preview on for the viewport, the node group seems to work fine.
If I used “film grain” at all, I would do so very sparingly. It is only in very old movies that I actually remember noticing “grain.” Modern-day film emulsions essentially don’t have it.
I agree with you here, which is why the default value for this node group is quite low and I intend to drop it even lower, with the added effect that…
it should be more visible in the under exposed areas.
The node group as of now produces what I think a reasonable pattern, but it fails to apply to the image appropriately. The way it is applied is very strange and not even I could understand it let alone improve it (I did this years ago). I strongly encourage anyone to download the node group and help me figure out how to rework this thing.
Warning, turn viewport compositor preview off, it is known to cause a crash if you leave the node enabled and preview it in the viewport. Still not sure what causes it.
I gave it a shot, but it’s missing the main texture, therefore it doesn’t work for now…
Here is my own setup, it’s not accurate, and it misses more noise in underexposed areas, but it work good enough in most cases.
Other techniques I use :
I also found online some noise samples as images sequences that I can overlay on top of the render, some of them got some little dirt spots and fancy stuff like that…
Natron comes with a cool SEGrain node IIRC the name with a few presets matching some specific films…
And last but not least, when working on a filmed shot to add something to the image, I tend to denoise, isolate the noise by subtracting the noise and non-noised frame, integrate what I need in the image, and add back all the noise.
It’s not bullet proof but many time it worked and that way it’s possible to get the same grain as it was filmed, which can be tedious to get when using some filter.
Your setup looks cool, and the results are great, but it seems a bit too much to my taste : too many parameters for something that is generally subtle. I prefer something that is easy/quick to setup and when it’s really needed to do something more accurate then I start to really go crazy.
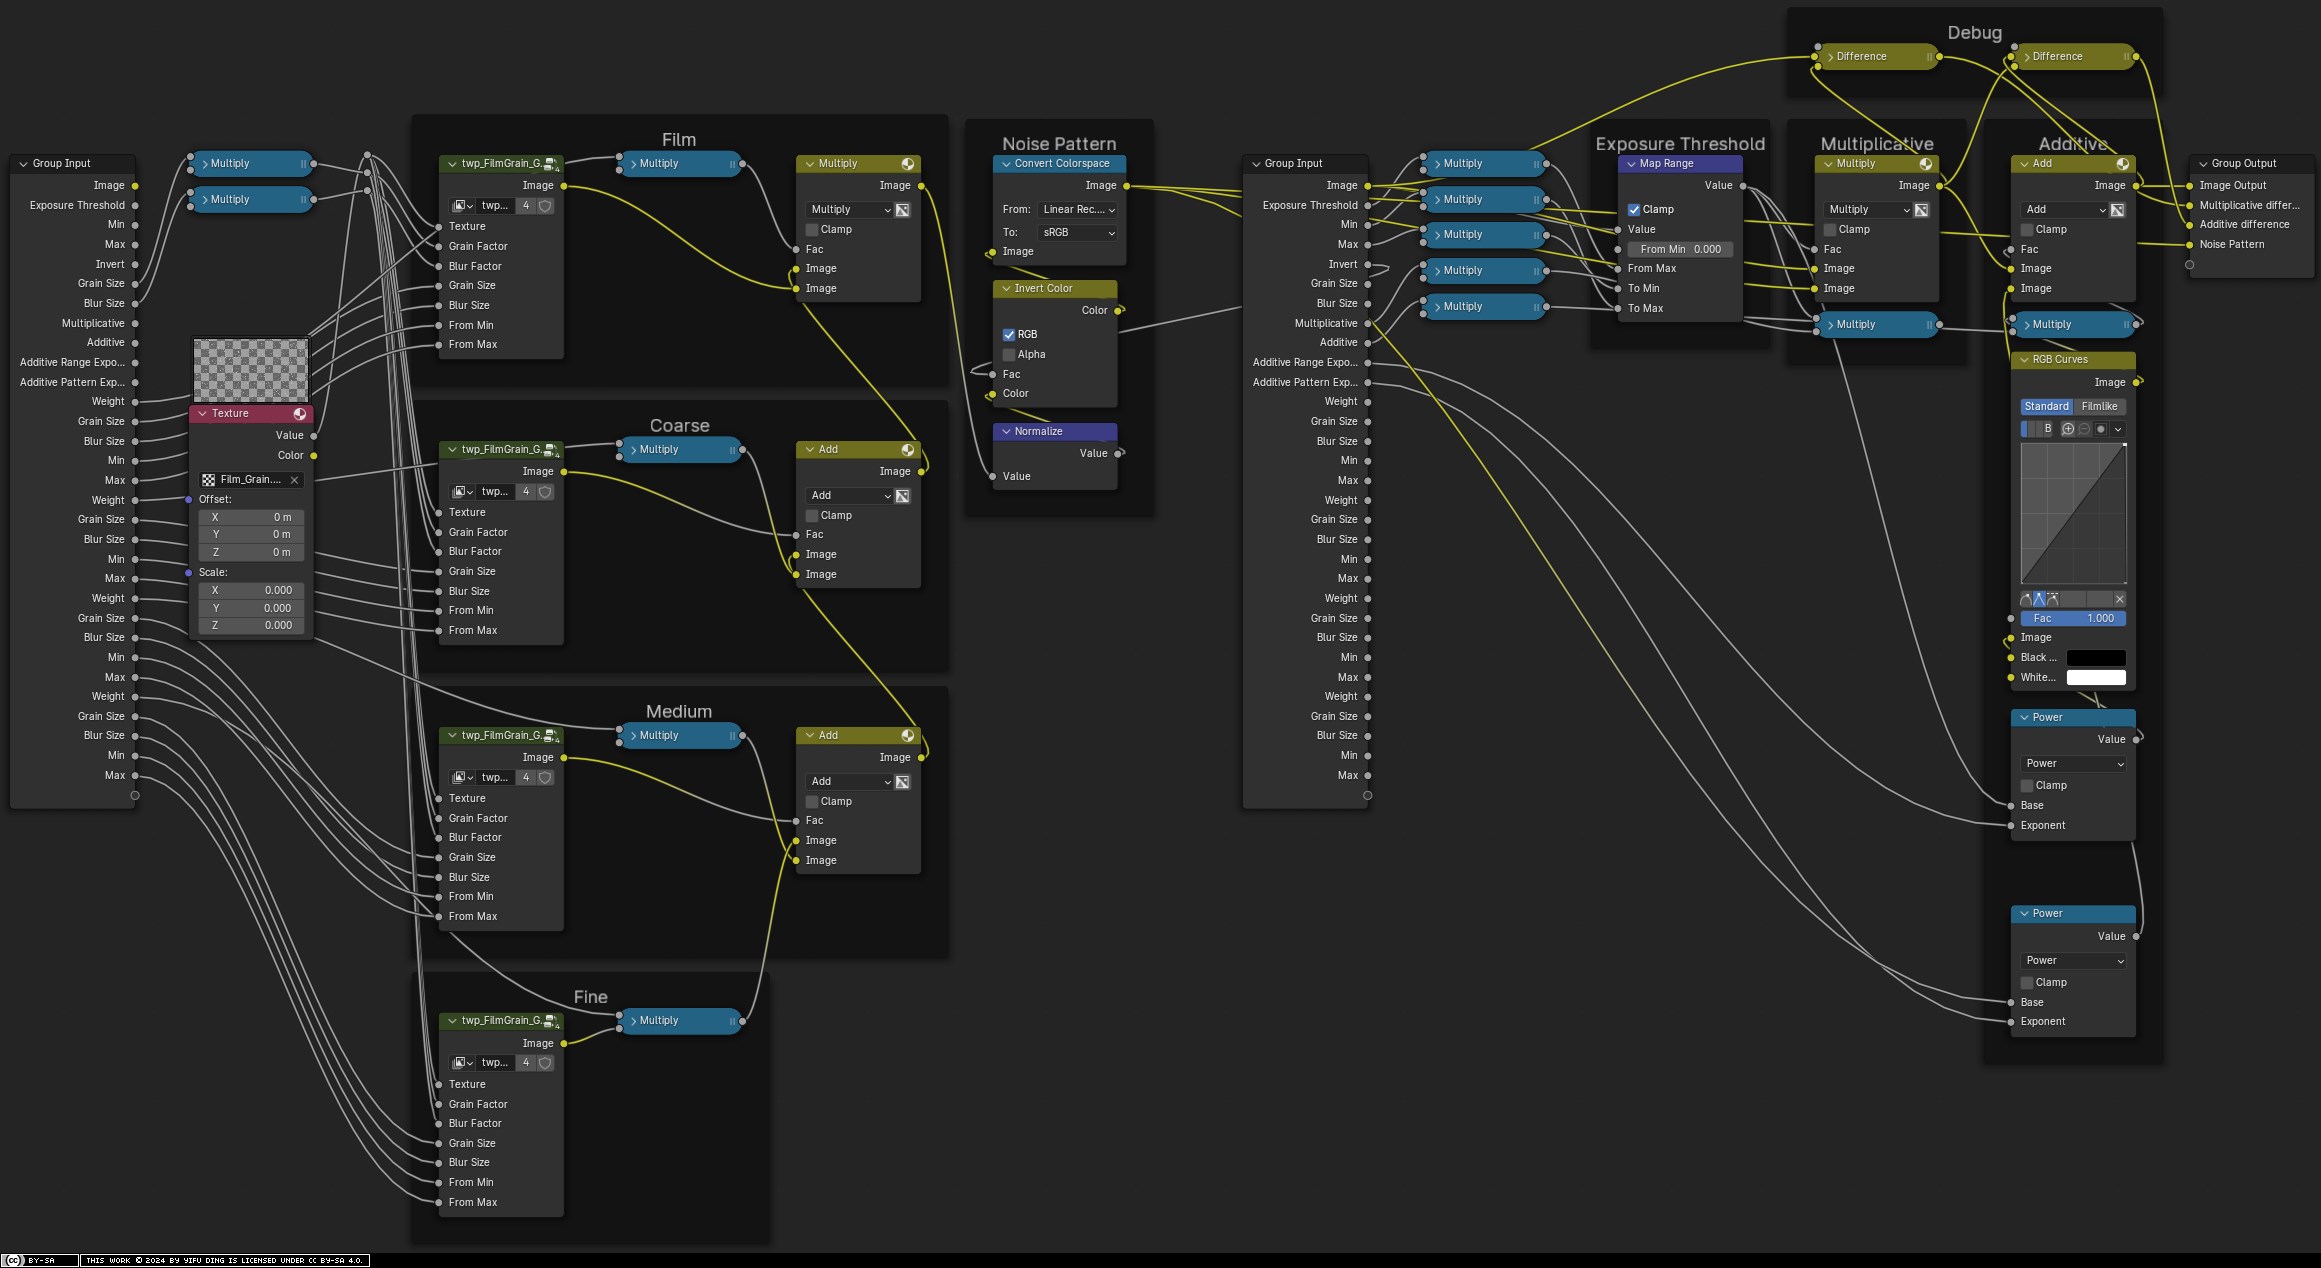
I updated this group using references from my Nikon BW rolls (again):
Default noise values have been changed
Noise application now separated into two simpler passes, multiplicative and additive
Made use of new grouping panel for input/output
Maybe you know this paper,it seems to be a good reference about grain size etc.
I have tested some 35mm film grain image as overlay in my tonemapper build thread.
I mixed the amount of overlay with a negativ faq of the image luminance,since film has less grain in the bright parts vs the darker parts.
I saw some filmgrain code of a dctl if you are interested.
Btw the ultimate film grain simulation would be to simulate the film emulsion of exposed film.
The most solutions are overlays,and they can look good enough.A real sim would be to sim each color layer as its would be exposed with the developed colorcoupler after wash (bleach) the silver layer away.
What i find even more interesting is that you can simulate a real subtractiv color saturation at the same time if its done right with the color film density.
The right color particle grain size and density (particle thickness).


