I have an animation set up where I built a logo out of separate objects, tear it apart in reverse using keyframes to tear it apart cleanly, and then tear it apart forwards to make another transition.
The problem is with the forward part of the logo animation sequence. Because this sequence is going to be longer and will require less precision (and indeed, more smooth curve following) I am trying to use curve constraints instead of keyframes. However, every time I add the constraint for the curve following, the objects center gets translated to some location that I can’t seem to control. I’ve tried setting all sorts of options.
What I’m trying to do is just have a few curves and have most of the objects follow them (with different delays) while using lattices to animate the shapes of the curves to achieve a slightly varying path shape for each object. The problem is that I can’t seem to add the path constraints to achieve the animation without messing up the locations of the object.
What I’m instead getting is the keyframes occur and end in a different location than before the constraint was added. Because I can’t control the location of the objects new location relative to the beginning of the curve (if I try to snap the object it won’t go to the correct location, if I snap the curve, I’m having to eyeball it to get proper alignment of objects following it) I can’t achieve curve re-use like I want.
T_T
Boiled down version:
Before I add the follow path constraint, the objects are where I want them at that point in the animation. After I add the constraints, the objects are not where I had them. Before the curve is even being followed. The keyframes I had already set up are occuring at different locations. I can’t even move the object from the location applied to it by the curve without moving the curve itself.
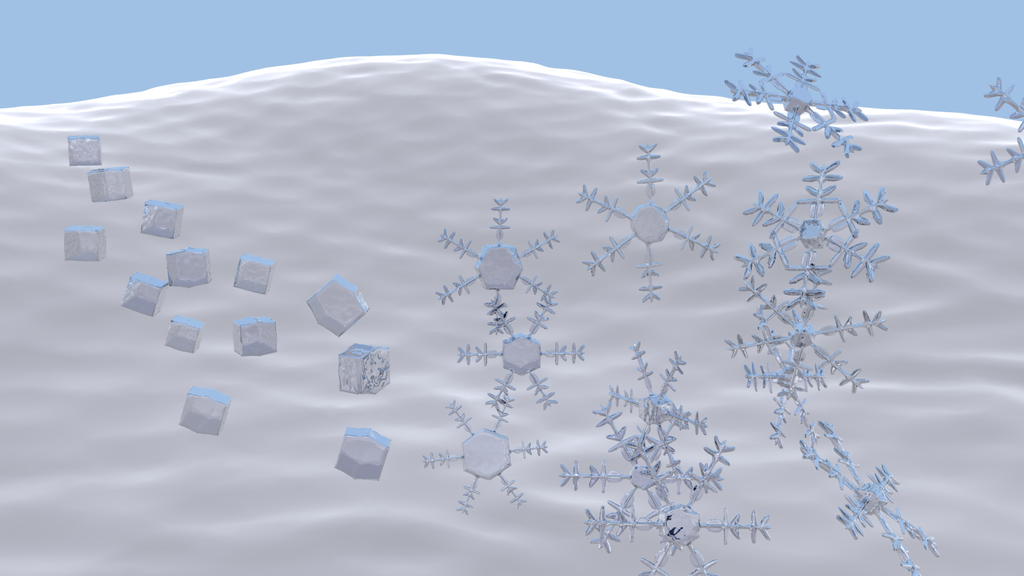
Here’s what the tear-apart looks like so far. I animated the first part with keyframes to be sure I won’t have any collisions. The bricks of sand fly into place for the first logo where I do a texture animation to ice (glass with some mods) and then the bricks shed way to the right while the geometry keys turn them into flakes. All flakes are copies of the same mesh with varying ammounts of some vertext keys I made to vary the final shape. At this point they’re all still in animation, so some of them look more like the hexagonal prism transition shape I used.
I’m getting closer I think. Somehow there is a difference between adding the follow path constraint by hand and adding it via the parent -> path constraint workup. I can’t find which options are getting configured differently, but when I do it by hand I get the initial translation effect. When I do the menu, I get what I expected in the first place. The object doesn’t get affected by the path except where the path is active. Still, whenever I change the frame offset in the constraint panel, I start getting unwanted translations even when the curve isn’t animating.
What would probably wrap this up pretty fast is if I had a way to ensure that at the zero state of the path speed IPO, the object wasn’t translated at all by the path. What I’m getting is translation even at the zero state on the IPO, which is screwing up all the other locations within all parts of the sequence, not just the path-animated parts.
First of all,
right before you add your constraints, you want to apply the scale and rotation of your object,
select the object and hit alt/opt “A”, I think it is
then you will want to set the constraint to be a local I think, or keep offset, or something of that kind, I dont have blender to look at
Also, you dont need an IPO on the curve or object if you are useing a curve, but in some cases a “time” IPO is created on the cure, so you may need to delet it or deal with it acordingly, select the curve and choose time in the right most bar in the IPO window,
then you can key frame your curve distortions vie the lattice,
hope this helps
and I hope im not completely wrong
“Can’t apply rotation to mesh with vertex keys”
ToT
Thanks though, I wouldn’t have been able to get this fix figured out without your post.
Quick fix:
Select each object individually, add a new empty object at the center, parent object to empty, animate empty with curves.
Existing keyframes will have to work for the first part. If not, I’ll just copy the IPO data and animate only the empties.
Slightly dirty and with some inconveniences regarding selecting the empties (not exactly a speed-modelling work-up) but advantages are that I can watch my animations of the empties instead of the flake objects. With all their vertex keys, even with sub-display set to 1, takes about a second to produce a frame in the view window. Watching the empties lets me see the time it takes to complete parts of the animations better.