anyone can show me how to (in the most effective way) create a curved grille as shown in the image? based on the normals.

2 Likes
This is how I’d go about it (maybe not effective…)
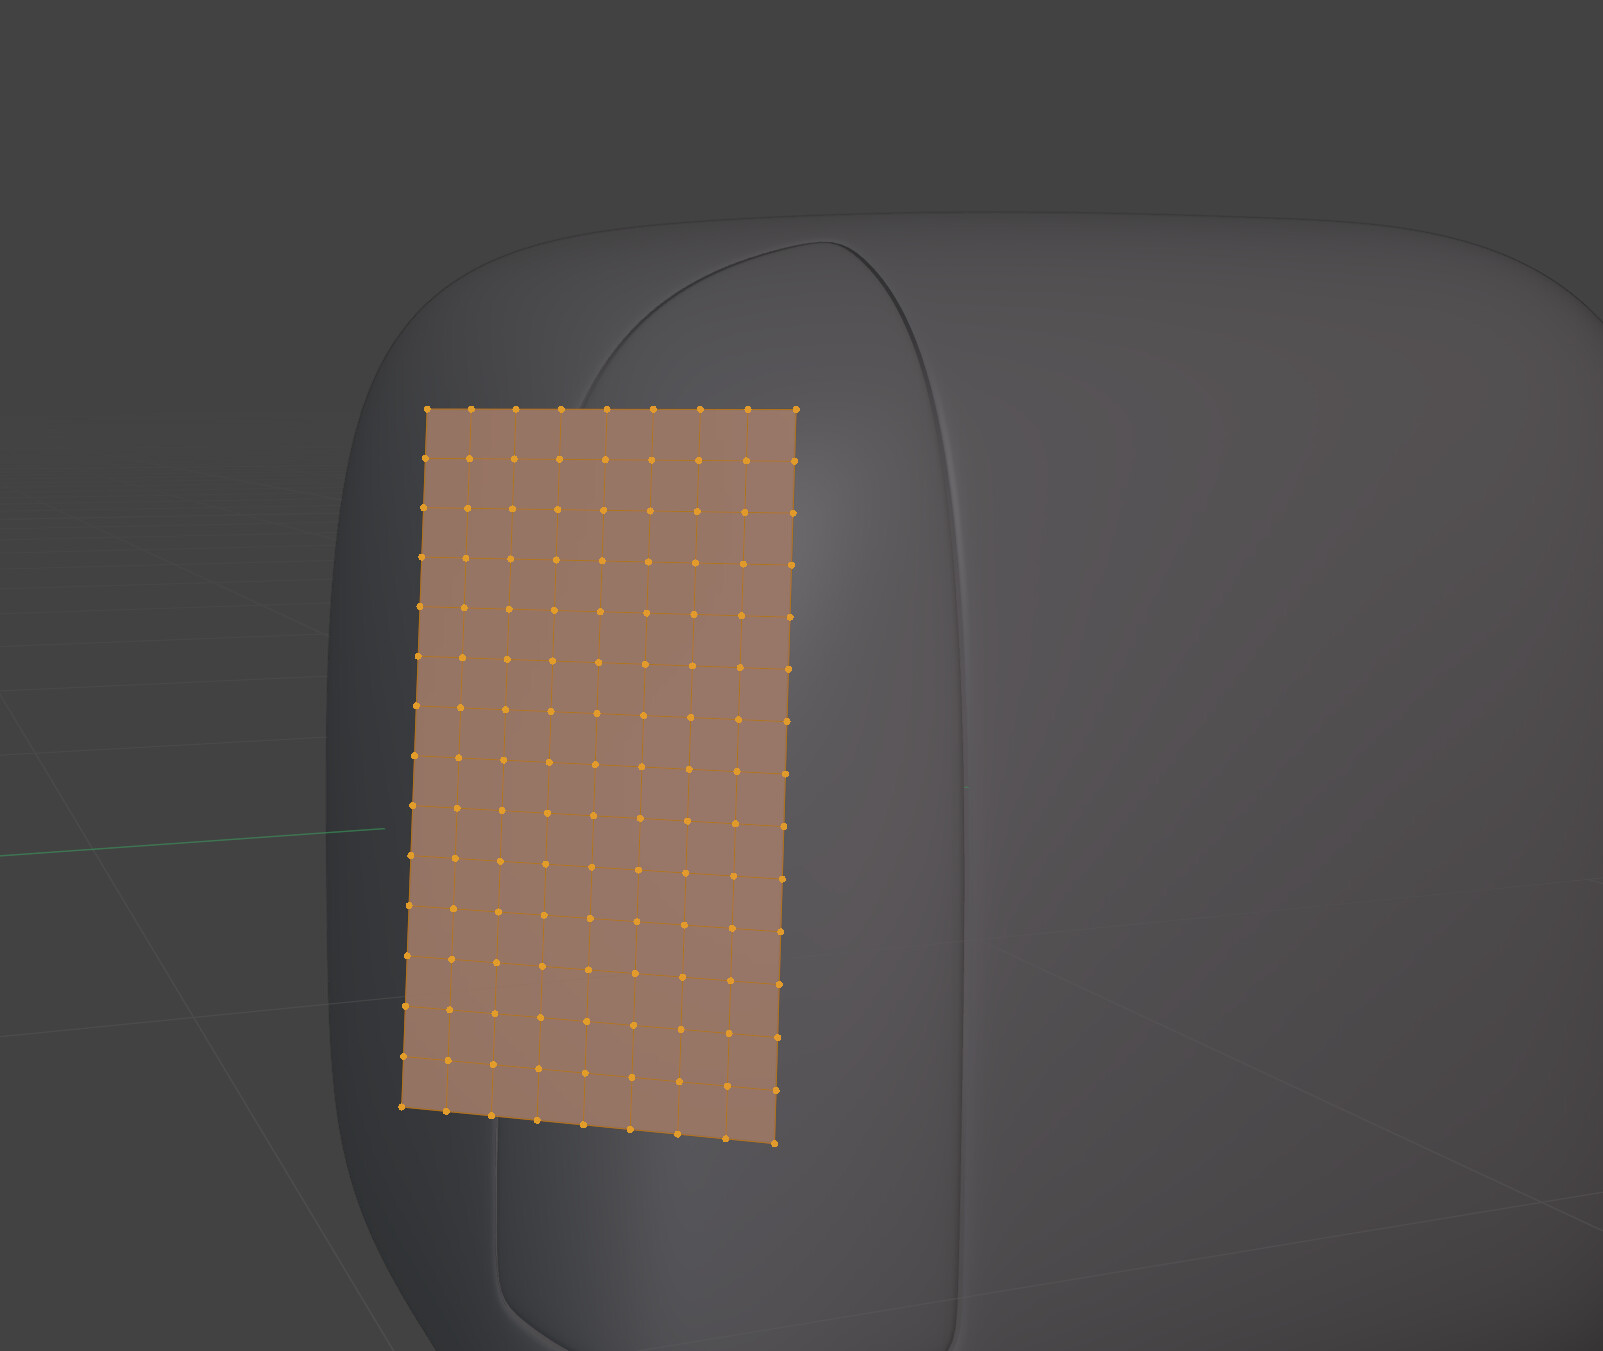
- create the base shape
- Place a grid mesh in front of it
- select all, poke faces
- tris to quads
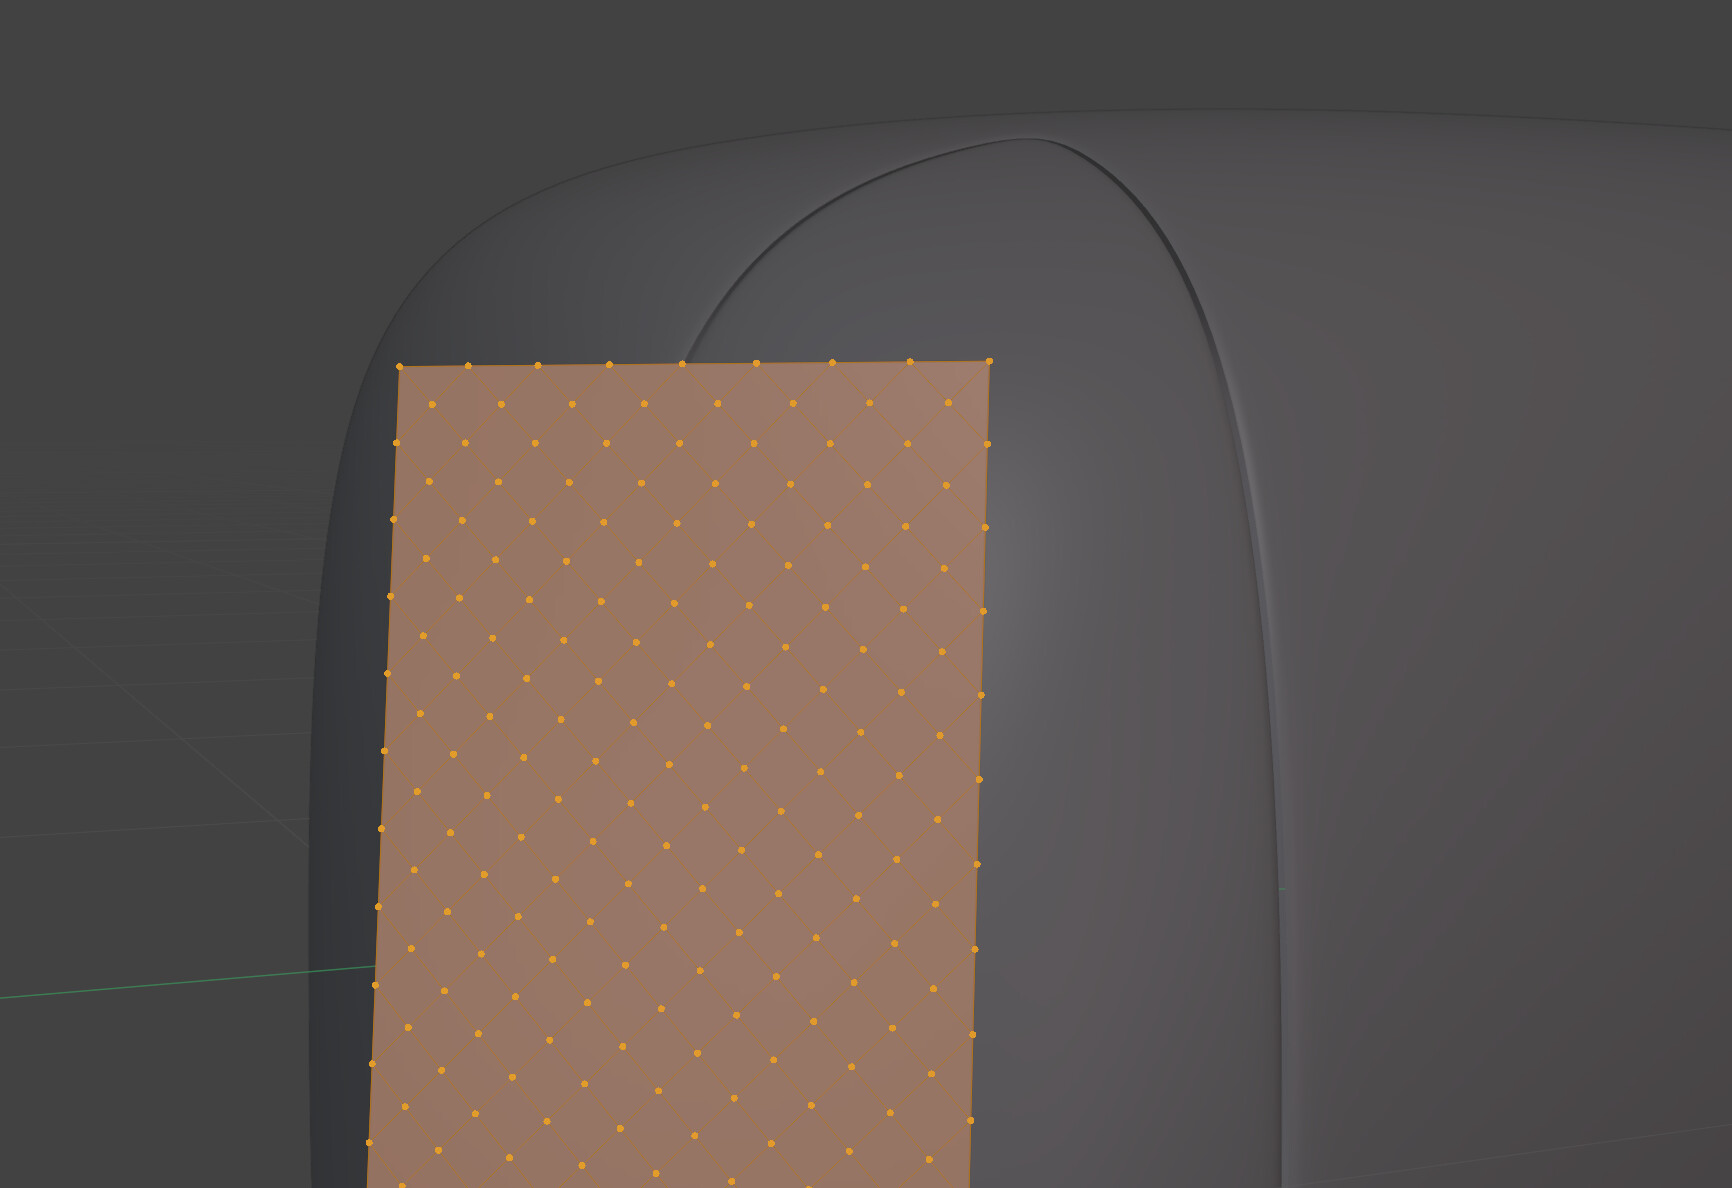
- select all vertices and bevel vertices until you get regular octagons
- select one octagon, shift-g , polygon sides (to select all and only octagons), inset, individual
- go through row by row and scale down the octagons (set the pivot point to individual origins)
- Shrinkwrap the mesh to the base shape (here I used target normal project. You may also want to project in a single direction, if you want to achieve a different effect)
- apply the shrinkwrap modifier
- apply the subdivision surface modifier on the base shape such that the resulting density matches that of the hole mesh. Select the faces overlapped by the shrinkwrapped mesh and delete them
- join the two meshes and (yes this is a bit of work) manually clean up the geometry such that you get one contiguous surface with only quads and tris, except the octagons
(I only did half of the job here, obviously…) - select the octagons (shift-g, polygon sides again) and delete them
- add a solidify modifier and a subdivision surface modifier


12a) alternatively, position your camera, and extrude the octagons all in the same direction and then delete them


curved_holes_2.blend (3.3 MB)
2 Likes
i would edit to the workflow that you do not join but:
- Use a Solidify modifier on the pattern.
- Use a Boolean modifier to get the square hole in which the pattern goes.
- after getting the hole i would join the two objects.
- Use Bridge Edge Loops to fill the hole although it wont be visible.
1 Like
Another way - find somewhere (or make) vector pattern with fading dots, import as svg to curves and convert curve to mesh. then place it properly and knife-project this mesh on the surface you like and remove “dots” carved with projection from the surface
1 Like