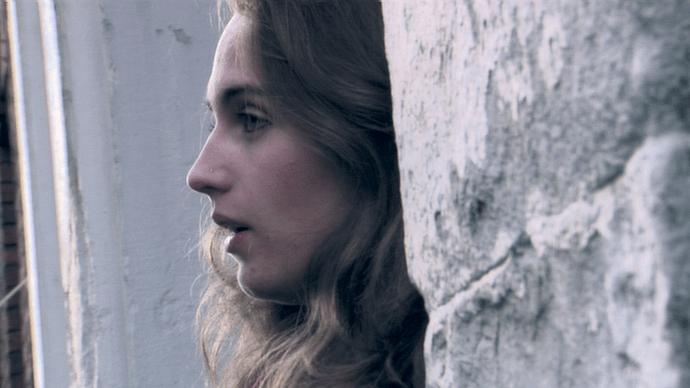
Here is a music video we recently finished (featured on Blender Nation). I’ll upload some screen shots shortly.
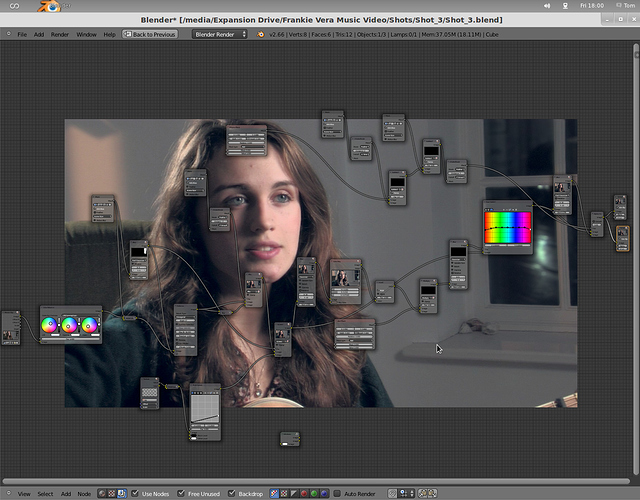
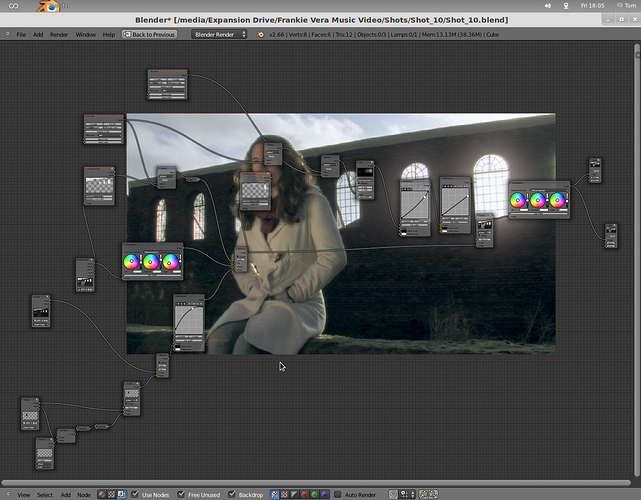
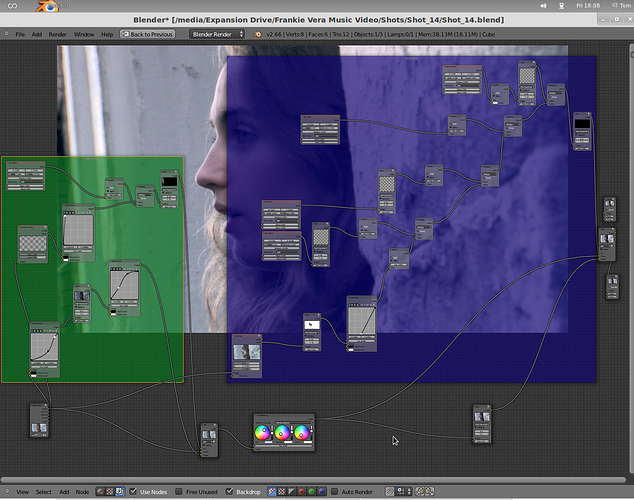
We shot it in two afternoons in December, but have been tweaking things on and off ever since. There are two sources of Blender related interest here. The first is that most shots have some (hopefully subtle) visual effects work and the second is that all grading was done in Blender’s compositor.
Two shots have sky replacements, to get around dynamic range limitations when shooting into the sun (0:33 and 1:24, both of these were completely clipped in the foreground plate). It shows up at the edges particularly, despite using some light wrap. As the shots were locked off, we just put the ND filter in, to capture an underexposed sky plate. In the second instance (1:24) we made the mistake of not getting the sky plate “clean”, so Frankie had to be painted out of the shot, at least in those areas that were to be replaced (namely above the wall and in the windows); GIMP was used for this. In both cases, the dark plate had to be brightened considerably to look at all realistic, but by virtue of doing this in post we were able to use a curves node to achieve this without introducing clipping.
The glow effect around the windows at 1:24 is mostly artificial, although the lens flared a bit. We might have overdone this, but if you can’t overdo things in a music video, then when can you?
In the interior shots, the view from out of the window was originally in focus (the camera uses a 1/3” CCD, so we always have lots of depth of field). We quite liked this because of the effect of the car headlights on the wet street, but we added a simulated depth of field effect in order to hide the very obvious speed camera sign which somehow escaped our notice. We then added simulated noise over this to match it to the rest of the shot.
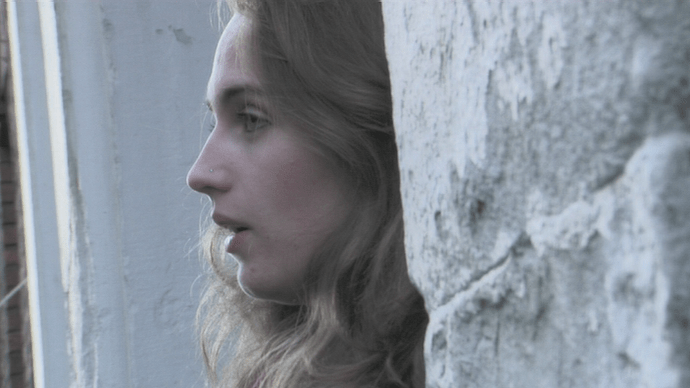
In many shots, we rotoscoped the skin areas and applied a bit of blur to soften them slightly. This effect was kept very subtle; if we had a budget, this would have been taken care of by makeup. We had to garbage matte the mouth, eyes, eyebrows and nostrils to keep this looking natural. Motion tracking points such as the eyes allowed the mask to follow the face, which reduced the amount of roto required.
At 2:30, a plug socket was painted out in the lower left of the frame.
The grading was mostly quite generic. Box and ellipse masks, and in some cases masks drawn in the movie clip editor, were used to improve consistency between shots. For example at 2:28 a heavily blurred box mask was used over the lower left of her right hand to increase contrast across the hand; this ties it in better with the light on her face.
If the cinematography is of any interest, we shot this on a Canon XL2. (Does anyone remember those, the state of the art miniDV cameras from 2004?) Lighting was done with two 650 W Fresnels and a PAR can, and a reflector was used for fill on the backlit exteriors. Because these are all hard, not very powerful light sources, it is very difficult to get natural looking results. Obviously, we can diffuse lights some of the time, but most of our lights don’t have the power to punch through much diffusion. The keylight was a NSP PAR through a small frame of diffusion. PAR cans give quite a messy light, but when diffused, they still give quite a small source because the narrow beam doesn’t fill the frame; it is soft, but still has a lot of definition.
We prepare our DV footage for Blender using a variant on BlenderVSE’s system.
Because this was shot in 16:9 SD PAL (720×576, non-square pixels) scaled to 1024×576 with square pixels for working, it was difficult to upload to YouTube, which only supports NTSC resolutions. Scaling from 576p to 480p severely reduces quality, so we up-scaled to 720p and uploaded that as well, which looks significantly better, although still worse than the original. Before YouTube compressed it, the mid tones were a bit more saturated, and the shadows were less so. She came out looking a bit pallid in some shots; we still haven’t figured out all the details of our pipeline, so colour management was a bit lacking. Sometimes these things have to be sacrificed in the interest of actually finishing things.
The shadows are a particular problem, as the increased saturation has turned them quite blue; this was far more subtle in the original. Also, where the blacks looked very deep straight off the camera, they have been rendered quite milky by YouTube, and the compression artefacts are very visible. Fine details, such as in the brick wall at 1:24, have suffered considerably. In the first shot, where the out of focus highlights are visible, you could see in the original that the blades of the iris where out of whack slightly, which was alarming, but rendered quite an interesting effect. I had no idea that uploading your footage to YouTube was so traumatic.
Feel free to tear it to pieces (the video, not the music). More of Frankie’s music can be found on her YouTube channel.
Owain and Tom Wilshaw
