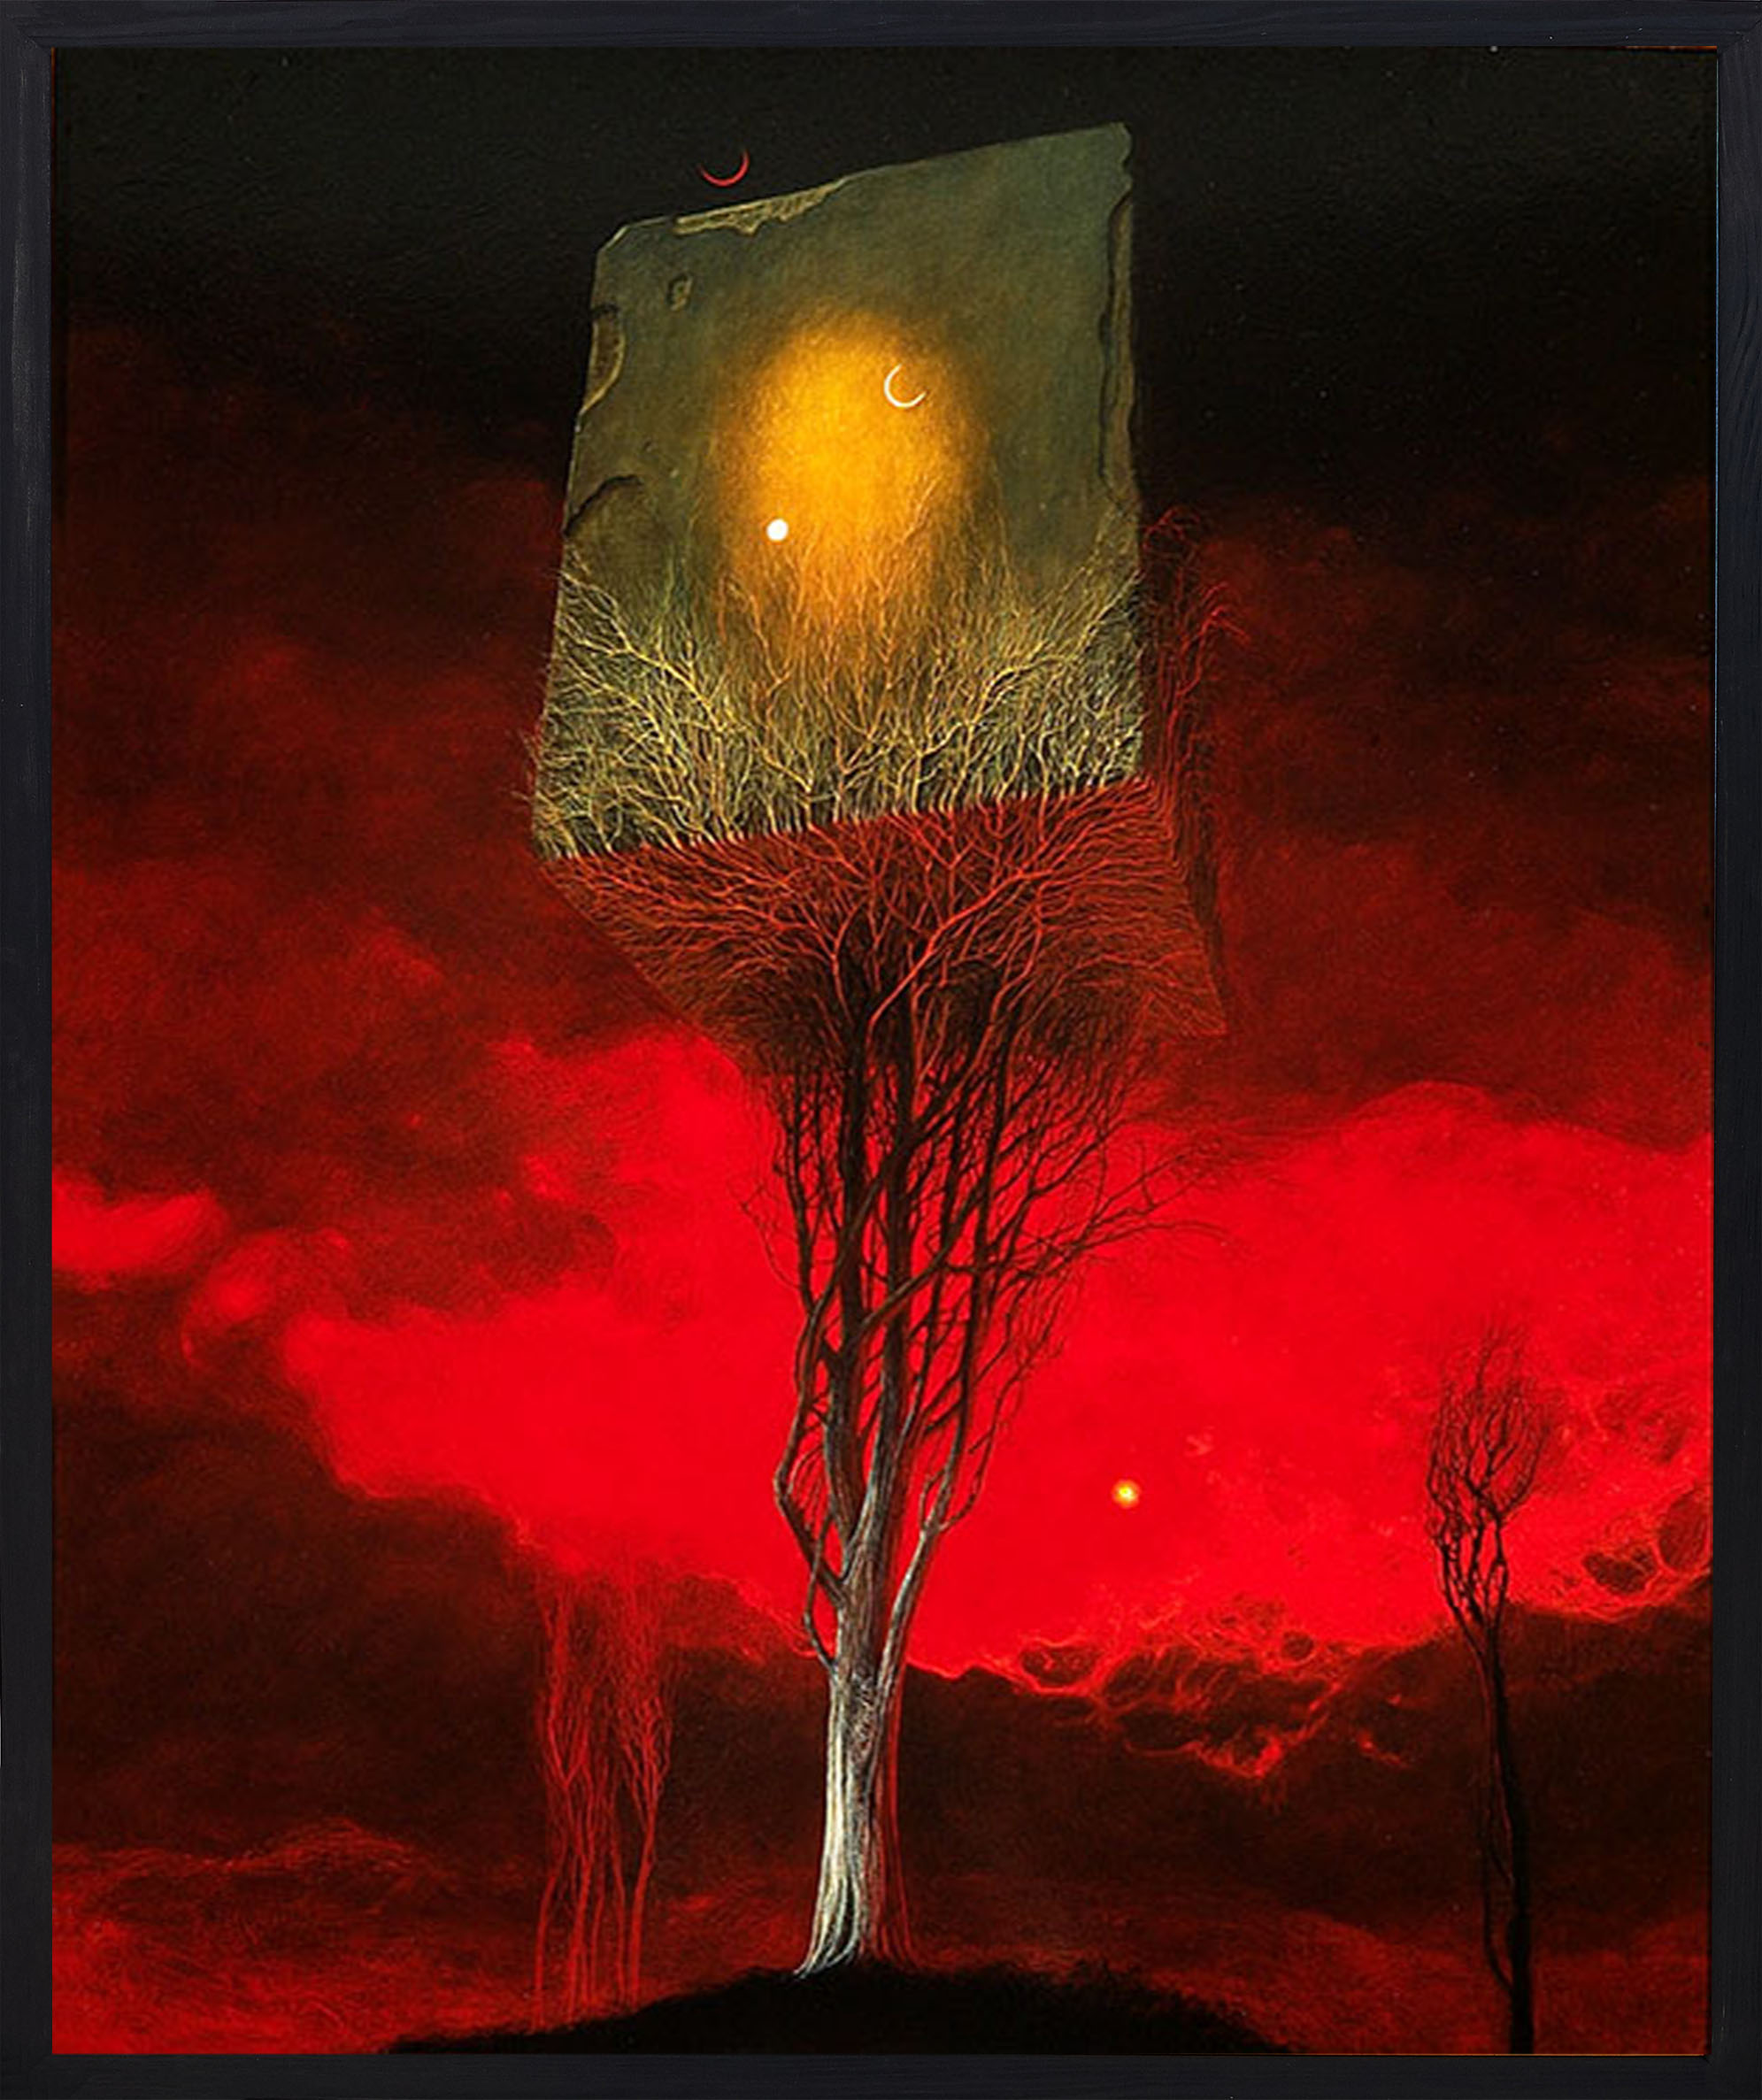
To be more specific I want the curves/splines of a mesh to wrap around a certain object, like you see in the art where the tree branches wrap around the cube.
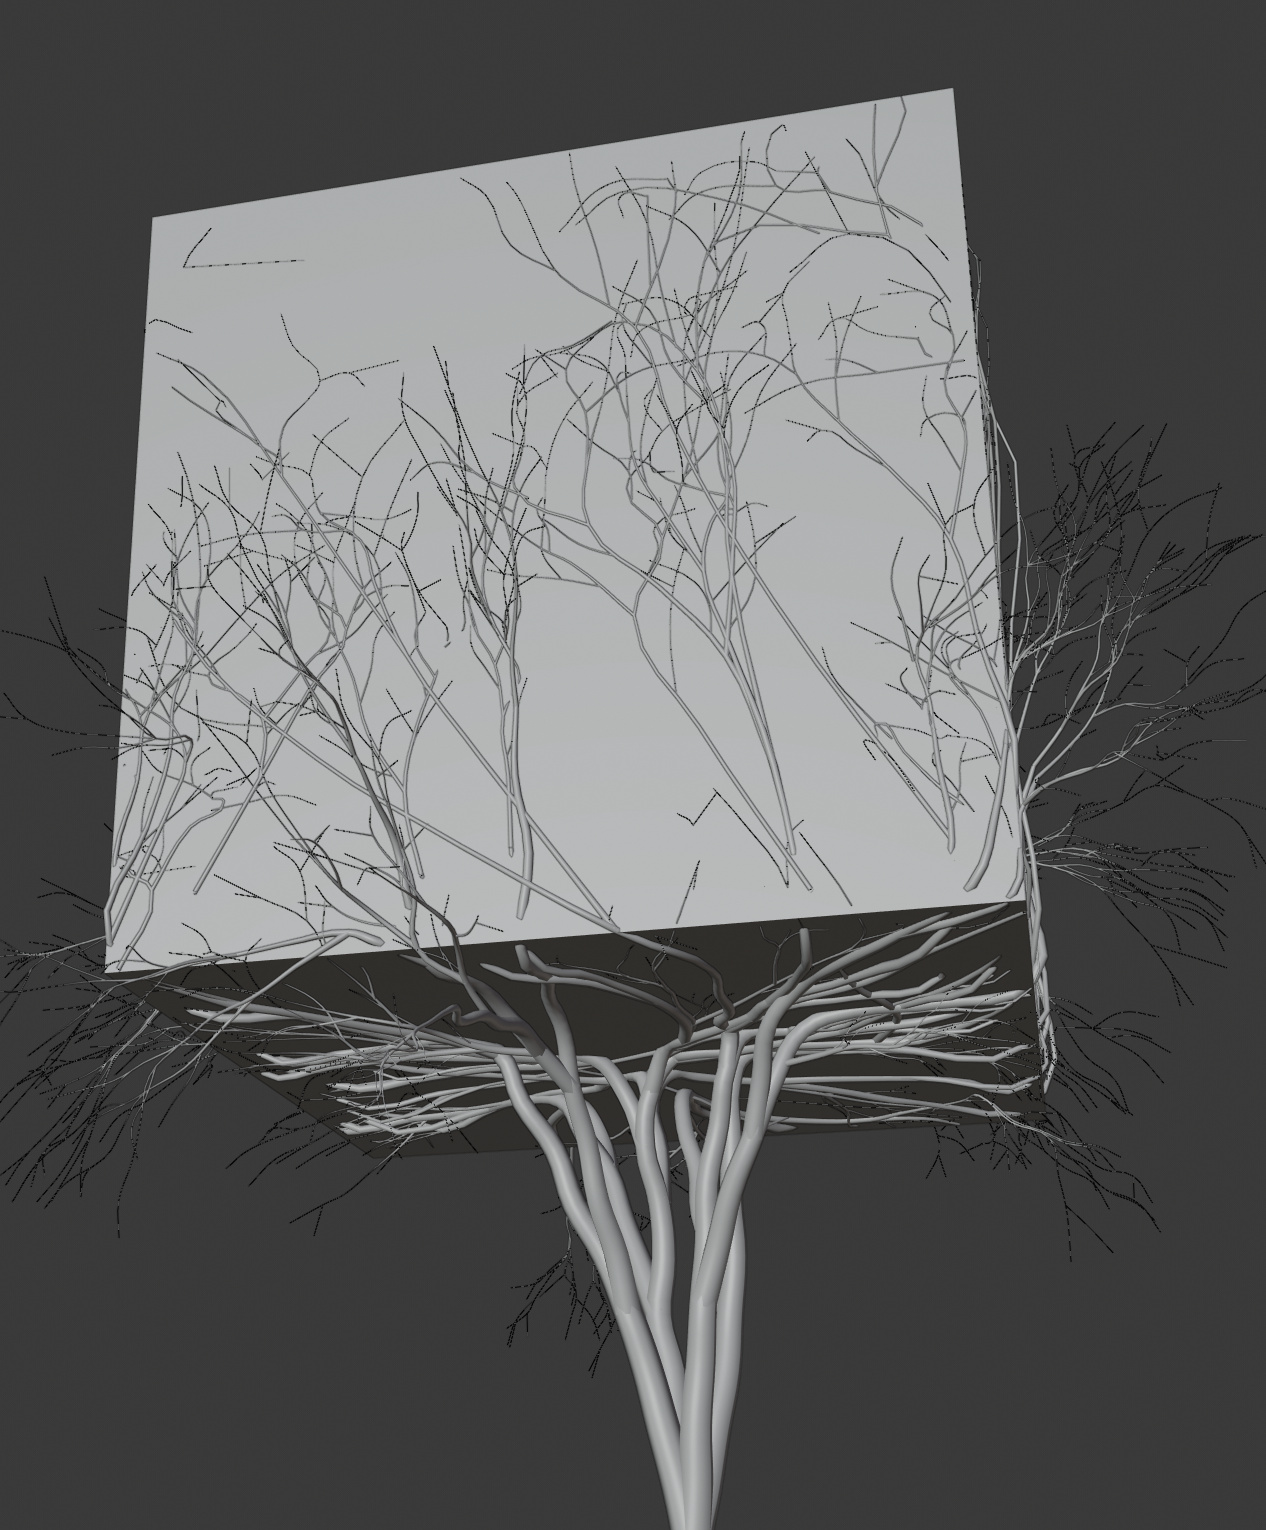
As you can see here with basic Blender tools I got really close (it wasn’t that hard apperantly), but I can’t get the result I want. I used the sappling tree gen addon and a shrinkwrap modifier.
As you can see here, all branches wrap around the cube nicely. Problem is that the main tree stumps also get wrapped and sucked into the cube it looks really unnatural.
Here you can see with different settings that the tree branches get stretched and the main tree stumps do not get sucked into the cube which is what i want. the problem only is that 1 the branches get stretched upwards (which is not too much of a problem) and 2 some branches are completely ignored that are not physically in contact with the cube.
does anyone know how i can fix this?
like put a cage or something on the tree that makes sure everything inside the cage gets affected by the shrinkwrap?
hm… any idea how to paint everything within cursor/brush radius?
it seems to ignore everything that’s not inside the middle of the cursor/brush, making it hard to paint those small twigs.
Also every branch now becomes completely flat against the cube, i think that may be because of convrting it to a mesh from a curve?
I would set Bevel Depth to zero before conversion or don’t generate thickness by disabling Bevel checkbox in Sapling settings.
Then, I made a mistake. I thought that Weight Painting on wire was possible but it is not.
That is not a problem, you can assign weight in Mesh Edit mode.
After conversion into mesh, merge by distance several vertices with a margin important enough to fuse vertices at each branching.
Then, select one vert at tip of a branch. Shift G > Amount of Connecting edges.
You should end-up with all tips and the root selected.
Deselect vert at the root.
Expand selection to include more than desire amount of branches sticked to cube.
In Mesh Properties, assign a low value of weight to selection.
Then, deselect using Ctrl numpad -.
Assign a value of weight a little bit higher to reduced selection.
And reiterate the process to obtain a gradient of increasing weights from roots of smallest branches to to their tips that should have a weight equal to one.
You don’t need to use Project mode for Shrinkwrap. Default mode or Target Normal Project should be satisfying.
Apply modifier to mesh
.
Then, restoration of a pertinent radius will be problematic.
You can convert Mesh Into Curve and reset Curve Radius per control point in Curve Edit mode.
Or you can convert Mesh into Grease Pencil ; restore appropriated thickness, in Sculpt mode ; and then, redo a conversion from Grease Pencil into Curve. Thickness data is converted into Radius data.
So, you can obtain same result than what you setup in GP sculpt mode by just increasing Bevel Depth of resulting Curve.
Or you can abandon idea of Shrinkwrap modifier and try to obtain something satisfying with IvyGen addon, animation nodes or hair particles.