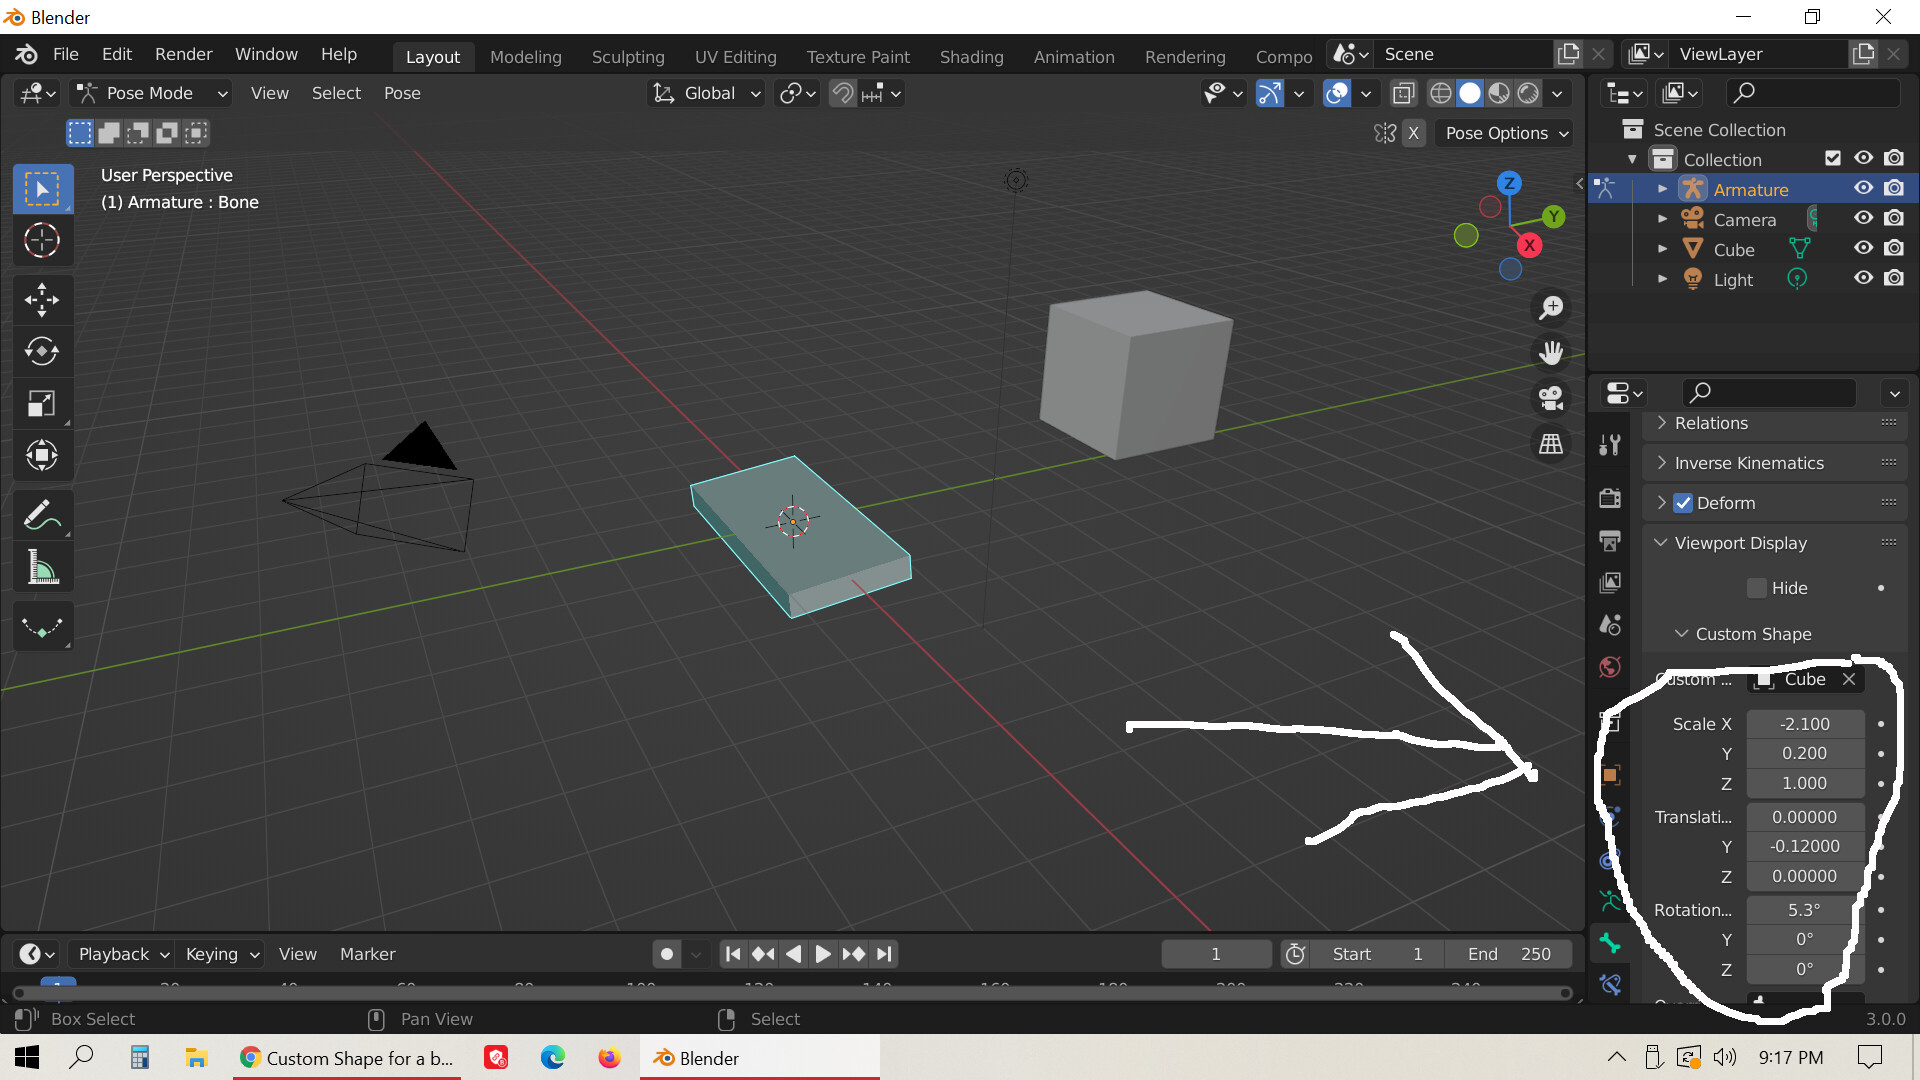
Hi everyone, am trying to follow a rigging/animation course i bought but i find myself stuck quite at the beginning of it as the teacher shows how to create a controller for the neck armature. I follow precisely everything he says till a point in which he says “…and while in Edit Mode, if i edit the vertices, you can see the custom shape will also adjust itself”, but i notice that going into Edit Mode, the circle custom shape within the armature disappear. I can still see the rest of the armature, but that circle. So it’s pretty hard to make the two circles match like the teacher shows in the lesson. Can somebody help me please?
Am pretty sure it’s something silly that i am missing, still it is quite frustrating to get stuck at such a simple step and i can’t simply move on with the lesson until i figure out how to sort this out, so i hope the experts in this community can help me. ![]()
![]()
I downloaded the new release 3.0 cause i couldn’t wait to explore and work with the new version ^^
I hope the images attached can help you understand what i mean.
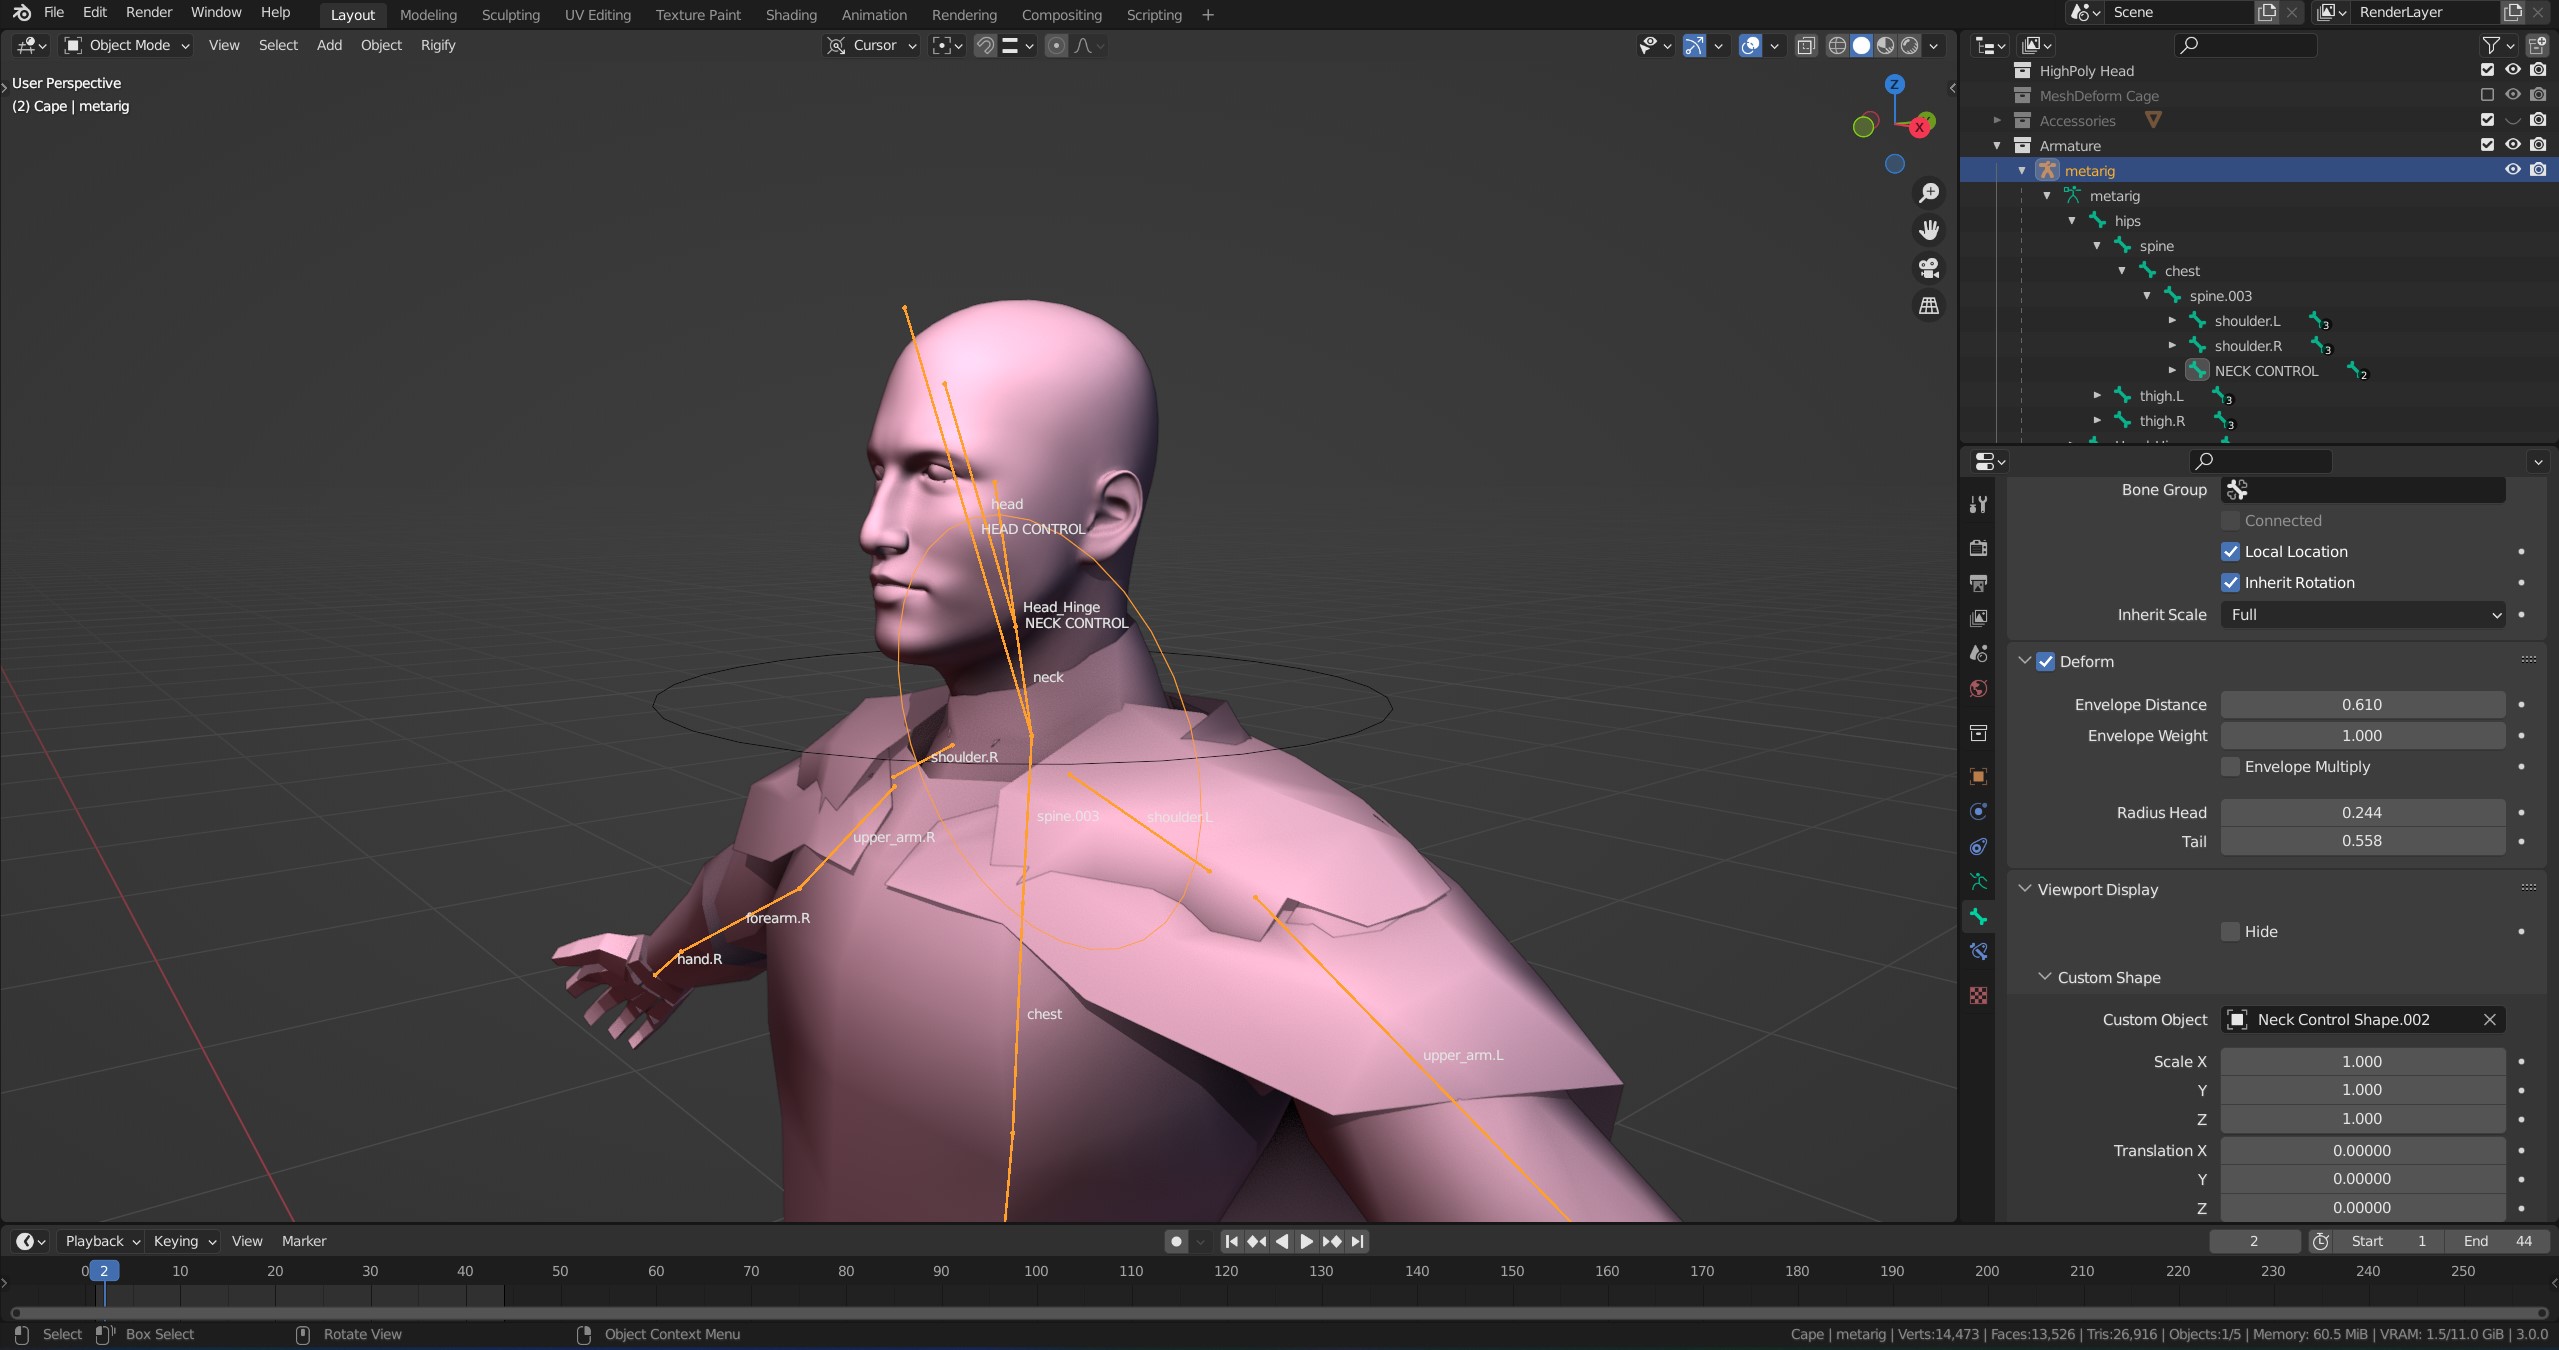
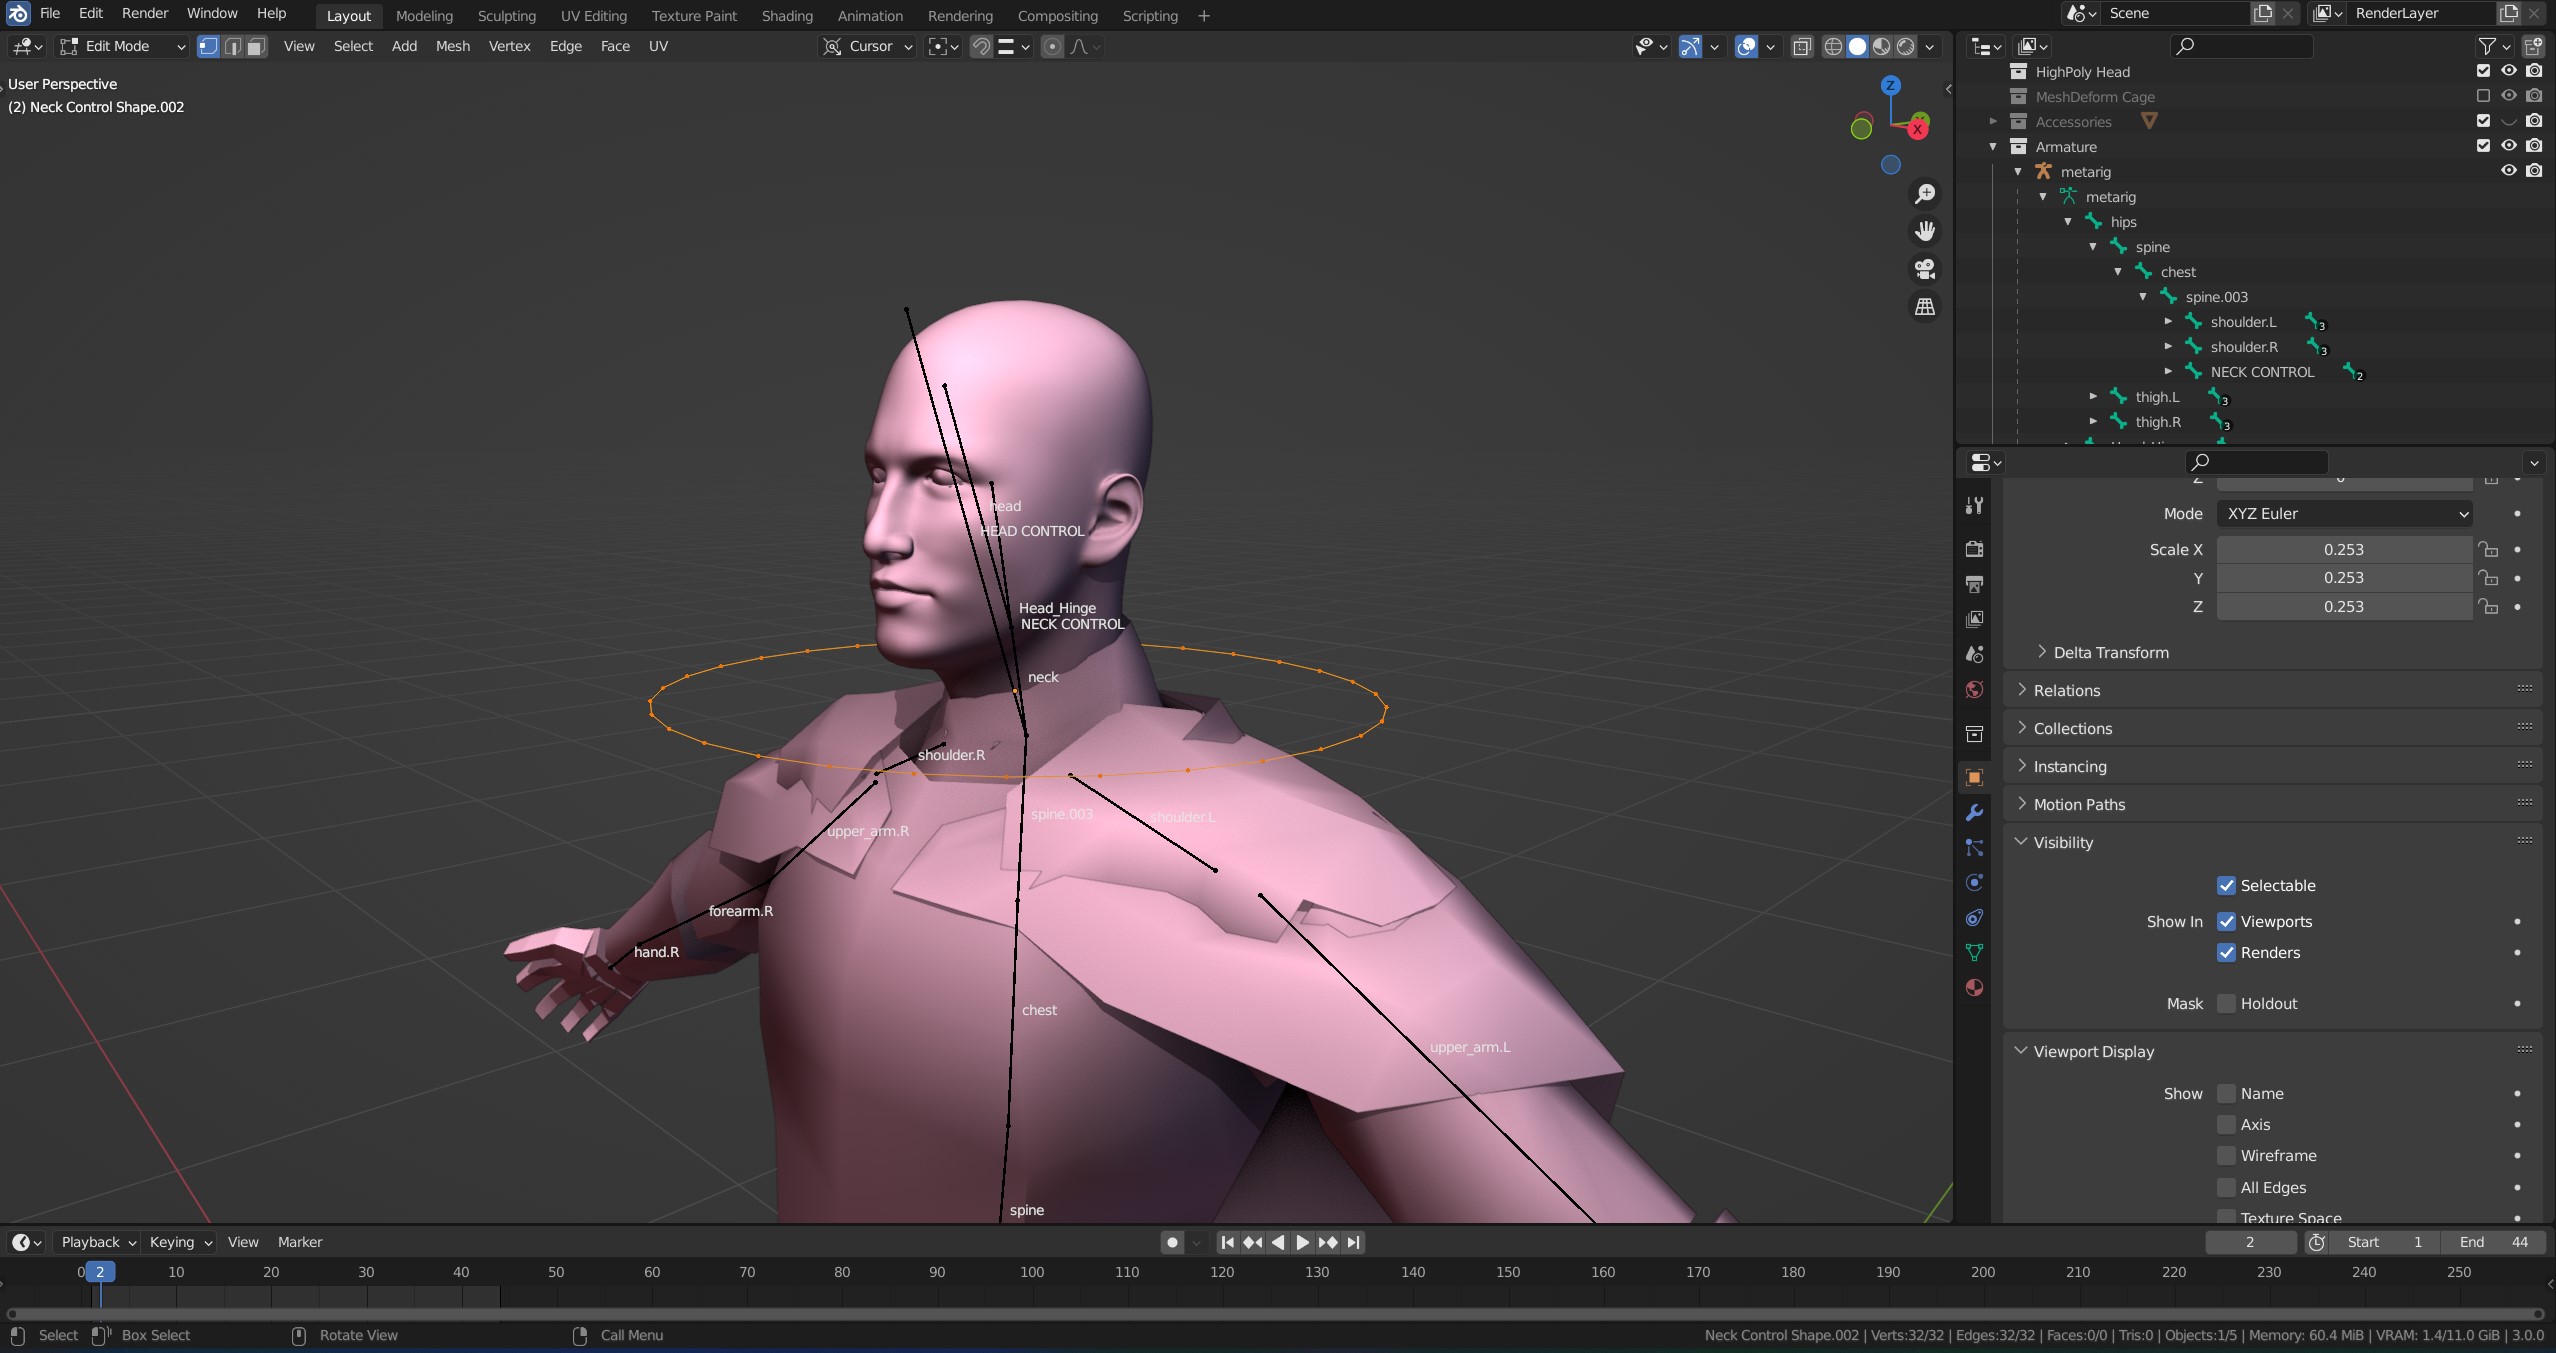
If you mean Edit mode for bones. That’s the correct behaviour. Because you are supposed to edit the root and the tip of the bone in this mode. So Blender shows the “real” bone’s shape.
This looks new to 3.0. In earlier versions, the bones would remain displayed while editing the vertices. 3.0 had some changes to custom shapes that must have changed (broken) this functionality.
It might be reasonable to make a bug report. Doesn’t seem like a big deal to me.
I feel the same. Will defo report it to the devs