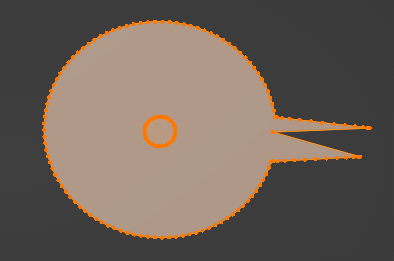
I imported it via File → Import → svg which gives me 2 pathes: One is the outline and the other one is the “hole” in the middle of the circle:
I converted both to meshes via Object → Convert → Mesh. Now I want to fill the surface, so I’m going to Edit mode, Select all vertices with A and then pressing F to fill the surface:
So thats okay except that the “hole” in the middle should not be filled. How can I achieve this?
Don’t convert to mesh. Join the two curve objects with Control + J.
In curve settings select 2D and set the Fill Mode to “Front”, “Both” or “Back”. Theoretically, the hole should now be there.
You will not get a nice mesh, but workable for certain usecases.
If you need a nice mesh, it’s probably easier to start from scratch and use the SVG as a reference.
The idea why I converted it to a mesh is that I want to extrude (z-axis) und bevel it. The problem here is that the faces which are generated seem to be kind of chaotic, I was expecting the faces to reach more from the out circle to the inner circle and not to much “horizontal”.
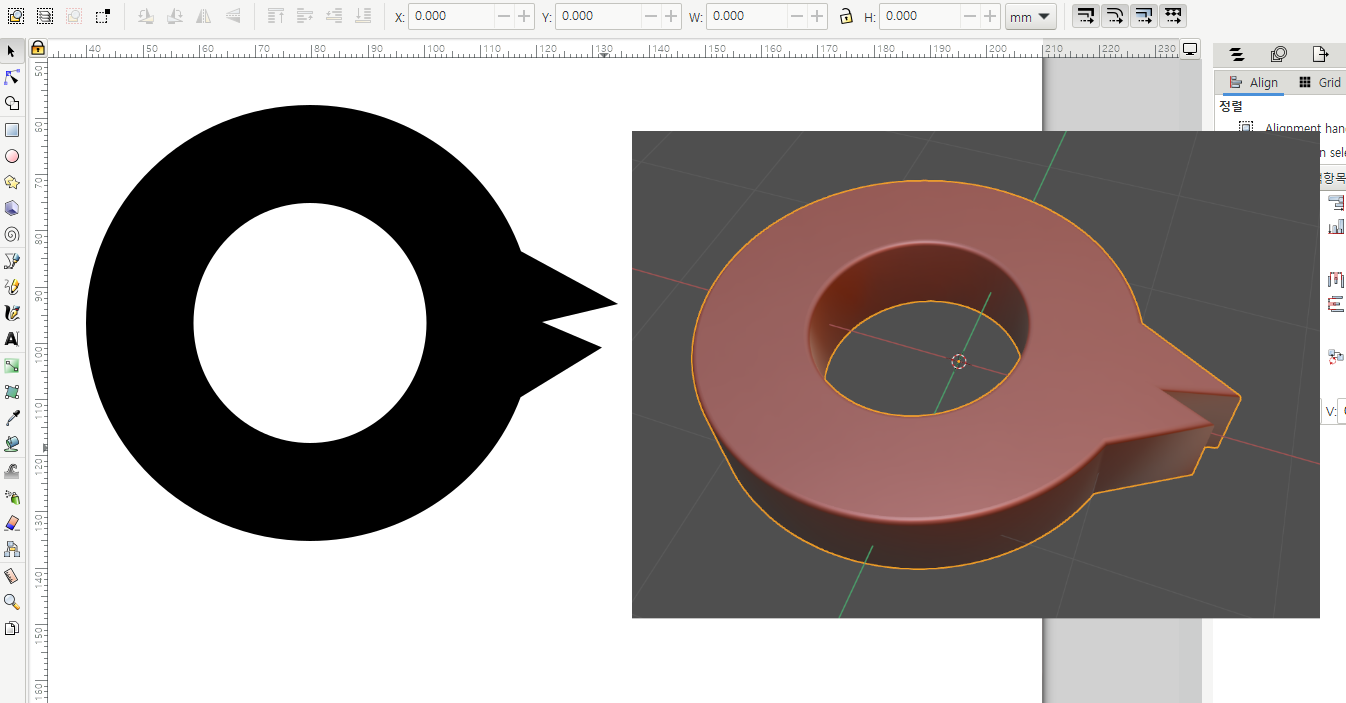
Import the SVG…you get 2 Curves, Pick the Hole Curve, and shift-click the Head Curve… Enter Ctrl + J to join them…
In the Curve tab… Set it back to 2D and select Fill > Both…
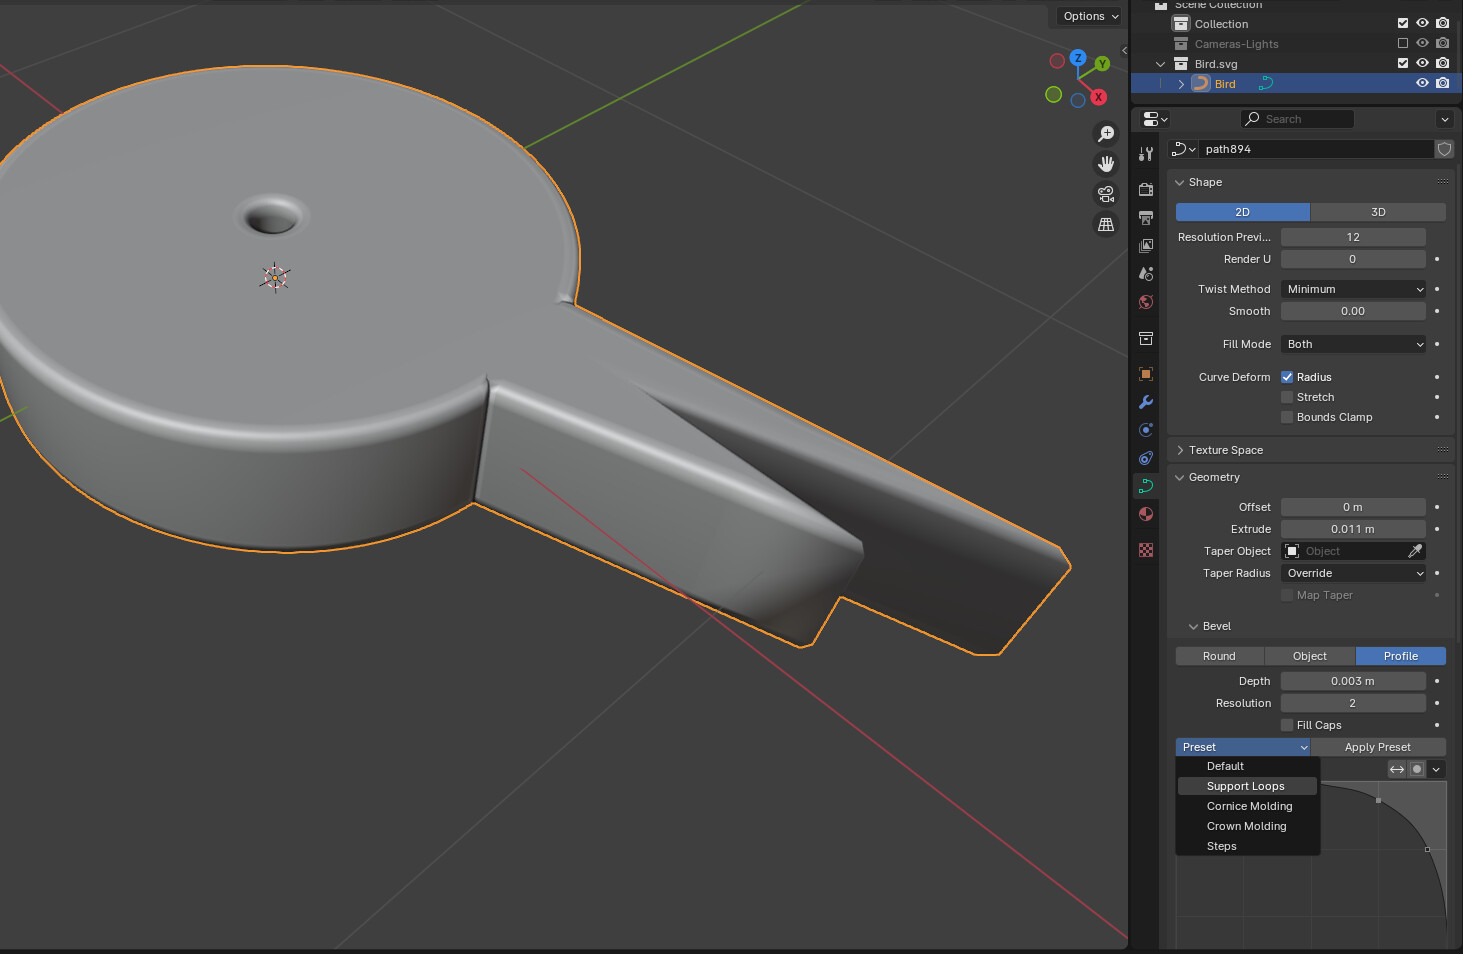
Under the Geometry Tab, select Extrude and set to how thick you want…
Then under the Bevel select Profile and in the Presets select Support Loops…
You have what you wanted now…
Great, thanks a lot to all of you, very helpfull! Didn’t know it was possible to extrude and bevel a curve as well.
Just one last(? ) question:
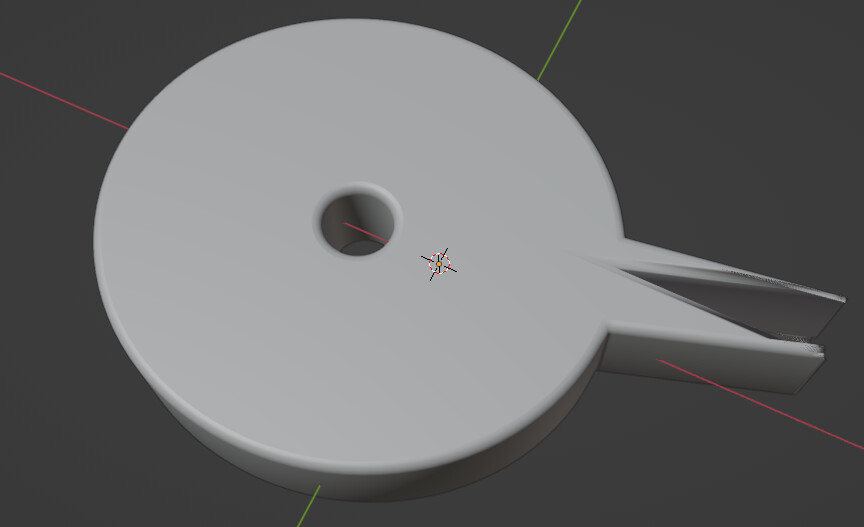
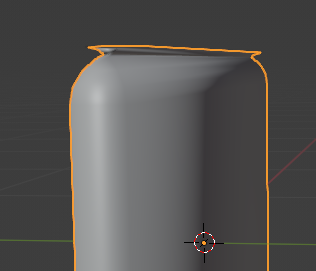
When applying the bevel, the hole in the middle gets smaller and the outer dimensions of the whole object increase, like in this extreme example:
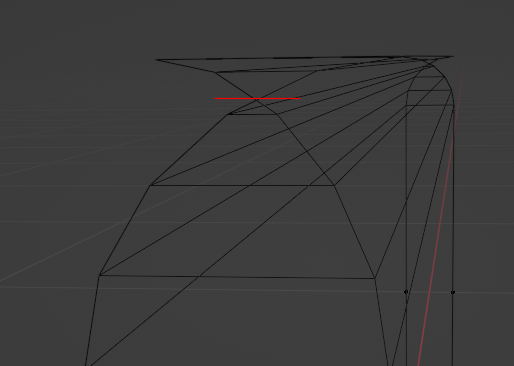
Thanks for your reply. There isn’t any tool which does bevel a bit better on narrow parts? Perhaps this might be a bit naiv, but instead of “cracking”/“overlapping” corners why couldn’t the corners just be taken away? There might be use cases where you need that, but in my case I would just to get rid of everything above the red line:
What you can do with a bevel is simple.
There is an option to prevent the problem shown in the image, but it may be a result that is different from the desired shape.
In order to create the shape you want, you have to learn how to model it.