My intention is to make a cilinder with these holes in it. My problem is that I want to keep a nice topology and can’t really find a good way to do this. Any suggestions?
Have the loop tool addon enabled (File -> User Preferences -> Addons -> Mesh category, enable Loop Tools)
Add a plane
In Object Mode add a Subdivision Surface modifier and set it to level 4
Apply that modifier
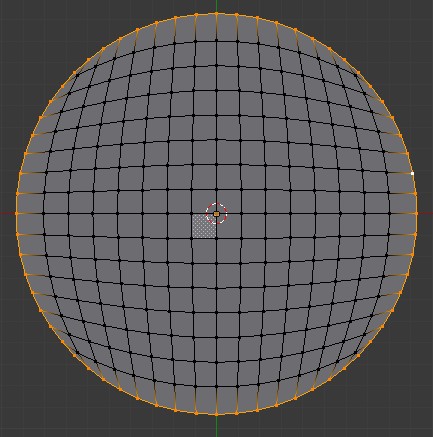
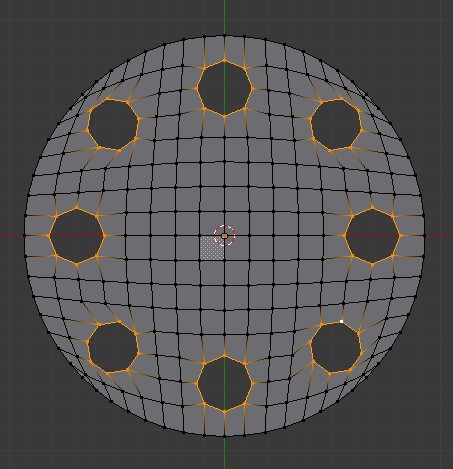
In Edit Mode select the boundaries :
Click on Mesh -> Transform -> To Sphere (or SHIFT+ALT+S) and type 1, then press ENTER (or left click) to validate
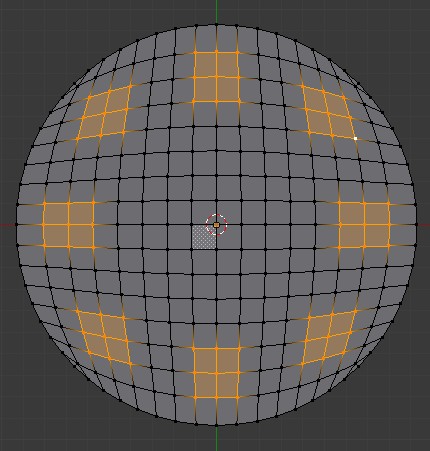
Select those vertices
Press X -> Faces to delete the faces
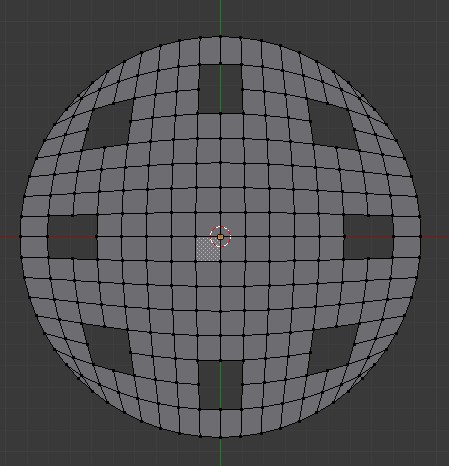
Select all the holes boundaries
In the Loop Tools tab (in the toolshelf, the panel to the left of the 3D view) , click on the “Circle” button
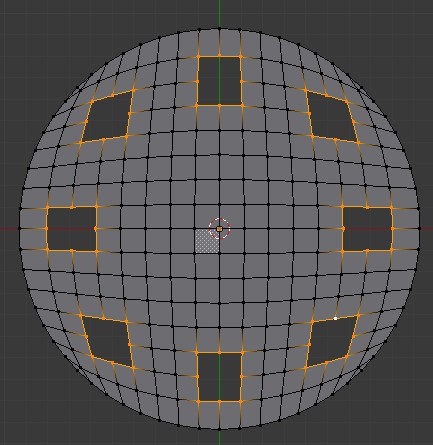
select some of those circles and press S then type 0.5 to scale them in half so you obtain
you can rotate a bit some of the circles to make the topology nicer if you want.
you can now add a subsurf modifier in Object mode to round them more
@TynkaTopi , 2d curves are a good and easy way to do this kind of modeling, but resulting mesh is very messed up with triangles, and needs too much cleanup work. So it’s better to work as sanctuary suggested.
U are rite dukejib, needs cleanup, I do limited dissolve, usually 0.05. For architectural work (now I’m doing a church designed 1897), I care about that shape of windows and doors, and their face count, less faces what I want extude (or solidify), better. A few edges crossing usually between those faces, its nature of Blender ngons (yet).
Right tool for the job. Some people has habbit that it doesnt depend of the shape of the object, they grab plane/box and add subsurf. Thats their approaching.
Its very difficult to maintain subsurfed mesh (or just mesh), adding or cutting or moving holes realtime. Its like thinking faces and vertexes , not the shape what it represent
Just FYI, I tried out Sanctuarys method, but there was one little glitch for me… when you get to the point of selecting the out edge, going to t he menu bar…select transform to sphere… Nothing happened. Even using shift, alt, S… nothing happened. But when I added the 1 (shift alt S 1) than it transformed perfect. Not sure if I did something wrong or some bug (I was using 2.65a official).
Like others have mentioned Sanctuary, you do such a real nice job of describing in a very clear way, some great methods… you ought to put together a PDF… “Sanctuary’s Incredibly Useful and Insightful Tips and Tricks”
You are doing nothing wrong.
Mesh - Transform - To Sphere or SHIFT+ALT+S activate the To Sphere function with a default value that depend on where you mouse is on the screen apparently, so it could be so low that you don’t see an effect depending on the original shape complexity or closeness to a sphere.
When you type 1 you give it the max value possible.
An alternative to entering the value on your keyboard is to move the mouse (after SHIFT+ALT+S or Mesh-> Transform -> To Sphere) and look in the bottom header the value changing with your mouse moves (and in the 3D view the shape changing real time too).