Forgive me if there is a simple answer; searching is made difficult with the rapid development of the cycles engine.
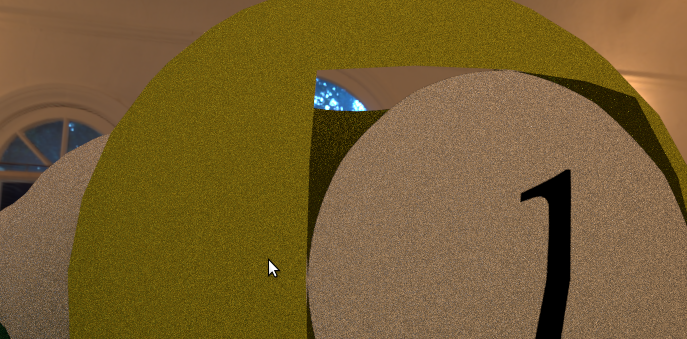
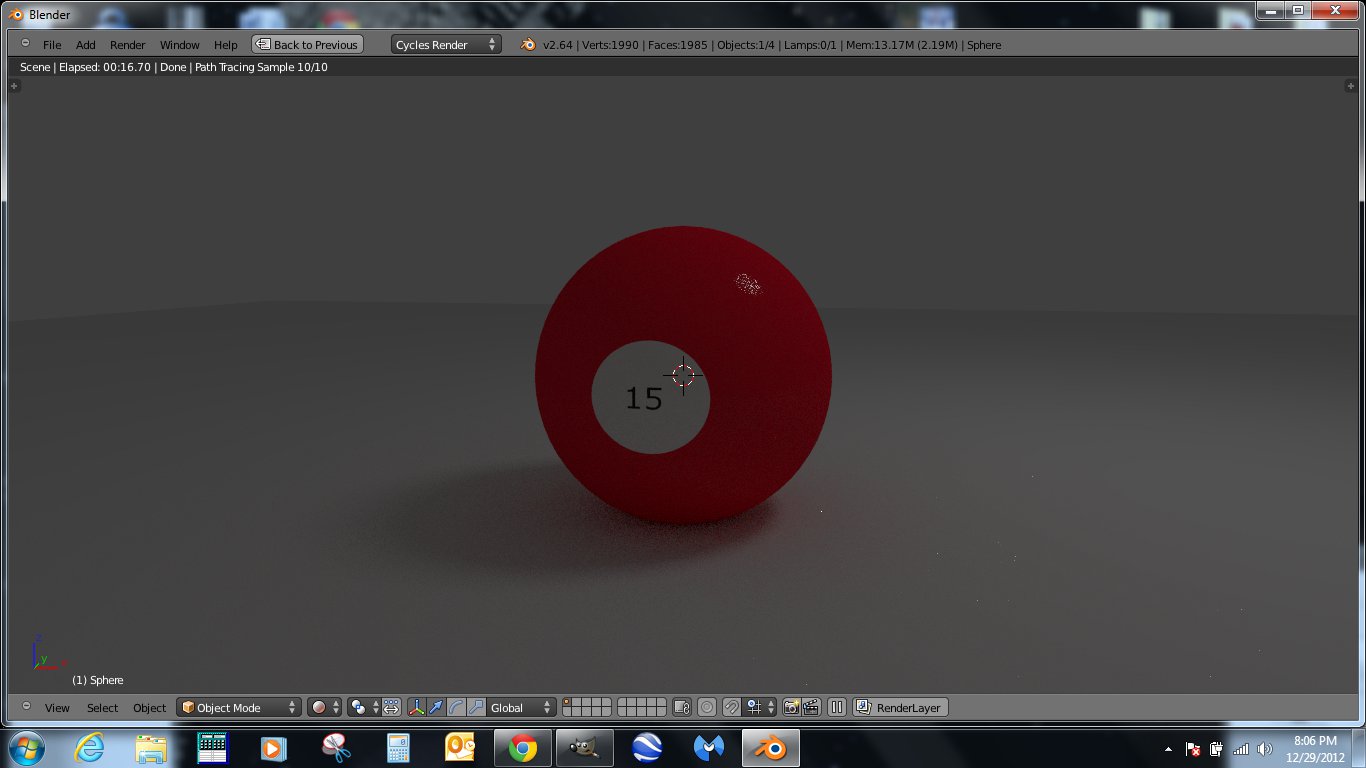
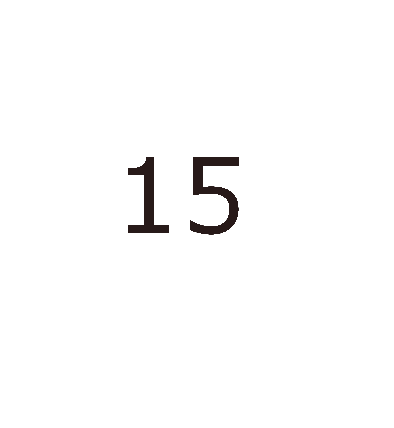
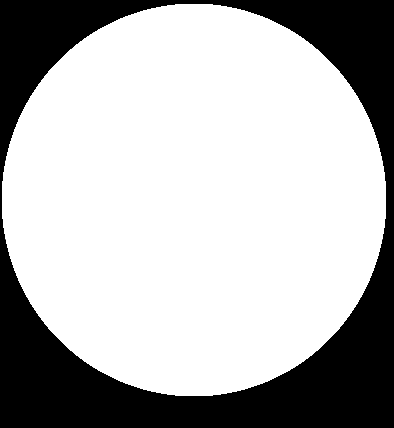
I am trying to make some of my own textures for a scene, these textures are basically white circles with numbers inside of them (billiard balls). When exported from Inkscape they have a small alpha border (fills in the gaps from the circle to the size of the square image). When using this texture in Blender I am finding that this alpha layer is rendered in black. I found an older thread about using an add node; and while that does remove the black border, it also makes the black text transparent and washes out the white with the rest of the materials color.
Is there a simple way to just have Blender use the alpha layer as such? Or am I going about this all wrong?
Using Blender 2.65.3 compiled from trunk earlier today. If my explanation is too confusing I can post screenshots.
Add a Transparent shader, and a Mix shader, in which you mix the texture and the transparent. Use the alpha output to set the mix factor.
I think that should work.
Yes, but the color defined in the Transparent shader must be 100% white, not full black.
It appears the that Transparent shader uses the value of the color to define the transparency (and not at all the alpha value). Black then means 0% transparent, i.e. full opaque.
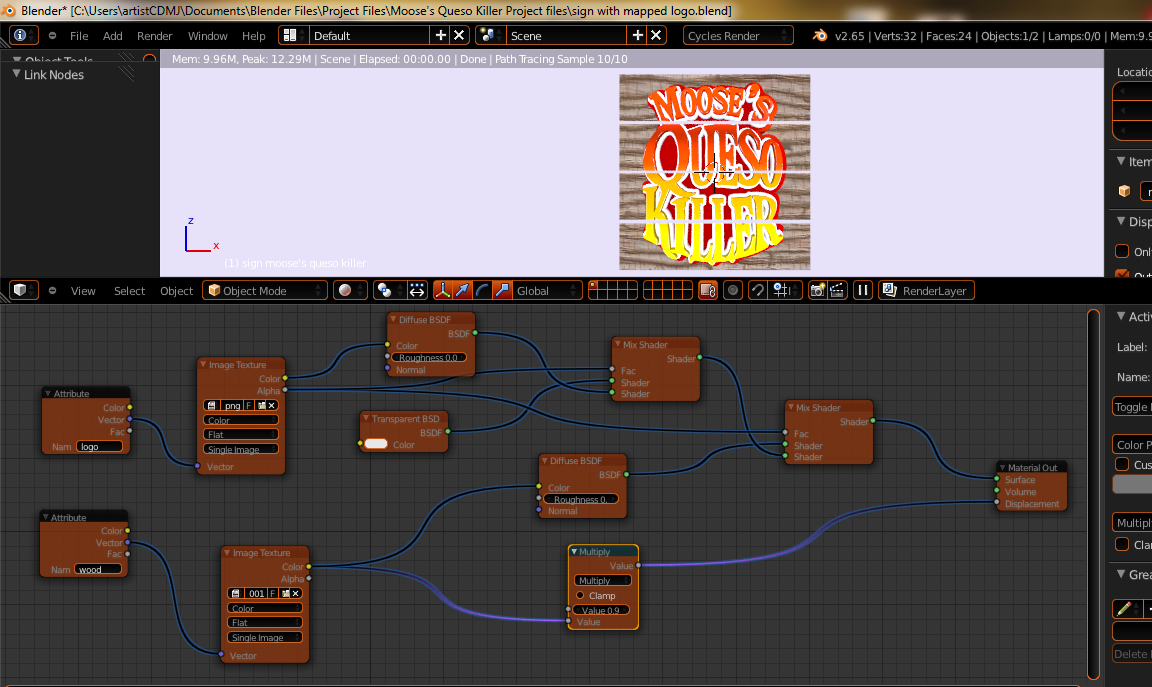
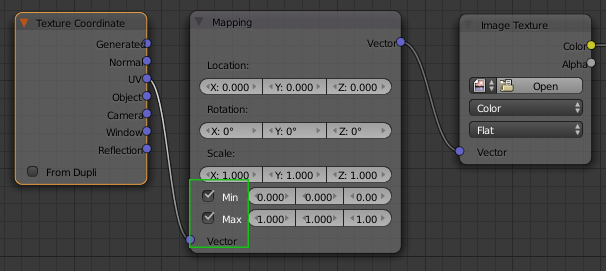
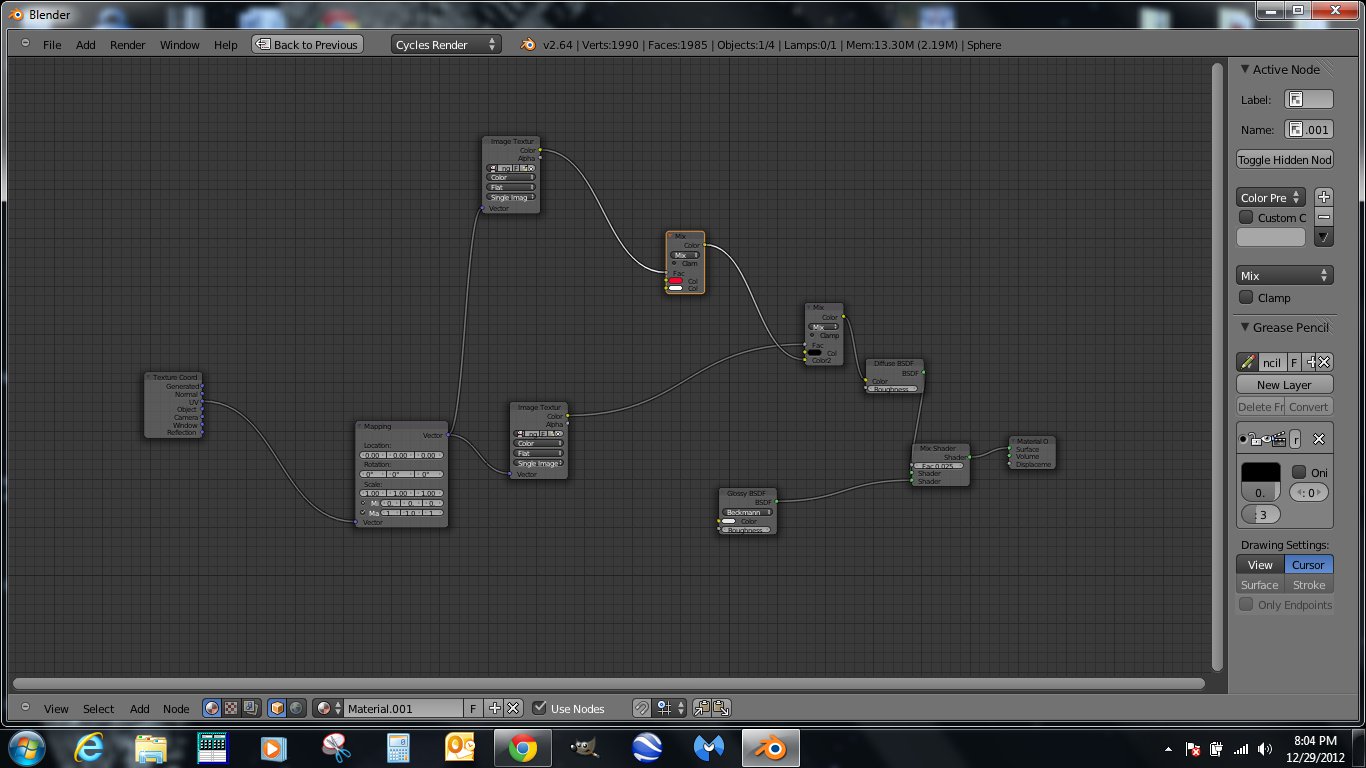
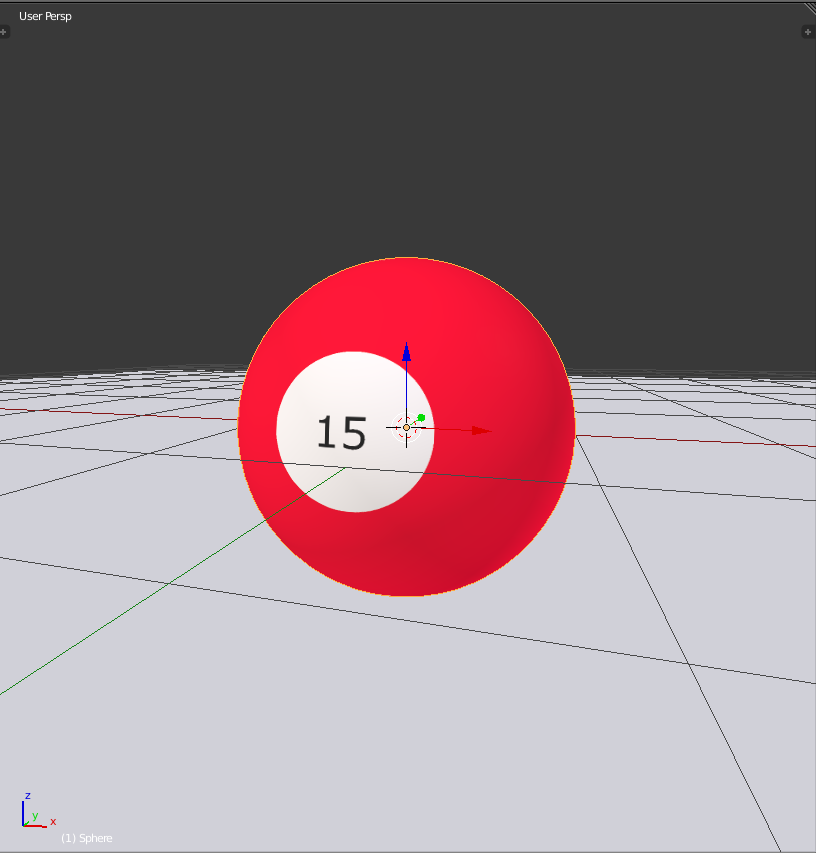
You are using two materials for the ball. I would suggest using one material that uses a single UV unwrap to line up the texture. Select the ones you want(that square you have mapped) then line it up, select inverse and scale them down to very small spot over the transparent area of the image. Use a Texture Coordinate node to tell the shader to use UV mapping. After your mix shader, add another one but this time add a solid diffuse or glossy for the color portion of your ball, and plug the alpha from your image node to that second mix node factor input. That will make it work the way you desire.
…or use two objects to get the number on the ball which might be easier to do but more fiddly to set for closeups. Plane with mapped image Shrinkwrapped to sphere and joined to it:
I can’t imagine using that shrinkwrap for many images on an object, in more complicated scenario like a race car or space ship. But in this case, whatever gives result you want.
Okay, getting closer now using this method. I am pretty sure I have the node setup correct, but the image is repeating. That is probably because my UV unwrap skills are non-existent at this point and I am having trouble following your UV unwrap instructions. Could you elaborate some more, or even point me to a tutorial that may help me with this? Thanks!!!
As for unwrapping, select the faces you want affected by the image, U to unwrap (project from view)and line them up as you need. Select Inverse and Unwrap them, and then scale them down to just small enough to fit in the black/alpha portion of your image. More than four ways to skin a cat, but you will undoubtedly learn more about how everything works after you are through with this project


