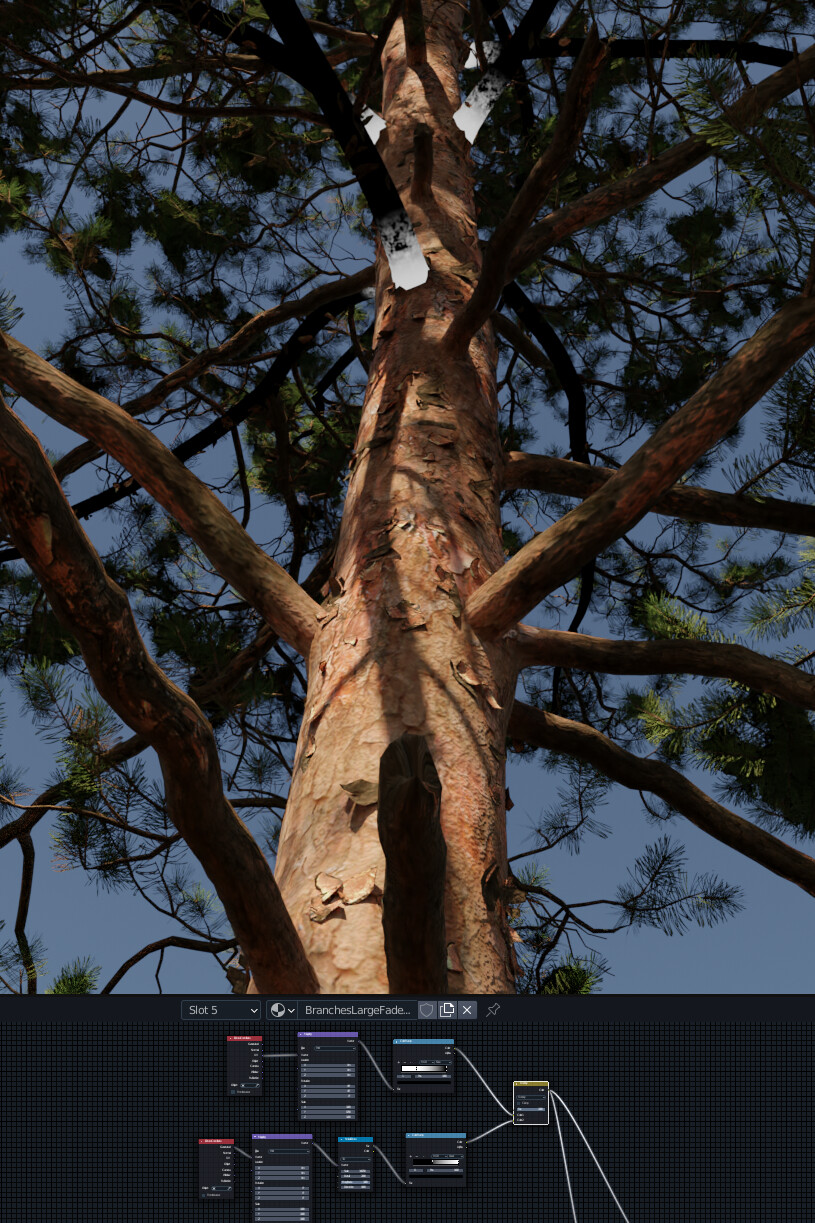
I’m converting a few models done with Vray & Max to Blender and no matter what I do, I can’t get the bump mapping to be as good in Cycles or Eevee as it is in Vray.
Vray bump maps yields highlights and shadows and is properly filtered. Blender bump maps yield only shadows and seems unfiltered:
Why not try with Cycles version of sun & sky called Nishita sky texture?
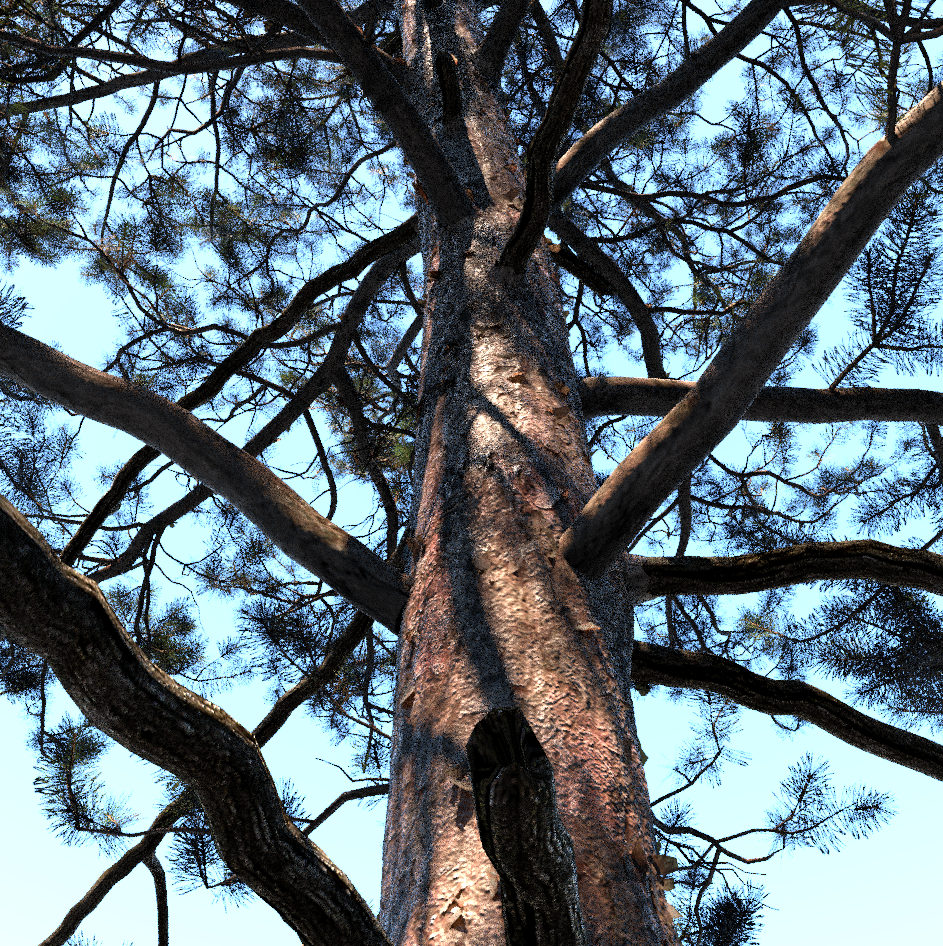
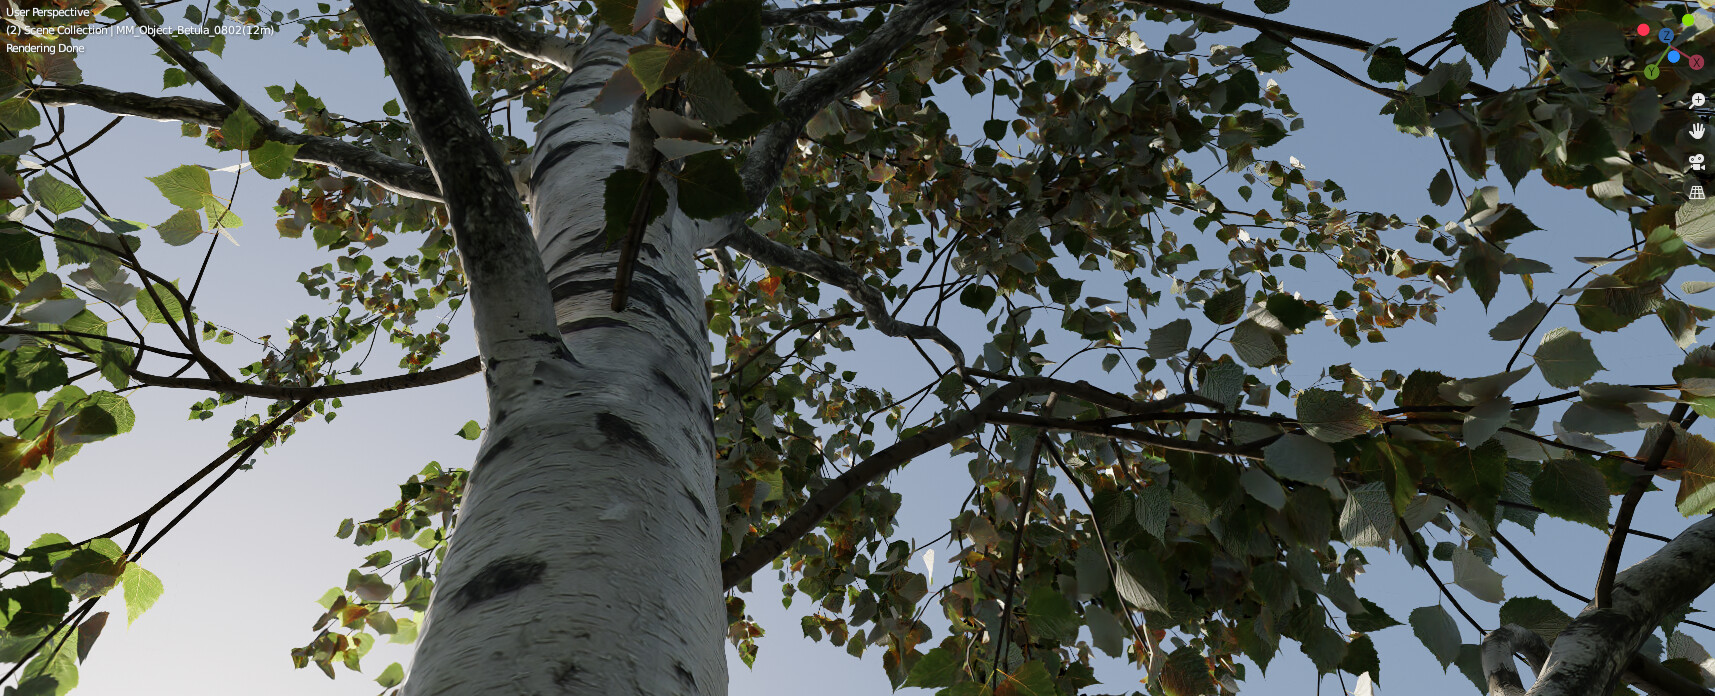
Frankly, I’m not impressed with Vray either. Not the rendering, but the asset up close.
I’m sure it would be great for distant assets, but, ehh, naah, it fails up close.
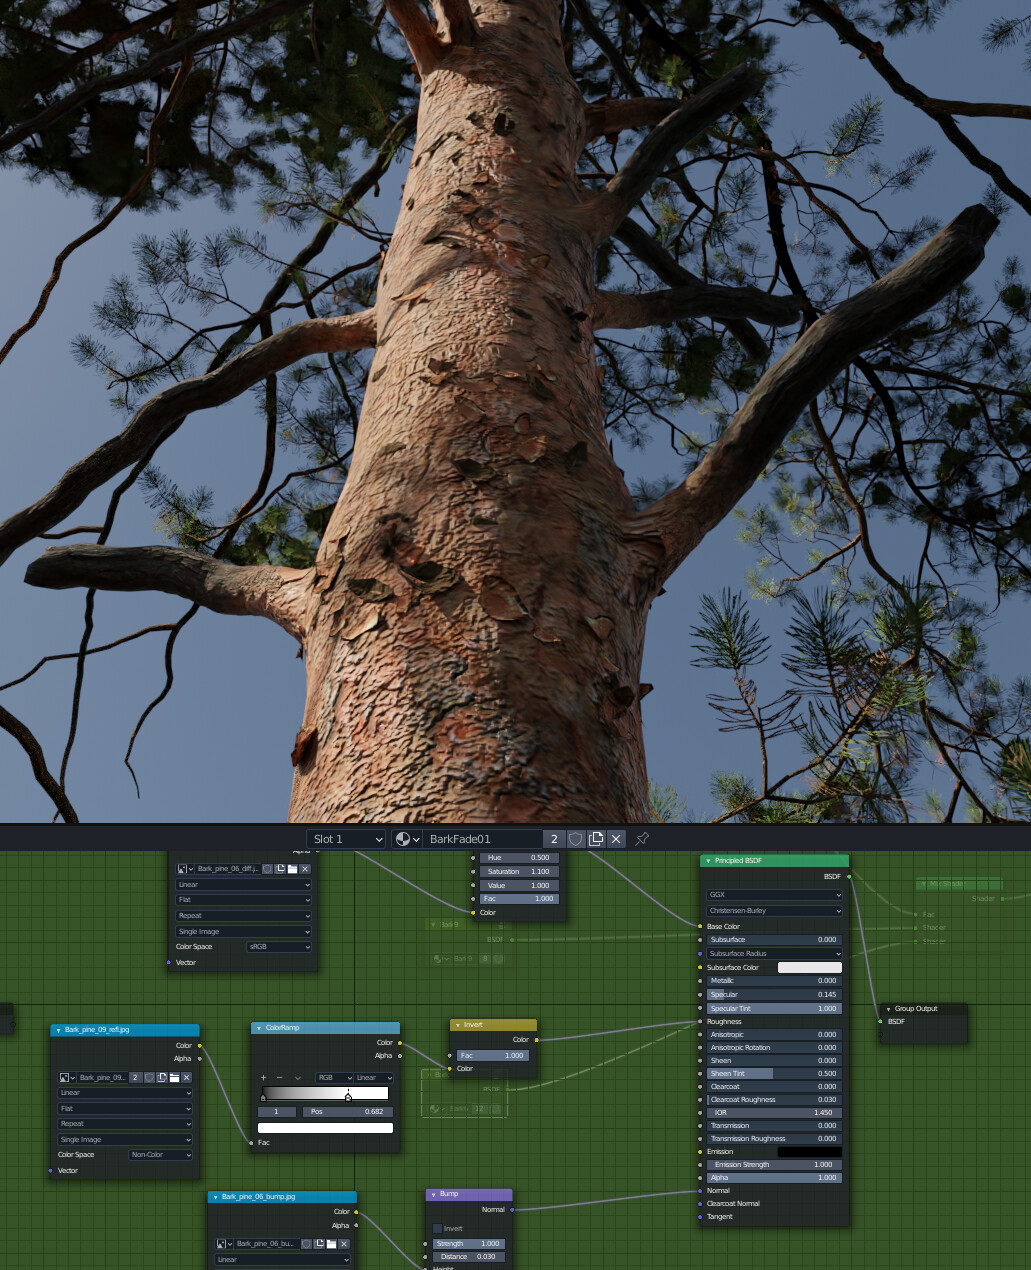
Wow, I’ve been using the bump node wrong all these years… I’ve reduced the strength and left the distance at 1. Doing it the other way definitely helped:
Switch from linear to cubic interpolation. It won’t to miracles to low res or low bit depth bump maps, but it tends to reduce visual impact of pixelization.
Wooow, why on earth does Blender default to linear interpolation? Again, I’ve used Blender for years and never even thought to look for that setting. I mean, everyone got bilinear filtering with 3D accelerators in the early nineties and I expected that to at least be the baseline 30 years later.
I guess it’s a speed thing. Normally you don’t really care as you try to stay within decent texel resolution anyway. For most things it doesn’t matter much, but for bumps it can become an issue easily because normal variations like continuous change for most visual impact. As normal computations grow heavy, which might happen for cubic interpolation, this complexity trickle down on every shader or computations that uses it. While useful, it’s not a magic bullet out of all situations.
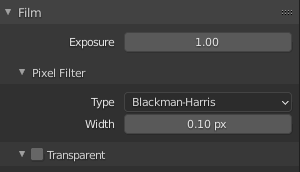
One more thing that can make the bump miss detail is the render setting for pixel filter. It affects the whole image not just the bumpmap, but makes small crispy details more apparent, if it is set to a lower value.
Note: with low values you can also get bad AA of high contrast edges.
It’s weird, though… I haven’t managed to find a good setting on the leaves with the “proper” way to do bump maps, because it looks like crap… wonder if it has to do with the transparency… maybe I’ll leave it. It feels as if it’s all magic numbers anyway.
Also, that Nishita sky… I had to reduce both the sun intensity and the strength on that one too to get it to look good…