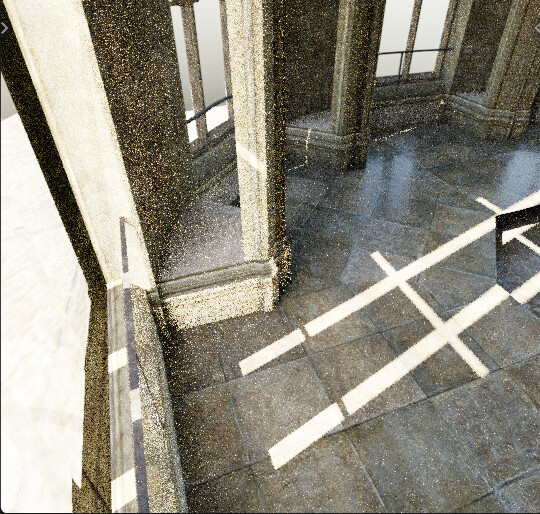
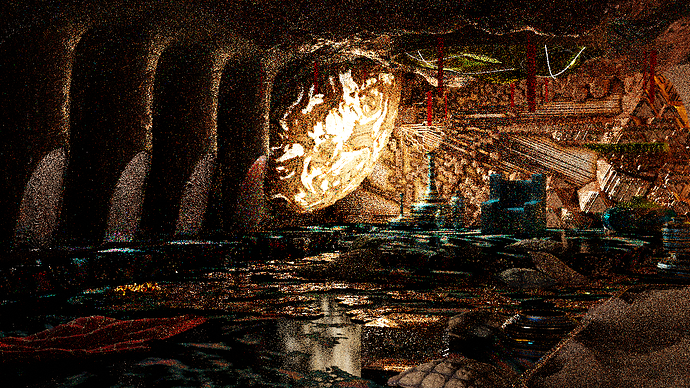
Very cool methodology! And yes the gpu is no match in the same time frame in this case.
Yes, this is a very useful methodology. This principle is only useful for plain path tracing, and PG will guide the next sampling by continuously optimizing the probability distribution function it builds. Therefore, the 5min+5min PG sampled picture is not equal to the 10min PG sampled picture, but the 5min+5min plain path tracing sampled picture is basically equal to the 10min sampled picture.
I always don’t have time to do longer GPU renders, I’ll sample a scene with PG for as long as possible, and then quickly re-render on the GPU with the same number of samples. Experienced renderer users should be able to tell at a glance, oh! Now the plain path tracing sampling is definitely lost to PG.
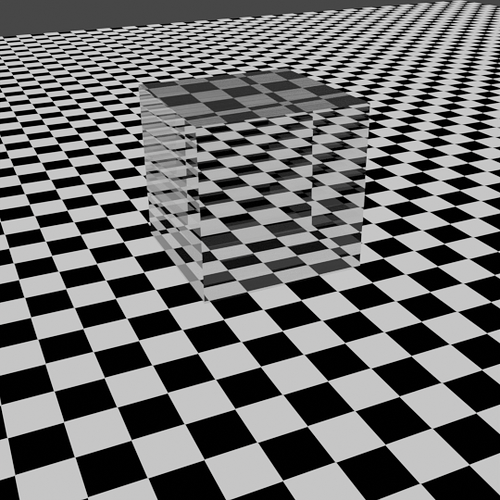
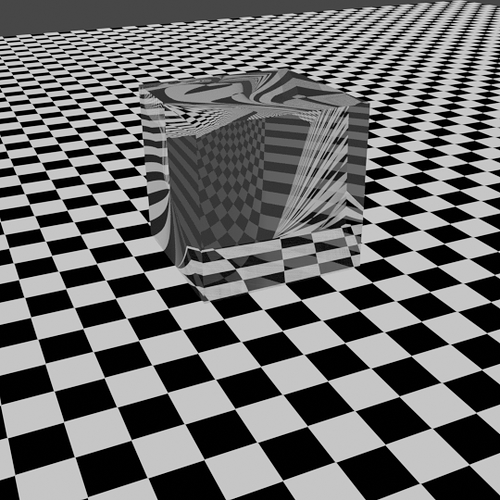
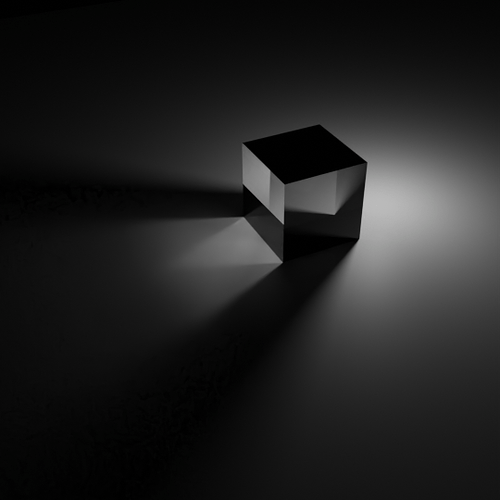
That makes sense, refractive caustics are defined as diffuse->refractive->light paths (as far as I know)
It is some what useful for experienced users who know exactly what he/she is doing with this parameter. On the other hand, it, which breaks the physics could be misused by the “green hands”.
How does it break the physics any more than turning them off all together? Turning off refractive caustics isn’t physically accurate - yet blender does it automatically depending on which light path preset you choose. I have been caught out a few times by that.
It could be an option that appears when you turn refractive caustics on - but it’s default value is set to 1 (so current compatibility is preserved).
That being said, turning off or any value in between either should be avoided.
I may have missed the information, but, there is a bug in blender 3.5 Alpha : the refraction/glossy does not take into account the sharp edge anymore.
Depending on how your test is done, it may affect the result( GPU is also affected).
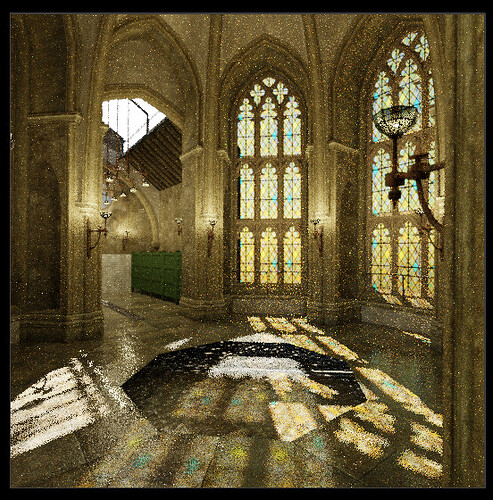
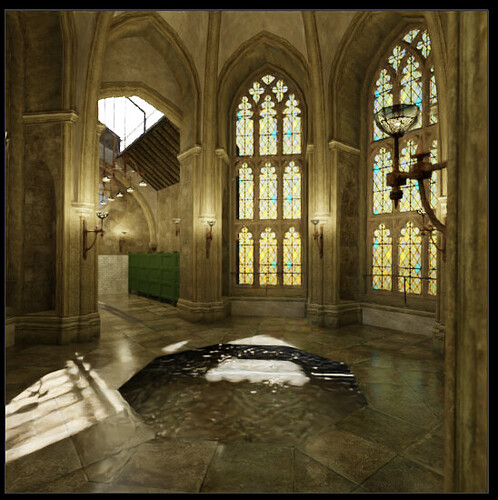
3.4
3.5 Alpha
File
pathguiding refract.blend (889.0 KB)
This breaks the results
Caustic 3.4 pathguiding
Caustic 3.5 pathguiding
Seems pretty big. Was this reported? I’m still trying to figure out Gitea interface.
Never mind - post below has solved the issue.
No bug here. Your Auto Smooth is set to:

Set it to less than 90° and all is fine. ![]()
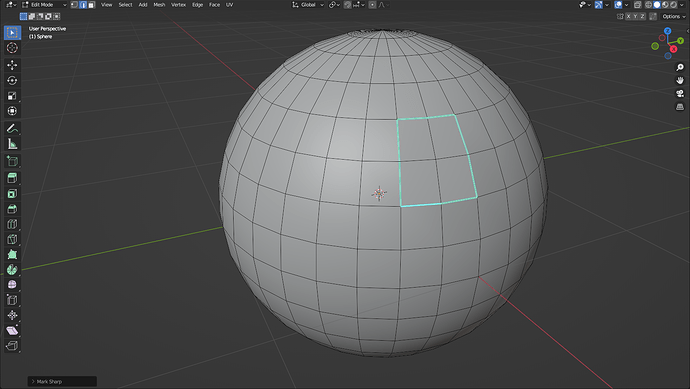
No, sharp edges are defined in the geometry.
You can see them in edition mode
https://docs.blender.org/manual/en/2.80/modeling/meshes/editing/edges.html
The Sharp flag is used by the split normals and the Edge Split modifier, which are part of the smoothing/customized shading techniques. As seams, it is a property of edges, and these operators set or unset it for selected ones.
It is used for surfaces that mix sharp and smooth angles.
Yeah in a test scene this is working but when I try it in an older scene it doesn’t work. I have no idea why.
Original blend file with light path trick:
Demo scene with path guiding:
Original scene with path guiding:
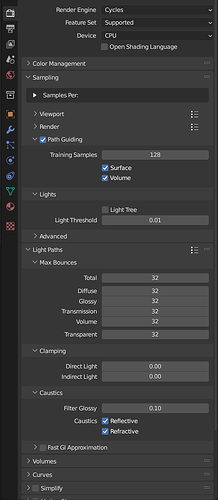
Settings:
even with a basic glass shader the glass is casting a solid shadow:
I fixed it. But this makes no sense. I had to add a solidify modifier to the real scene to get light details:
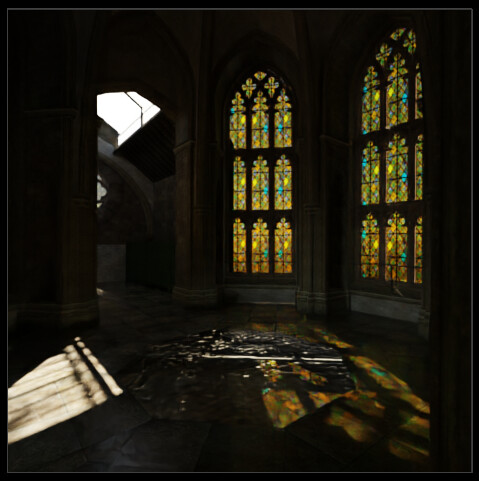
But in the demo scene if I use solidify, the light details go away:
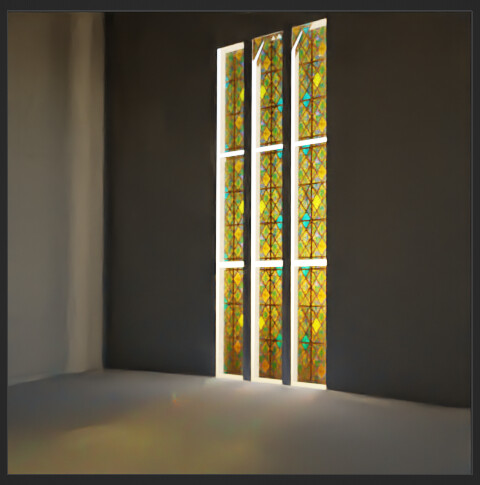
The last image - is filter glossy set high?
Bug fix :
Cycles uses the “split faces” mesh function to support sharp edges and auto-smooth. However, 75ad8da1ea updated that function to ignore the edges that are explicitly tagged as sharp and only use the edge angle. Fix by taking the attribute into account too.
filter glossy is 0.1 in both scenes
It’s got to be something strange in the scene settings that I’m overlooking.
I’ve linked more of the original scene objects into the demo scene and the glass works as expected. I have no idea what’s wrong with the original scene.
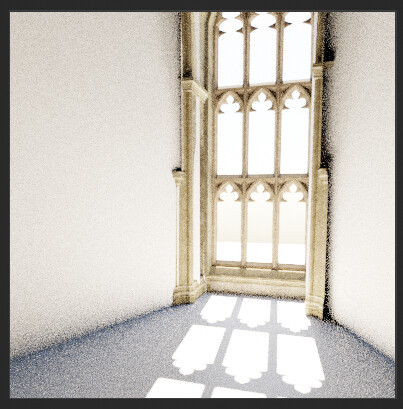
With the sun at this angle it does not work:

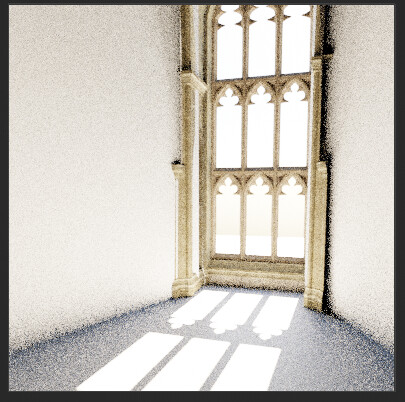
But with this sun at this other angle it works:

That angle is miles away from the shadow angle I get if I hide the glass so I think refraction has something to do with it.
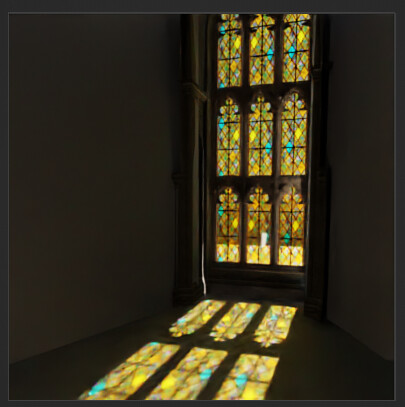
When I add solidify modifier to the glass, the angles match:
HOWEVER, I had to turn even thickness off and on a dozen times before it started to work.
I have a cube surrounding what’s in camera. When I enable visibility of other objects in the scene, even though they are off camera, they somehow make the light details go away… except for when that doesn’t happen for no apparent reason.
Here it is almost working with only 2 off camera objects enabled:
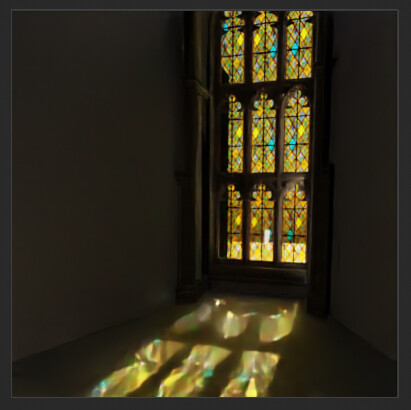
Here it is working with zero off camera objects enabled:

Here it is working with 4 off camera objects enabled:
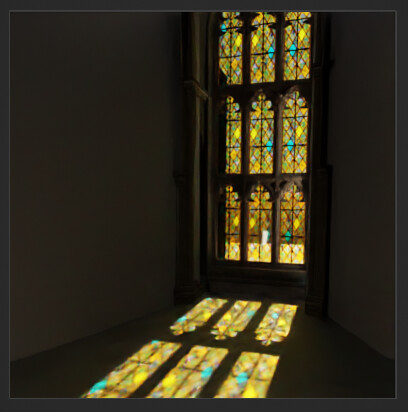
When I hide the room cube:
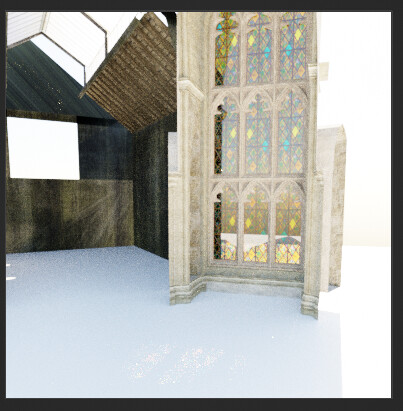
Is it not working or is it being drowned out by the bright environment?
Turning the other objects off and on dozens of times until it actually works again:

With an area light portal:
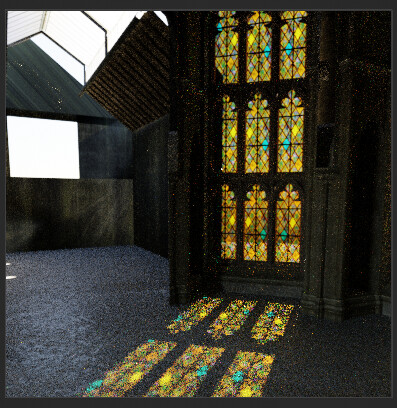
Adjusted the sun angle a little and only get the bottom row now:

It’s supposed to look like this:
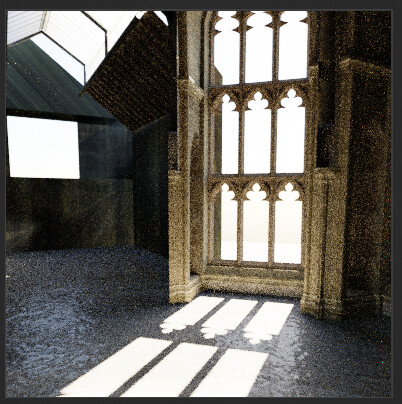
Show the glass again and it works again:
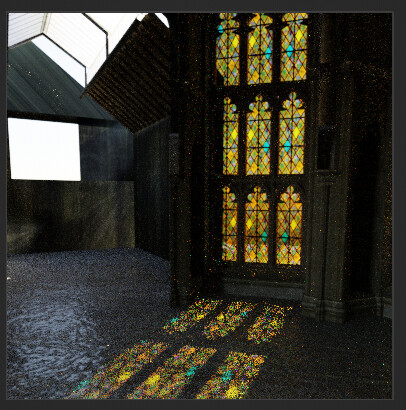
Move the sun slightly and it does not work again ![]()
This is 2000 samples:

I turned light tree on, turned the nishita sky sun disk off and on, repositioned the portal area light, turned all the other objects off and on and off again, brought back the room cube to hide everything but the one window. It isn’t working:

Quit and restart blender. Doesn’t work. Turn light tree off. Doesn’t work. Turn light tree on. Works. Turn light tree off. Works. Turn solidify off. Works but wrong angle. Turn solidify on. Doesn’t work. Well, it’s trying to work but after 2000 samples there’s still barely anything.
My other issue is I prefer the amount of light coming through a single plane, but the shadow angles are all wrong. With the solidify modifier the angles are correct but the amount of light is reduced significantly. How can I have proper shadow angles with maximum light passing through?
Solution: no solidify modifier, IOR: 1 (air). Yes?
Ok in the original scene it still takes several restarts for it to work, but it does eventually work:

However, when I add volumetrics to the scene it does not seem to ever work:
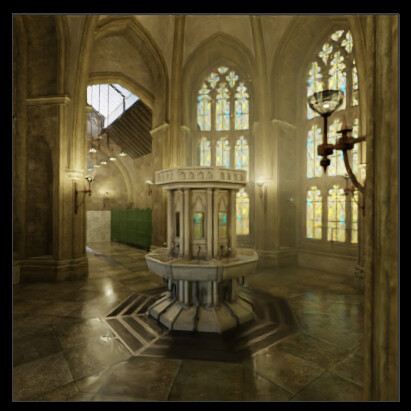
Turned on 1 more light.
With light tree enabled with the volumetrics, the window behind the camera does cast its color onto the floor (or is it simply a reflection), but not the 2 windows in front of the camera:

That was a lot of work! Appreciations!
I have a mild tip for you: use less tricks and do what the real world would do, then add your tricks one by one to debug.
To be specific:
make sure the sizes are close to real world, apply object scale,
check mesh normal,
check texture color management, avoid abnormal shader parameters
filter glossy->0,
glass object use solidify,
glass material->no light path trick,
enable the volume fog until the sun problem been solved
…
Last one, I am not sure is a portal area light needed for path guiding?
This scene is lit almost entirely by caustics. Also fun fact - it weights only ~1,6MB.
128spp, no filter, no clamping, full GI, light tree ON.
No path guiding:
RIS 0.001 roughness threshold, 128 training samples:
make sure the sizes are close to real world, apply object scale,
They are. The sinks are about 2 meters tall.
check mesh normal,
Normals are good
check texture color management,
All textures are sRGB
avoid abnormal shader parameters
All materials are Principled BSDF with one image texture being used as color and roughness and sometimes bump.
filter glossy->0,
I had filter glossy at 0.1. Should I be using 0.00?
glass object use solidify,
I’ve tried both with and without. It randomly works or doesn’t work.
glass material->no light path trick,
There are no light path shadow tricks. I only showed the original scene in the first screenshot where I was using the trick.
enable the volume fog until the sun problem been solved
Not sure what you mean.
I mean it is wise to rule out volume before you find what’s causing the problem. Volume just adds too much burden to the render time.
You most likely are running into the issue where this glass isn’t a thin surface shader.
Just to confirm: Try flipping the normals on that glass and see how the angle changes.
But in principle, either having volumetric glass, or using Backfacing to switch the IOR of the glass to 1/IOR on the backside should fix it.
AFAIK there also is a plan to allow Principled v2 to allow for proper single click thin surface glass.
