drops of water on diffuse surfaces such as wet leaves
scattering volumetrics
try testing those sorts of scenes. That’s where you can expect to see the biggest differences.
Also set Filter Glossy and Indirect Light Clamping both to 0 - those are kind of hacks that ought to be less necessary with this
(pretty sure you did that, I’m just saying, for other people who might want to try)
I guess you could turn that one off too. But since that is probabilistic it’s not as much of a hack I think.
Turning that off might mean it tries to make paths work for much longer (for bright but very complex paths), so deeper bounces have a greater chance of contributing, but that also might end up increasing render time.
This technique should find such complex paths much better so it might be a good idea to also turn that off at least for testing. I suspect it won’t make that big a difference though
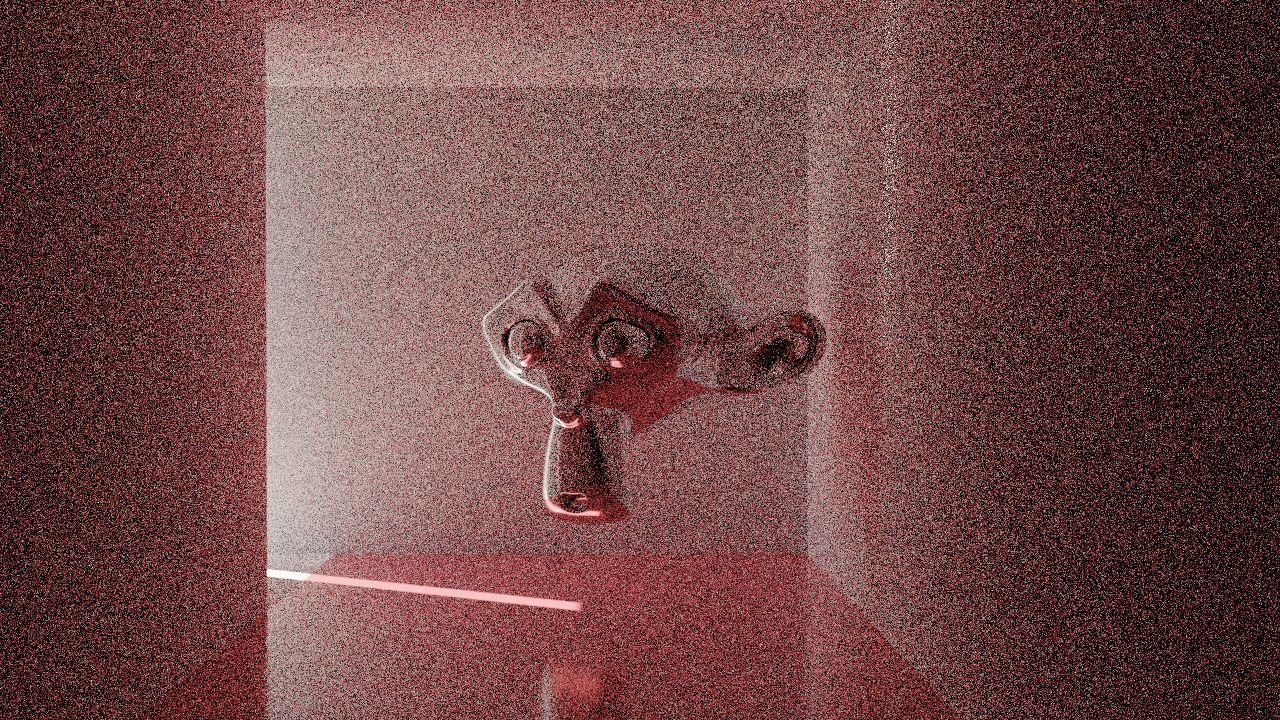
Very interesting! For some reason there is a very visible pattern in the noise in the NoPG version. I wonder what that’s about?
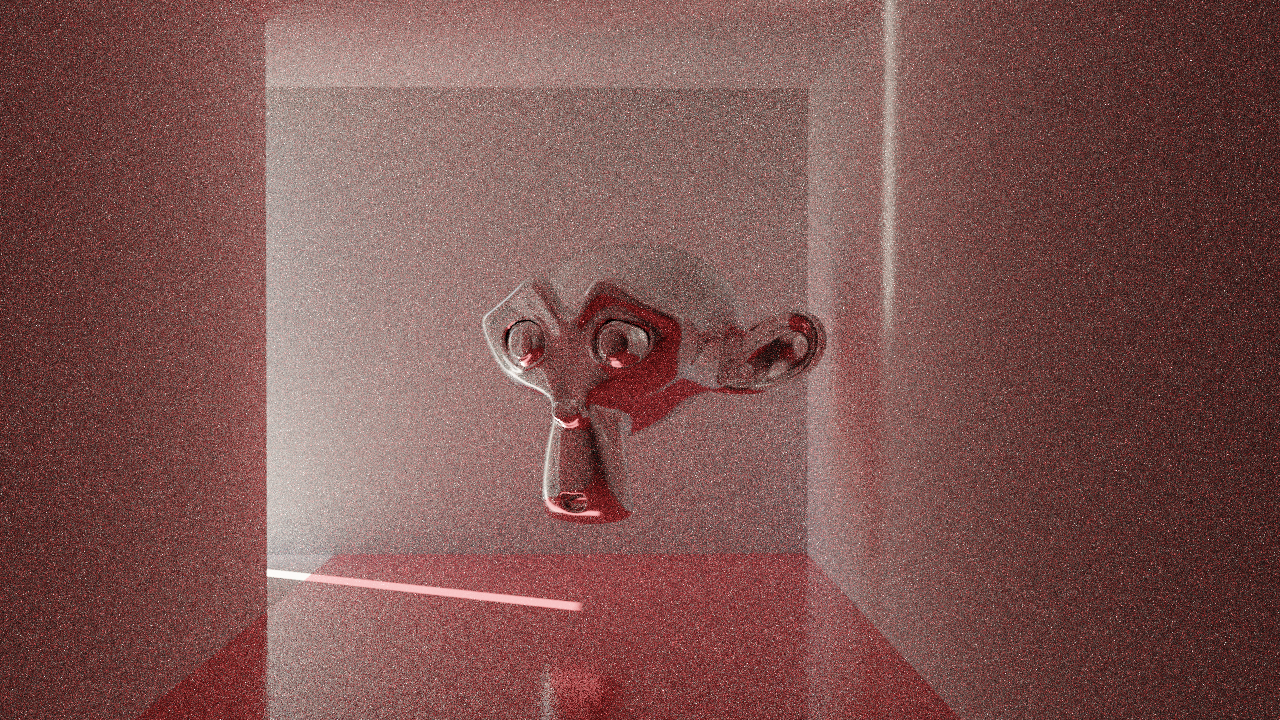
Since PG on is clearly far less noisy it might pay off to also mention:
how many samples
how long it took
Usually these more advanced rendering techniques sample smarter, meaning they make more decisions per sample, meaning a single sample takes longer. So both the sample time and the render time are gonna be important to include.
And perhaps memory usage too if that’s notably higher.
@CommanderData and @jacek007g just wait 1-2 more days until everything is set up correctly and
we updated the documentation in the related task is updated.
I will send a message here when it is ready.
The current patch is WIP to be able to get feedback about how we did the integration into Cycles and can not be seen as a daily-use/production-ready version.
Thanks.
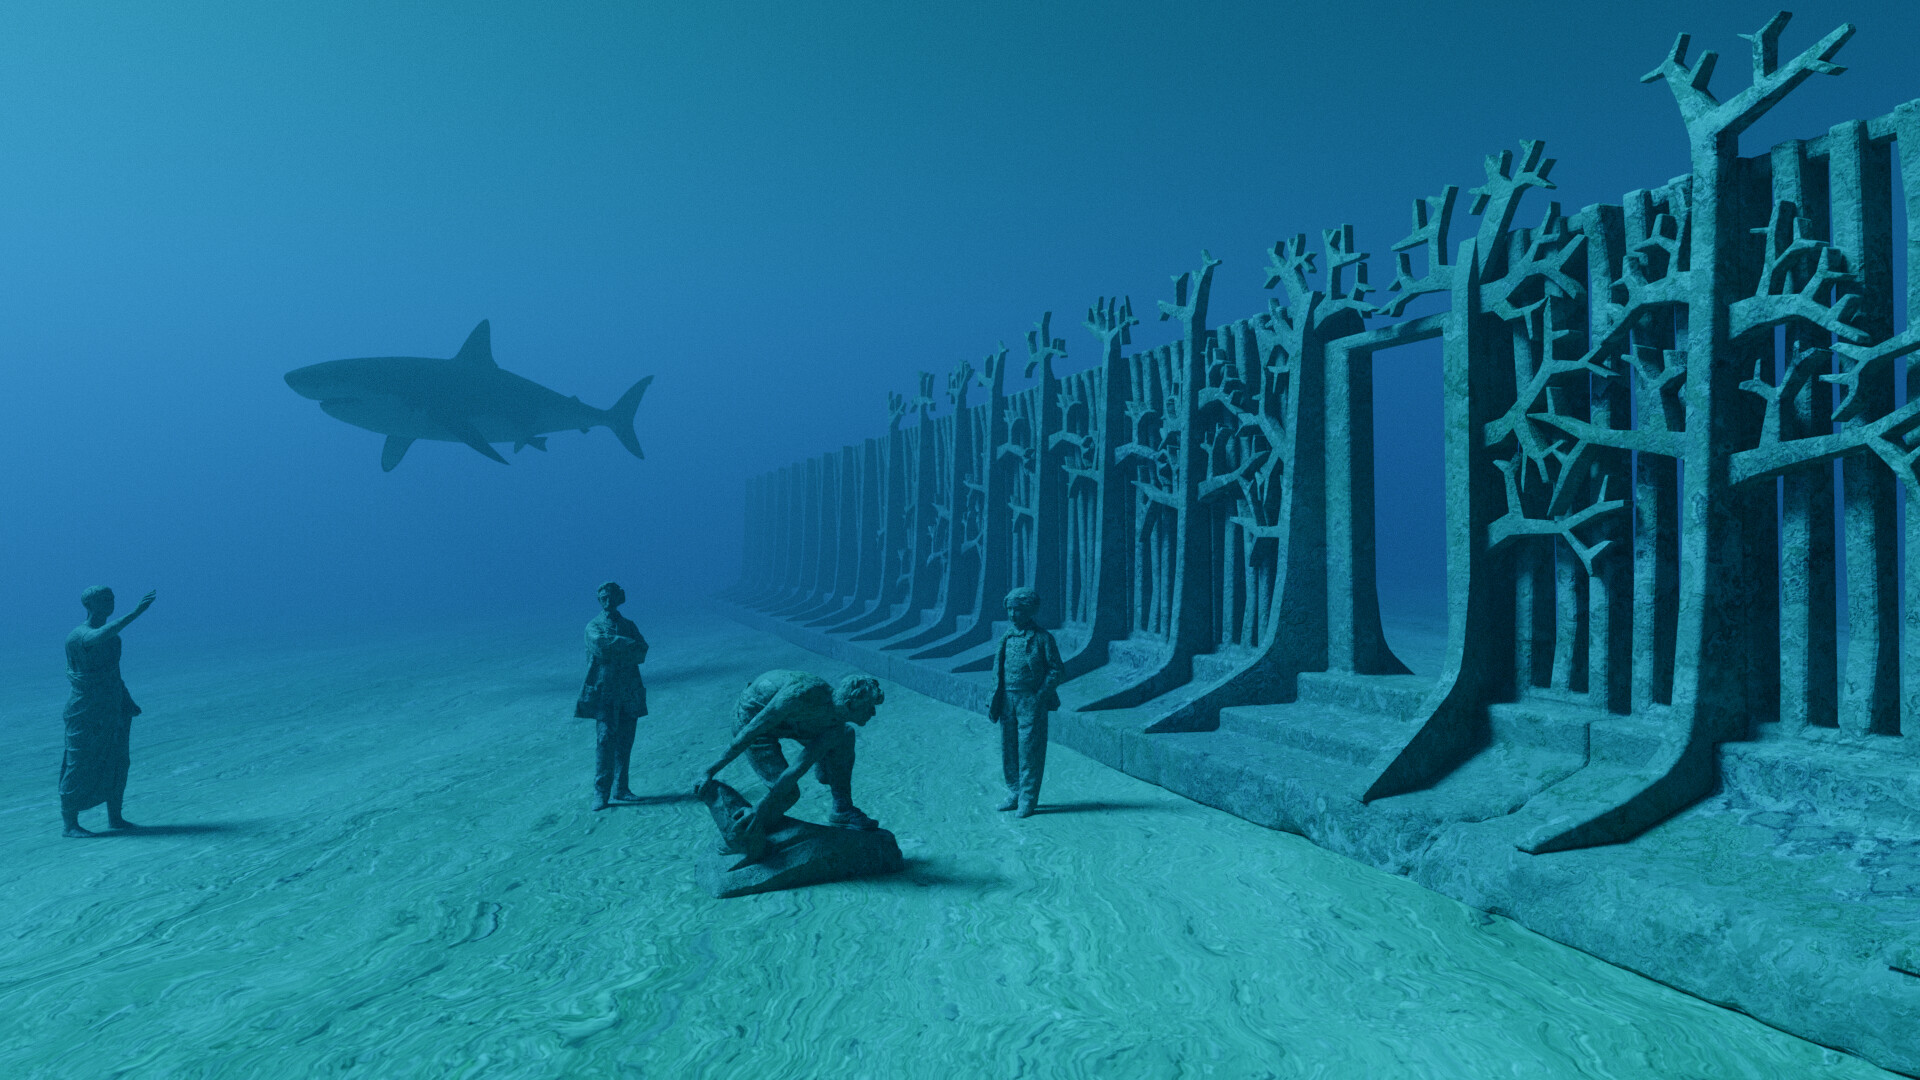
What is the setup for that scene?
Homogeneous volume and a light source in it?
In that case, equiangular sampling would already be almost perfect so does not really have something to help you with.
Putting a refractive object (e.g., water surface) between the volume and the light source will change that
About the scene see my post below (we are preparing everything at the moment just be patient )
It looks like the energy in the version without path guiding is ever so slightly lower, suggesting path guiding found more paths. Check in particular along the wall by flipping back and forth.
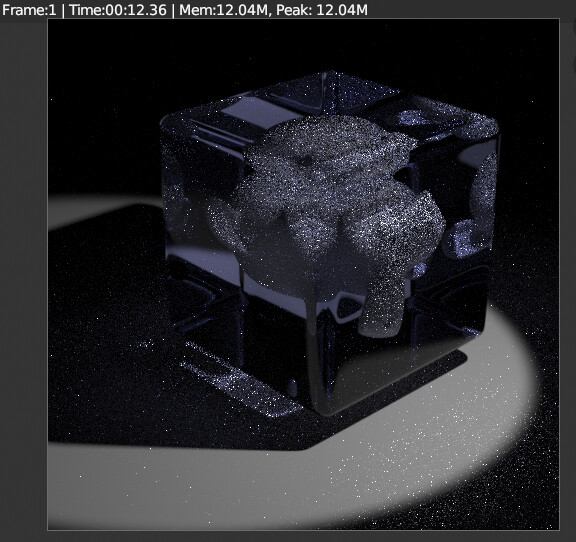
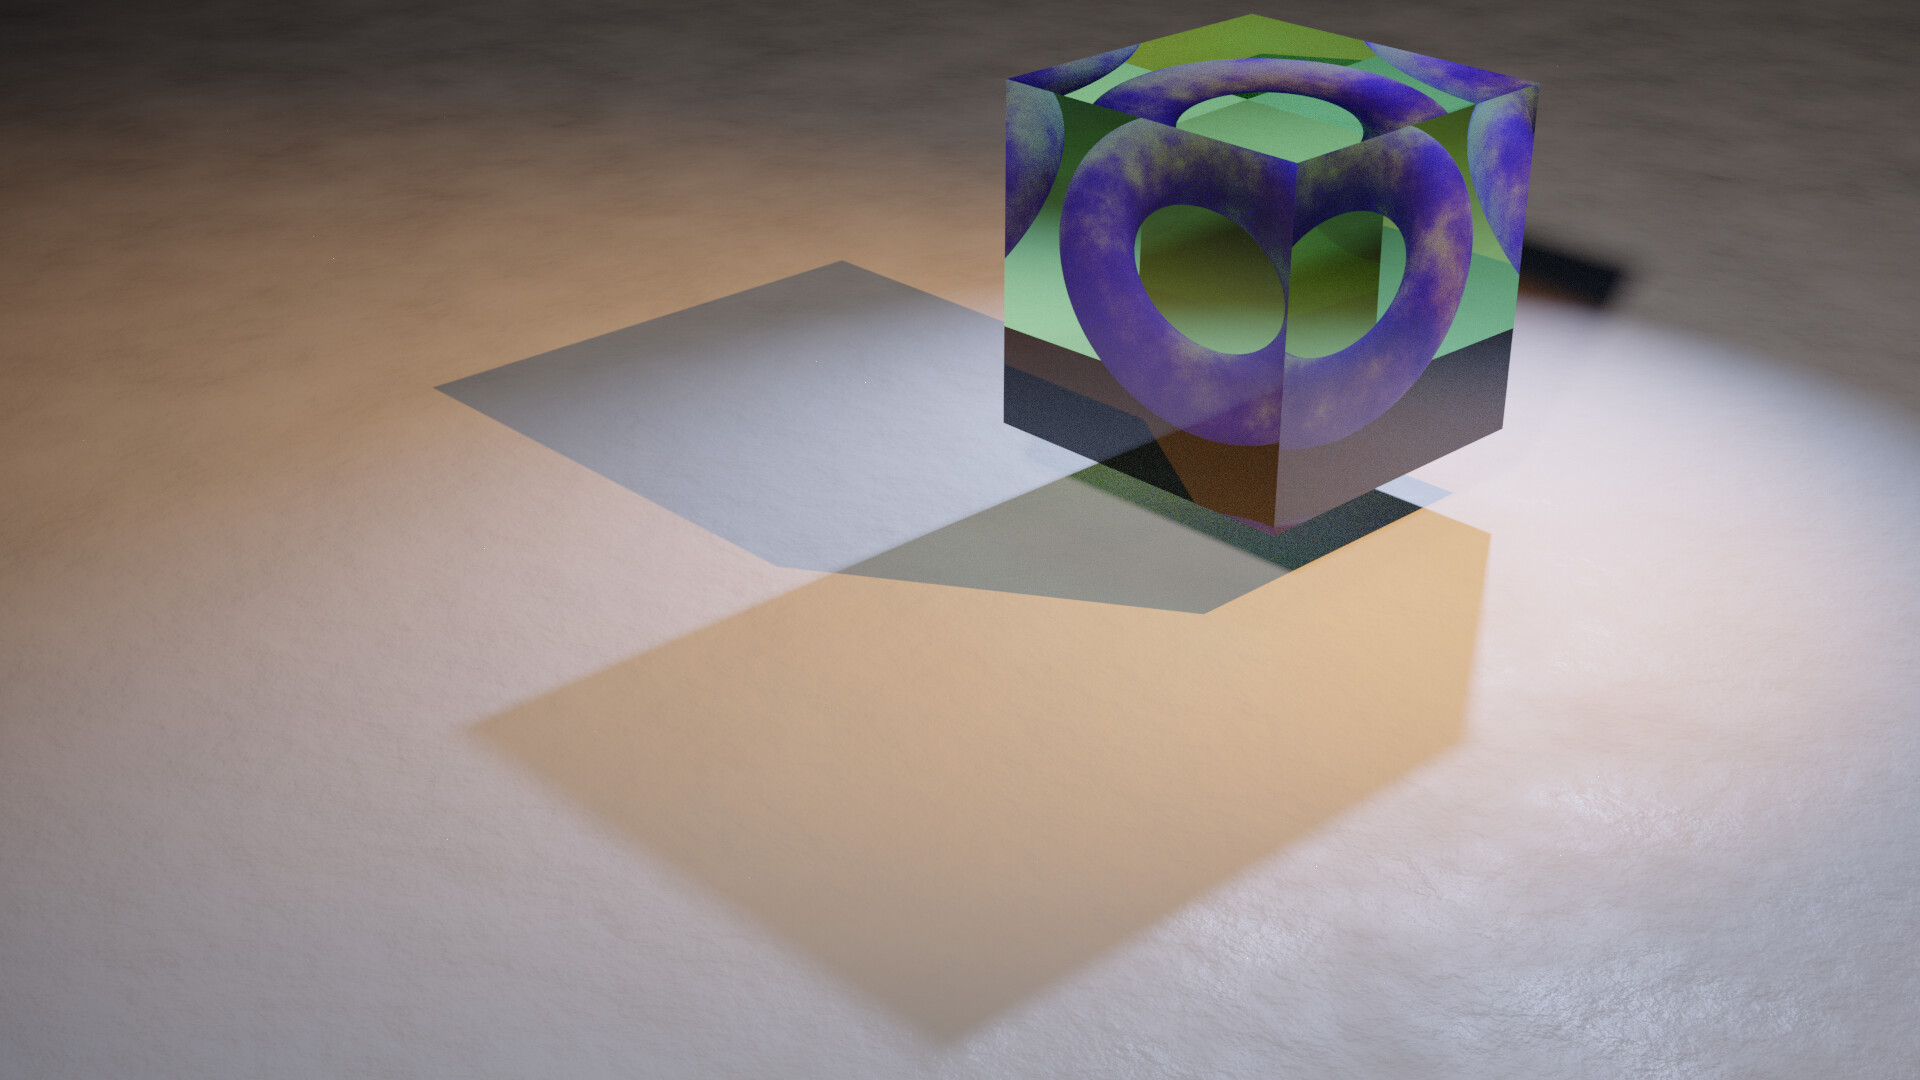
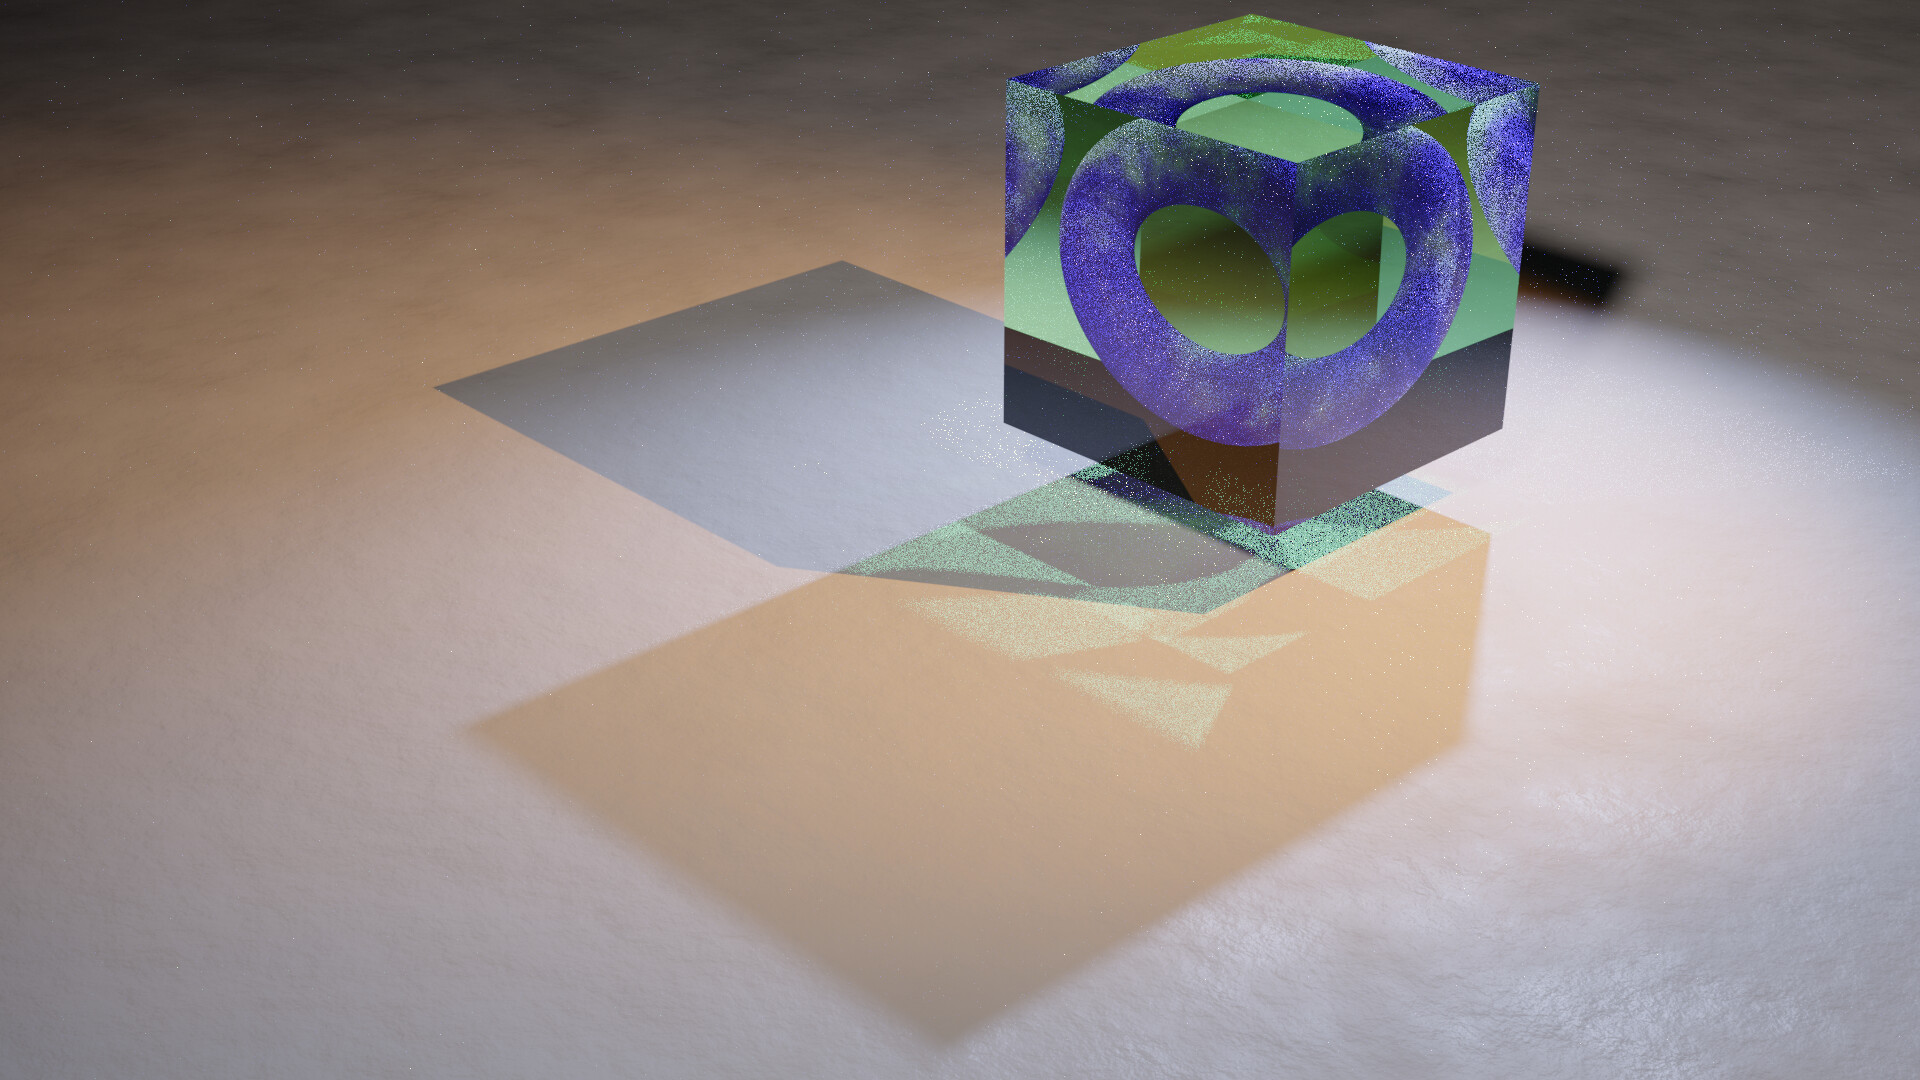
Try a scene like I made with the diffuse torus inside a glass cube. It should be pretty noticeable there. Could also combine that with volumetrics on top.
If you want I can share my file. It’s a really simple scene though.
Its basicly a cube 200x200m and 24m height with a volume absorption shader for the water color and scattering shader for backscatter.No world scatter,only the scatter/absorption shader in a cube as domain.
With only one sunlight at 1000 strength.volume bounce set at 12.
Yes i noticed that too,but is very subtle.
Sure, i can render it then.But as @moony meantioned filter glossy at 0 makes not that sence.
The scene can be as difficult to render,but it should have standard rendersettings though.
Sure, that’s fine, you can just set it to the regular settings instead. I also maxed out bounces which probably means it’s needlessly slow to render too. It should be challenging to render regardless.
Here it is (you gotta modify the render setting still)
It can probably also be simplified in terms of materials. If you want the simplest possible such scene, just get rid of the textures, and use a pure diffuse material for both the ground and the torus, and a glass material set to sharp for the cube. That should be enough to force a bunch of SDS paths, especially on the torus inside the cube.
Hmm, no visible caustics except below the cube but also practically no nose (except below the cube) - for 500 samples without denoising that seems really good.
Would like to at least see the indirect clamping turned off though. Or set to much higher. That can affect caustics quite a lot. Caustics tend to be quite bright, so they’ll practically always be clamped away.
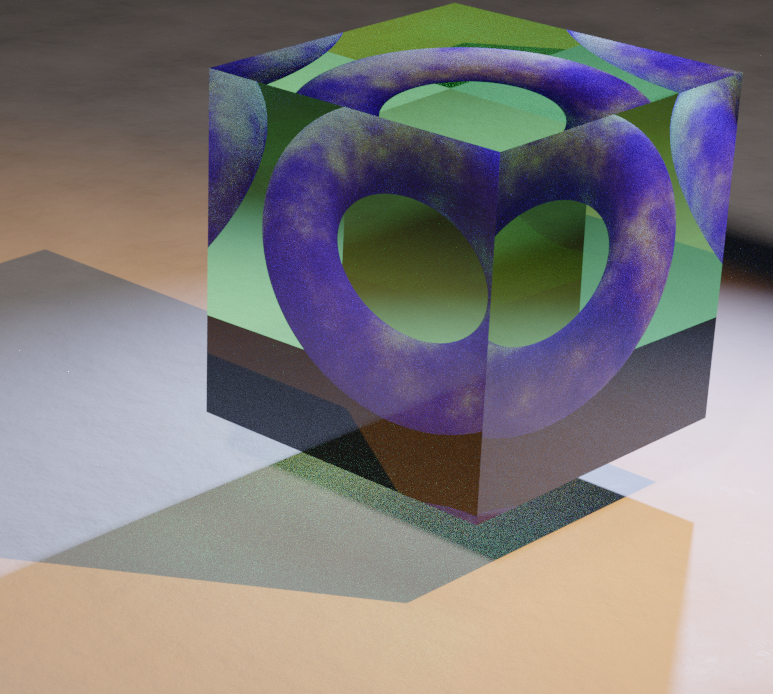
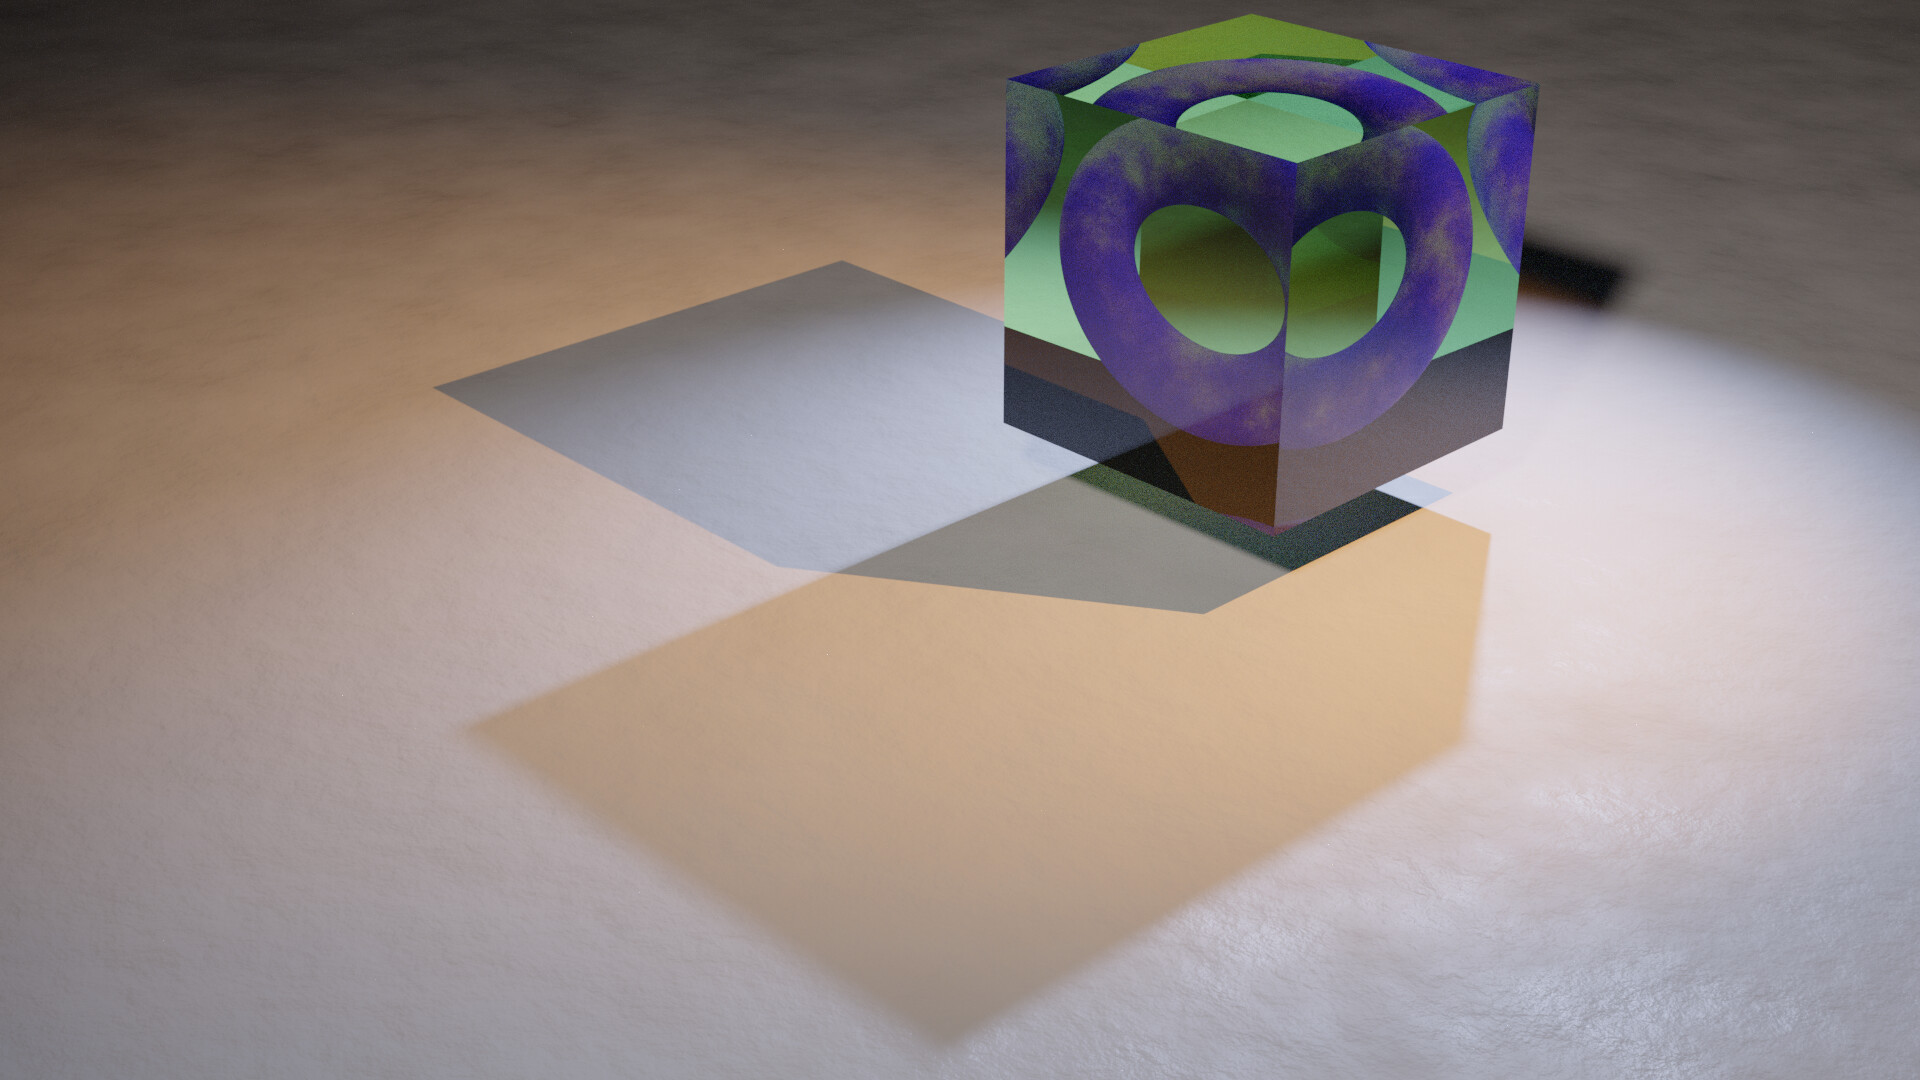
With those settings (without SDS) I get very similar results.
EDIT Oh see, now you added the “without” result. That’s actually a pretty big change on the torus! - those are all the SDS paths regular Cycles would have missed