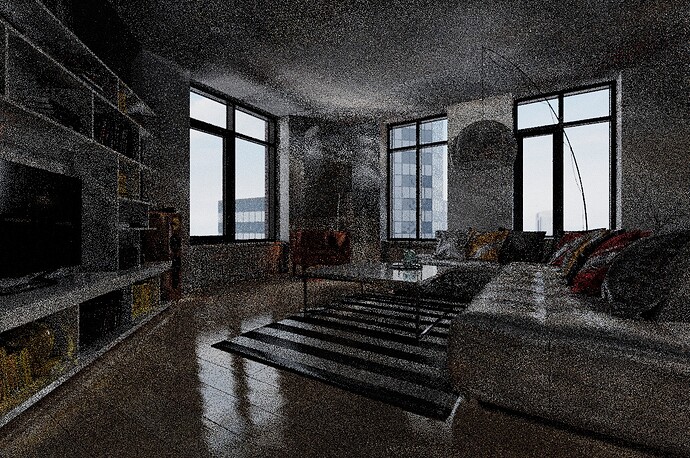
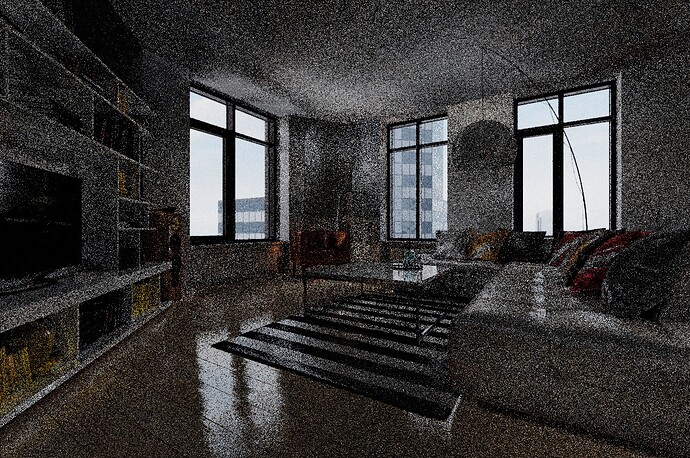
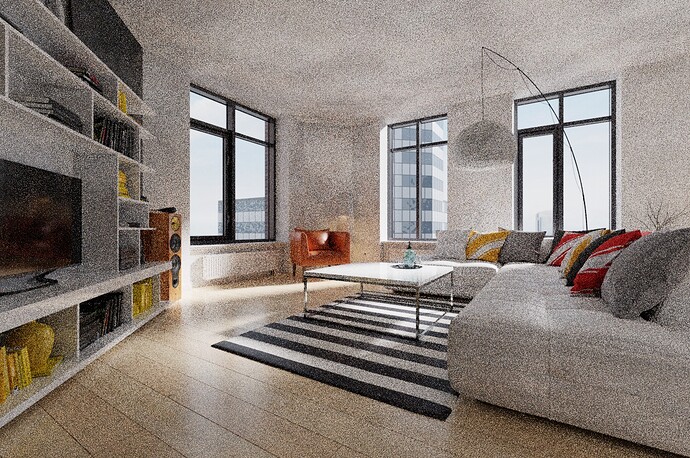
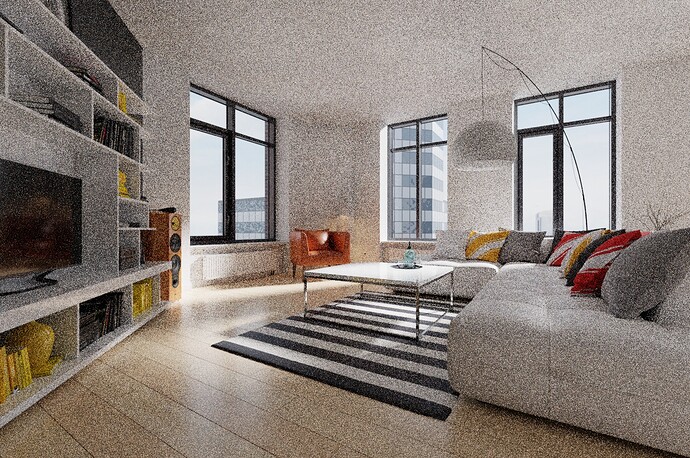
After discussion with Juan Gea Rodiguez from Bone Studio he showed me how to increase Optix sampling. I integrated this change into my scrambling distance and Optix build. I did comprehensive testing showing up to 2x faster than the standard Blender Optix.
Scrambling distance reduces the amount of random samples per pixel and has the potential of increase higher performance the lower the scrambling distance (SD) becomes, but if the scrambling distance (SD) value is to low it has obvious image artifacts. The SD value 1.0 means no scrambling distance.The key is finding the SD value for the amount of pixel samples that gives the best performance without visible image artifacts.
With the current Optix sampling setting that is on Blender the best performance I could get by lowering the SD was only 10%. Now by changing the Optix setting to high tile sampling I can get up 100% faster. This was just one line of code on the Optix device. Basically the GPU was completely under utilize with the lower SD values.
Now with the new Optix performance I wanted to find best scrambling distance value at each sample level that gives the best performance without visible image quality artifacts. I tested many types of interior and exterior scenes. I discover that below 100 samples having a SD value below 1.0 has little performance benefit and for samples above 1000 having a SD value below 0.1 had little performance benefit.
Here are my default values I use for scrambling distance after all my optix scene testing:
samples: 100 - SD(1.0)
samples: 250 - SD(0.2)
samples: 500 - SD(0.15)
samples: 1000 - SD(0.1)
samples: 2000 - SD(0.9)
samples: 4000 - SD(0.8)
Having a high optix tile sampling Blender build also requires large tile size to get the most performance out of SD. BMW scene at 100% output with SD value of 0.1 with different tile sizes:
25.50 sec (1920x1080)
25.65 sec (960x1080)
30.69 sec (512x512)
40.45 sec (256x256)
1:08.52 sec (128x128)
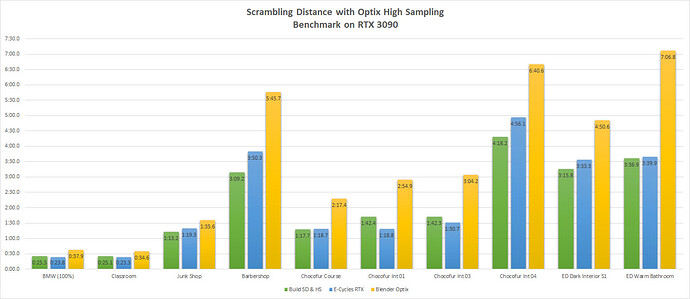
Below is my chart with all the test scenes. I use SD value of 0.1 except “Classroom” which use SD value of 0.19 due to its low samples. Use 1000 samples for “Chocofur Int 04” and Entity Designer Warm Bathroom scene.
I use my own custom build with SD and high optix tile sampling. E-Cycles RTX 2021 which gets the core of the performance improvement by scrambling distance/e-cycles pattern I set it also to 0.1 this way if gives identical image output compare to my custom build. The rest is set to default values.
The custom build was set to have only 1 or 2 tiles per scene. Usually tile size of 960x1080 up to 1920x1080 for best performance.
E-Cycles RTX optix use “Auto-Size” usually 64-128 tile size for best performance.
Blender Optix use 256x256 tile size for best performance.
GraphicAll has available the Bone Studio build with SD and high optix sampling. It is slightly slower than my custom build, but has other useful feature.
If desired I could make my custom build available I added the defaults scrambling values from above both for the preview and final render and it updates the UI displaying the current value being used on the scene. Inside my code I maintain a table for easy updating.
My ultimate goal is for Blender Foundation to add this feature at least as experimental. The benefits are great and risk in my opinion low and code patches are small.
 I’d suggest to post this in the