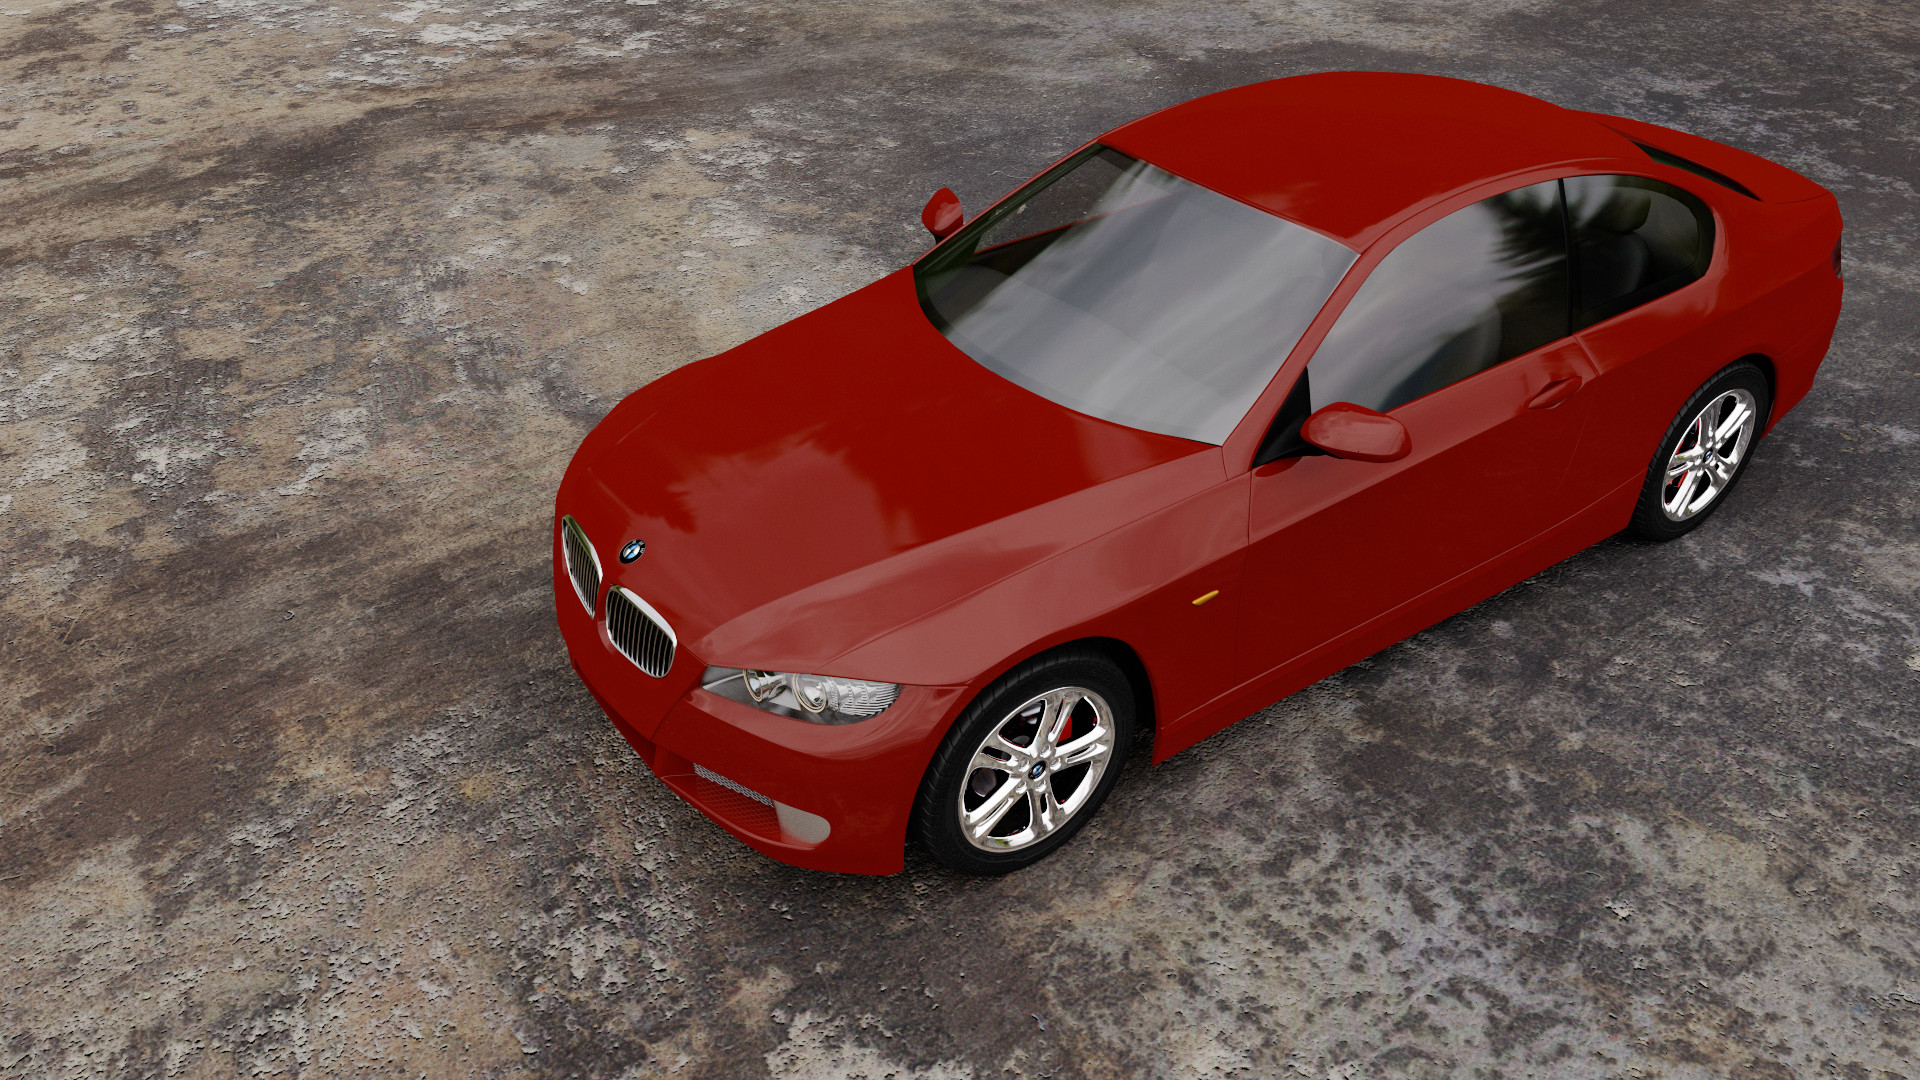
The car is by Mike Pan (mpan3), I just did the materials for Cycles. There’s some errors on the materials that still catch my eye, but that’s just inexperience with the engine on my part. :o
Render was visually complete at 200 samples (1m50secs) but I let it fly to 800 samples (7mins+).
I did the post-pro in photoshop, but I added a glare effect in blender. It don’t have excesive postpro, only a few layers with some little details, the important work is over cycles.
Yep, 18 minutes is few, is the reason because I used cycles. But I have a question, can I change the cycles engine in blender but see the basic shader color in the viweport?? Because when I add a black material cycles change the color of the mesh in the viewport and in some cases, like black, i cannot see the wire to model.
I think that packed textures still aren’t supported in Cycles, that was since the beginning not supported and i haven’t heard a thing that its already supported.
It’s prolly the packing issue, like you guys suspect. However, I had a different thing happen with transparency enabled PNGs. I had to flatten the images for them to work… Hope it helps.
A little question. How can I show only one face of a polygon? I want tell… if I do a plane with emission I have a plane that emit light in both sides, but I only want one side.
It is actually quite fast to render. BVH build takes a while, though. Point Cloud calculation is absolutely excruciating long, depending on the complexity of the volume cage(cube is fast to calculate, Suzanne is slower, BMPS is slower still). I figure this method is not great for real use, just a fun test. For practical use, we need storm to fix his patch. I tried, but it’s more complicated than updating old patch context.
Why are you using cubes, for a number of cases, you can easily get away with simple planes that face the camera and use a spherical blend texture to affect the alpha, you can also overlap them as well for a more convincing effect.
You could probably add one or two more faces facing in a different axis for those situations where they have to be seen from all angles providing they are as small as your cubes.
They were originally random-rotated planes, but I got a problem where there would be empty patches at some angles where the plane and its children would be aligned with the cameras, and thus invisible.
I think that’s part of the problem you were having, when I faked volumetric effects in Blender Internal to render clouds, I used camera-aligned billboards, this would result in predictable and expected results because their normals all pointed at the camera.
I think that’s part of the problem you were having, when I faked volumetric effects in Blender Internal to render clouds, I used camera-aligned billboards, this would result in predictable and expected results because their normals all pointed at the camera.
That would take ages to calculate, as when you get to five million atoms, it can take several minutes for a change to propogate, and that’s not counting BVH build time, thus making Camera Navigation impossible.
You would need to use bigger planes and use a circular blend texture as well as a degree of transparency, trying to make a dense volumetric effect using millions of individual ‘atoms’ is simply not very feasible and will only bring a major slowdown in rendering and a major uptick in memory use.
I know you’re trying to go for a realistic effect here, but trying to go down to the atomic level may be pushing more than needed.
Actually, five million is like the minimum. That’s why the cloud is so rough, and looks like a dust bunny. You would need at least three times as many atoms with each atom at a third original size to get a true volume effect.