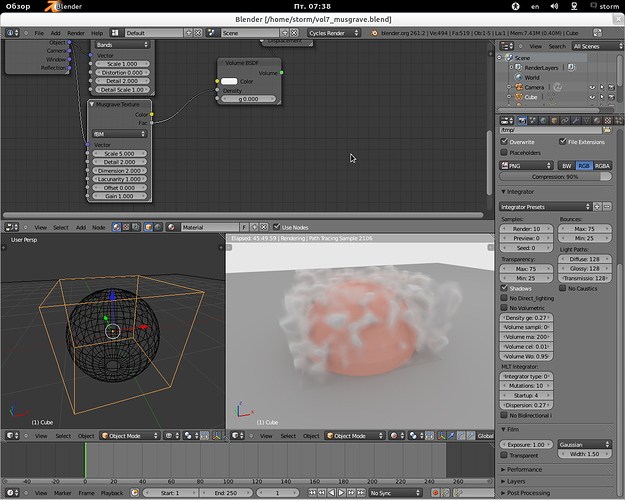
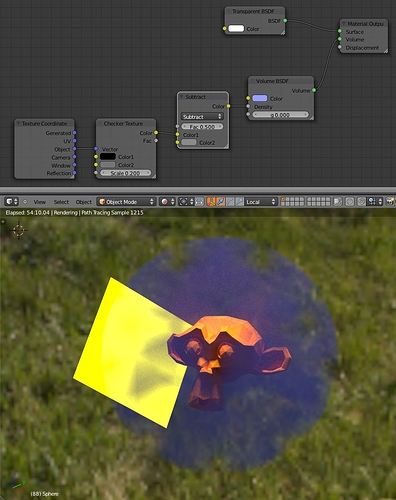
Here it is, the finished Cycles Weather Animation which I made with my Science Teacher. This project’s Cycles renders included 240,500 passes in total(All on the CPU!!!)!
Some Conclusions
17 Conclusions about Cycles in Animation
Materials and Render setup are a breeze with Cycles
I’ve found the quick preview, and simple materials make the workflow sooooooo much faster. Not like Blender Internal where you tweak one thing, wait two minutes for it to render, repeat.
Any time savings from above statement, are annihilated by the demoralizing amounts of Rendering required.
Seriously, With stills, it’s fine, you can just wait for your render to clear up, but when it comes to animation, it can take like 10 minutes for a scene to go through a sufficient amount of passes, and multiply that by the thousands of frames in an animation project, well, you will be waiting quite a while.
The Compositor is your Friend
Luckily, after you’ve rendered out a sequence, and you discover it’s still too noisy, you can render out a second round with a different seed, and mix them together to reduce noise.
2 GI bounces or more is overkill
1 bounce should be plenty. You will not notice the other bounces, unless it’s a dark scene lit primarily by bounce lighting(i.e. A dark room, with light colored walls with a single window)
Know when to randomize noise, and when to leave the seed at 0.
Noise patterns that stay the same can make it stand out, and look funny, but noise patterns that randomly shift can make an animation look noisier than it is. Typically, if lots of things in the scene are moving, then animate the seed value with #frame, or #frame+1, etc. If the the large objects and camera aren’t moving, leave the seed be.
Cycles is more Distributed Rendering-friendly than Blender Internal
With Cycles, you can just tell one computer to render the entire animation with 20 passes/frame with seed 0, and another to render it with 20 passes/frame with seed 1, etc, rather than splitting up frames which may take unequal amounts of time to render.
If you’re an Environmentalist like me, Remember it’s Winter(In the Northern Hemisphere).Think about it, all the electricity used by a computer is turned into heat, and calculations are done and data created as a byproduct. If you have a programmable thermostat, then every joule of heat generated from the render is a joule of heat the heater doesn’t have to burn. That ought a cover us until Brecht finishes optimizations, hopefully before summer arrives, and rendering becomes a double-whammy for the Earth.
For Dark Rooms, use large, invisible lights.Make them invisible to the camera and glossy rays. You should see a decrease in noise.
With Experimental Patches(i.e. Volume), the sky will not fall the minute you use it.
In my experience, Storm’s Volume patch has been fairly stable. That being said, it’s still a good idea to save often.
While the Sky may not fall, compatibility will.
Keep your old (volume) builds, as your scenes may stop being compatible.
Cycles DOF is awesome.
It works better than Blender Internal’s faking method, and the blur doesn’t get cut off when the unblurred object ends.
Cycles DOF is not awesome
Man, is it noisy!
-
Your Poly Count Doesn’t Affect your Rendertimes(At least not noticiably)
While it may result in very long BVH build times, poly count generally does not have a large impact on rendetimes. -
You can get away with diffuse on most objects.
Viewers will probably not notice that that plastic object is a plain diffuse, or wonder why those snowballs being thrown don’t have proper SSS. -
Embrace the Penguin
Cycles can sometimes render twice as fast under Linux.
Build your Own Blender(Or grab one from Graphicall)
I’m not talking about the kitchen appliance(Though I’ve heard of a guy who built his own toaster…which melted on first use). Your self-compiled Blender is guaranteed to be significantly faster to render(Both in Cycles and Blender Internal). This is probably because the binary is much smaller than official Blender.org releases.
Lie
There are lots of tricks you can use. For example, you can use a holdout panel in front of the camera and alpha-over compositing to just rerender the parts of your scene which move, and the composite in the parts that don’t move as background. This doesn’t work with scenes with lots of reflections.


