Hello there. My name is Arca Irtem (20). I have been into computer graphics since I was a little boy. I’ve been specializing in character design for 2 years. I really enjoy sharing my work with you.
I’ve started on my project by designing Rey Skywalker. The person who played Rey Skywalker was Daisy Ridley. I realised that there was something wrong after my followers’ feedback and I’ve started redesigning Daisy Ridley.
-Sculpting-
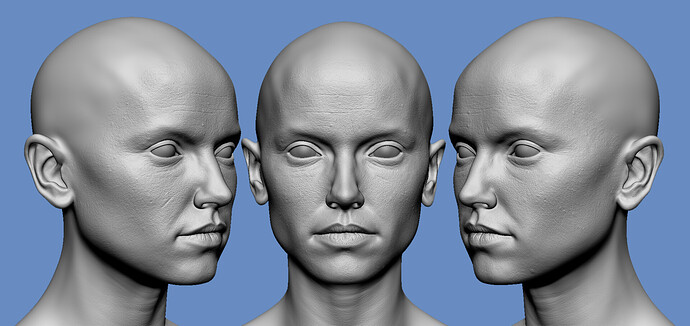
I always start on my projects by searching for references about my subject. Please note that, more reference visuals means more similarity. I usually work in the workflow from a 60-90mm perspective. But you always need to remember that the values might have changed according to the reference visual.
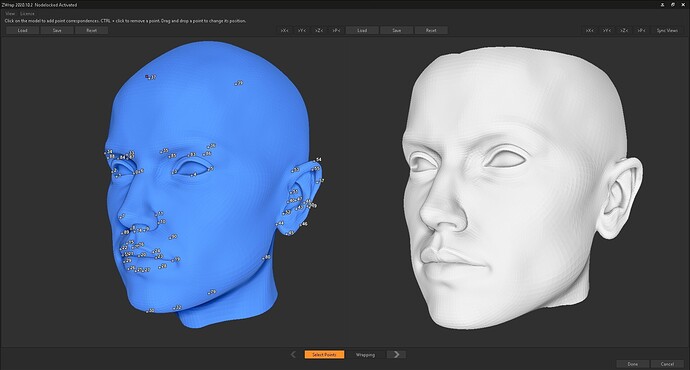
I use the projection method to find similarities in Zbrush. This facilitates the accuracy of my model. I also used the Ref switcher plugin. This gave me speed.
-Texturing-
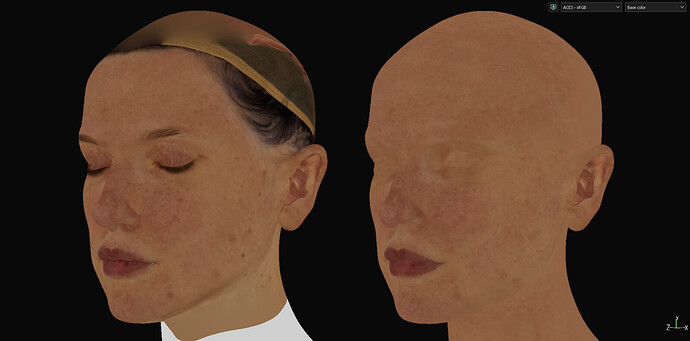
I used the textures given by texturing.xyz for my project. The peculiarity of these textures is that they are multi-channel and uncompressed 16-bit formats. Before baking, I applied the “Wrap” process. I got help from the zwrap program.
When the “wrap” process was completed, I corrected some parts in Zbrush with the help of a brush. When it was ready to bake, I turned back to Zwrap and I baked in tif. format.
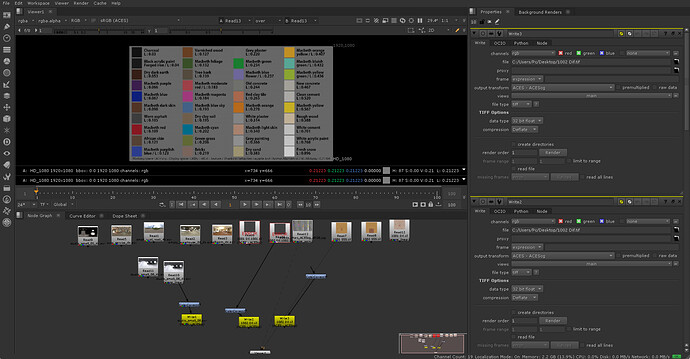
In this project, I used the Acescg workflow. There is no official support in Blender yet. You may need to use plugins. Acescg gave me a range of colors that sRGB couldn’t provide. That means 32-bit depth, means that will cause your imported textures to darken. I solved the problem with the help of the Nuke program. I succeed by using the “grade node” color card made by Chris Brejon.
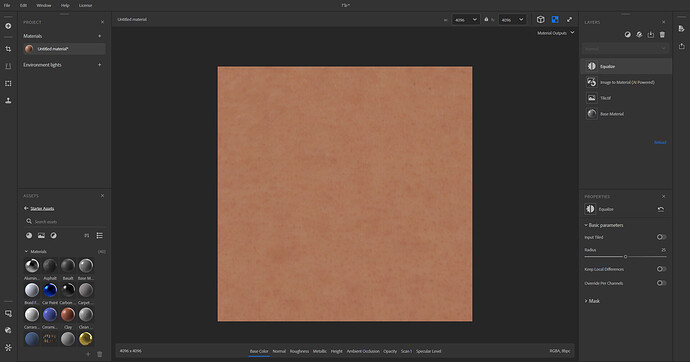
Then I produced a “micro tile” for my texture with Substance Sampler.
Now I could cover the unwanted areas on my texture with the substance painter.
-Detailing-
I wanted more details in my model. I used UDIM for this. And I made some changes on it. This gave me more detail on the face part.
I used the multichannel maps provided by Texturing.xyz. For me, the biggest advantage of multi-channel maps was that each color channel had its own information. Usually, the red channels contain information of large, green medium, and blue small-scale detail.
-Shading-
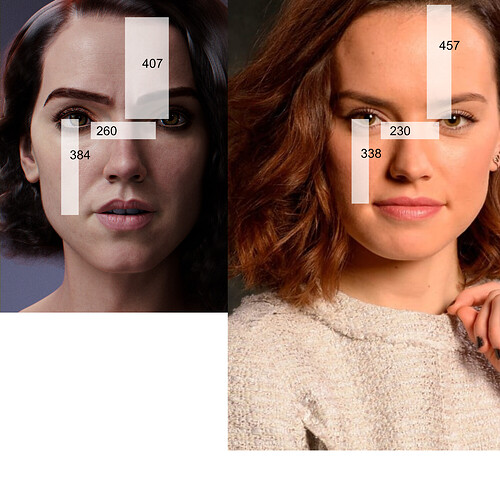
There are multiple ways to create Skin Shader. I used multi-channel maps for my project. That made it much easier. I did use the red channel on my Roughnesss Map, and blue channel on my specular map while applying changes on. I made my model’s nose, lips, and cheekbones brighter; sides of the chin and temples and ears less brighter. In the underground scattering, I painted by considering the reference values. Thus, the black parts passed less light and the white parts passed more light.
-Grooming-
I was aware that this stage was going to be the most challenging. And I knew it would take a long time. Normally, I use blender for hair design. However, this was not going to be enough. For this reason, I used the plugins that “VFX Grace” gave me. This has helped me use less grooming and speed up the process. Using the main reference I prepared beforehand, I started by separating the sections of the hair as I always do. This way, I could manage to deliver my project faster.
-Rendering-
Rendering is my favorite part. It means I am at the end of a long journey.
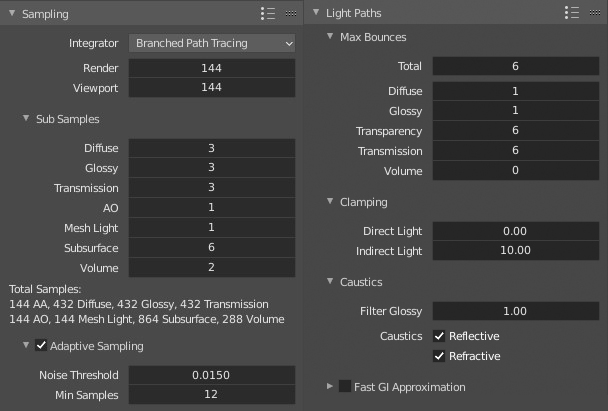
It is also one of the hardest parts to understand. There are so many setting options!
I used other artist’s help and tried to follow the default settings as possible.
-Conclusion-
I enjoyed the project so much. As a big fan of Star Wars, it was great to recreate my favorite character.
I would like to thank the Blenderartist family for including me in the community.
![]()
#blenderartists




 I took a look at your portfolio, your previous post ‘Rey Skywalker’ had a very close resemblance, just perfect.
