Have you ever used a normal map in Unreal? If yes, you know that, when you import a normal map in Unreal, the image is shown in a dark blue color instead of the typical clear purpleish color.
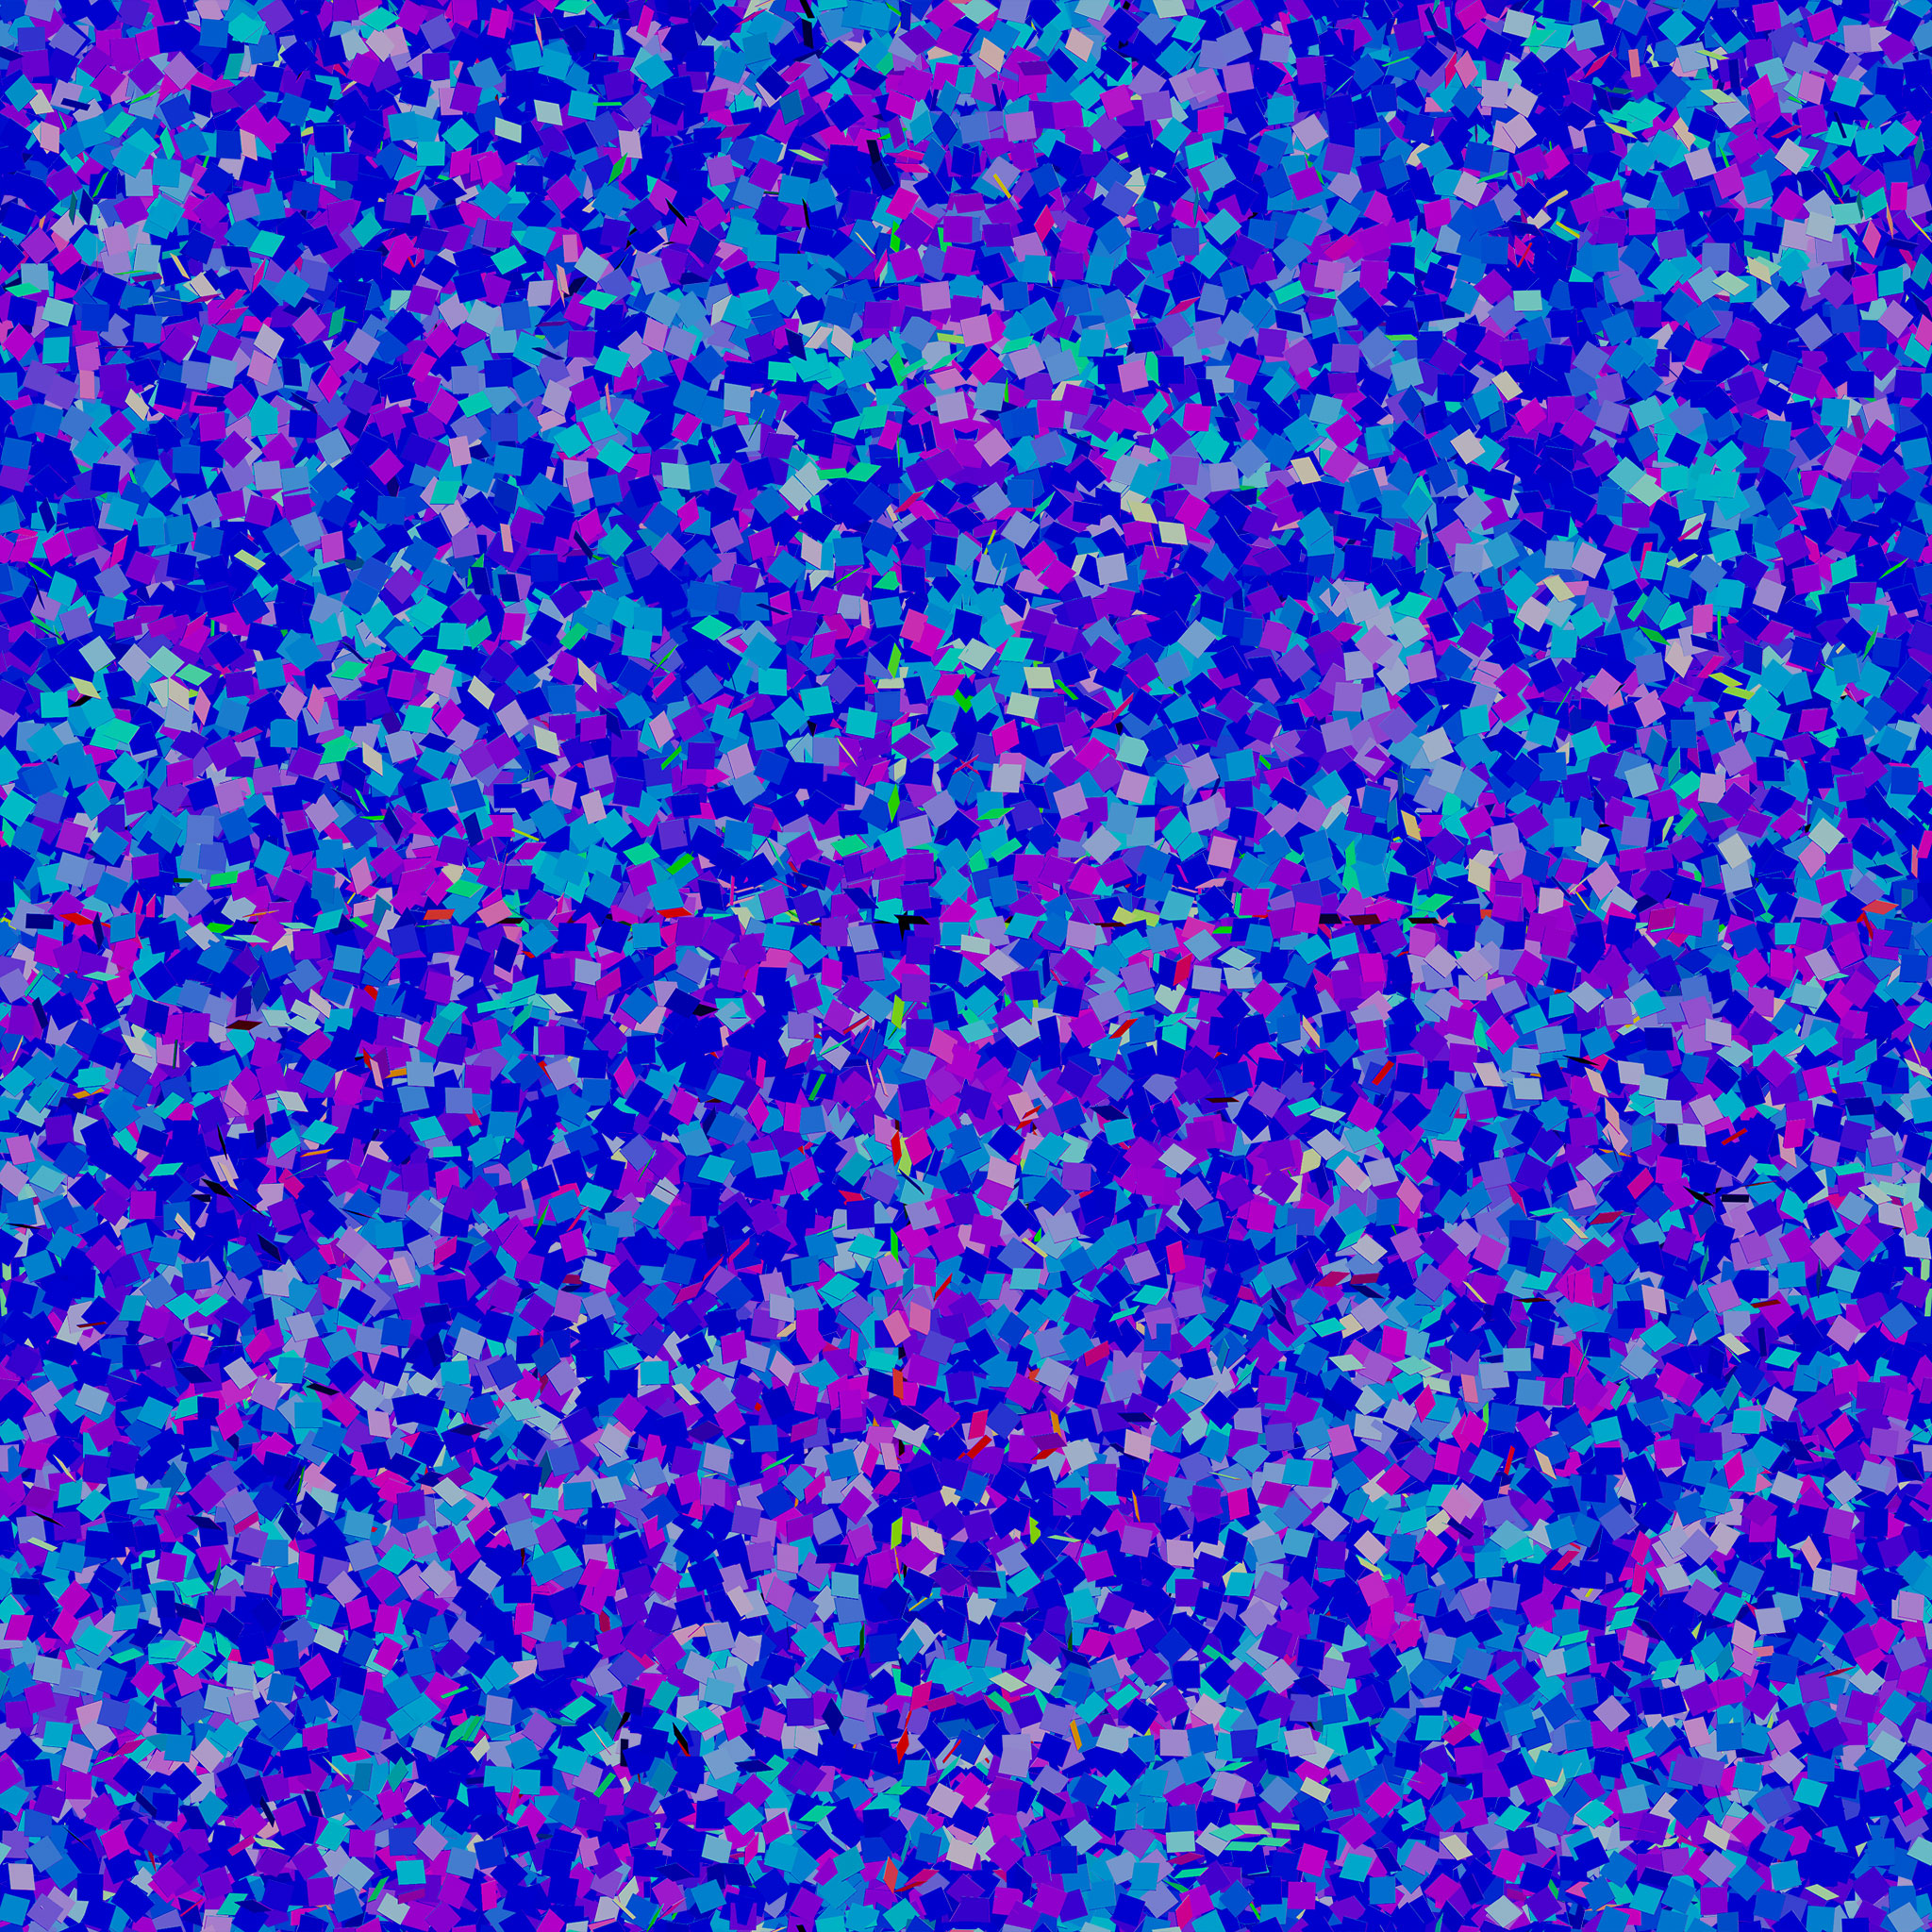
Right now, I’m trying to make a Glitter Material and for this, I made a normal map out of rigid bodies… The problem is that when I render this to generate a normal map, I get a dark blue normal map just like if it was in Unreal. I would need the normal clear purpleish color. Anyone know how to convert this blue image into a good normal map?
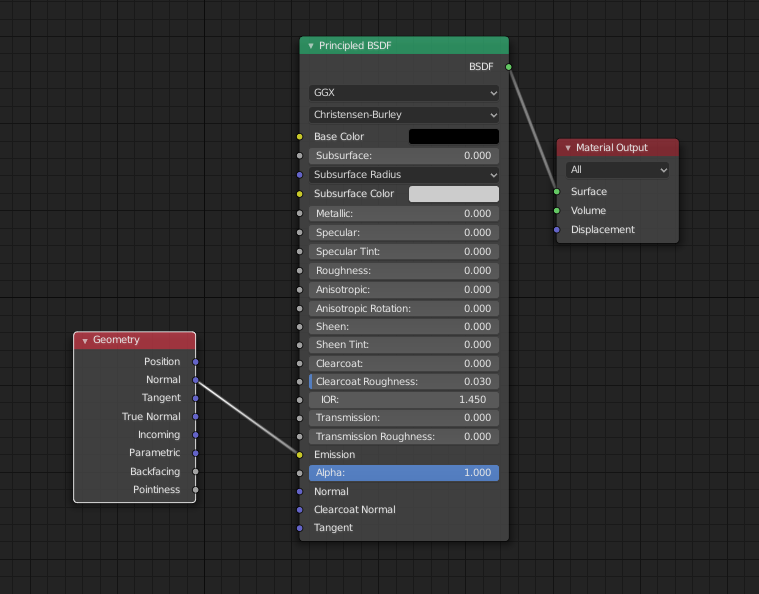
There was nothing complicated : it was just a Geo Info nod and I plugged the normal out to the Emission of my principled material while setting specular and diffuse to black…
I analysed the scene I used to render this and noticed something :
Normally, a normal map use these informations :
Red channel for X
Blue for Z
Green for Y
However, when a normal point to, 100% toward X, it will get a 1 in the red channel. When it point 100% to the oposit (-X), it will get 0 in the red channel.
It means that,technically, if something is 100% flat, it will get those informations :
Red : 0.5 (Because it is exactly inbetween +X and -X)
Green : 0.5 (Because it is exactly between +Y and - Y)
Blue : 1 (Because the normal is 100% aligned to +Z)
My images was missing a part of the information : when the face was flat, it only got 1 in blue but 0 in the two other channels. So, I added a mix RGB node in addition mode and, for the additive color, I added a R0.25 - G0.25 B0 (Wich is a kind of yellowish green) and my normal looks finally correct!
I hope this sollution will help someone in the future!
Uhh, your mix isn’t the right way to do it. You want to divide by 2 and add 0.5. You can do that with a pair of mixRGB in series (divide, add) with values plugged in from a value node if you want.
You also need to be careful about your color transforms whenever doing anything like this. Don’t want to be running your normals through filmic, don’t want to be converting them to sRGB.
Have you tried just using a random color generator, modifying its output to something useable, and using that as a normal directly? Something like attached: RandomColorToNormalModification.blend (833.4 KB)
May not be suitable in all situations, but I use this in a lot of my materials where I want random normals but not necessarily well controlled ones.