Hi, i’m thinking of buying decalmachine but i’m only into hard ops. i’m not doing scenery, actions or rendering, just producing stls out of blender for 3d printing.
i’m not 100% sure of what i read in decal machine description : is it just producing decals that you apply on surfaces to mimic the effects of hard ops and textures, or can it be used to really carve the model and produce an stl that gets the effect of the decal?
Second case would be of great help to me.
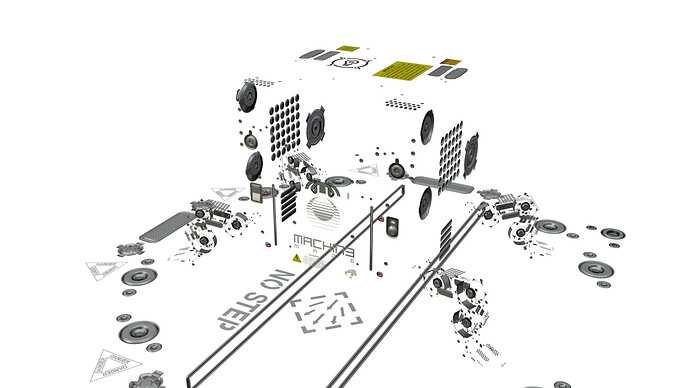
It’s only visual, the decals are image planes and when you use “project” they shrink-wrap onto the mesh.
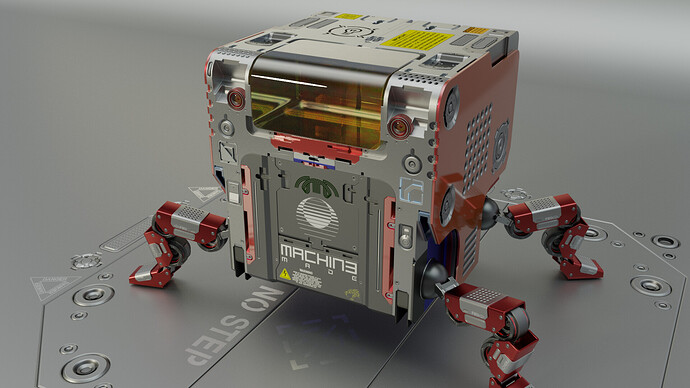
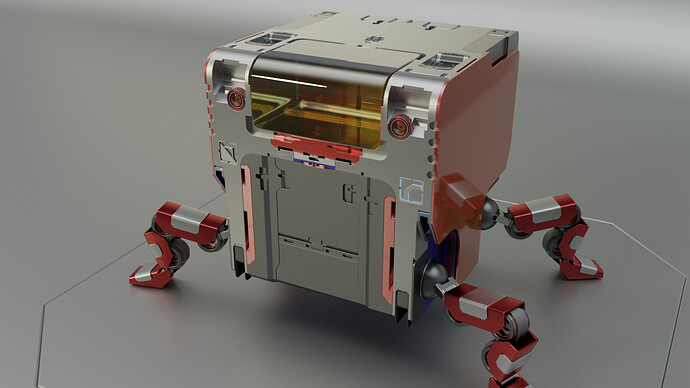
Example, finished image, only mesh, only decals.
but i saw an option to carve. that’s why i was asking. is it a new thing?
Yeah, think so, haven’t used that myself, so can’t comment on that aspect of it. Have you tried checking Machine3 youtube channel, might be an explanation there.
EDIT: However, at most, I’d imagine carve cuts the uv’s into the mesh, as there is no actual geometry in the decal.
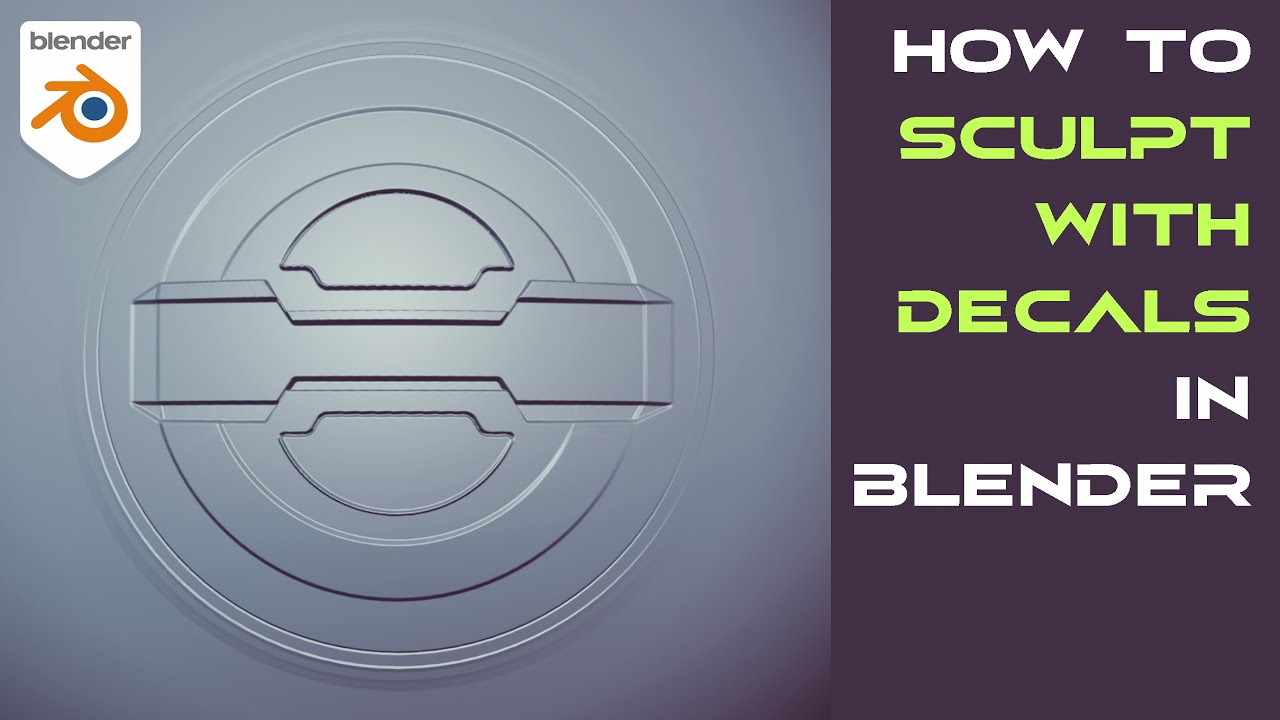
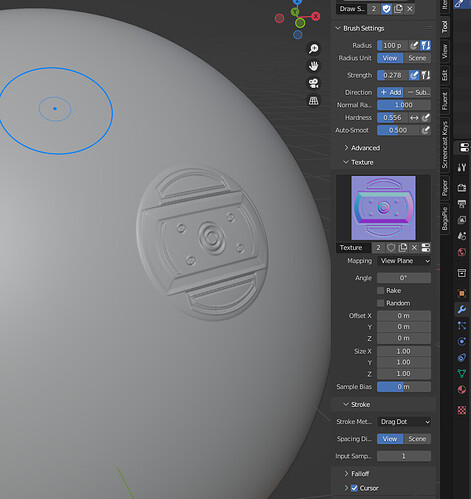
I haven’t heard of this option though there are slice operations that are boolean slice around decal edges…but I have seen using the normal maps in Sculpt mode to use as a brush and sculpt decals into or out of an object ( you wouldn’t need Decalmachine for this, though I would still recommend if you are able, to buy a copy, you might just find yourself expanding into more than 3d printing!)
This popped into my recommended, so necroing the post. I am curious, are you sure that normal maps are supported in Sculpt mode? When I tried to, Blender clearly uses average intensity of the image instead of computing direction, so the results are nowhere near accurate. In theory, you’ll need an image with both direction and depth information (vector displacement map) for an “advanced” sculpting brush, and I am sure only Zbrush supports such VDM sculpting
You can use ANY image as a TEXTURE…which is what you are bringing into the sculpt brush.
And it clearly uses that NORMAL MAP while Sculpting at 3:20 in the Video…
also Blender has had VDM since around 2.9++
Anything I need to do with texture settings so the brush is recognised as normal? My normal mapped brush imprints come out lopsided, as if Blender used average intensity. Doesnt give me any advantages compared to grayscale maps
Did you follow the tutorial? I believe it was just set to Clip in the mapping…( of course he added the rim buffer in PS to the normal map)
I believe most of the settings were in Sculpt Mode about 1:00 into the video…
I’ve doublechecked everything, no luck. Using a normal map that should produce a bunch of hemispheres, I’m getting this result:
It seems it doesnt work that way, sadly. Cycles supporting VDM is no proof that Sculpt mode also does.
I don’t know how or what those decals are…OpenGL or D-X…it makes a difference
They are certainly not the same as Decal Machine Normals, the Green Chanel might need inverting.
But as far as DM normals and those made for it…
And I have a 10-year-old AMD … and at the moment 16G of Ram…
So sculpting is a bit difficult at the best of times…and this just works fine…
Maybe see what the requirements for decals are for DM Decals and adapt / change the Dots to that format…
Just checked with some dots I had and also with inverted…they don’t work as well a DM decals…so it has to be they are made specifically with Vector Displacement when the normal was created… ( that’s a GUESS for now )
Even in your example with DM normalmap, the result is warped (the bottom facet of a plaque is concave, while it should be convex, and the background is raised)
And about VDM, normal map cannot be converted into one I’m afraid. VDM needs a height channel in alpha, and the directions are computed different way (by comparing points on lowpoly and highpoly based on their UV coordinates)
