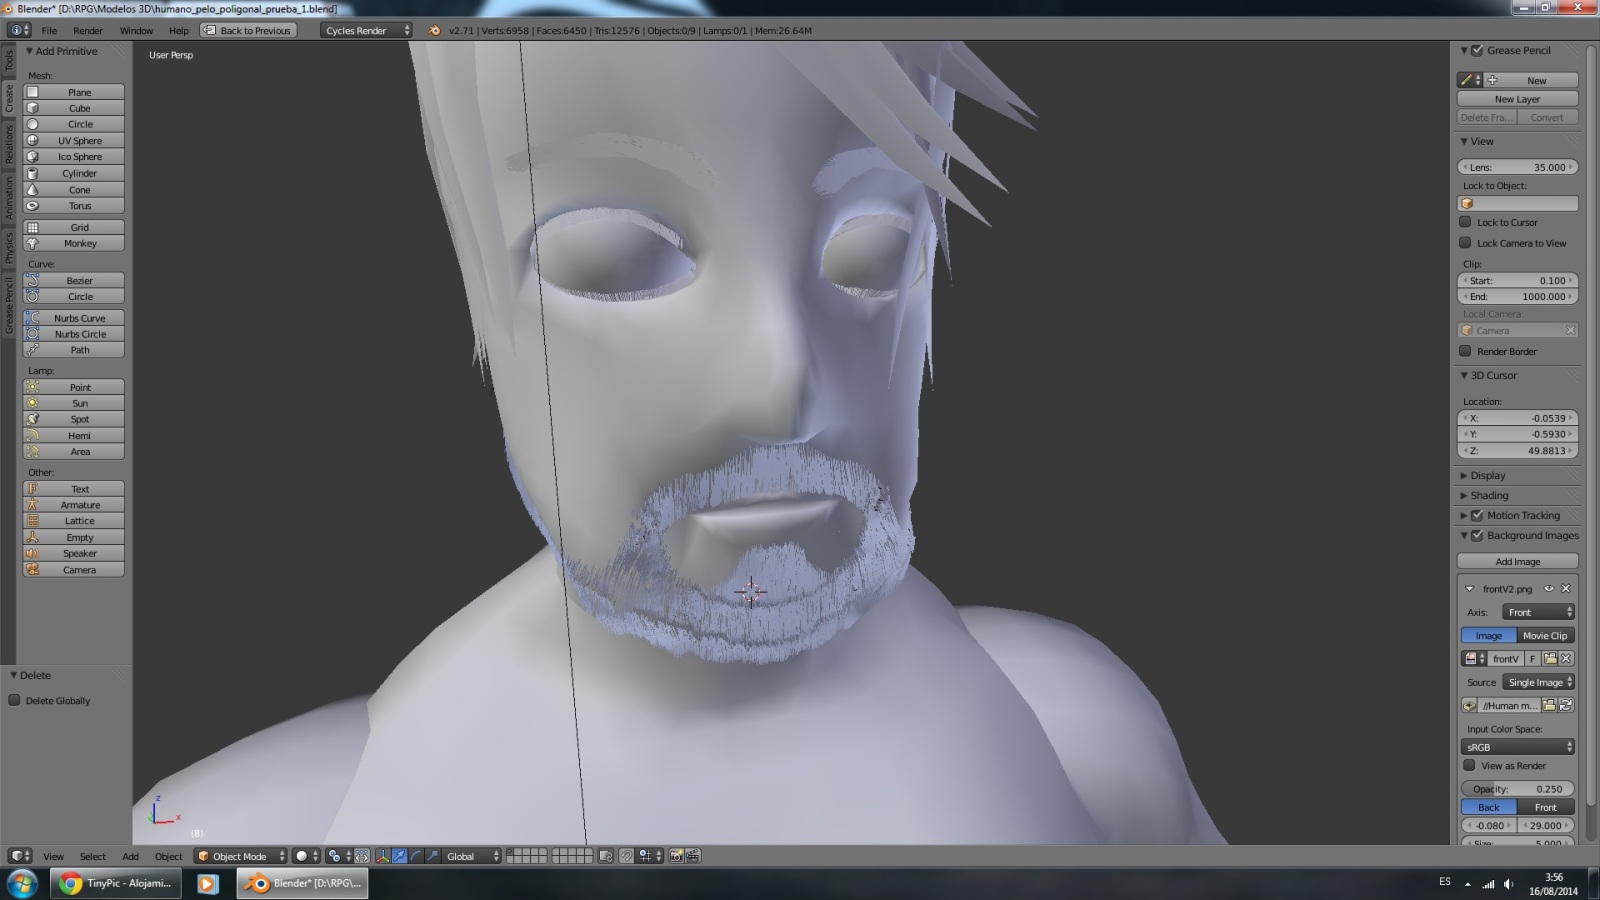
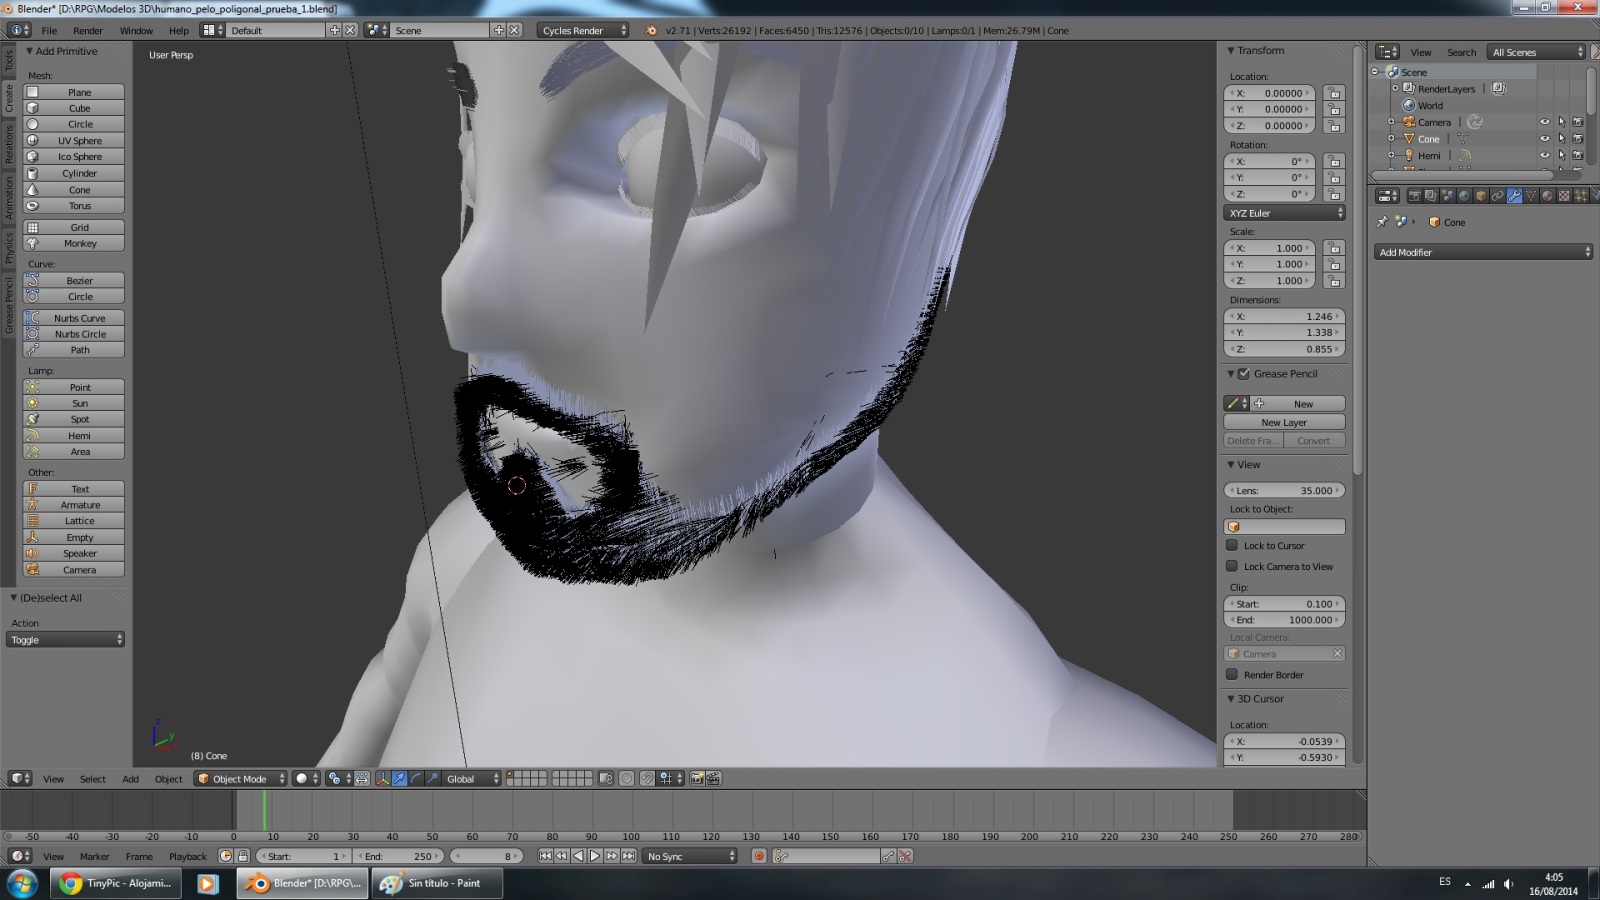
Hello guys, I am trying to simulate Blender hair particle with polygons and Im very close to get it but I need help with one thing, okey I will explain first what I’m trying to do:
1º I use Particles to draw hair in my character, this works good but as everybody knows, this doesn’t work for videogame character so I convert hair particle in mesh. First I decocate it:
I have the result “cone(s)” horizontal-way and I want them vertical-way like in hair particle, I tryed to deform the mesh, adapt the mesh to bezier curve, and much much more but really can’t get what I want, some tip? Thank you.
I am not sure what is going on here. It’s possible that it is a bug. But, that issue aside, I think you would be better off using alpha textured planes to represent locks of hair, rather than making individual hairs. The textured plane method is the standard for video games, and the results can look quite good.
(edit) btw, a good way to make such textures, is to render them from a hair/particle system, in the form of a .png with an alpha channel.
(edit) of note, i just converted a hair system to mesh as a test, after grooming it, and encountered no problems. latest version.
Ok, here’s something which could work:
Weightpaint your head; create vertex group before if you have different ones or simply paint - one will be created automatically, named Group.
That will be where beard grows ofc.
Add plane and if youre in isometric view merge furthest 2 vertices in the middle - you get triangle pointing along Y axis into the monitor (if youre not confused by ZUP concept ;)). Scale closest edge, scale all a bit, size does not really matter - it’ll be set in Particle System later on.
Add Particle system type Emitter to the head, set Render-> Object - Plane which you modified. Vertex Groups - Density - Group you painted.
Start-End frames = 1, Render Size - as you see fit; Velocity - Normal, Tangent, Other-Random to shape beard a bit.
Now that’s pretty much it - on Modifiers tab click Convert. Mind that particle system is still active and there now are 2 sets of beard - you could delete particle system now.
There comes the interesting part - Feature or Bug?
I duplicated Suzie and left particles active on yellow one; as soon as i render lower, blue, particles on yellow friendly all together turn East :D. To get them back in beard like fashion i need to go Weight Paint mode and switch back to Object mode - then things normalize. Should this happen so? Is it described somewhere, maybe i’m missing page or two of RT(*)M?