Greetings,
This is the third and final Demo WIP for this year’s contest. This is not a contest entry, but rather a brief workflow demo and a possible guide as how to construct your own WIP thread. I’ve chosen this Witch character, as it delves clothing setup and texturing detail. The main character sculpt will be done in Zbrush, while the clothing refinement, UV mapping, texturing will be done in Blender and possibly 3D-Coat. I will try to demonstrate how to rig and skin complicated clothing, create hair, and also use spring bones for certain items. Normally a character like this would take weeks/months, so I’m not expecting I’ll get an exact likeness in a few days.

I’ve begun this project by sending over the CC3+ mesh through the new GoZ Plus addon. I’m only working on the body and head, so I’m not going to send over the other items (eyes, teeth, tongue, etc) with any subdivisons or polypaint.

I’ve started by setting up placeholder meshes. These serve as a way of guiding my eyes / brain as I create the character, and these meshes can also be developed into more detailed assets.
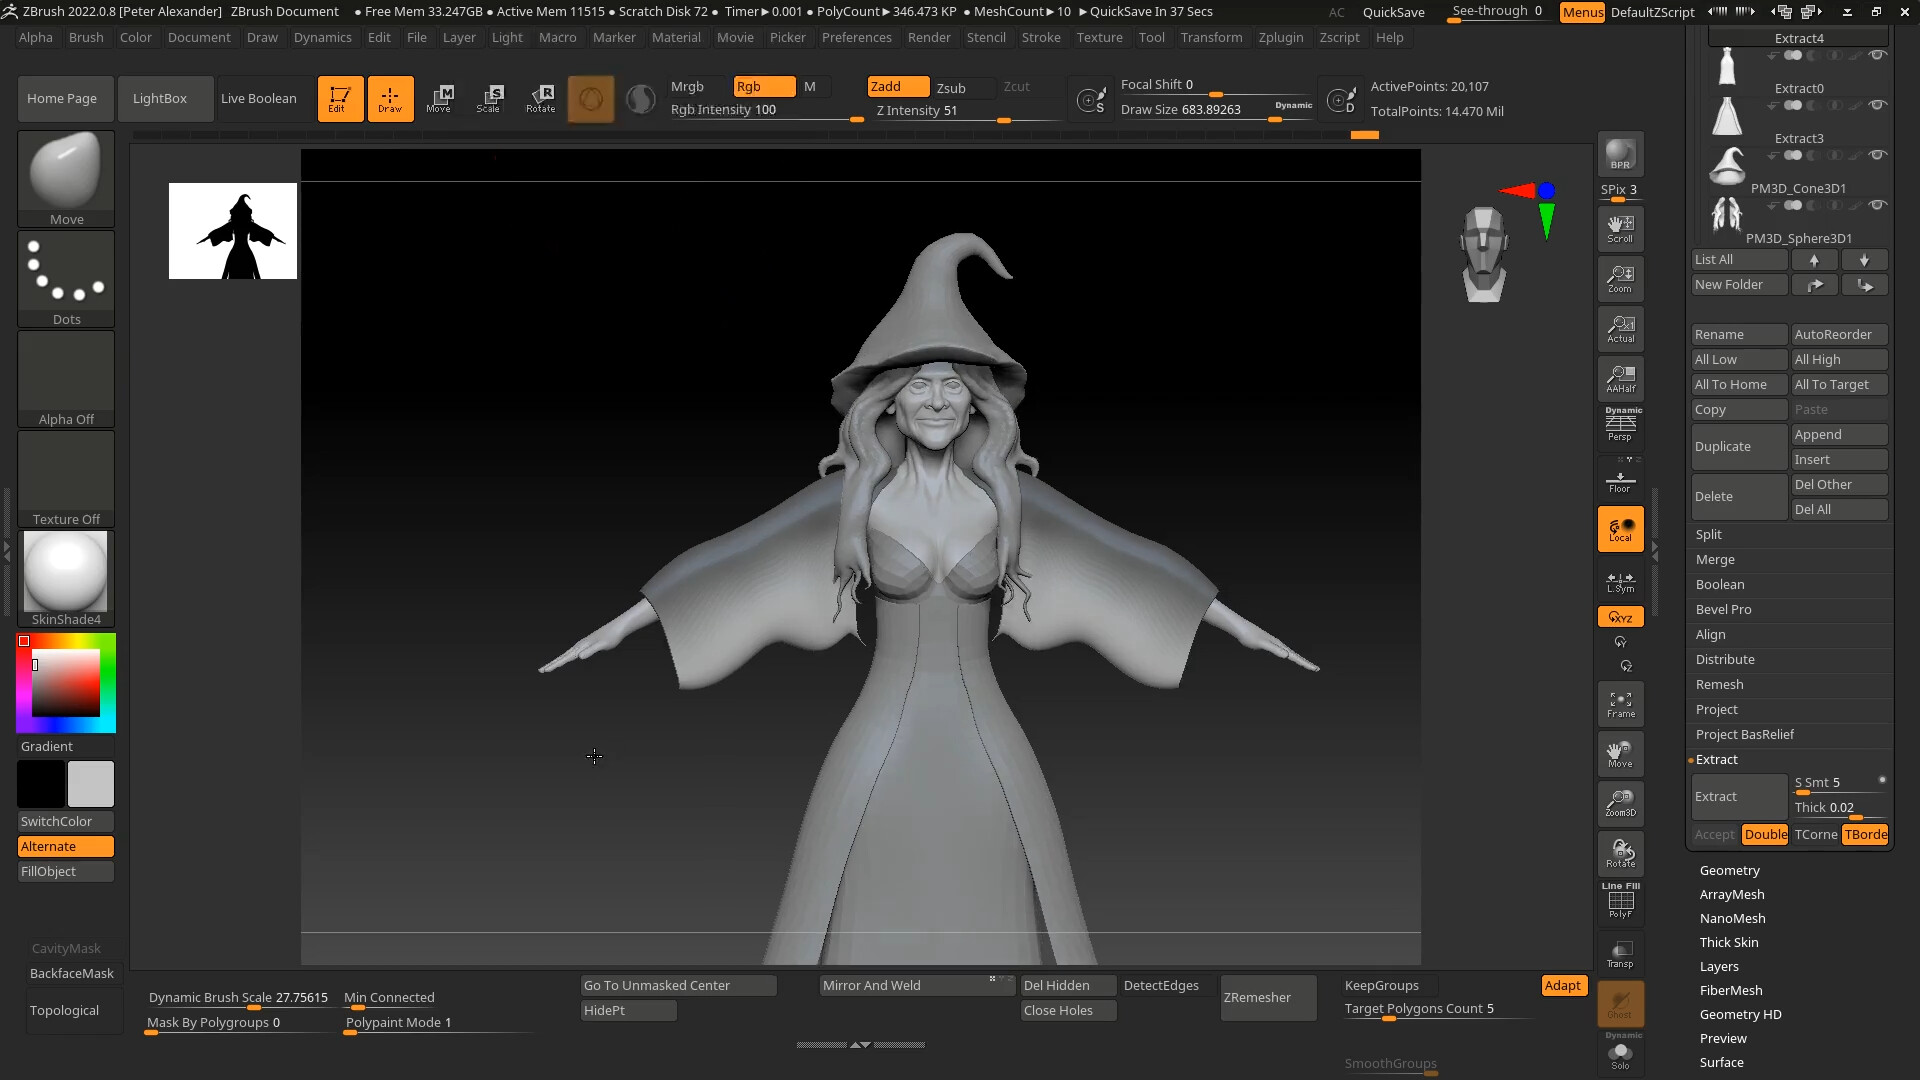
The character’s body and face details are not very complicated. It is, after all, just an aged human female. Because of this, I felt comfortable in sculpting some higher resolution details quickly after sending the mesh over from Character Creator. I replaced the default skin polypaint (converted from the CC3+ textures) with a darker skin shade. I calculated Ambient Occlusion, which creates a mask. I inverted the mask, and filled the exposed mesh with a darker shade of the same color. This brought out some of the details of the face, giving her complexion a more sunken look.


Next I will send the character over to Blender to create and set up the Witch’s clothing and accessories.

I used the placeholder meshes I created in Zbrush to extrapolate more refined meshes in Blender.

I will include details of how the hair is created in the next update.


