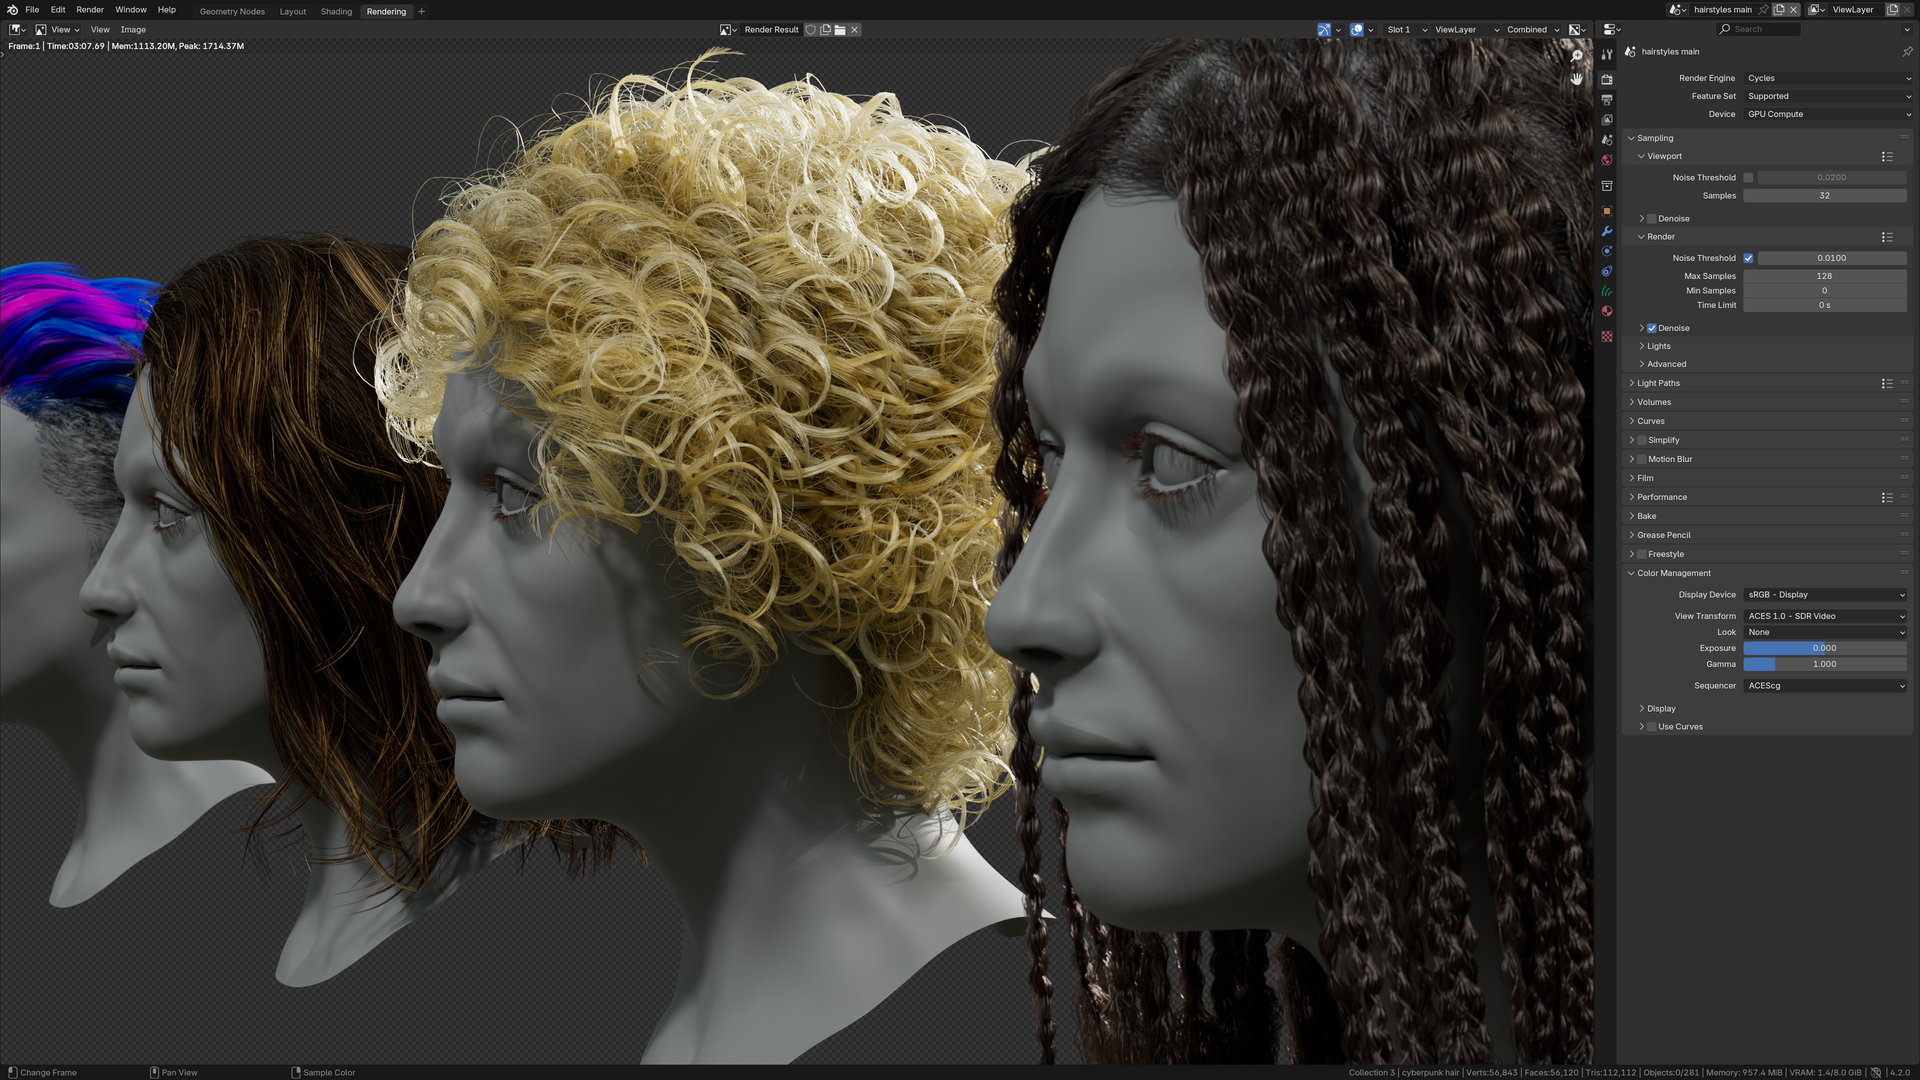
So, I have a character covered in fur using the new geometry Hair with a simple principled hair shader and I’ve tried rendering a simple turnaround and the results are awful.
Rendered at 1080p with 128 with OID, the fur is completely blotched and jittering all over the place. Fine I thought, I’ll increase the samples.
Rendered at 1080p with a 1024 samples, this time I tried both Optix and OID, the fur is once again, blotched and ugly, jittering on every frame.
I finally tried a 4096 with a noise threshold of 0.050 and the result is, you guessed it. Ugly, blotched and unusable.
Why is this happening? Can’t Blender deal with the new geometry hair for animations or something? Or are the denoisers just really bad at denoising animations?
One main reason that usually increases noise is lights with unrealistic values. Make sure your scene has proper scale and adjust lights to something similar to a real world parameter. There are a few more tricks to check. Documentation covers some of them.
64 samples, motion blur on, you can see flickering at the end:
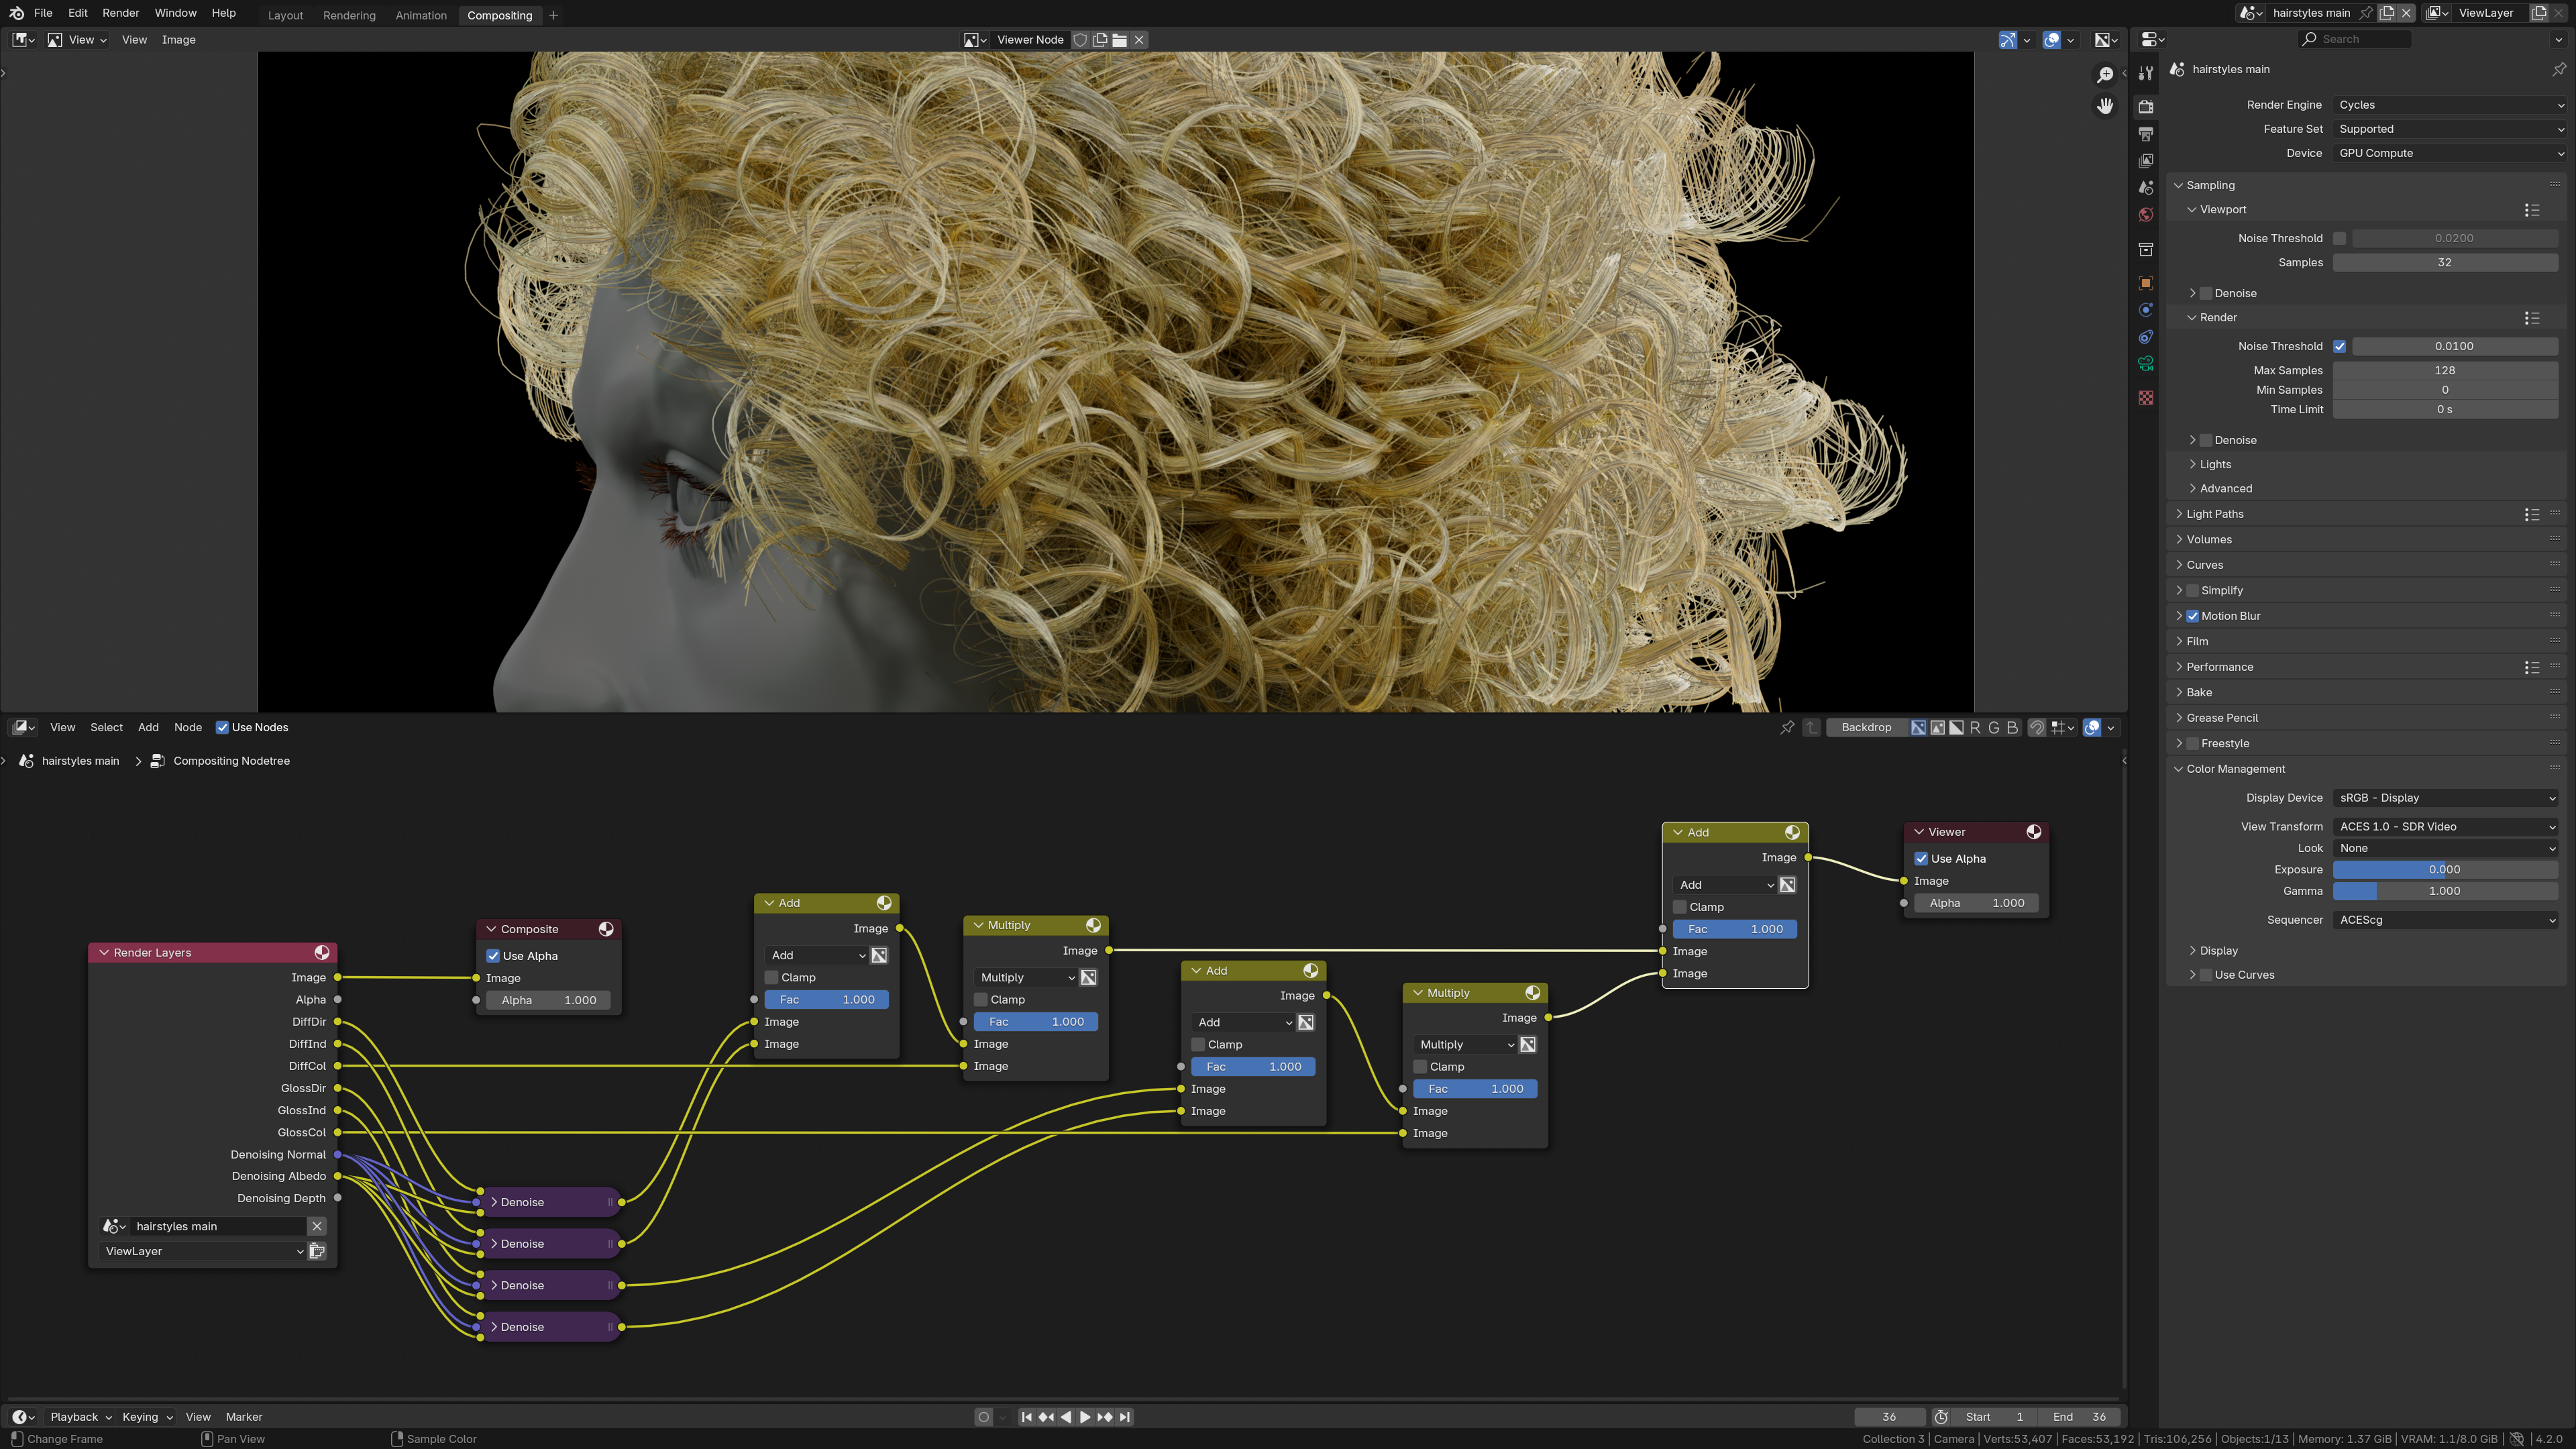
To reduce the temporal flickering effect use the denoiser node in compositor tab applied just in direct and indirect passes:
This was a denoiser study I did a while ago. Best result for Cycles still denoising like mentioned above. You’ll notice that a lot of Blender animations over the internet has temporal flickering. Other render engines already have denoisers that account for that.
My scene is a open scene with lighting coming from an hdri and one single lamp. The camera is a bit far away and it cannot produce decent results regardless of settings or samples.
This, Cycles doesn’t have temporal denoising, at least not yet. So each frame will have a slightly different denoise result because it’s not taking into account the previous frames.
To denoise animation you’ll get better reults using Resolve or any other external tool.
3- Save the image, then reduce it back to intended resolution in an image or video editing app.
4- Because you have that extra resolution, the denoiser is able to better perceive and preserve fine details and your image will look cleaner even after reducing it back. This doesn’t completely remove the flickering, but makes it finer and harder to see.
When doing this trick, you can get away with using fewer samples / higher noise treshold, because the extra pixels by themselves add light rays and increase image quality. This means the render doesn’t even have to take longer to get the benefits.
What are the min samples set to? Min samples are also important and can save you depending on the lighting conditions of your scene. If you don’t set a min samples value yourself, Cycles will pick one for you based on the other settings, which might or might not be enough depending on the scene.
The noise treshold works by disabling any further rendering on pixels when they fall below a certain amount of noise. This allows the render to complete faster by not wasting time on the clean parts of the image. But for the treshold to work correctly, there needs to be some samples done before it activates to evaluate the noise in every part of the image. That’s what min samples do.
The noisier a scene is, the more min samples are needed to evaluate the noise accurately. If the noise isn’t evaluated correctly, some patches of pixels can get deactivated wrongly and leave inconsistent gaps in the noise pattern.
I like to always pick a value manually, as I understand what it does. 64 min samples seems like a good value for the average scene. An interior scene will likely need more, an exterior scene can likely work with fewer. But if you see strange gaps or artifacts in the noise pattern, which turn into a mess even on a still frame, that could be a lack of min samples.
I found the problem and it wasn’t noise at all, even tho it looked like it.
The hair made with geometry nodes was moving around on it’s own when the character moved, causing it to look like noise in the animation. I solved it by moving the Surface Deform modifier to the very bottom of the stack. The fur stoped moving weirdly and everything looked good, even with a low sample count of 64 samples.
Although, I will still experiment with this denoising in the compositor. Do you still have to turn on the denoisers in the render panel or do you turn those off and do everything in the compositor?
If you denoise in the compositor, you should turn off the denoiser in the render settings. If you don’t, you will get the 2 denoisings and that would be pointless.
Denoise option at render properties tab will be applied to combined output, enable Denoising Data in View Layer Properties to use in the compositor tab. Denoising Normal and Albedo improves output.