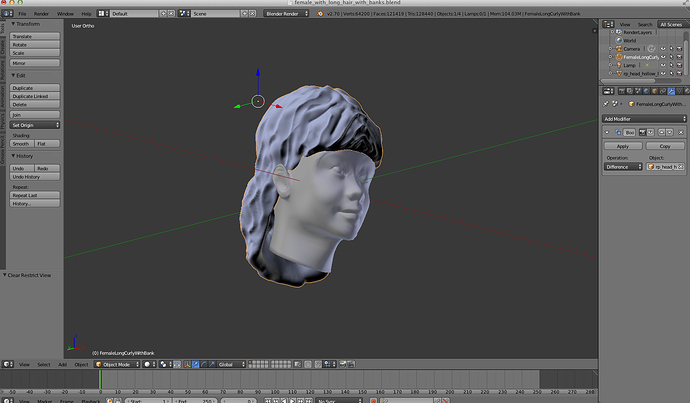
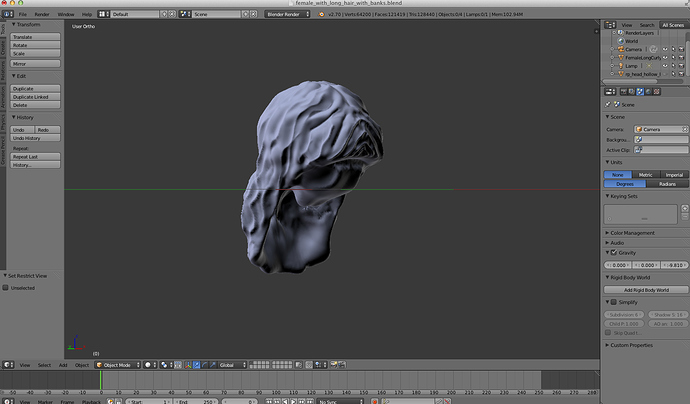
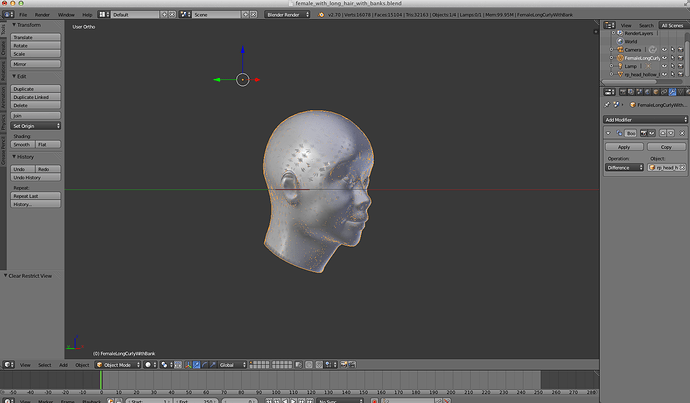
Unfortunately, no Sculptris will not be able to fix the internal faces that have been created unless you use the reduce detail brush to decimate the zone a very lot, making you basically have to resculpt the whole thing.
Now retopo is a very good skill to learn regardless of the problem, it’s easy to do, the only down is that it takes time (as Blender does not have autoretopo tools like some other applications) and you’ll be able to get a lot out of retopo in future sculpt work.
Retopo in Blender is all about snapping to faces in fact, here’s a very simple example of a retopology.
There i have 2 separate objects, your hair object and a simple plane

I select the plane, go into Edit Mode and subdivide it a bit

Then i go to setup the snapping , first look on the bottom of the 3D View, this drop down menu :

Click on it and set it to “Face” , this will make some other button appear, enable the last button that is not enabled by default :

there it is, you have setup the face snapping tool, that is used to retopo.

Now to enable the face snapping, you have to click on the little magnet button (to disable it, click on it again)

As long as the magnet is enabled, every vertices/faces/edges i will move will “snap” to the faces of the other object…
So in that case, the subdivided plane will snap to the hair object.
But before continuing, let’s finish the retopo setup, click on the Object Panel and set it to XRay

Then move your mouse to the 3D View and press N, in the N panel that will popup scroll down to the Shading tab and enable “Hidden Wire”

Now select the subdivided plane and move it (press G and move, the left click or press Enter once moved) , it will result :

From there, you all have to simply model, extruding, etc…,

And to make it easier for you, add a Mirror modifier so you only have to retopo half of the object, the mirror modifier will take care of the other half.


When you’re finished, remember to disable the magnet button so you don’t snap anything by mistake, then take off the XRay and Hidden Wire options if you don’t need them anymore, and apply the mirror modifier

Now the retopo is done at that point, it’s a low poly as it should.
But as you will probably not going to bake normal/ao/etc… maps, you’re probably going to want to get the retopo to have as much details as your hair sculpt.
In that case add a Subdivision Surface modifier (or a Multiresolution one if you wish to sculpt it more after that) followed by a Shrinkwrap modifier.
I recommend a multires there as you will certainly have to tweak in sculpt mode a bit the end result, and benefit from better performance of multires

Then in the Shrinkwrap modifier, in the Target click and select the hair object (FemaleLongCurvyWithBank) change Mode from “Nearest Vertex” into “Project” and enable “Negative”

Look at your 3D View, from this

It will become that as it’s starting to capture the hair object details :

Time to increase the level of subdivision so it will capture the details much better, in the subdivision surface modifier, increase the “View” setting from 1 to 4

Result in the 3D View :

You can go higher in the subsurf, but be warned that the polycount will go really high quickly after the 4th level, quad based subsurf/multires requires easily 4 times as much faces as Sculptris or Dyntopo to make the same level of finer details (due to the whole object being subdivided, while Dyntopo or Sculptris only subdivide what is under your brush), so your choice.
You can now apply the Subdivision Surface modifier, then the Shrinkwrap modifier.
And if you used a Multires instead of a Subsurf, only apply the Shrinkwrap modifier, so you can keep sculpting in multires sculpt mode.
Once everything is applied the boolean should now work correctly.
I uploaded the base retopo (without having used the subsurf+shrinkwrap, so you’ll have to test yourself) (it’s only layer 2, on layer 1 is your original objects) for you to check , but i recommend giving a try yourself at it, better learning from doing things yourself :
http://www.pasteall.org/blend/29514
You can find more retopo method with addons and etc… on various blender tutorial on youtube:
http://www.youtube.com/results?search_query=blender+retopo+tutorial


