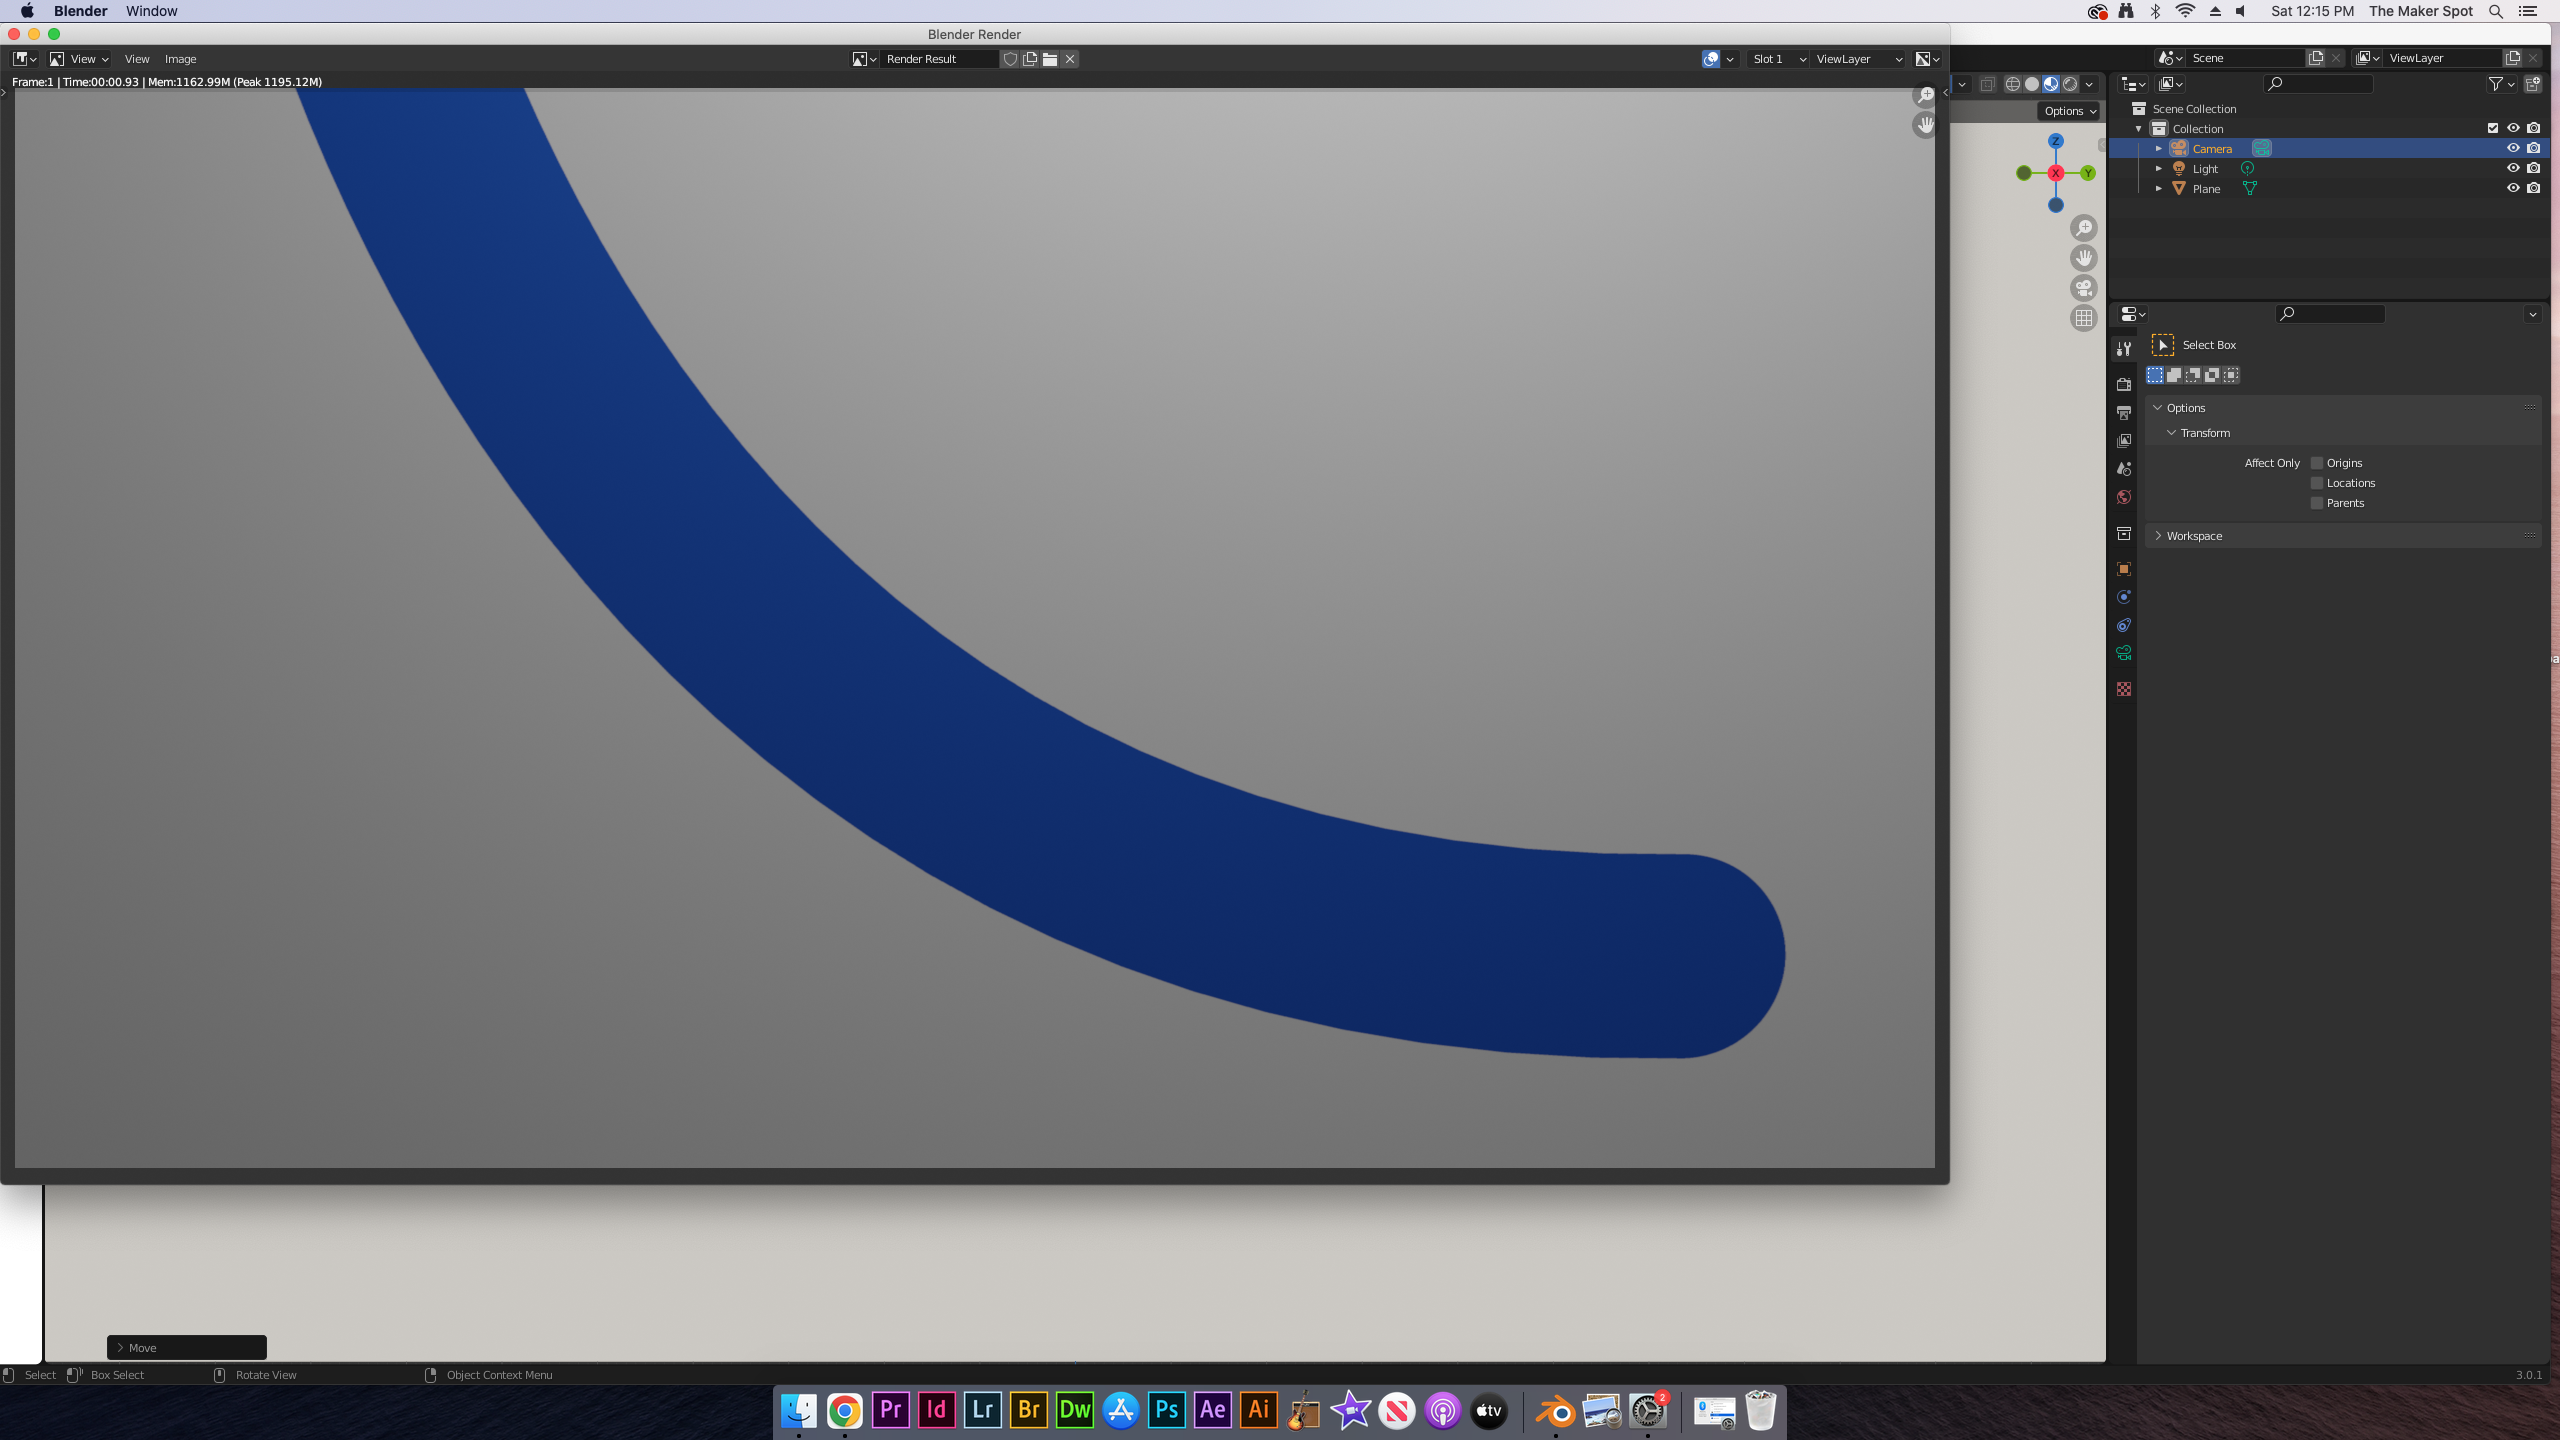
Newbie question. Can someone please explain why when I use curve strokes in a brand new file ( like below ), I get clean crisp edges? Brush is set at 8k, Fall off at constant with 1%.
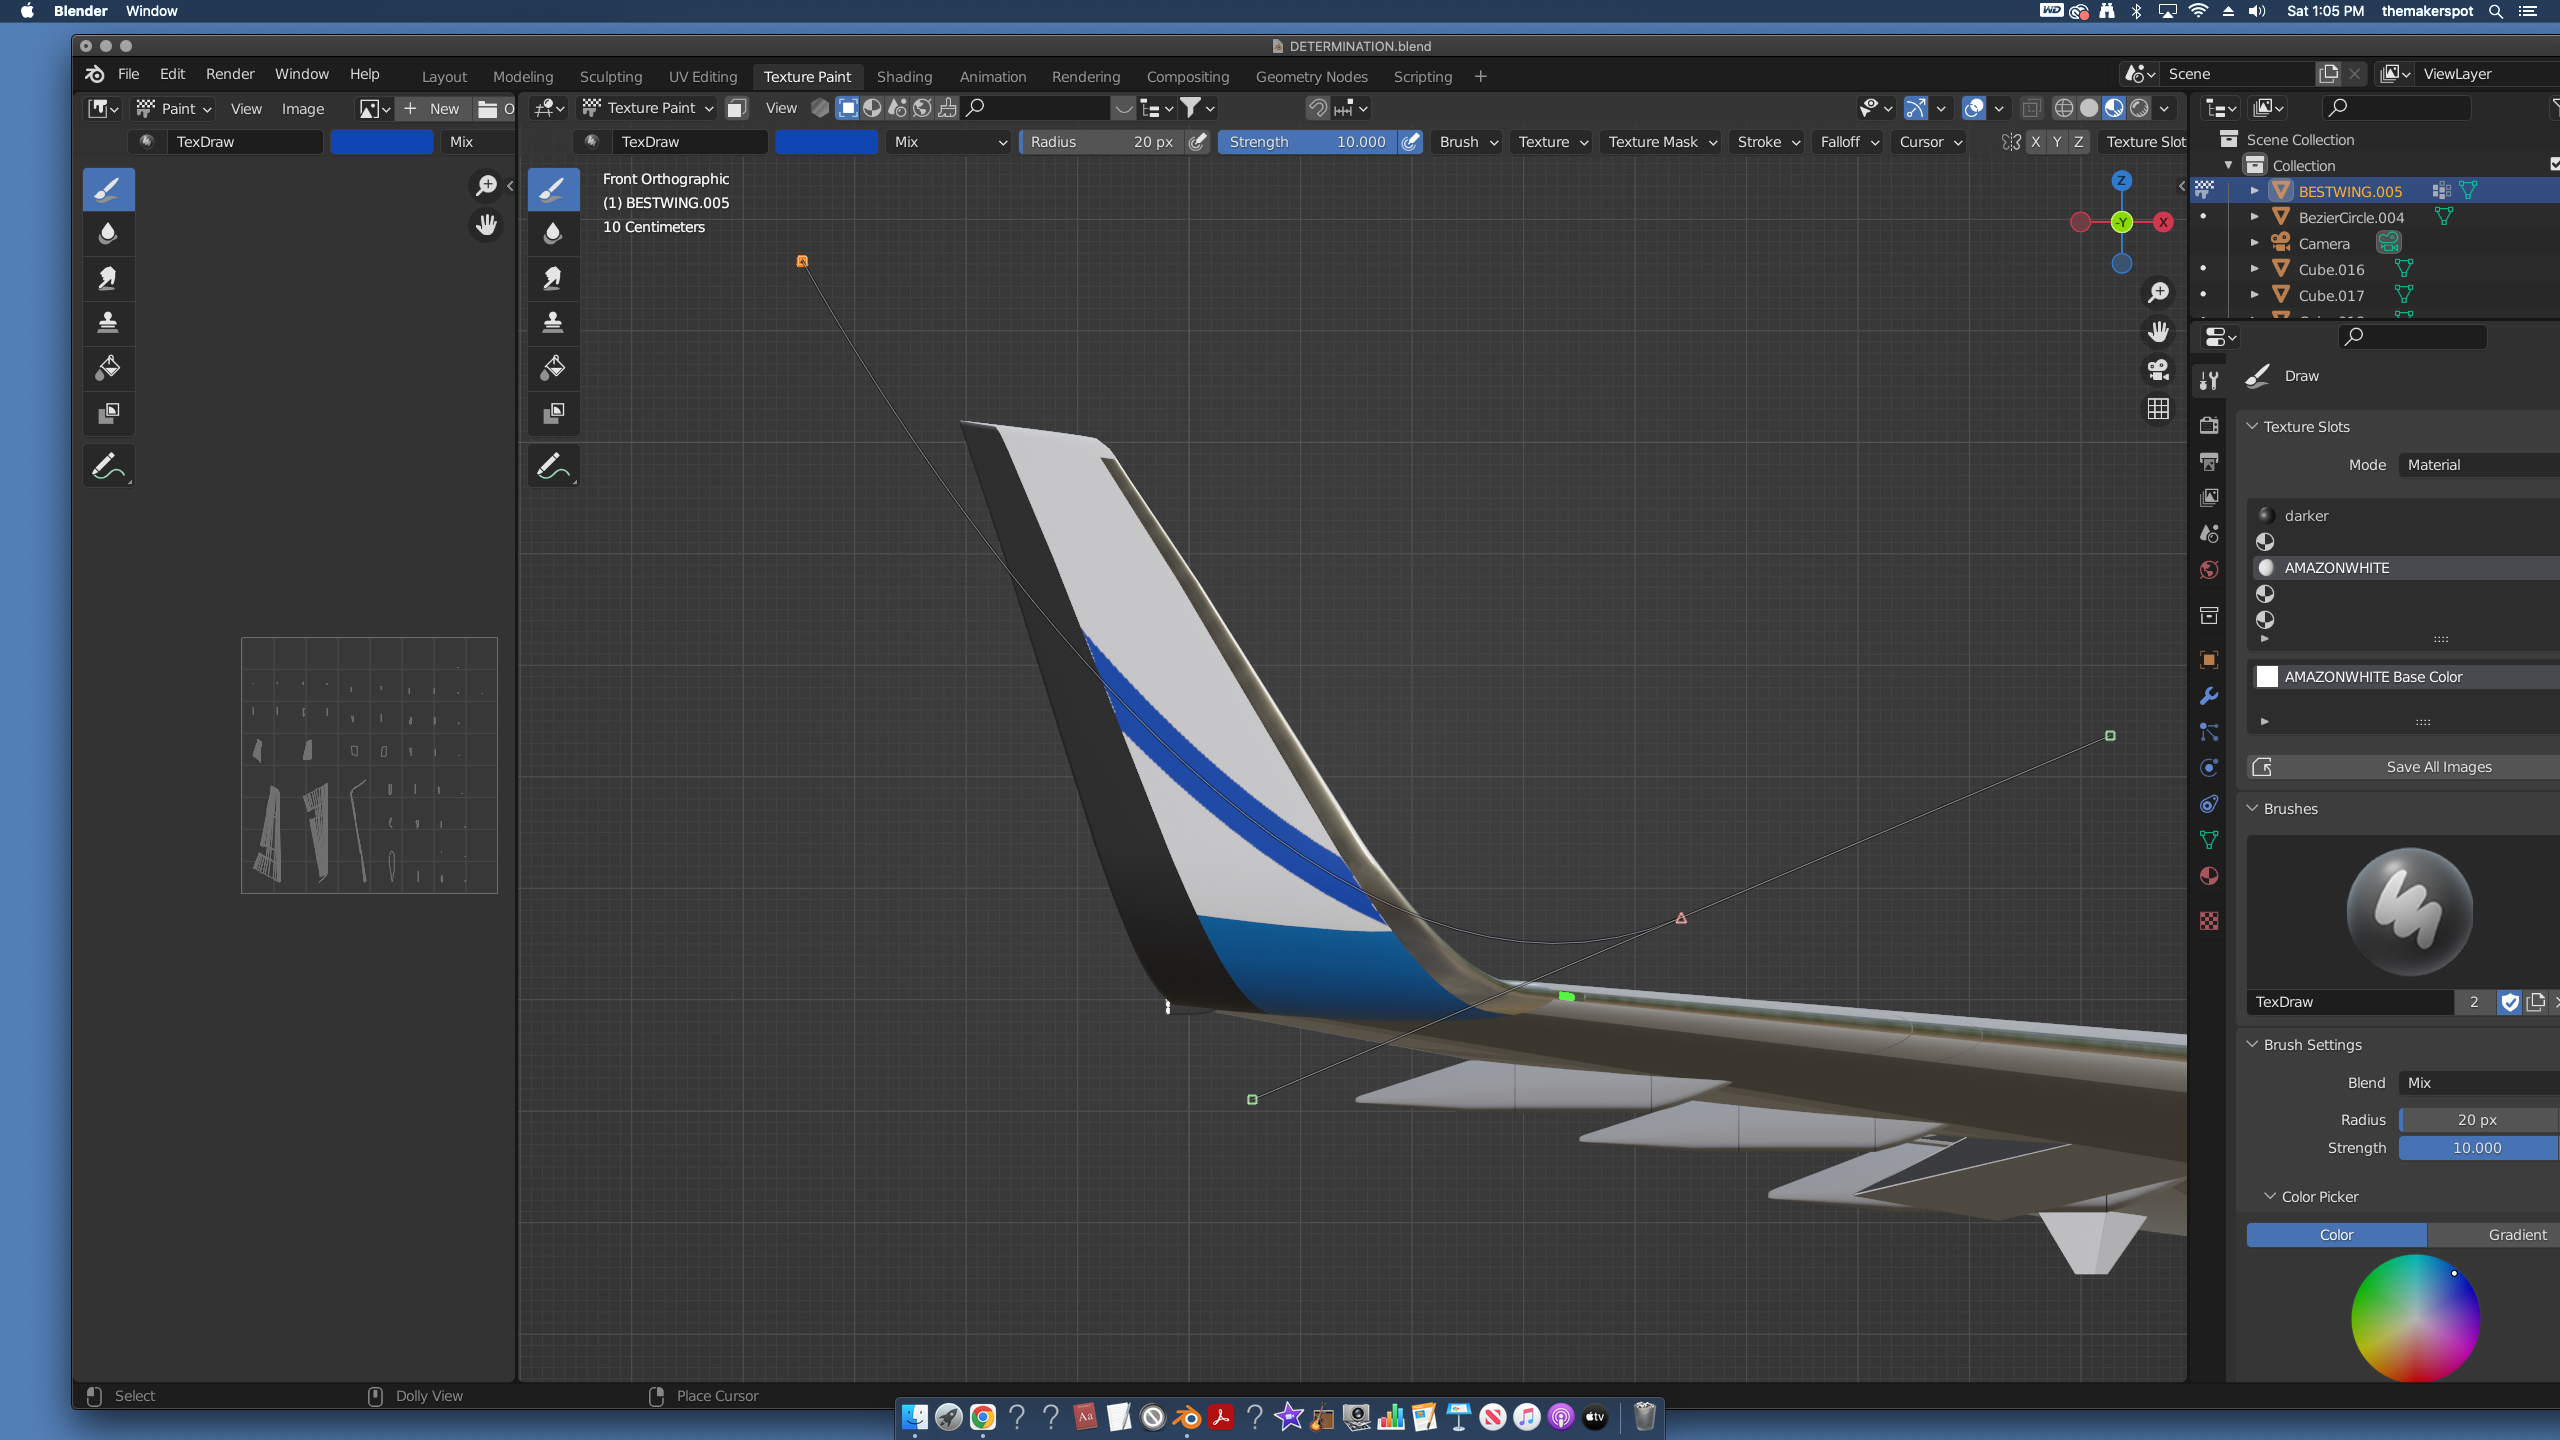
And yet when the exact same settings are applied to another curve stroke in my winglet file, the edges are noticeably jagged and pixelated. It’s the exact same curve that I am trying to texture paint on the winglet of a jet.
So, to understand why the line looks jagged you need to understand how UV mapping works. In a brand new file you have created a new texture file and the UV for the plane that you drew on covers the entirety of that texture. Look at your winglet’s UV, it is only covering a small area of that texture. To make it more sharp you will need to either increase the image’s resolution or rearrange your UV so that the winglet covers a larger area.
Your UV layout has currently a lot of “wasted” pixels betweeen the UV islands.
You want to try to pack the islands closer together to get more out of your chosen texture resolution.
Larger islands result in larger “texel density” resulting in less obvious pixelation.