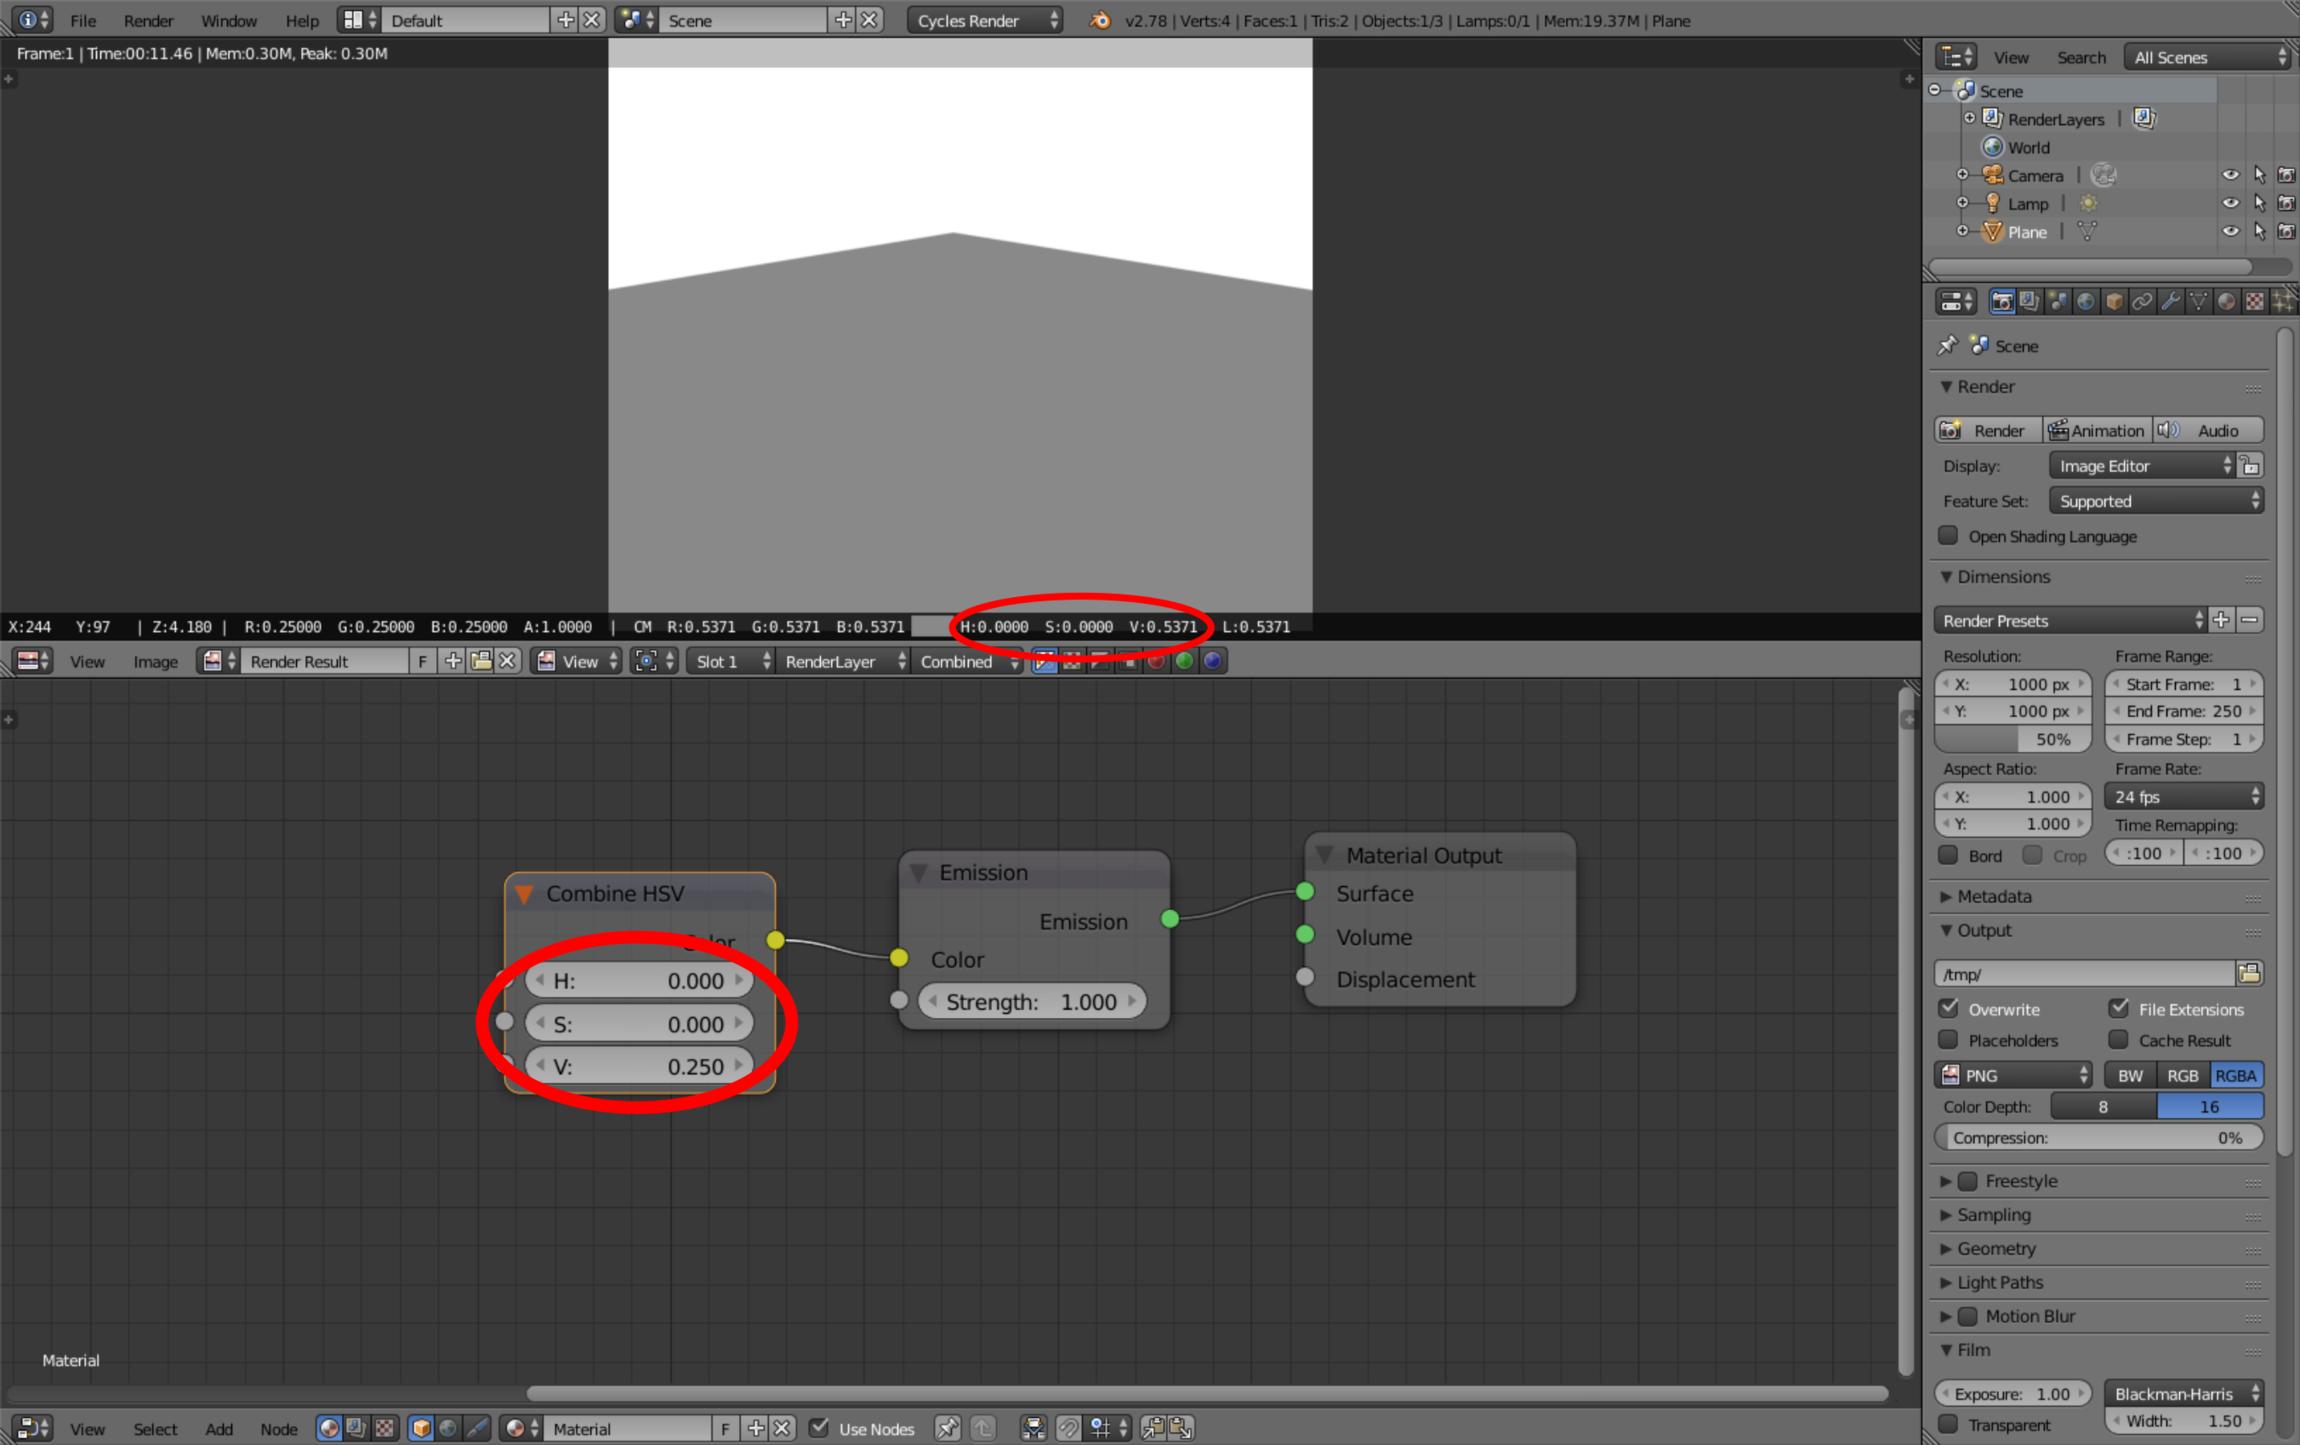
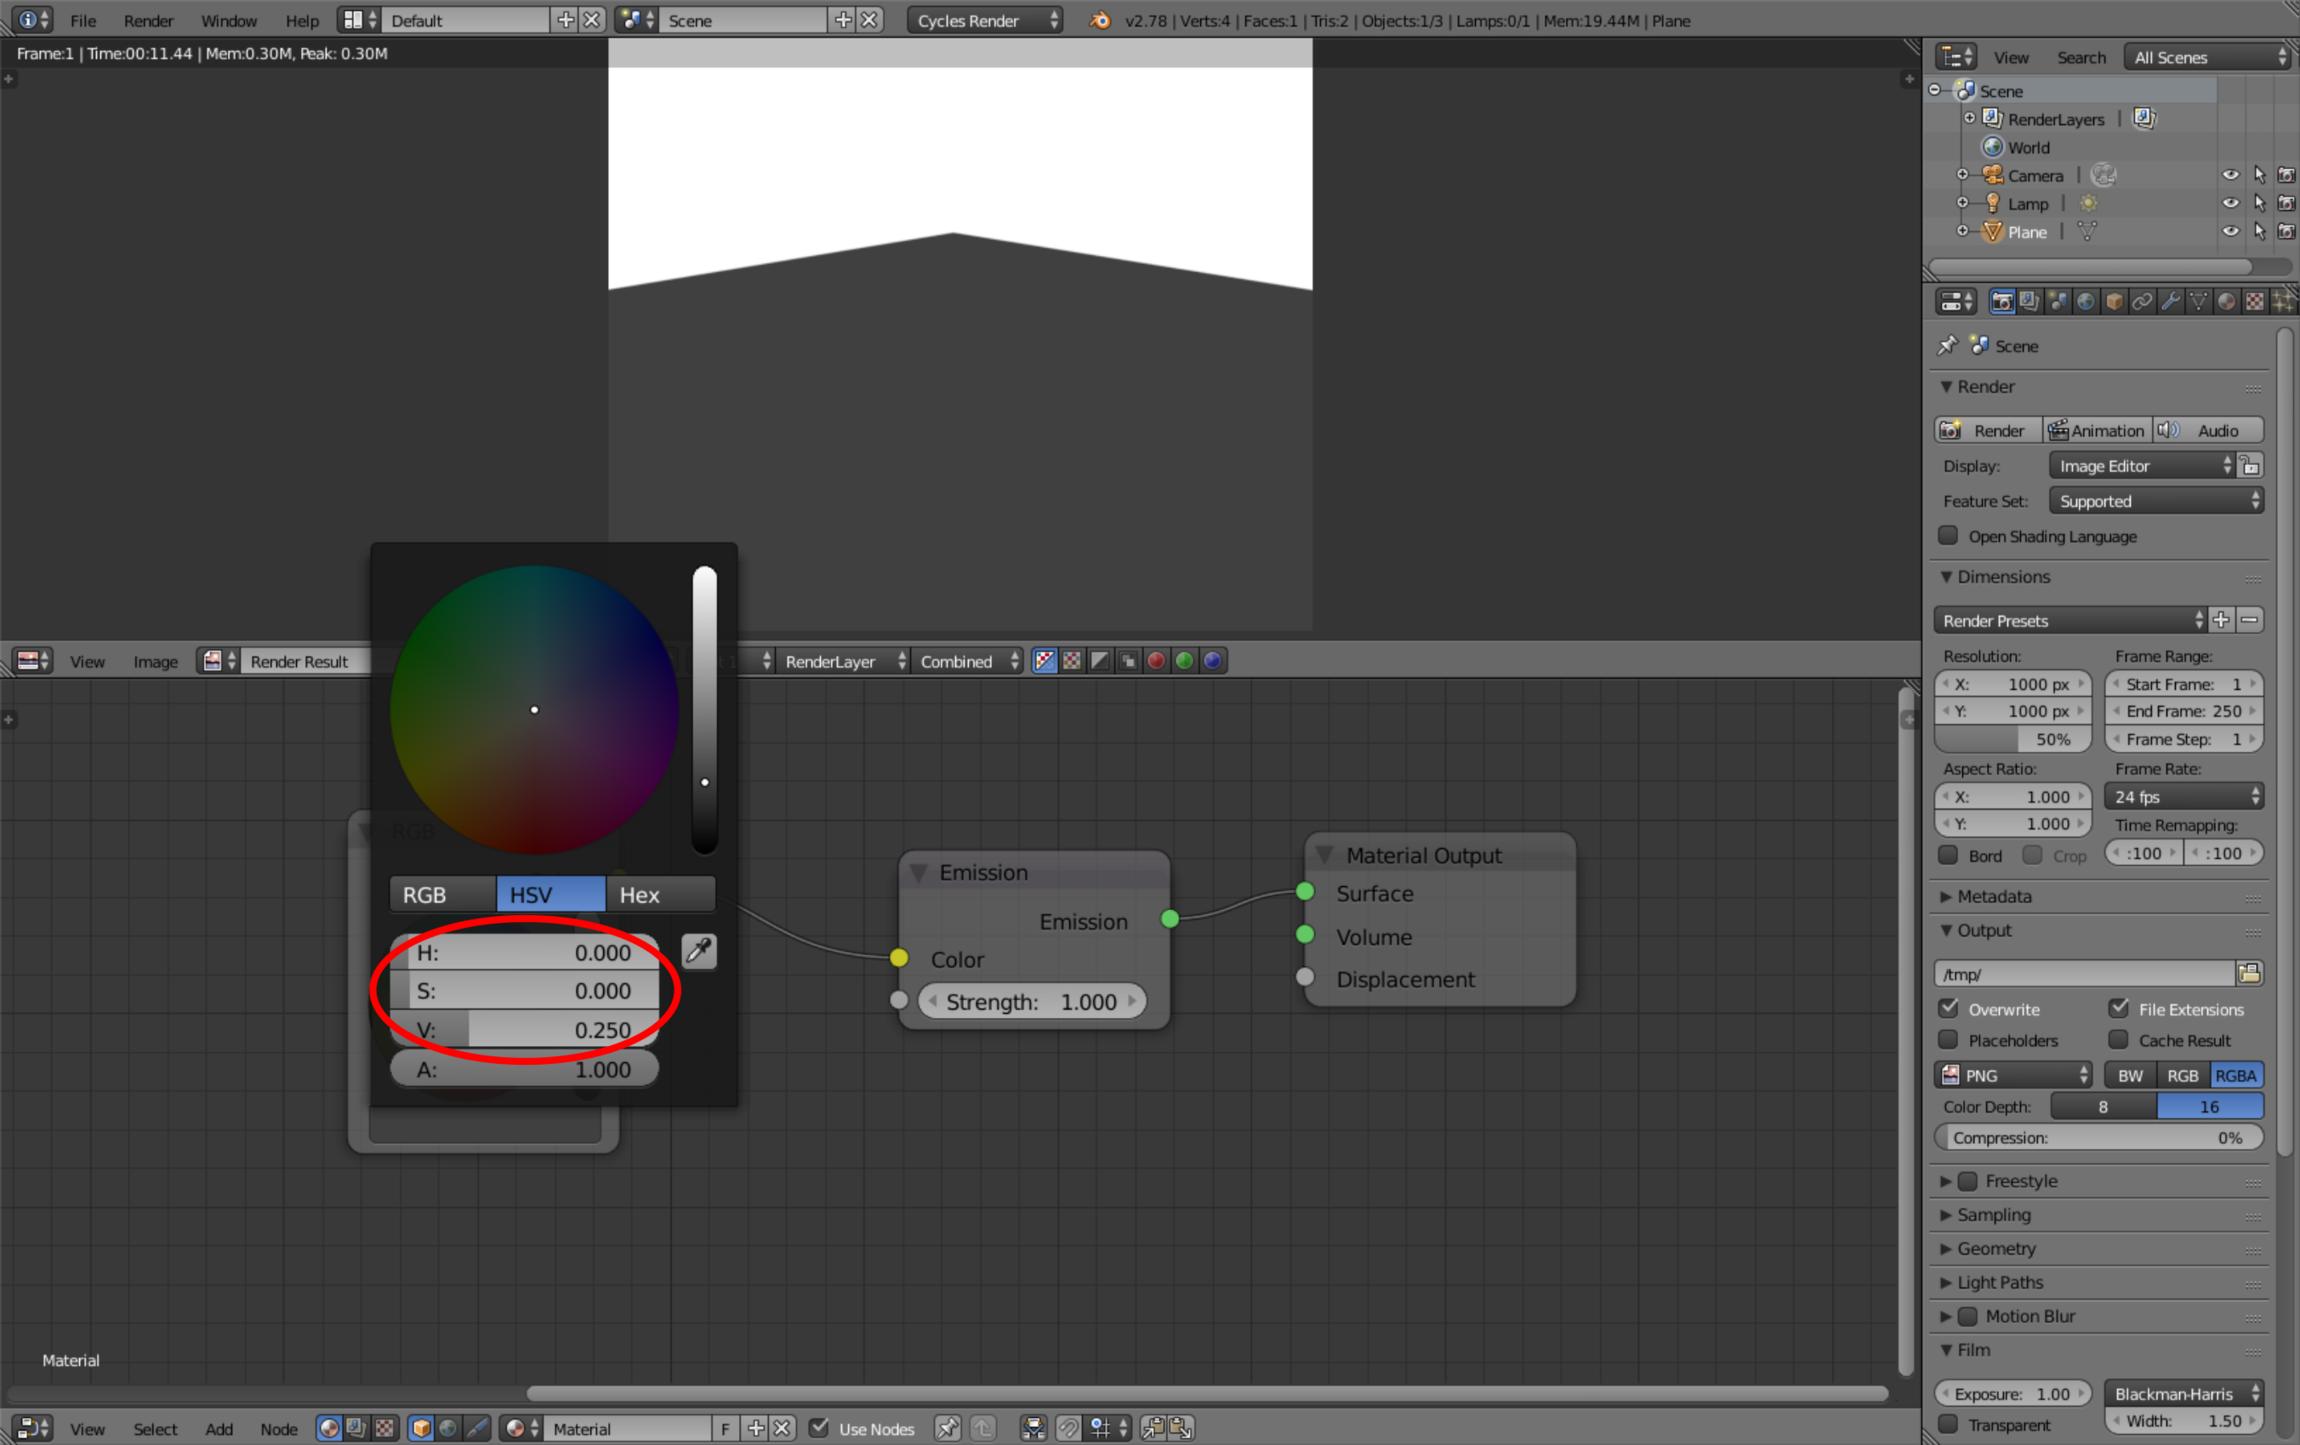
While trying to create another procedural carbon texture I bump into this: Combine HSV and RGB give different output results (note that both nodes’ values are (HSV) 0, 0, 0.250). Is this a bug or I don’t know something? :spin:

I’d assume the RGB color picker is gamma corrected (to preserve the linear workflow), whereas the Combine HSV node as a - let’s say - more mathematical approach to color is not.
Add a Gamma node with a value of 1/2.2 between the RGB node and the Emission shader and you will get the same values as with the Combine HSV node.
What the HSV node considers as Value is beyond me, as it is not documented in Blender manual and actually does not have consistent meaning in color science, but the values you are looking at are the color managed values (the numbers sent to display) and HSV calculated based on these colormanaged RGB values (note the CM as in Color Managed in front of the second set of RGB values). The internal linear space values are on the left and you can see that on the first screenshot they match the value of Value. How the value is transformed to RGB is, again, uncertain. But when these RGB values are gamma-corrected, and you calculate the HSV on them again, you get the value that is shown where you point out.
IkariShinji, the values still differ from each other.
Seems I’ll never understand what linear space and gamma-correction are for and how to deal with them :spin:
The basics are relatively easy. Linear, or scene-linear to be exact, is the situation where pixel values are directly related to relative scene exposure values. So if a pixel has a value that is 2x bigger than another pixels value, it means that there is twice as much light reaching the camera (real or virtual, does not matter) at that pixel. Relative here means that value 0.5 for example does not have a direct physical unit like 0.5 W/m2, 0.5 lux etc but it has twice as much power as value 0.25 and half the power of 1.0
When you send these scene-linear values to a display device, however, what comes out of the screen or projector is not linearly proportional to values that were sent to the device, instead the midtones get darker and this effect can be modeled using an exponent curve (power function). Historically it was due to how the cathode ray tube of analog screens works, but the behavior is copied in modern lcd devices also due to various reasons. To compensate for this non-linarity, the values that are sent to device are “corrected” so that the output will again be linear. To correct the exponent curve of display device, where the value of exponent is called gamma, an inverse exponent is used and RGB values are set to power 1/gamma. The result is what Blender calls Color Managed values. These are sent to display, display applies its gamma and the result that comes out of the screen is light that has (within limitations) regained its linear properties.
What makes this thing hard to grasp is that the value that human vision perceives as middle gray is not half-way between black and white, but 18% brightness of the “white” we compare it to. But this 18% or 0.18 if we take 1.0 as white, has, by coincidence, a gamma-corrected value close to 0.5 which is half-way between 0.0 and 1.0 and seems to be the logical middle gray. Photoshop for example operates by default on these gamma-corrected values and there the middle gray is presented with value of 127 (on scale 0-255 for 8bit values). People are so used to this middle in the middle logic, that it is hard to reorient to scene-linear approach.
2 Likes
Kesonmis, thanks for explanation… things are getting more clear to me ![]()