While creating an animation with multiple shots, sometimes I need to change an object’s postition/rotation significantly at the start of the next shot. This leave me with a long smear between keyframes since the object is moving. I’ve tried setting the keyframe interpolation to Constant, but that didn’t help. I’ve only been able to hack the effect by key framing Motion Blur to 0 for a single frame, and back to 0.50 again. Is there a trick I’m missing or is this the only workaround?
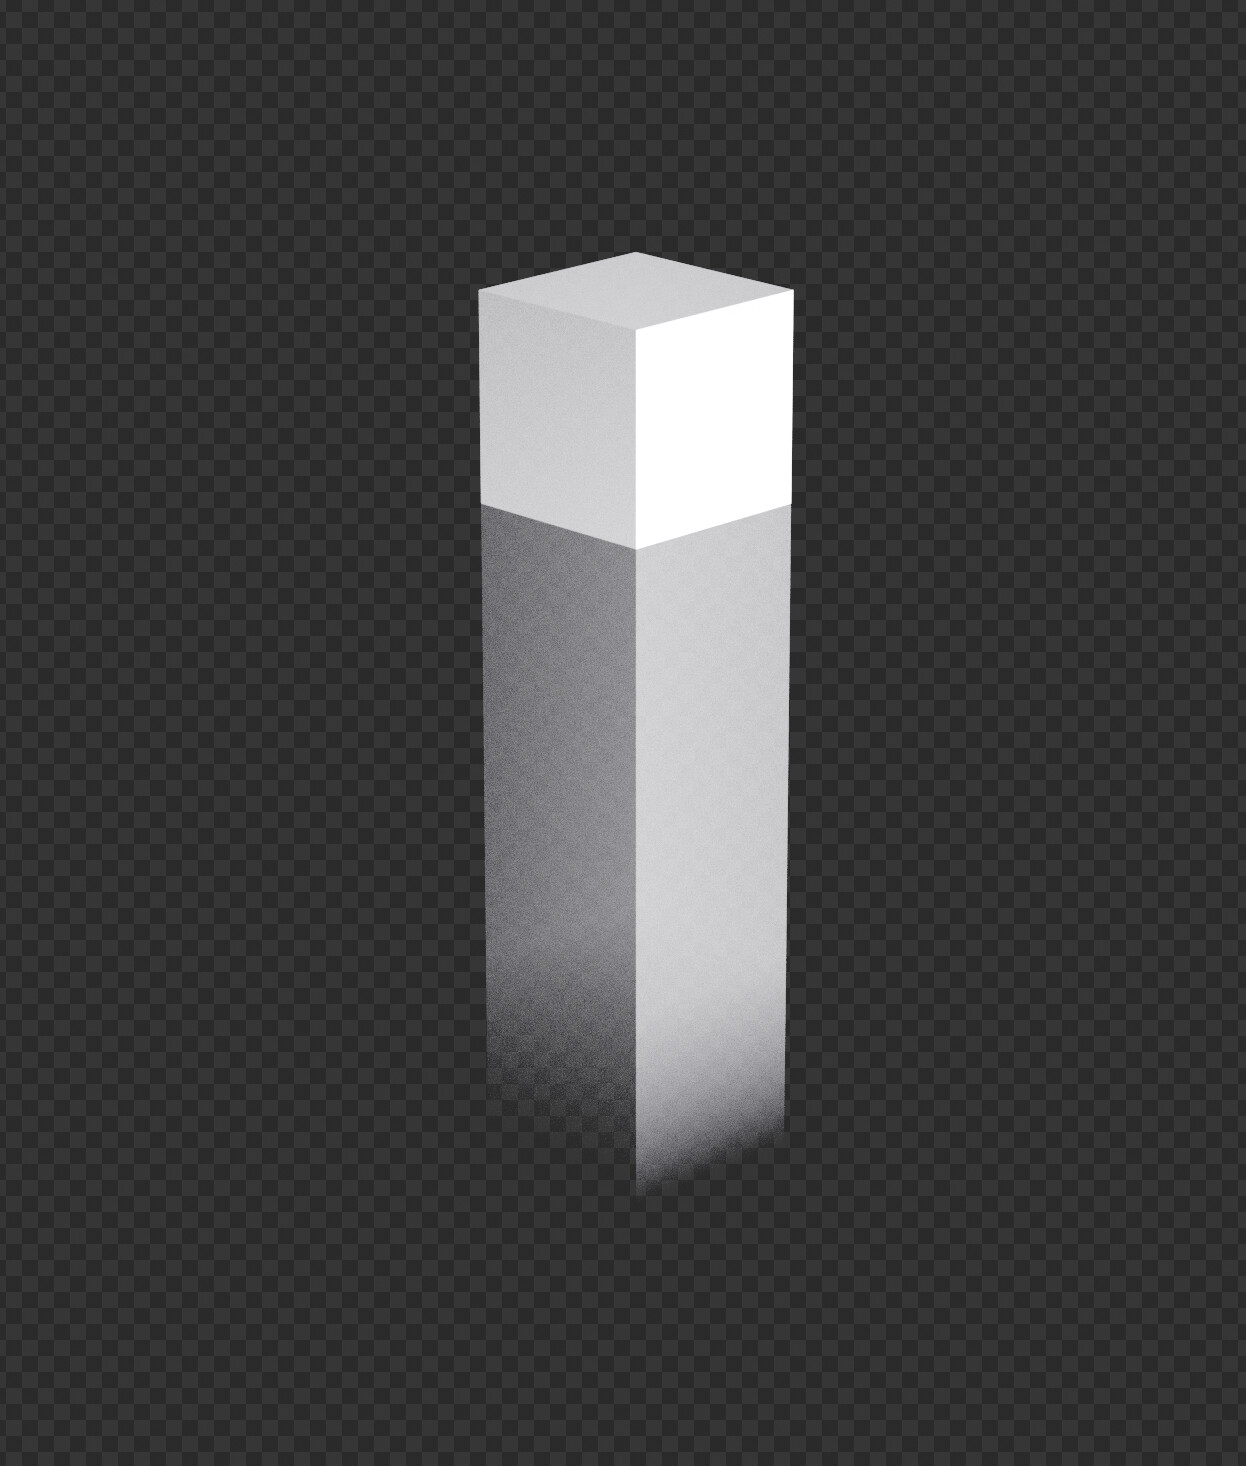
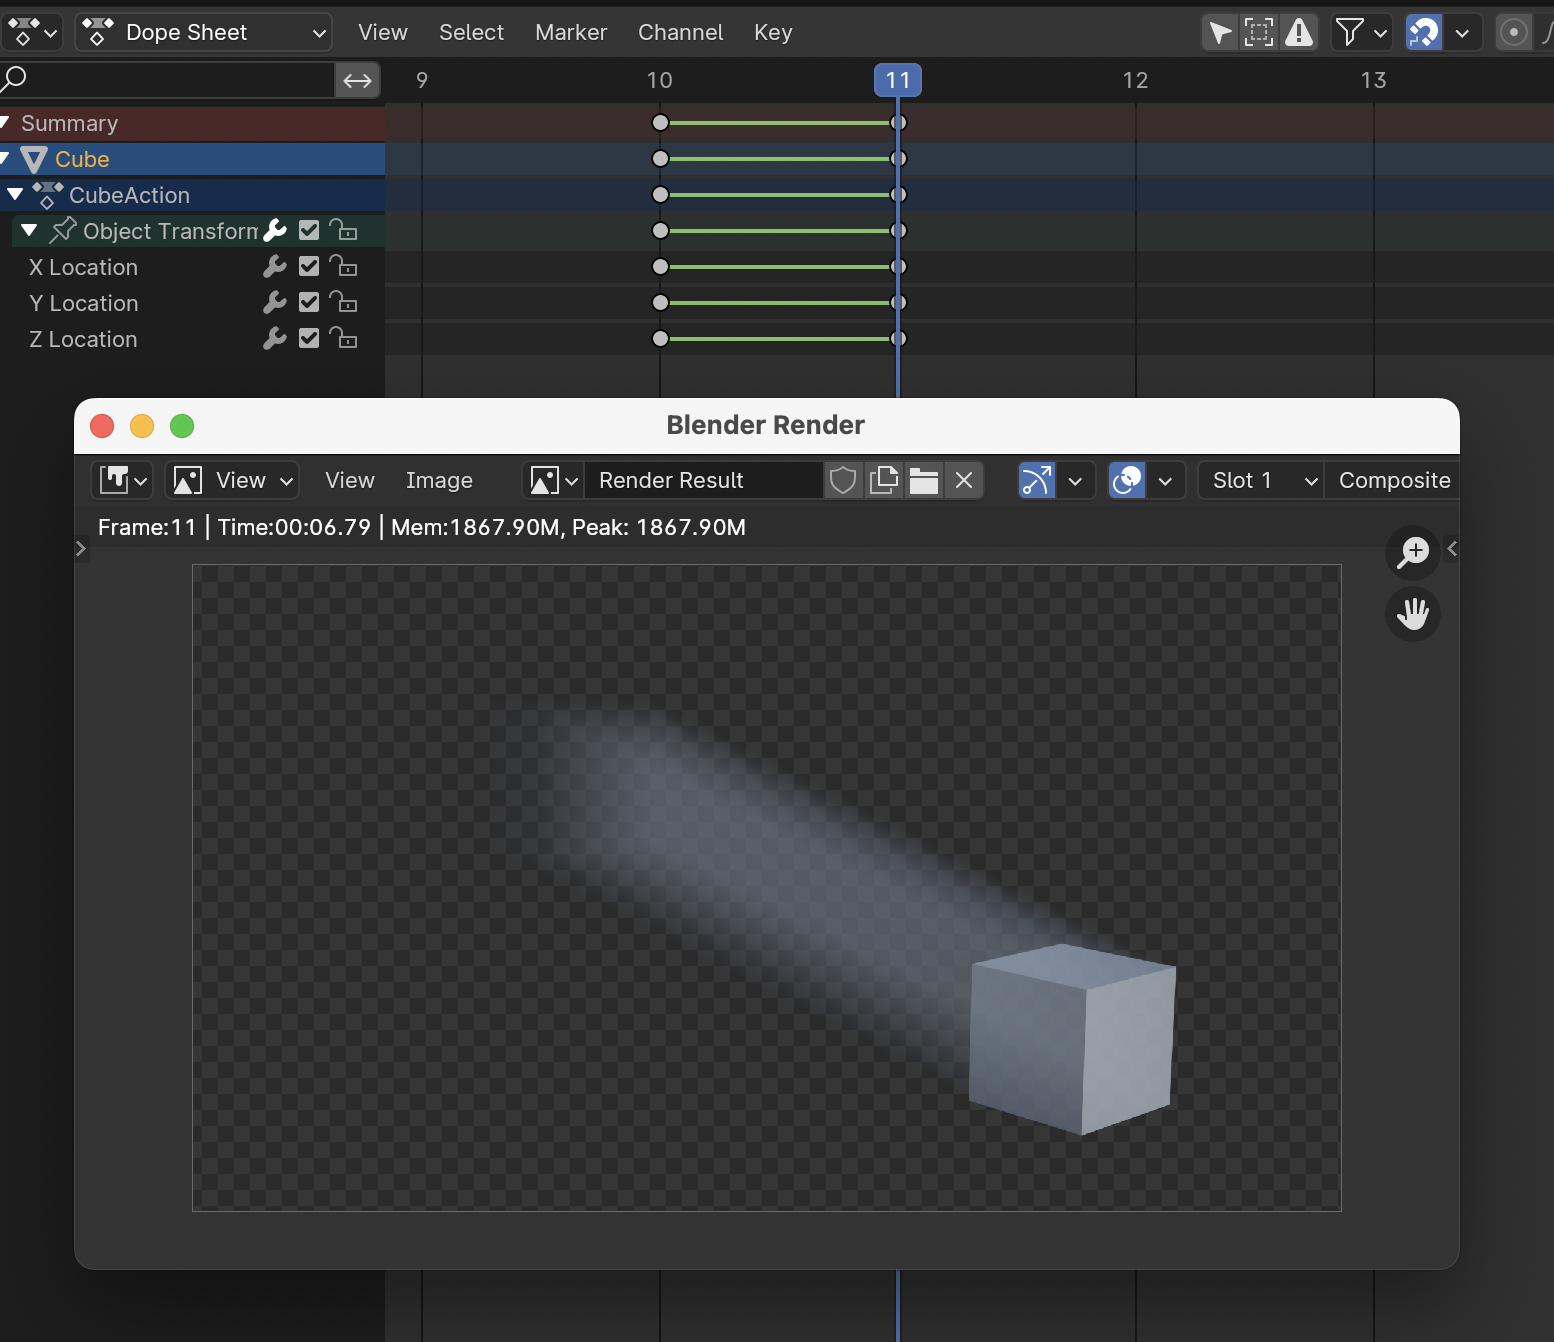
If your shutter is set to 0.5 and Centered on Frame, that means your “shutter” opens at -0.25, relative to the current frame, and closes at 0.25—to put it in absolute terms, the rendered image seen at frame 7 is a capture of the scene as seen between 6.75 and 7.25.
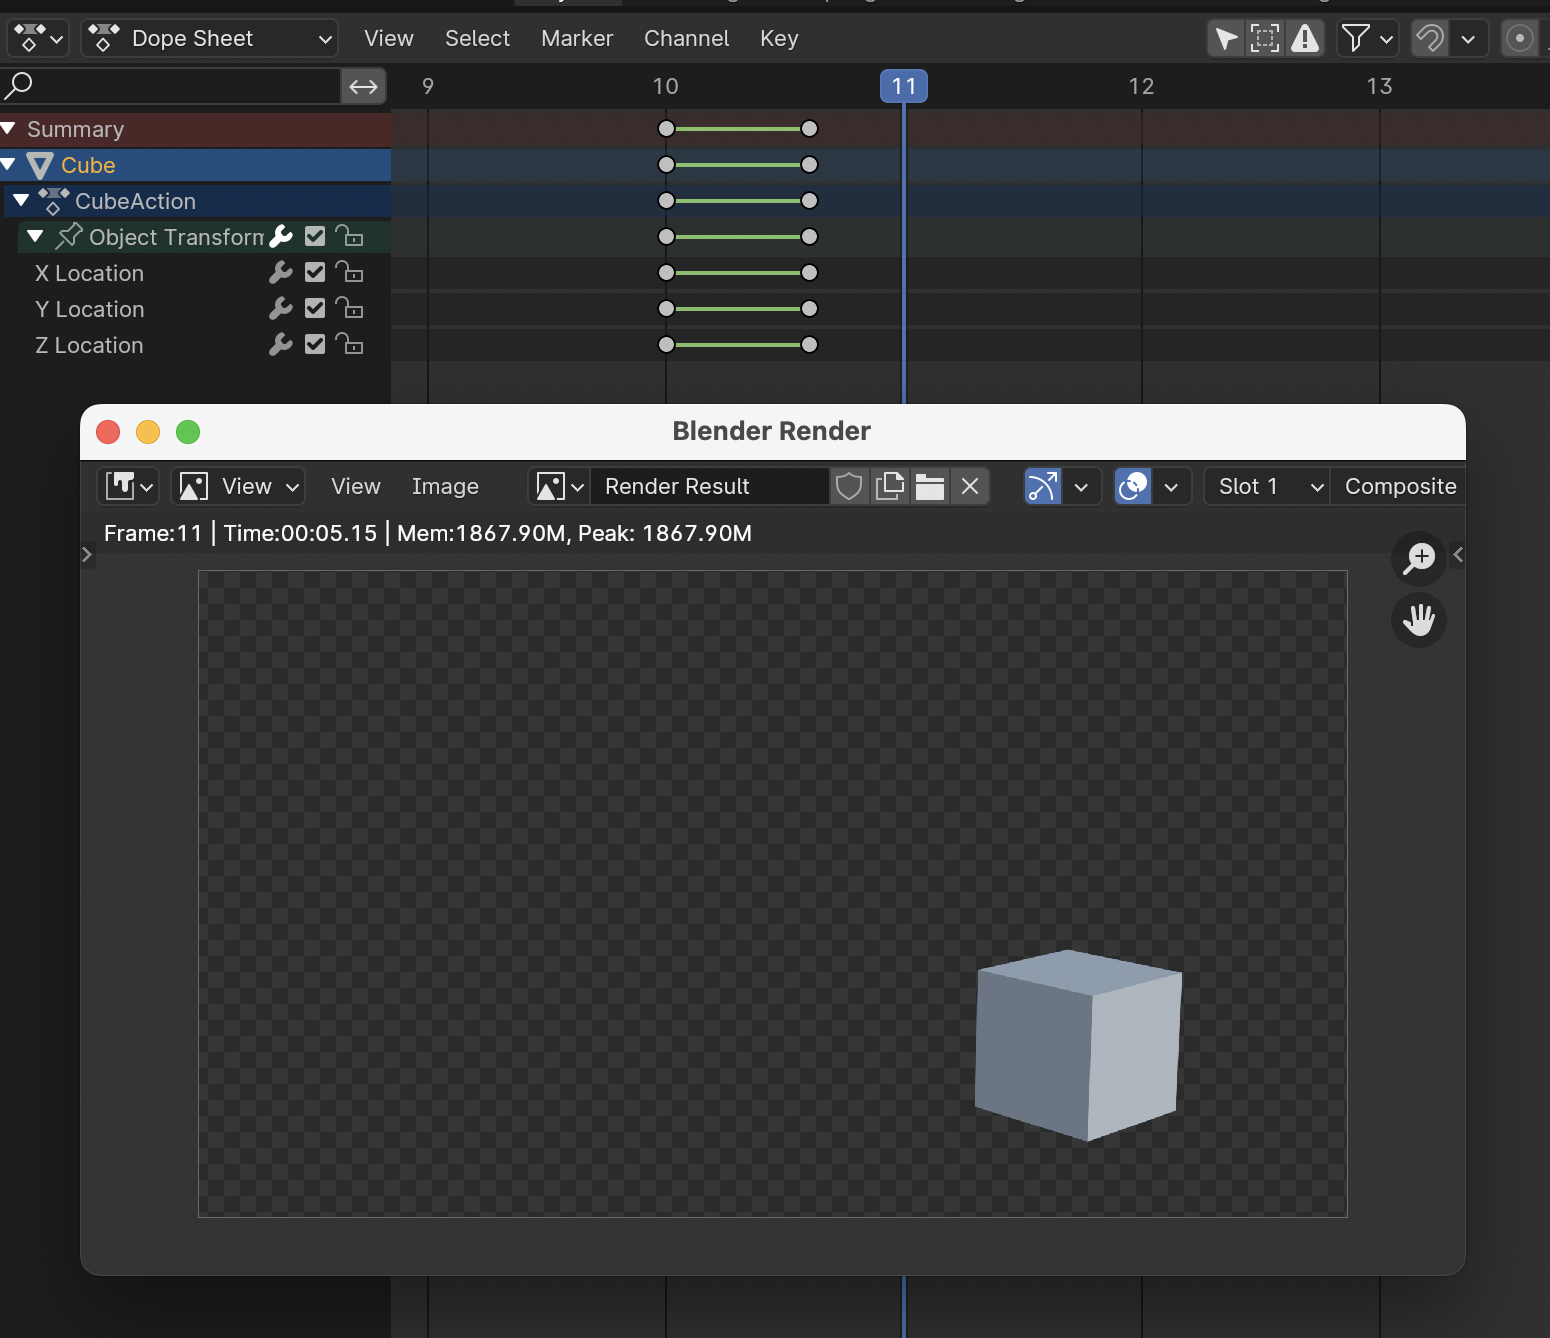
Since your object is moving on the frame, the instant where it moves is contained inside the shutter time. If you move the keyframes out of that range, by putting them on fractional times (make sure to turn off frame snapping!), your blur disappears.
2 Likes
First off, welcome to the community, @sooperturkey! Although @carterbk’s answer will likely take care of this specific issue you are having, I feel like you may not be asking the real question - what is the best way to manage shots within Blender?
There are data types within a Blender file called Scenes, and you can link or copy mesh data, objects, or whole collections between Scenes within the same Blender file. I’d recommend you take a look at the manual page on scenes, but it quickly diverts you to read the section on Blender’s Library and Data System which is kind of a deep dive.
Ultimately, what I envision would be a good way forward would be 2 things.
- Blender’s Open Movie projects are open source - maybe you can go find a production file and look to see how they used shots/Scenes it a production workflow.
- Try out the different Scene options offered (New, Copy Settings, Linked Copy, and Full Copy) and see which works best for you.
If I have time when I get home, I can experiment and see which approach would make the most sense for your scenario and let you know.
Here’s a link to the Scene section of the manual for your reference: https://docs.blender.org/manual/en/latest/scene_layout/scene/introduction.html#introduction
2 Likes
I would approach any shot like this using video editing. In other words, shoot and render each shot separately, then edit them together. The object would not “change position” during the same shot. You would instead CUT TO: a shot from the same camera position where it was in a different place. (Maybe it “starts to move” and “stops moving” in the tail and head of the two shots.) You can easily and cheaply “tweak” the result in the editor to get the exact timing and pacing that you want. “Linked Scenes” are indeed a common approach in Blender for preparing the source materials.