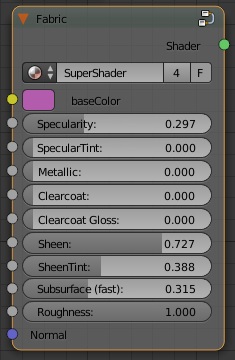
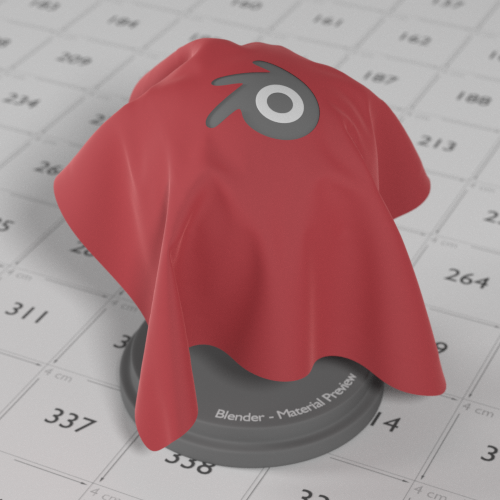
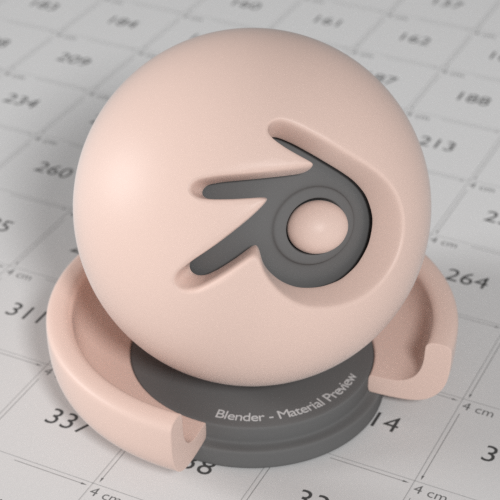
After reading THIS 2012 article from Disney, I was inspired to apply the same principles to a PBS in Blender. For one, I liked the emphasis on artistic vision rather than mimicking reality. The settings that I had look like this:
Like Disney’s shader, this shader is meant to be mixed and masked using the parameter values rather than the shader itself. Ideally, materials would be described by only parameter values, but Cycles has no method of grouping values in such a way.
baseColor: The surface color, usually an image. This affects the diffuse and metallic color.
Specularity: This controls the incident refelctivity. This is mapped to the 0-8% reflectivity of most diffuse materials. This corresponds to an IOR of 1.0-1.8, with the default of 0.5 corresponding to a typical IOR of 1.5.
SpecularTint: This shifts the color of the specular highlights from white to the baseColor.
Matallic: Replaces the diffuse/specular with a metallic shader whose incident color is baseColor.
Clearcoat: This is a white clearcoat on top of a material. It has a fixed IOR of 1.5 (polyurethane). The parameter affects the strength of the clearcoat, normallized to 0-25%.
ClearcoatGloss: This functions like inverted roughness for just the clearcoat. But, a gloss of 0 would be less than a roughness of 1.
Sheen: This adds an artificial fresnel affect upon the baseColor.
SheenTint: Tints the Sheen towards a more saturated baseColor.
Roughness: Roughness the material. The Diffuse uses roughness/4. This is usually squared for finer control of small values.
Subsurface (fast): A fake SSS that mixes the diffuse with a very rough diffuse shader combined with some AO. This slightly smooths the lighting and brightens the shadows. This is far from real SSS, but it looks decent for being so fast.
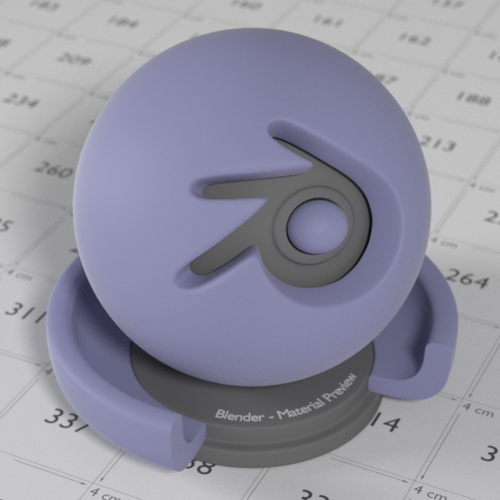
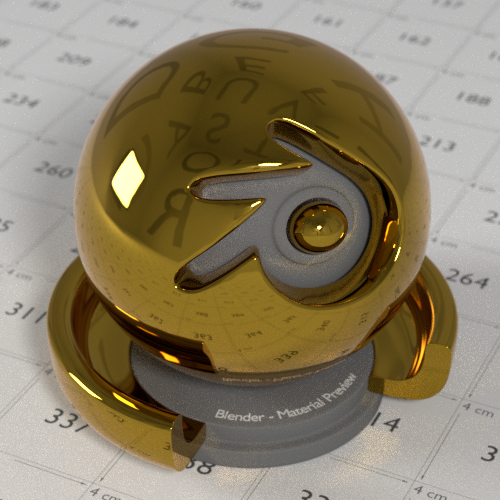
Here are some sample renders (purple rubber and gold):
I didn’t tweak these to be ultra realistic. This is an artistic tool to get things to look the way you want based upon physical principles.
Attachments
