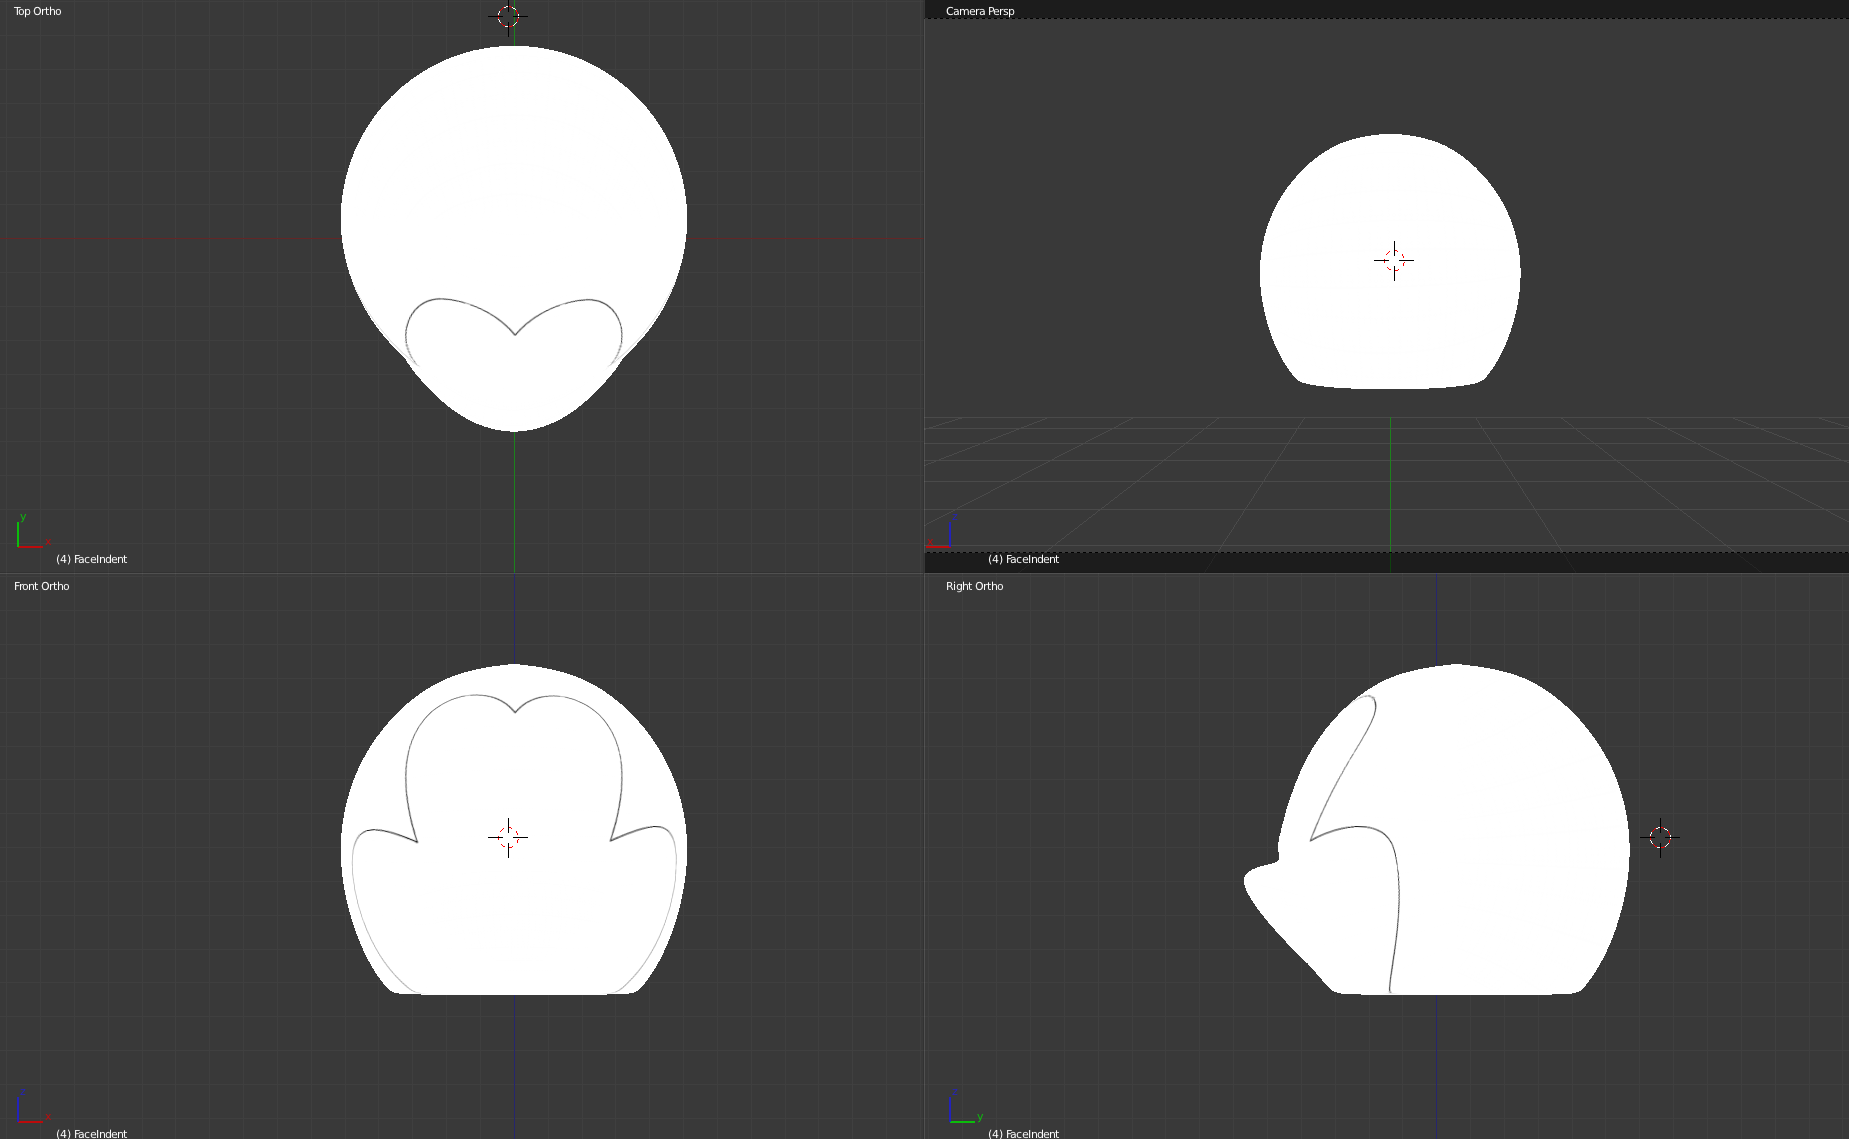
I’m having trouble with the small line on the head that defines the face section. I started by using a displacement map, but it ended up creating too many polygons (over 1 million). So I do have an outline of where I want to displace the geometry:
I need the geometry itself to be changed since I will be exporting a .obj file. I also created a shape based on the outline, and tried a boolean modifier, but that didn’t produce very good results either. And I tried the knife tool, but had some trouble figuring it out. I’d be willing to spend more time on that approach if I knew it would be the best solution.
Any suggestions on how to accomplish this? Thanks for any input!
If I were to do this, I definitively would use cube modeling or a approach like a human head modeling. Cube modeling is when you create a cube, add a subdivision surface modifier to it, then work with loop cuts to give the areas you want the rounding needed. If I have some time today, I’ll give a try in modeling the face based in the reference images you posted. If I don’t have time, wich is most likely, you should look after human modeling tutorials or cube modeling tutorials. Hope that helps!
created a plane, added mirror modifiers. Pushed it to side.
extruded vertices until I got all the eye outline.
in side view, adjusted the depth of the vertices and faces.
filled eyes. Careful to only use quads, don’t use triangles.
extruded the base of the eyes and extruded to make the outline of the face.
Made this only in front view.
in side view, repeat the process of depth and filling the hole. Look at the mesh position in this image to see how I did it. I started closing faces between the chin and the nose.
selected the outline of mouth and eyes. In side view, extruded in y axis. In front, scaled it with the axis being the 3d cursor in the center. This will create the “crease” between the eyes and mouth from the rest of the head.
extruded faces around the outline of the head.
added a circle with 8 vertex to make the ear. extruded inwards.
extruded the ear in depth, in side view. Then filled the insides, making a “step” to spearate the outside of the ear and the inside. (look in the persp view in the image)
deleted one face underneath the ear, and connected it to the top of the eye. Then filled the rest of the head.
Thanks for the reply, the final result looks great, not to mention much easier to tweak then the approach I took. Thanks for the advice and the walkthrough, this will be a huge help!
In object mode, turn shading to smooth. Problably there’ll be normals problems, so enter edit mode, go to mesh-> normals-> recalculate outside. Then apply subdivision surface with as many divisions as you think is good