Hi, this is the first time I use Blender and I never used other 3D modeling programs. I hope that the section is the right one.
I saw some tutorials to learn the basics and now I’m trying to put a raspberry on a plane. I downloaded this model from Blendswap but I can’t divide the various objects. I need a single raspberry not all the fruits. This is what I do:
Next time include a .blend in the post, tutorial linked in my signature shows how. Wouldn’t normally hunt files just to answer a post, closing the tab takes much less time, but had other things to deal with blendswap.
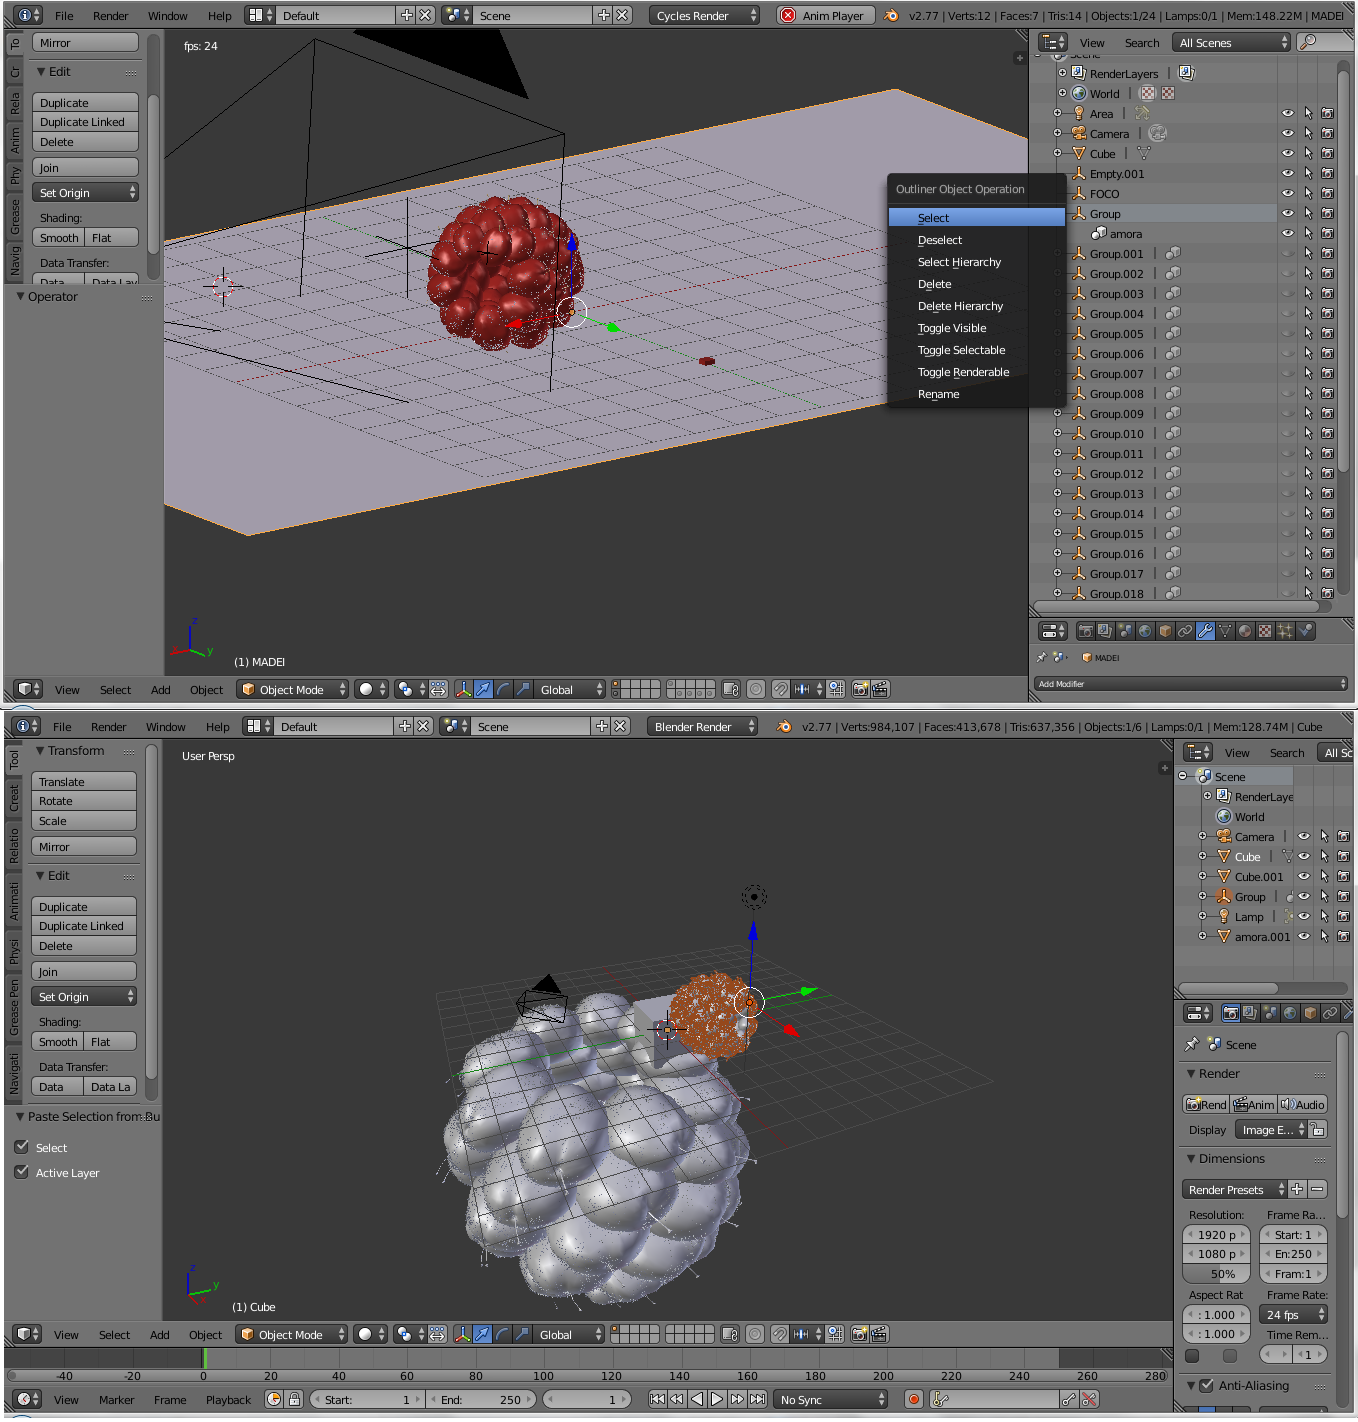
The reason for the behaviour is that you copied a group instance, and for the instance to be included it also needs the objects from the original group. So what you got is two objects that are in a group (raspberry body and its hairs), and one group instance of those, which is scaled.
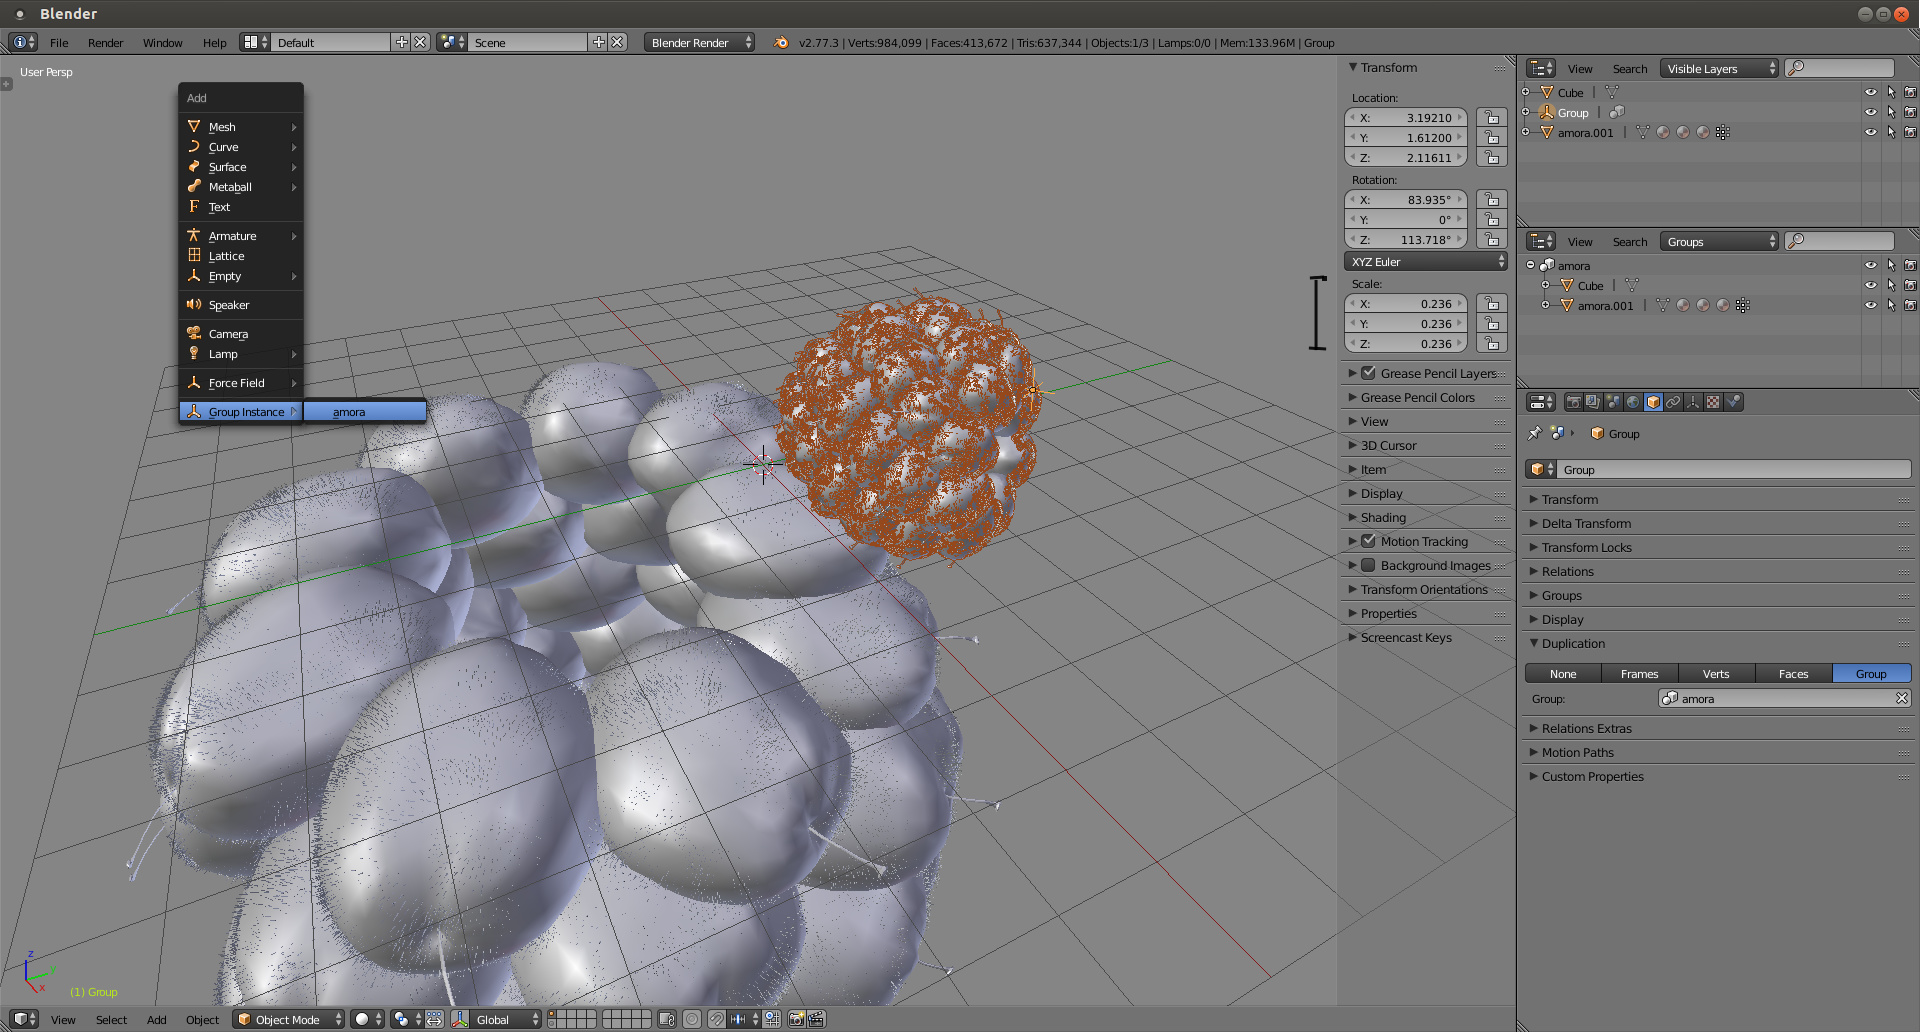
Selected object is a group instance, which is scaled down. New instances can be added from the add menu -> group instances after you have a group in your file (select objects, ctrl+G to group). It’s the same as group duplication (dupligroups).
Instancing is used because it completely references the original objects and that helps to save memory when multiple “copies” of the same are needed. That’s important especially with the kind of objects you have there, with a lot of geometry. But it would take even less memory if the hair particle system wasn’t applied and made as real geometry, since particle system object duplication also uses instancing.
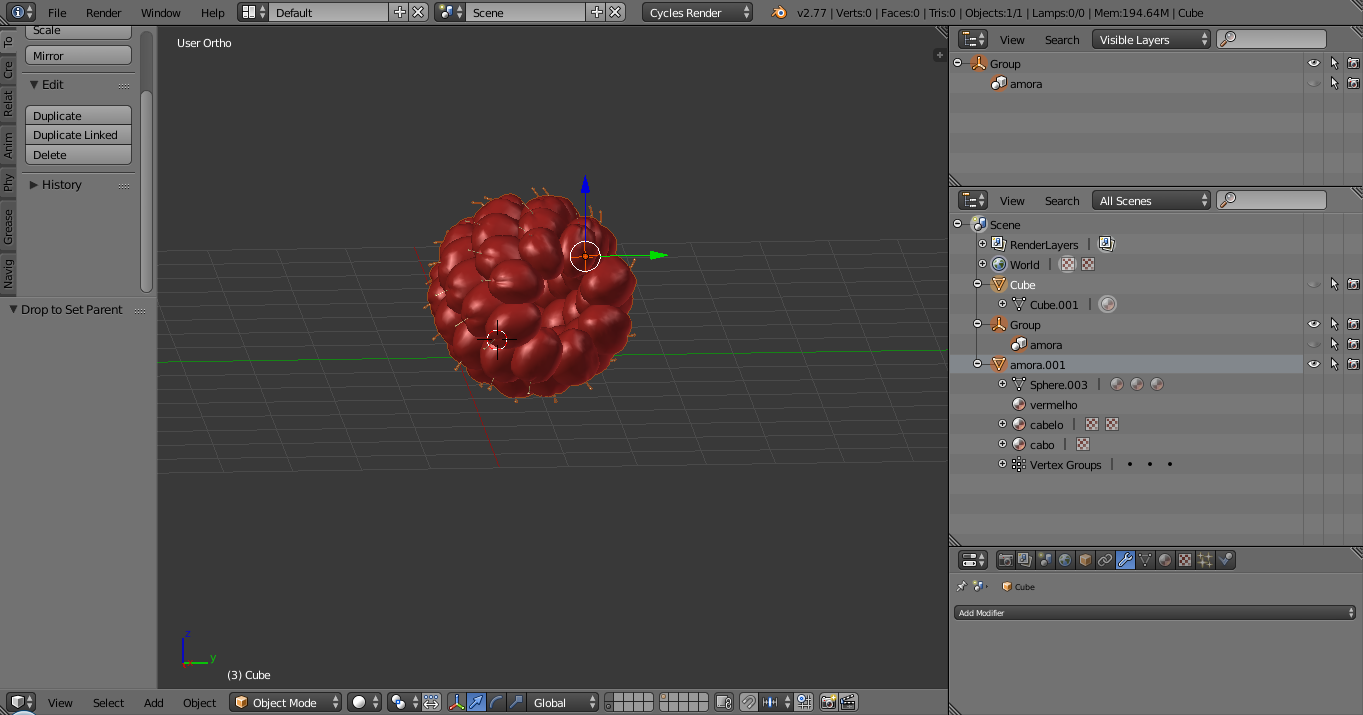
The file is a mess, just like many other files in blendswap. Objects aren’t named properly, their object origins are wherever, one object has applied rotation and the other doesn’t, and group origin is not in a useful place. If you just need one raspberry you don’t need to use instances. In that case you could just delete the instance and then select the original objects (big ones), then either
join the two by selecting and ctrl+J, or
keep them separate but parent one to the other, or to a helper object. Select objects and the parent as last, then ctrl+P to parent
if you don’t want to move two objects around all the time.
A bit of clean up could be done if you want to use group instances. One way is to
Rename objects properly with distinctive names, maybe even with a naming convention
(Rename the group)
Select objects in the group, rotate to better align with world axes if you want to, ctrl+A -> rotation & scale
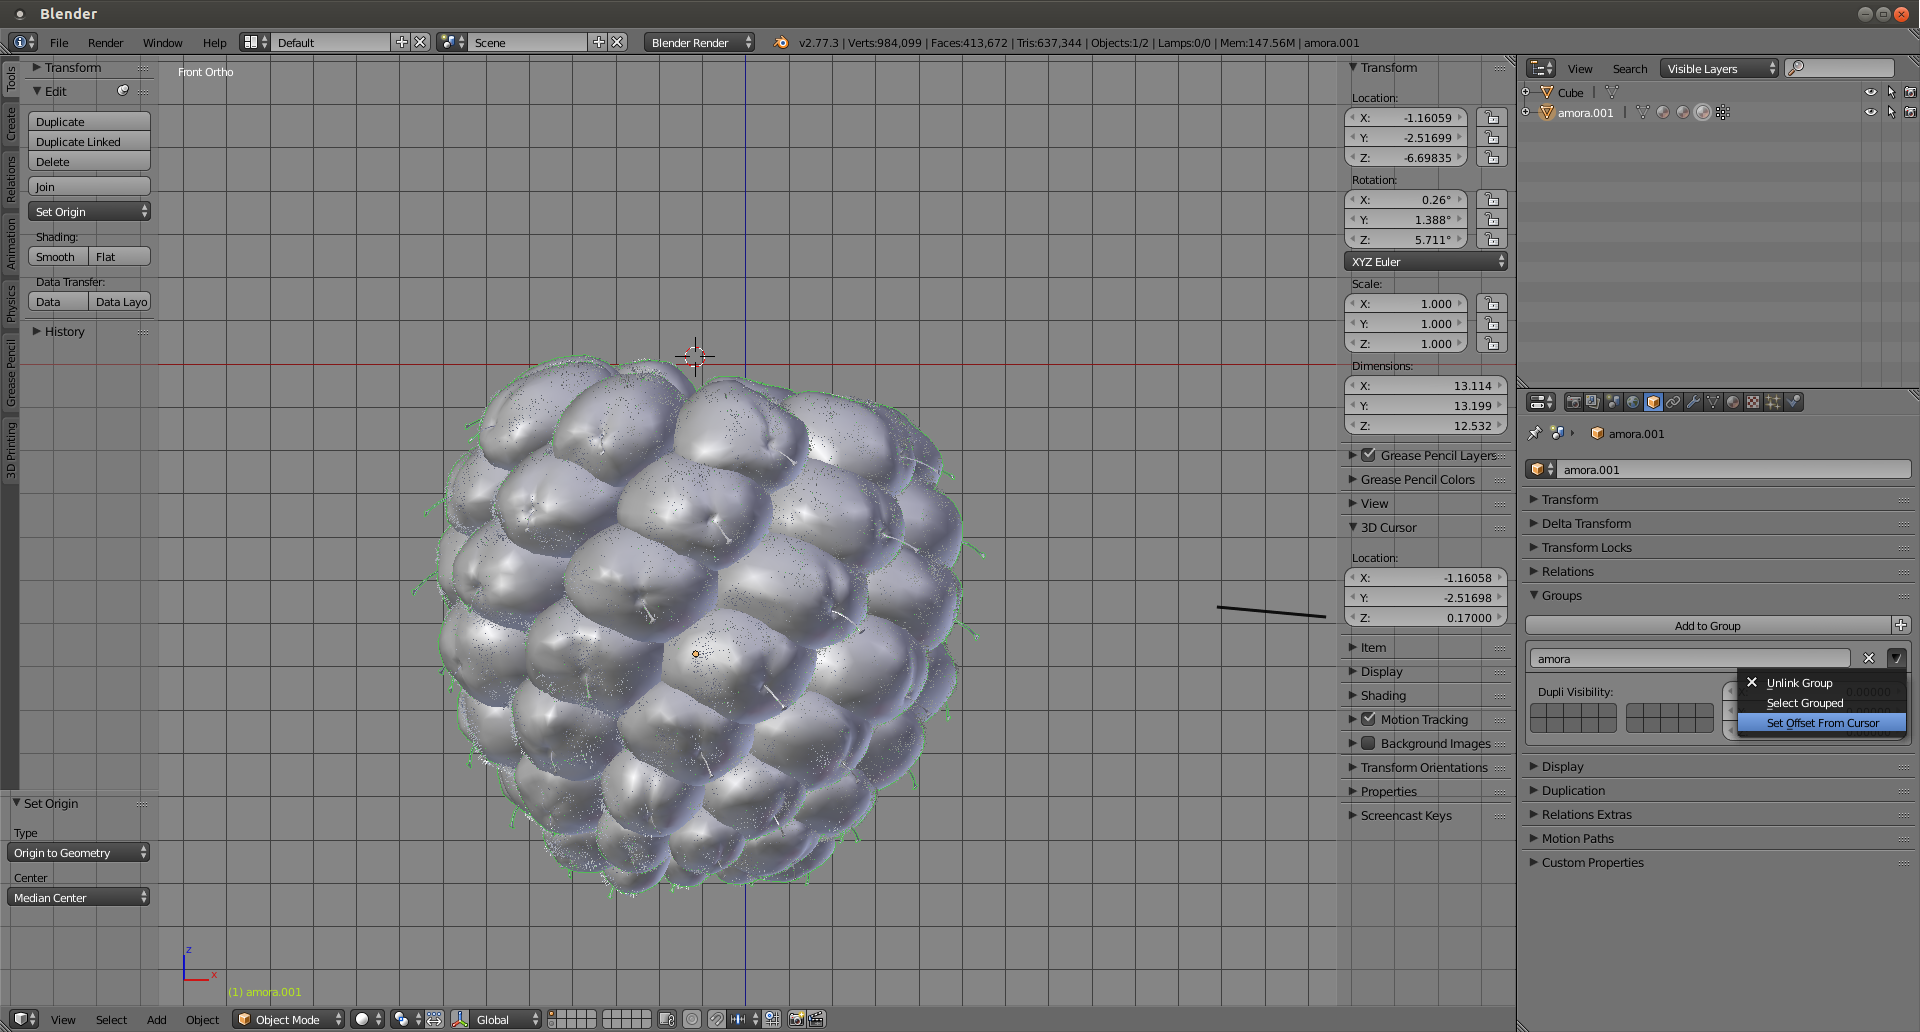
‘Set origin’ from the tool shelf or ctrl+alt+shift+C -> origin to geometry, optionally set the center type to bounds center from the tool shelf
Shift+S -> cursor to selected
Move the cursor up along Z
Then from the object properties -> group, black dropdown arrow -> offset from cursor. That sets the group origin and the new instances should now be created from their base so they’re easier to rotate/scale/duplicate etc.
(Could also set the object origins to where the cursor is, origin -> origin to 3D cursor when both objects are selected)
(Move the objects to another scene layer with M. Instances are shown where you put them)
Since you’re new, I’ll recommend watching these even though you said you watched basics tutorials already. These ones use actual terminology and aren’t a random collection of tutorials. They’re from #blender irc support channel.
When you open Blender, the default scene already has a Camera, a lamp and a cube. That’s where the extra cube is from.
You can divide objects by going into Edit mode, right-clicking any vertex, edge or face on the mesh you want to divide, then clicking Ctrl+L to select the whole mesh, then Ctrl+P to Separate selection. But why do you need to? Looks like your raspberry is already on the plane.
And I pressed ctrl+J to do the merge.
But I think I have done something wrong because nothing has changed.
Here is my .blend file: https://www.dropbox.com/s/x92lvs98qyfxl74/berry.blend?dl=0
(I feel so stupid. I try to upload it using Manage attachments but it fails).
What am I doing wrong? What I did not understand?
I thought of doing something like the merge of the layers in Photoshop…
Thanks for the link to the video, I will watch them as soon as possible.
The group have been create with a duplication of the initial object who is in another layer. and set it parent to the empty. this allow to use it in a particules system . ( its just a duplication of the initial object, not a real copy, so if you try delete the big raspberry who is in the other layer, or modify it, it will apply to the “small one too” )
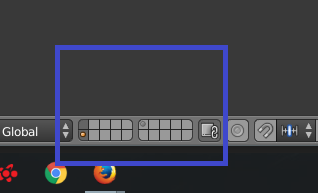
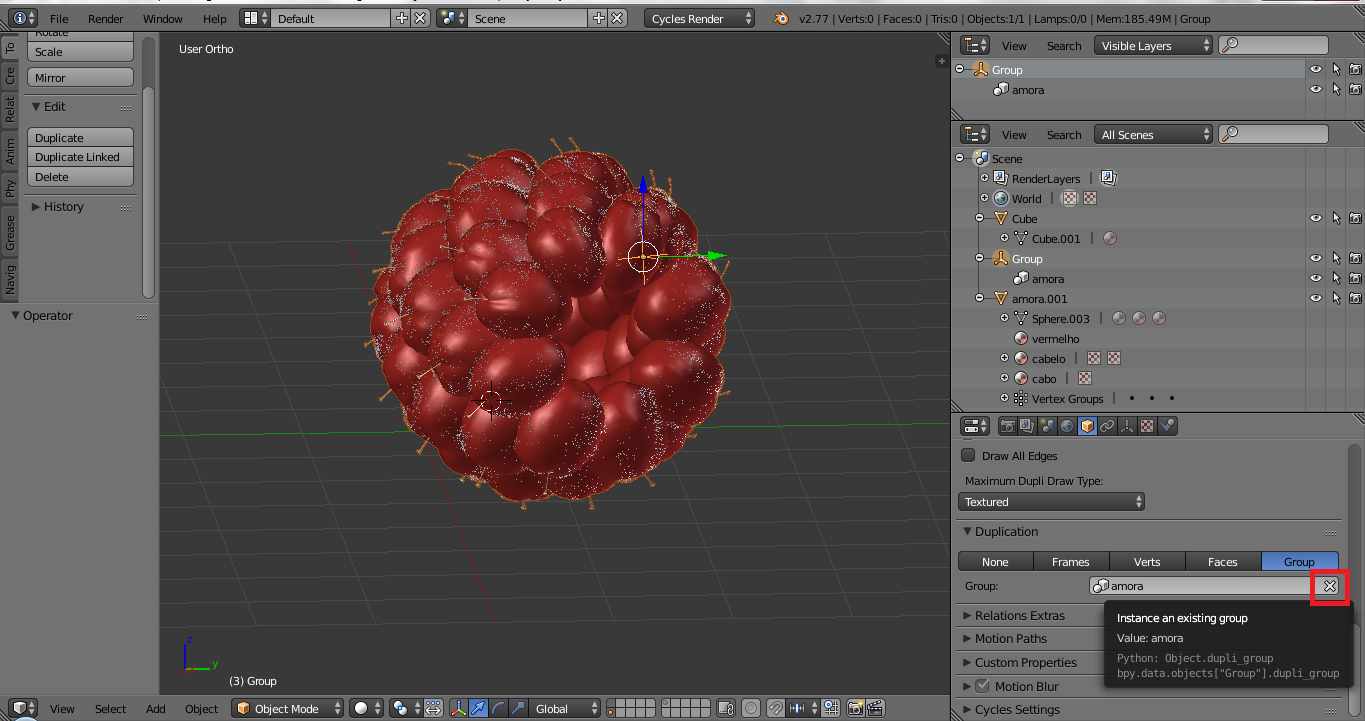
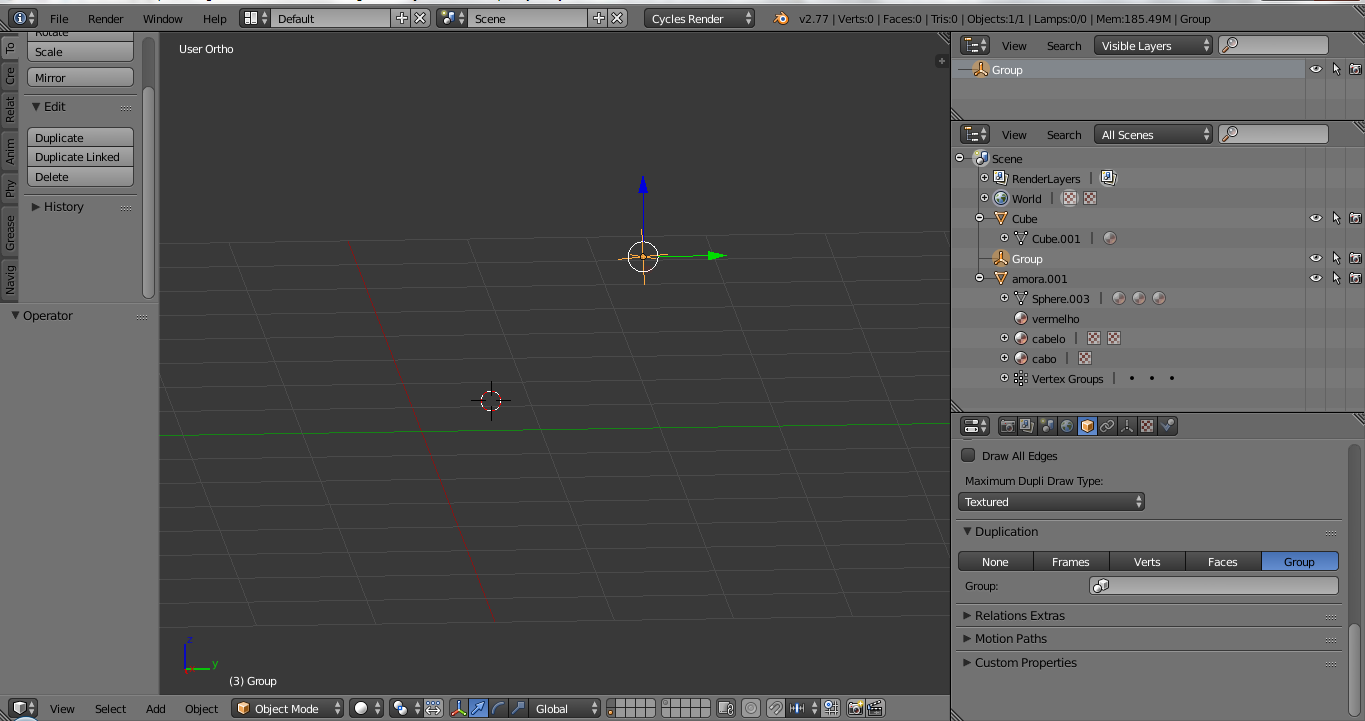
Go on the side panel “object” after select the group… under tab duplications > Group, you wil see "Amora ", click on the cross for “dissolve the group”. The first raspberry will disapear, as it was the “copy”, you can then use normally the other one who are on a second layer.
An other way, will be to click on the group, delete it. ( the small raspberry is the “duplicate”; the big is the initial object )
Attention, the initial object is on a layer who is not active, you will need to active it for see it then.
But as you will seen, the hair ( who was hidden in viewport ( use alt+H for show them again ) are a separate object ( called cube ) . So after that you will get 2 objects left who are separated, the hair ( cube) and the raspberry ( Amora ).
I hope my explanation are not too bad to understand.
That’s where it went wrong but that’s alright. You selected three and one of the selected was the instance. Blender only joins objects of the same type, if they even can be joined. In this case only the mesh type objects should be selected and joined with ctrl+J.
Joining objects means combining object data from selected objects into one object, selected object(s) join to the active selection. For example, if you have two cube objects and you join them, you combine the structure (mesh) of the two and end up with one object that has two unconnected meshes.
Files often need some preparation before they can be uploaded. This one is too big for the forum. Still, it’s much better to get an example .blend posted whichever way possible, even if it means some work cleaning up stuff that can’t be included. It gives the most information of what you’re working with and people can get to helping instead of guessing/assuming or asking you questions, and can make screenshots to provide visuals for their reply and/or the modified file.