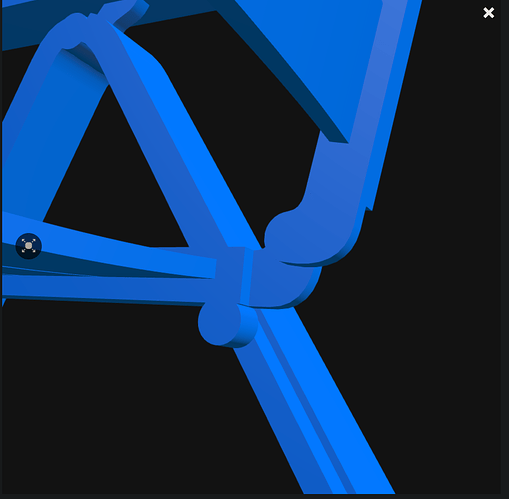
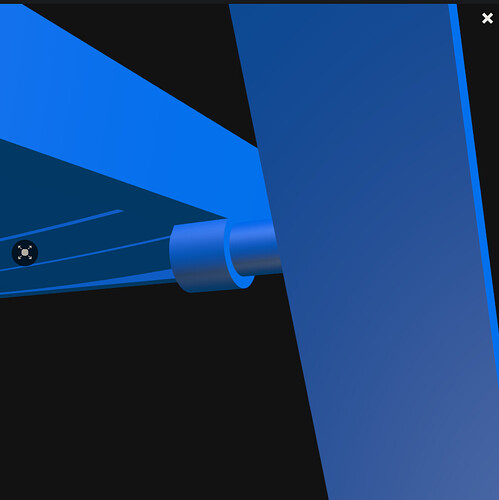
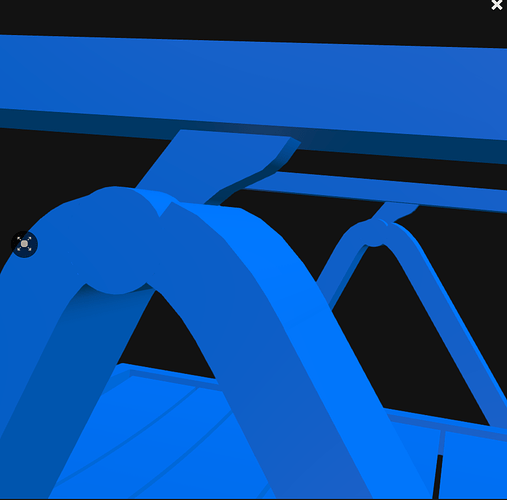
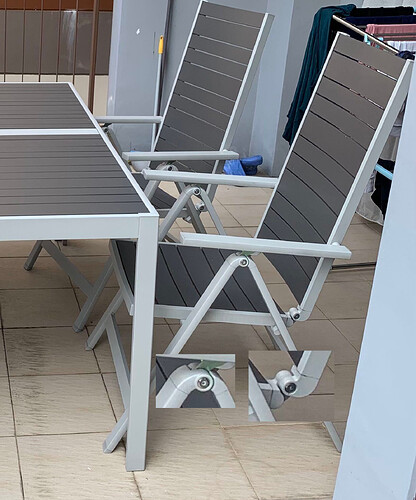
I’m trying to model the IKEA Själland Reclining Chair, but I don’t really know how to model the hinge spots.
My general approach would probably be to use an armature to define the motions of the chair. For things like the arms, a “track to” constraint can be used to cause it to maintain the correct orientation as the armature moves the rest of it.
hmm, I was thinking more about brute-forcing the hinges (see images below) with more circles and extrusion and the like:
Blueprints only show size and shape; they are often different from the final product.
Use a reference image for modeling
eh, it doesn’t really matter for me, especially when I still do not know how to start modelling the whole thing out anyway.
I guess I’ll start out watching a few tutorials about making a generic chair first. I’ll report about my progress tomorrow (at best).
Modelling wise, it’s mainly boxes / rectangles. For the curved parts at the hinge & outer curves, just select the respective edges and bevel. Though I’d be inclined to hit it with a ‘limited dissolve’ first to get clean bevels.
I’d say, focus on the modeling first, then look at the movements. Also: think ahead to the specific movements that you are interested in, and simply ignore everything else. Likewise, the particular camera-angles from which you intend to depict it. For instance, the “hinge” is a distinct piece, but most of the thing is simply hollow tubes which then fasten into those pieces.
There’s no “one right way” to model a thing like this, but its actual construction might offer some good clues. Armatures might be useful, since they represent “one control-point (at the end) which you can ‘grab,’ and everything connected to it then convincingly follows it.” But, in the end, it’s your shot, and “whatever works” is good enough.
Anticipate what you need, and from what angles, and focus exactly on that.
to be honest, I didn’t account for movement at all. I chose the chair because I liked its looks and thought it would fit with my outdoor scene, and I wasn’t planning to throw in armatures and such for fancy animations/movements (and my scene doesn’t have any people in it). Just having the chair in its fully folded out position is good enough for me
I’ve organized how to make it roughly, but it can be a little difficult. ![]()
- Create basic shapes 2. Delete unnecessary parts and organize 3. Protrude half the thickness 4. Extract the opposite shape. (By mistake, made in the opposite direction) 5. Extracting edges to be used as guides from images 6. Cut using a guide made by 5 7. Organizing the edges of the cut face 8. Organizing the edges with bevel modifiers Final result
FASF.blend (1.1 MB)
※ The ratio is not correct, proper adjustment is required.
after watching and completing a few tutorials, I think I now have a basic outline of what to do with the chair here:
- First, get the seat part done. Will take a few cubes and array modifiers, and some adjustments for the parts.
- Then, work on the legs. No idea how to model the hinges that attach the legs to the arm rest and the seat, and mirroring will be used. The hinge part, again, seems very worrisome though. There's also the horizontal bars that are attached to the legs, maybe I can just get a lengthy cube in there and call it done. Or over-complicate it and try to find a way with loop cuts and/or the Build Tools add-on.
- After that, get the arm rests done. The hinges that attach them to the back rest's frame seem difficult, though. Maybe using the Build Tools add-on will help?
- Finally, make the frames of the back rest and the seat.
I don’t know about Build Tools Addon.
The results of the search seem to be a house building tool. ![]()
There is a 3D modeling image of the product in the link below.
It’s showing the whole shape well. It’s going to be a reference for modeling.
https://www.turbosquid.com/3d-models/3d-ikea-sjalland-reclining-chair-model-1420150
There is nothing special about the modeling method.
It’s all about cutting and pasting the mesh to form it, or configuring the topology.
You can make it by choosing one of these two methods.
If it is used for scenes that do not require close-ups, some details may be omitted.
The add-on’s function can be seen in this video: https://www.youtube.com/watch?v=m8JkR6tI_q4
I learned about it when I was looking up topology stuff, it seems to be a pretty neat tool, especially for T-joints (which can be pretty helpful for the bars connecting the legs)


