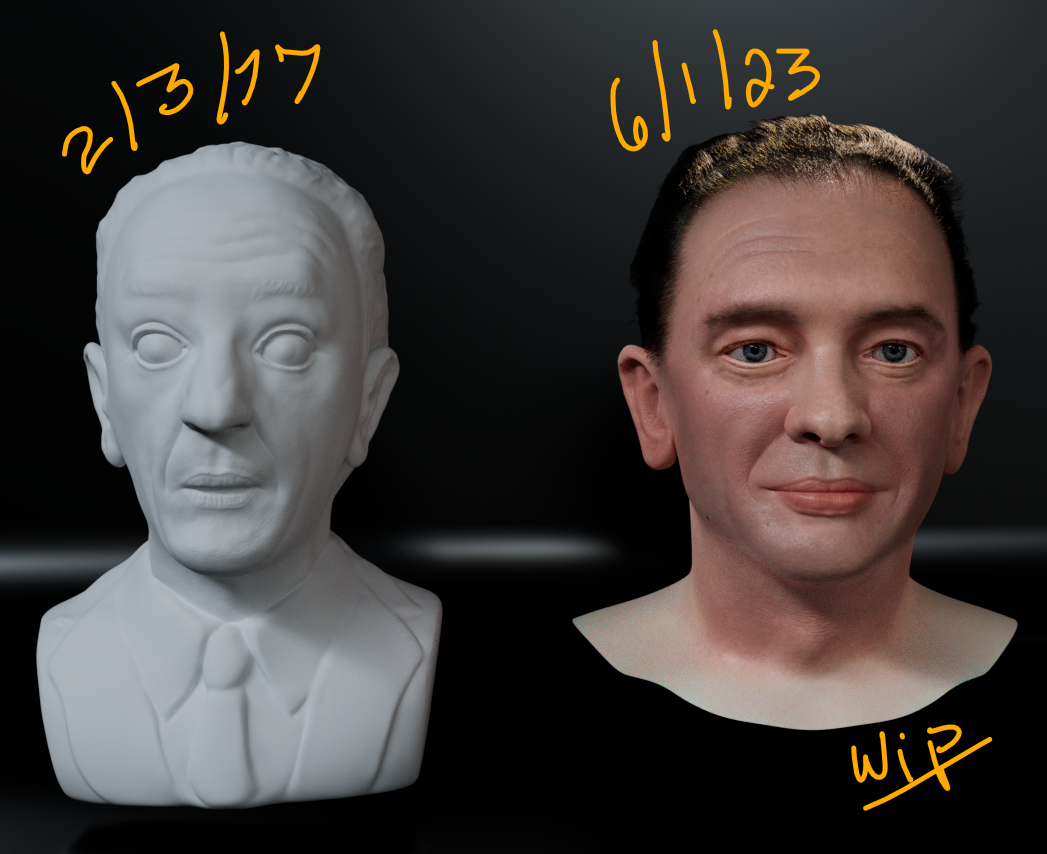
This is an update project/personal test to compare to when I first made the likeness back in 2017.
I am happy with the results so far, and will be sharing more and the finished result soon!
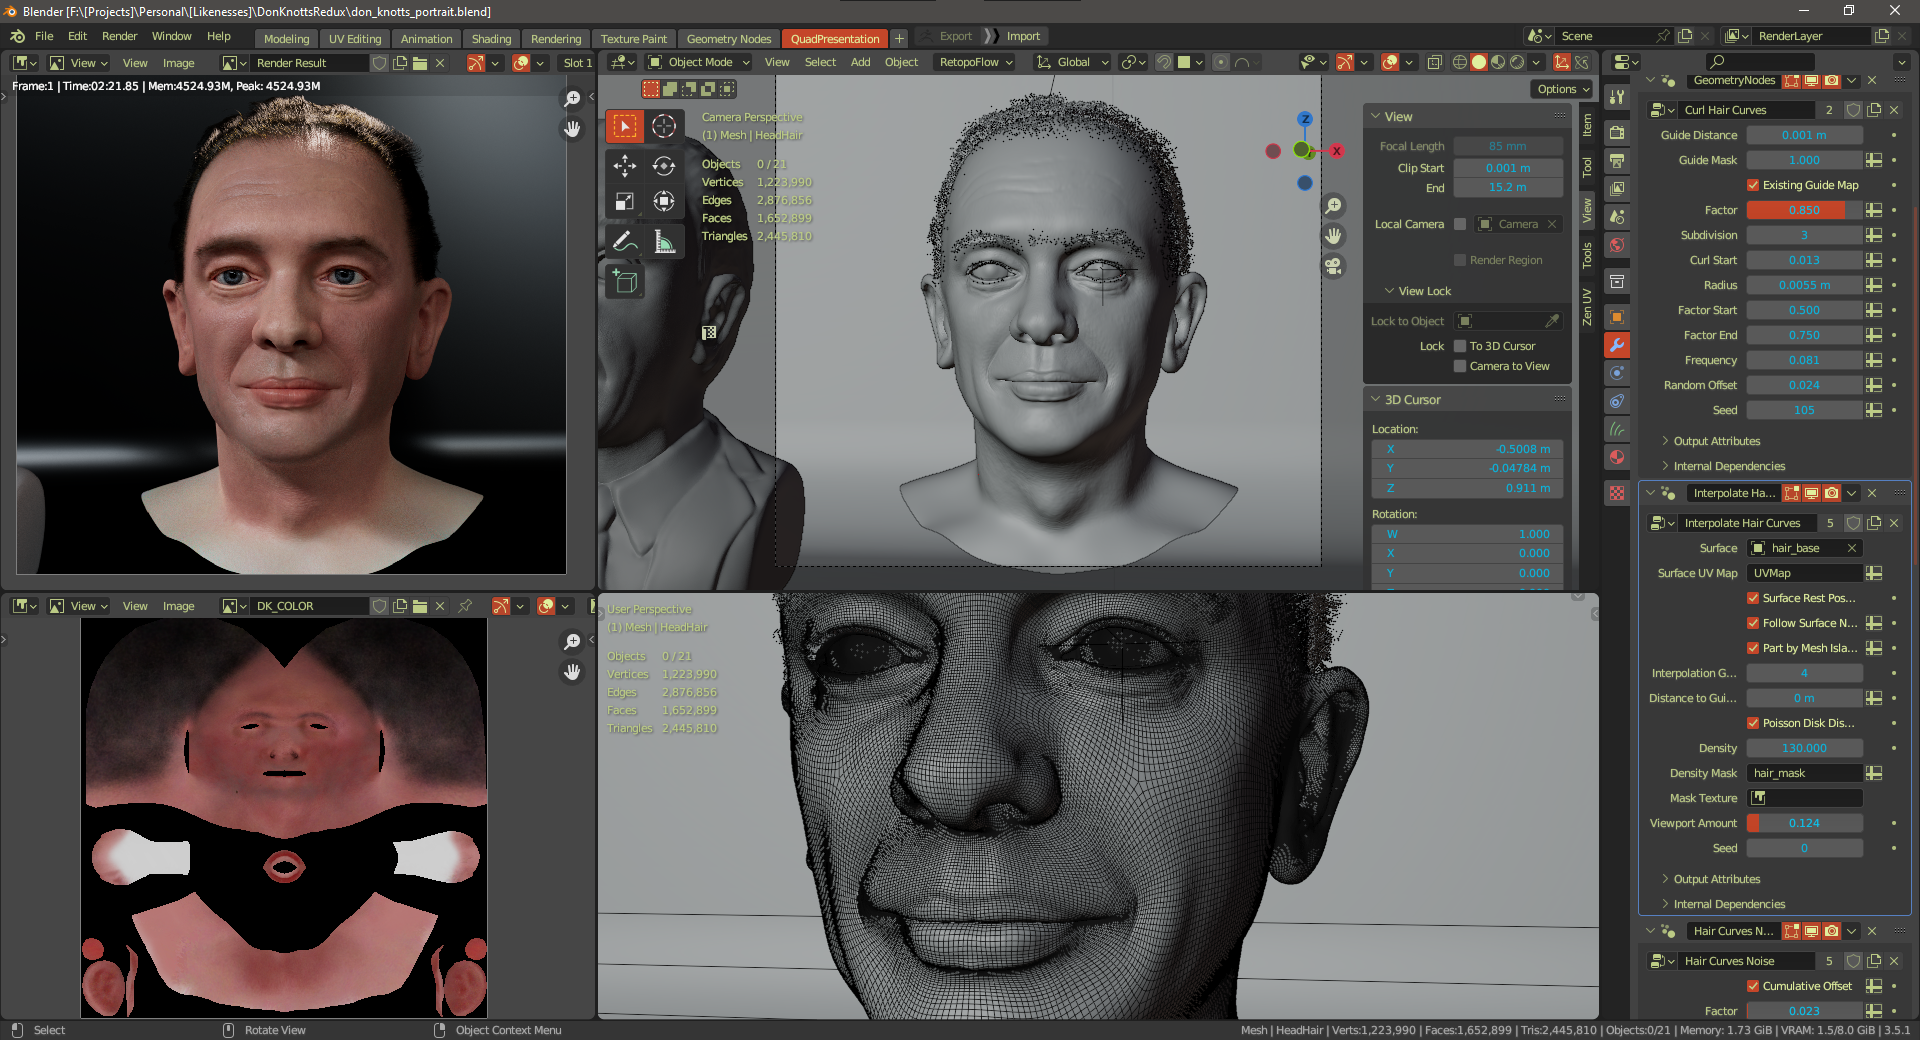
ZBrush for primary sculpting, Blender and Photoshop for everything else.
1 Like
Here’s the “final” setup for this likeness sprint. I definitely want to revisit this in the future! Blender’s new hair system is just fantastic to use. What a massive improvement!
High poly sculptural details and base diffuse created in ZBrush. Some texturing and pattern work with Photoshop, and texturing, modeling, and rendering with Blender 3.5.1
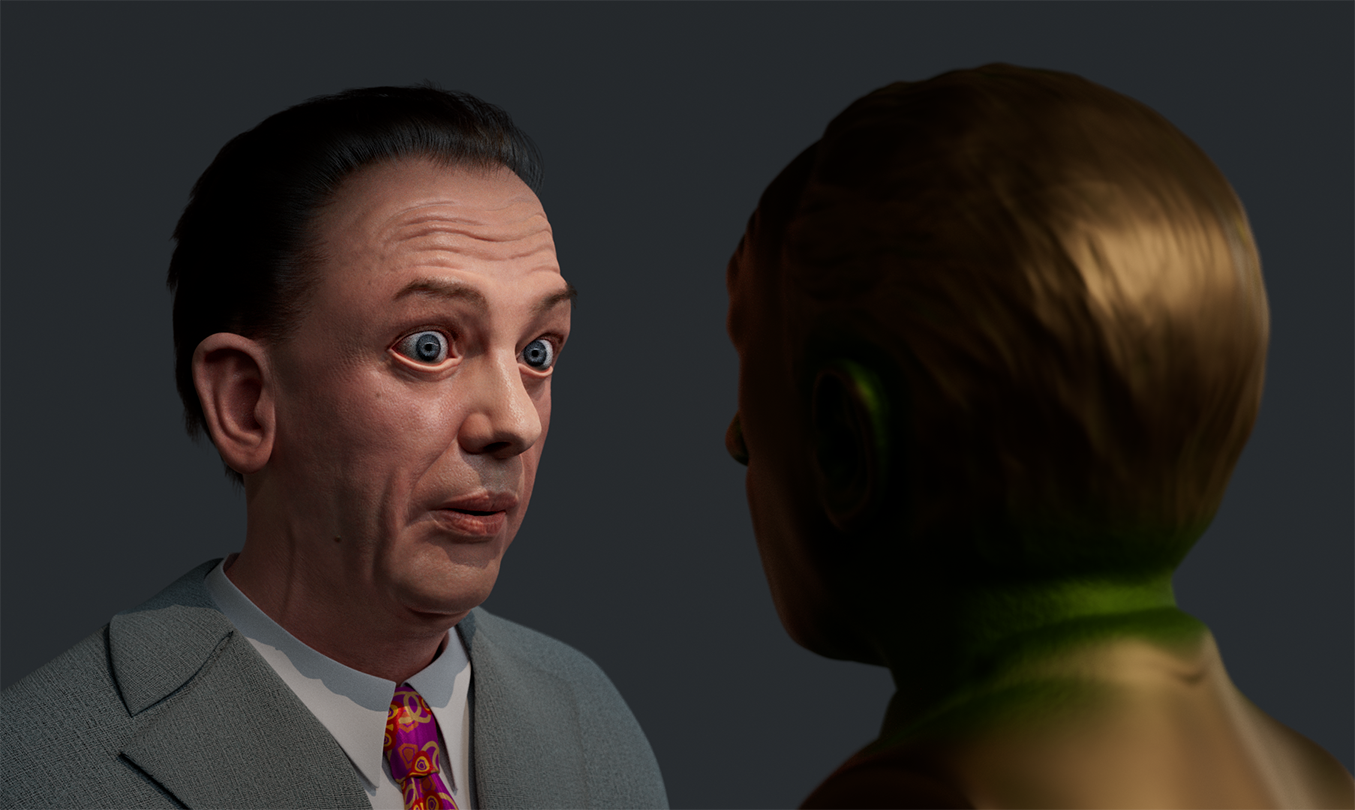
“Final” Render:
A side by side of the first version from 2017:
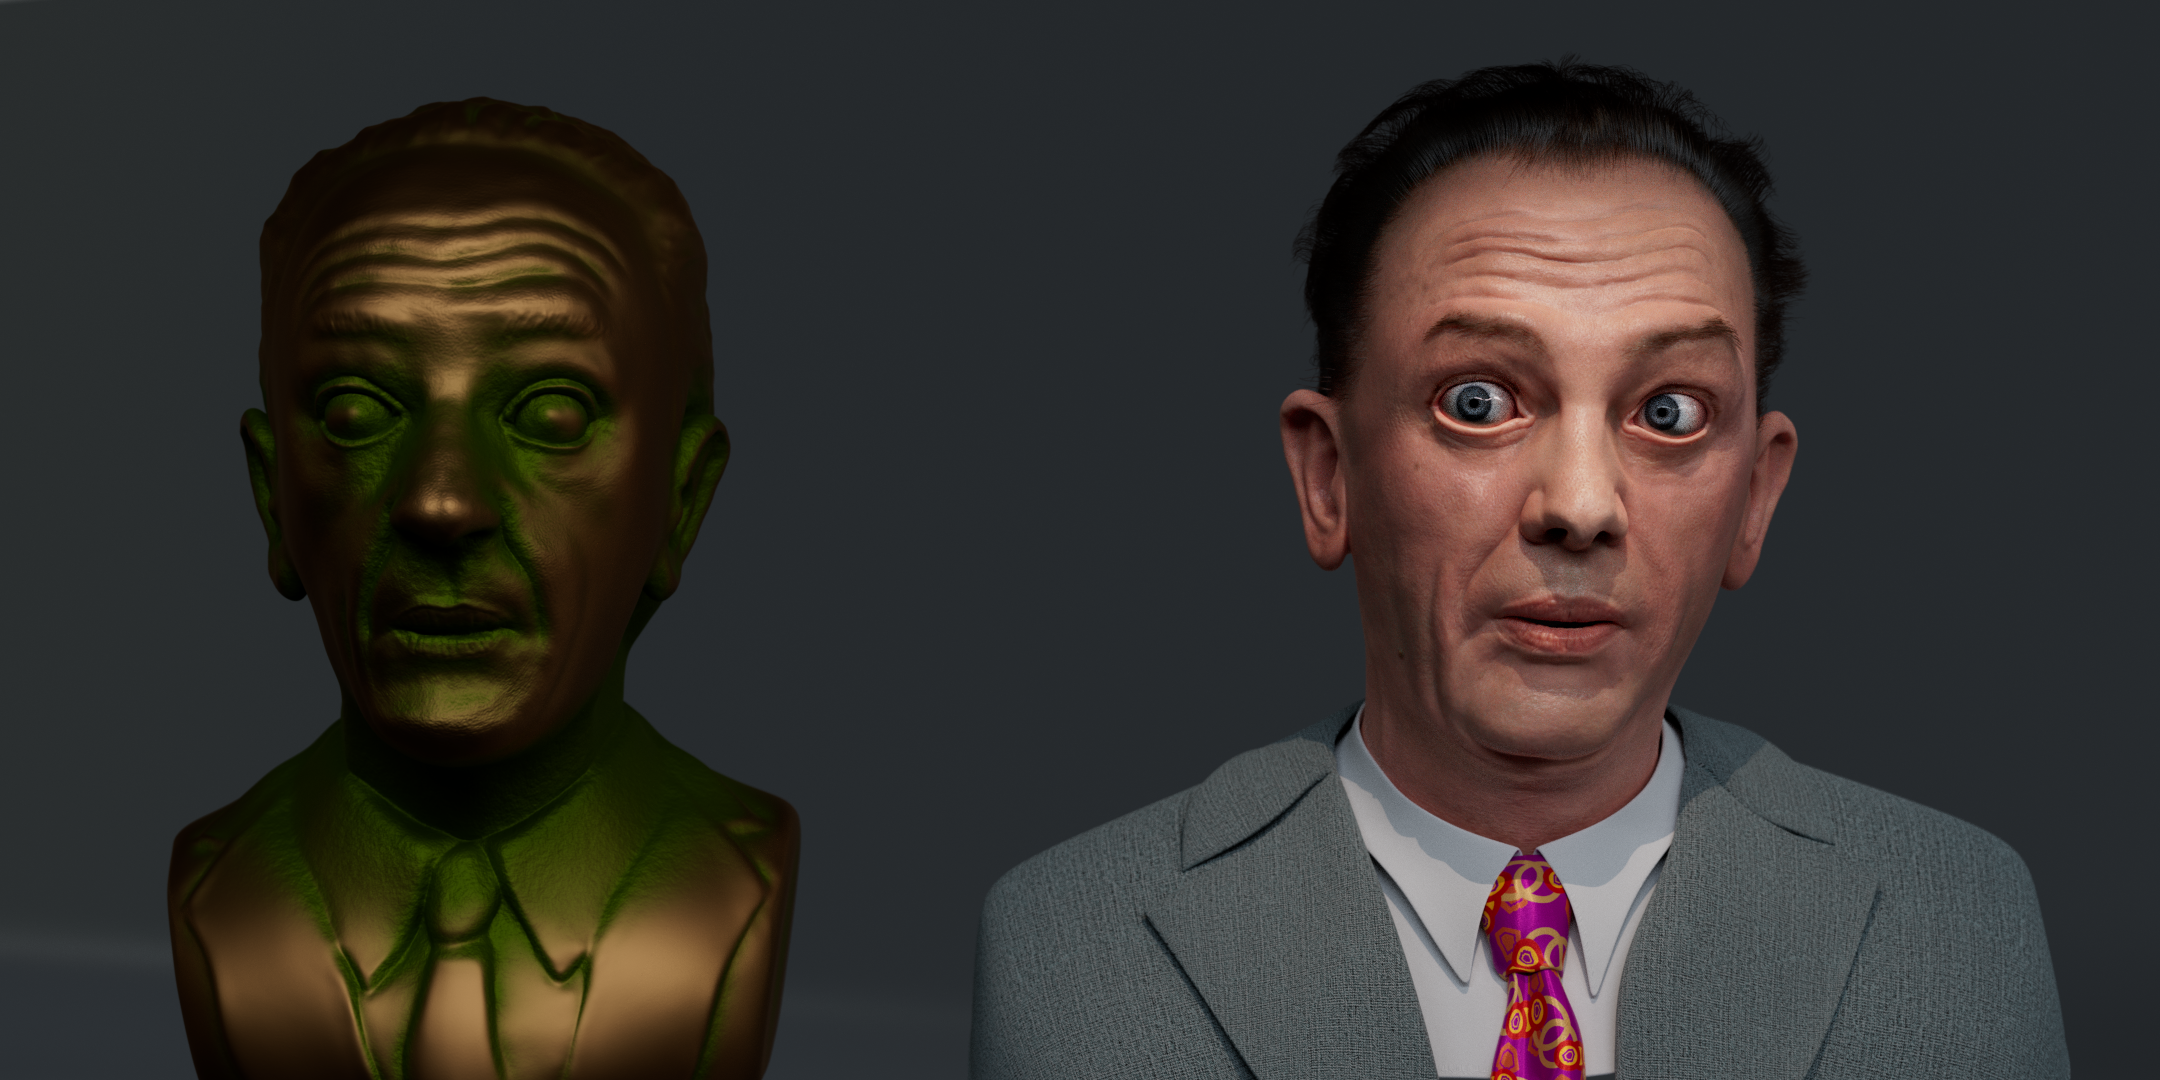
Side by side using Diffuse Direct to make it a bit easier to view the original:
And a quick snip of the wire:
Nice, how was the texture made.
Polypaint in ZBrush and Texture painting in Blender with touch ups and clean up in photoshop.
1 Like