hey, just decided to post somthin up, its been forever. XD
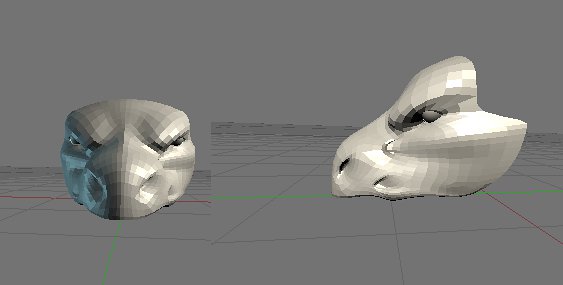
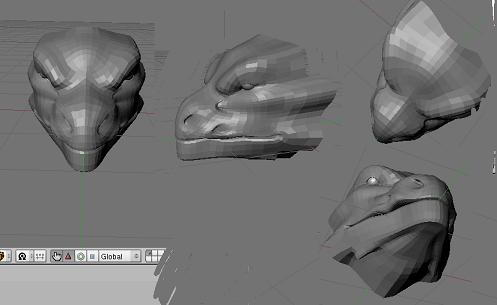
anyways, this is the start of the dragon model im working on, its only the top half of the head, the jaw isnt on yet. XD
and also, this is somthing that has been bugging me, i have been playing with weight painting and stuff a ton to try and get things to work the way i want but it seems to be going nowhere, maybe softbodies on the neck may help? idk. the picture here shows what i dont want in the deformations.
Try placing the SubSurf Modifier before the Armature Modifier. It’s slower but it might help your case. In general though not enough bones for a fluid bending there. Another solution is more spread weight painting hence make bones affect vertices farther away than they do right. But to judge this better we need a wireframe to see how the neck looks like. Right now it looks like bad weight painting to me.
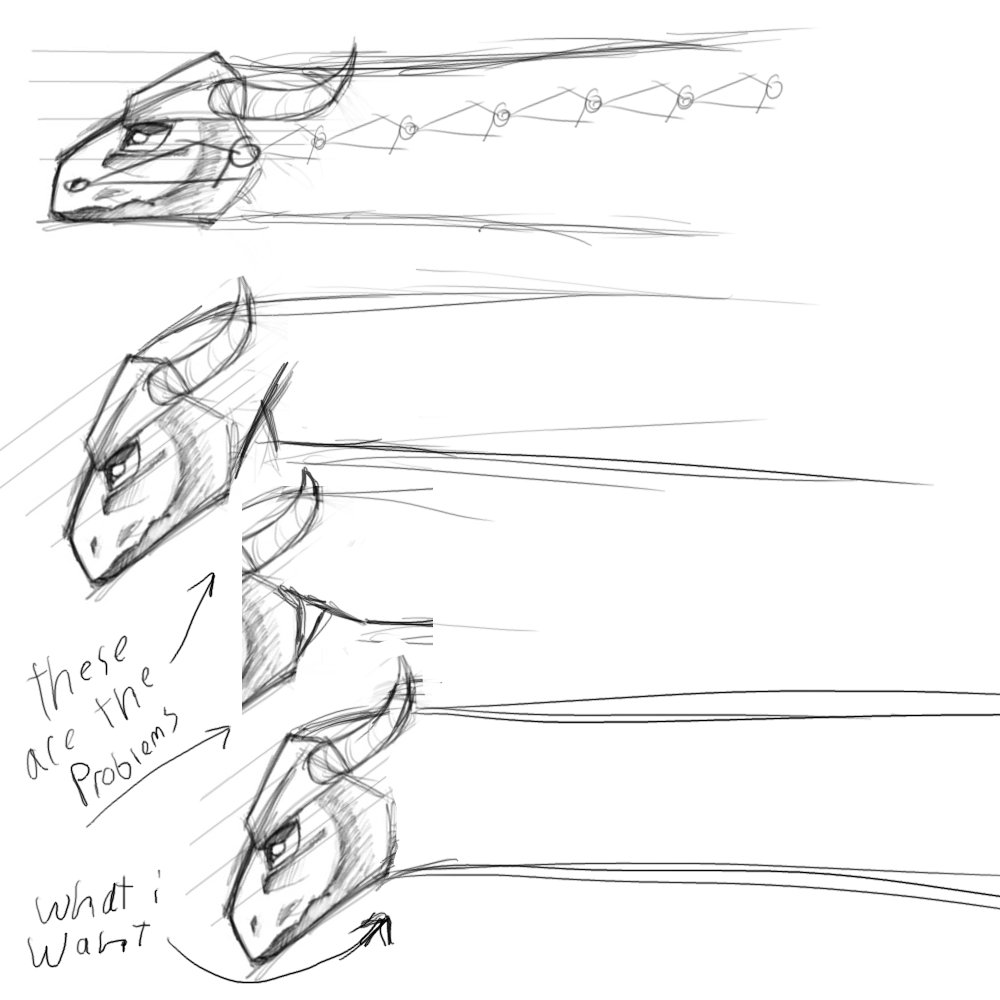
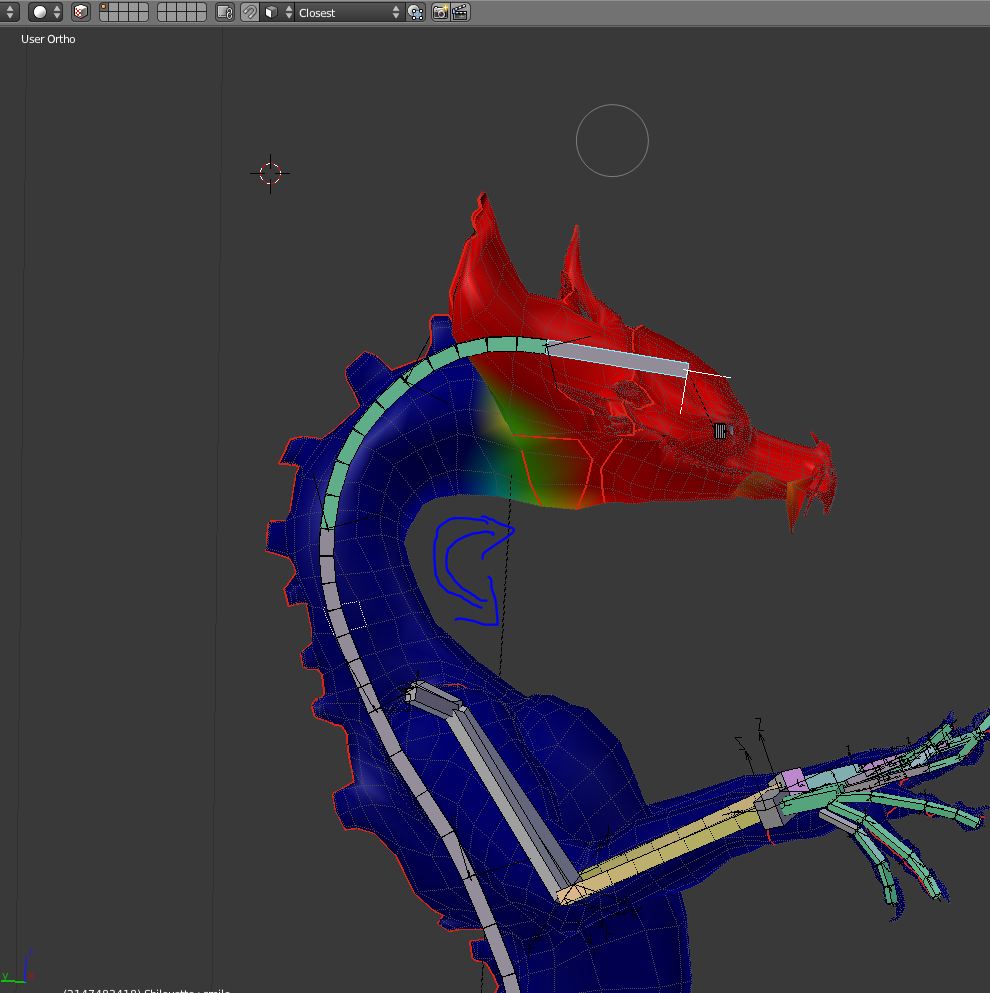
thanks for your advice, although, the thingamabob was kinda just a example, the thing i need help with is with another model, i have it rigged and everything but there is a problem when i need to move the head alone from the neck. this is what i mean.
i’ve tried playing with weight painting but no matter what i either end up with nothing or making things worse. is it the way you model the neck or something? O.o or am i just crappy at rigging. (pick this one. XD)
The main problem is weight painting. I don’t know how to explain this to you as this is out of experience… I just do it right. Most important is to have fluid weight transition. So let’s say you have this situation ([X] are bones, () vertices): A()()[B]
Then a proper transition is: A(a:0.5|b:0.5)(a:0.25|b:0.75)[B]
hence make sure a transition goes over 2 or 3 vertices not just one ans avoiding snapping (hence something like this): A(a:1|b:0)(a=0|b:1)(a=0|b:1)[B]
A good trick is to pose the model while in weight painting. Then paint over the troublesome areas so they look good. Repeat this with a bunch of different poses while adjusting the weight painting only slightly. The paint should then converge to solution reasonable for most situations. This is also why placing the SubSurf before the Armature can help as SubSurf not only sub-divs the vertices but also interpolates weight painting on them. It’s not perfect but could help in some situations. If possible do it though first with proper weight painting before doing that swap trick. If in doubt add another edge loop. Doing so does also interpolation on the weight painting. Keep in mind that edge loops are not only important for the topology of the mesh. In places where you have large stress (aka bending during animation) it is useful to add more edge loops so the shape flows better under animation. Hopefully this gives you some pointers on where to head next.
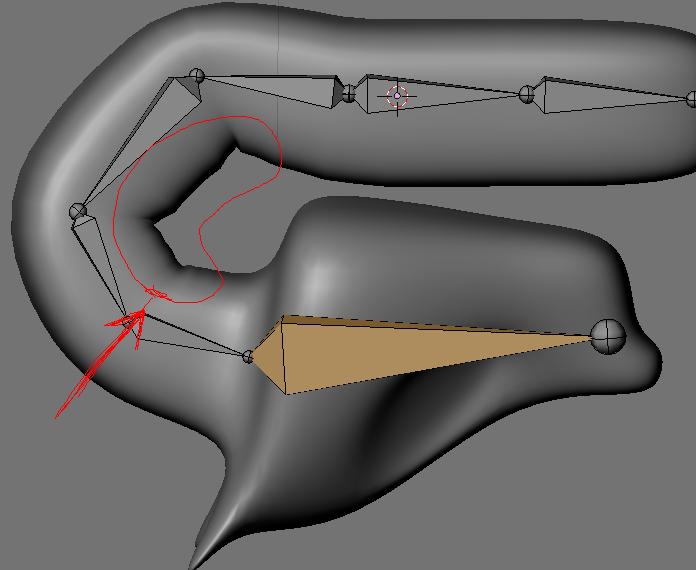
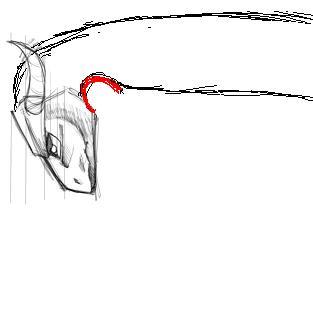
well… i tried that with painting before as well , but it seems that it just ends up bending oddly like this. is it because of where the bones are placed? if so where do i place them?
sorry for bothering you all so much.
and im not sure what you mean by this
“A()()[B]
Then a proper transition is: A(a:0.5|b:0.5)(a:0.25|b:0.75)[B]
hence make sure a transition goes over 2 or 3 vertices not just one ans avoiding snapping (hence something like this): A(a:1|b:0)(a=0|b:1)(a=0|b:1)[B]”
That curve there is a typical curvature you get with weight painting. Unless you add in more bones in between it will look like that. A solution would be to use Mesh Deform. Getting this to work properly though with Armature animation is another topic. In general though such curvature there is not a problem since you don’t do neck-breaker (aka 45-90° neck bone rotation) poses anyways with a neck rig. Best is to use 0-30° rotations and some more bones in between. The neck flows a lot better anyways this way. If you insist on a 45-90° neck pose then better model it straight in. Otherwise you need 1 or 2 more bones in between there but it’s always going to look wrong since animals can’t bend the neck like that anyways as the skin on the top side would overstretch/tear while the skin below would not have enough space to fold. Going for a natural rig setup helps a lot. This includes proper spacing. Bones near the body are longer than those near the head. So as a rule of thumb the length of bones up the neck towards the head shrinks by the same amount compared to the previous one. So for example if the bones are neck1…neckN and neck1 is 2.0 long then neck2 should be 1.8 and neck3 1.6 and so forth (choose a proper scaling).
Now concerning the mouth always open. As a rule of thumb you should model limbs (or anything that moves) in the “neutral” position. The neutral position is in the exact middle of the extreme positions. Maybe you’ve seen already game models shown in public of a men for example. Arms tend to be 45° downwards (not so good modelers make them stick out 90° to the side). The extreme position there is 0° (alongside your body downwards) and 90° (sticking perpendicular out to the sides). The middle there is 45°. The reason is simply that in this neutral position the deformation towards both extreme positions is minimal (45° at max). There is no other model position which minimal stretching going on. For the case of the mouth therefore figure out what the largest opening angle of the mouth is (typically 60° unless you make a crocodile or a snake able to unhinge the jaw). Then model the jaw at half this opening angle and you can animate the mouth with minimal stretching. I hope this helped a bit.
thank you, this helped allot, though i already know how to position the limbs, i was just curious about the mouth.
and thanks for your help with that. :3 i will update soon. :3
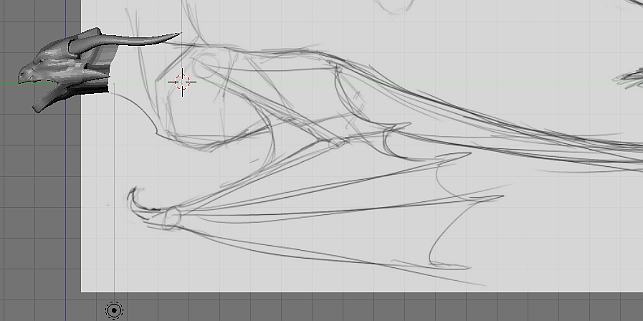
heres the new update, im now starting on the body, if there are problems with how the body is in the drawing please let me know so i can fix things when modeling, thanks.
The modeling of the head looks good so far (love the graceful flow of the horns and the edginess of the bone structure), I await to how he will look when fully modeled.
Are you also going to continue your model of Toothless from How to Train Your Dragon anytime in the future, the progress looked real good?
and about the toothless model, i hope so, i had it on another drive and I’m just hoping i can find it and get it. :o but i really do hope so, i loved that model. X3
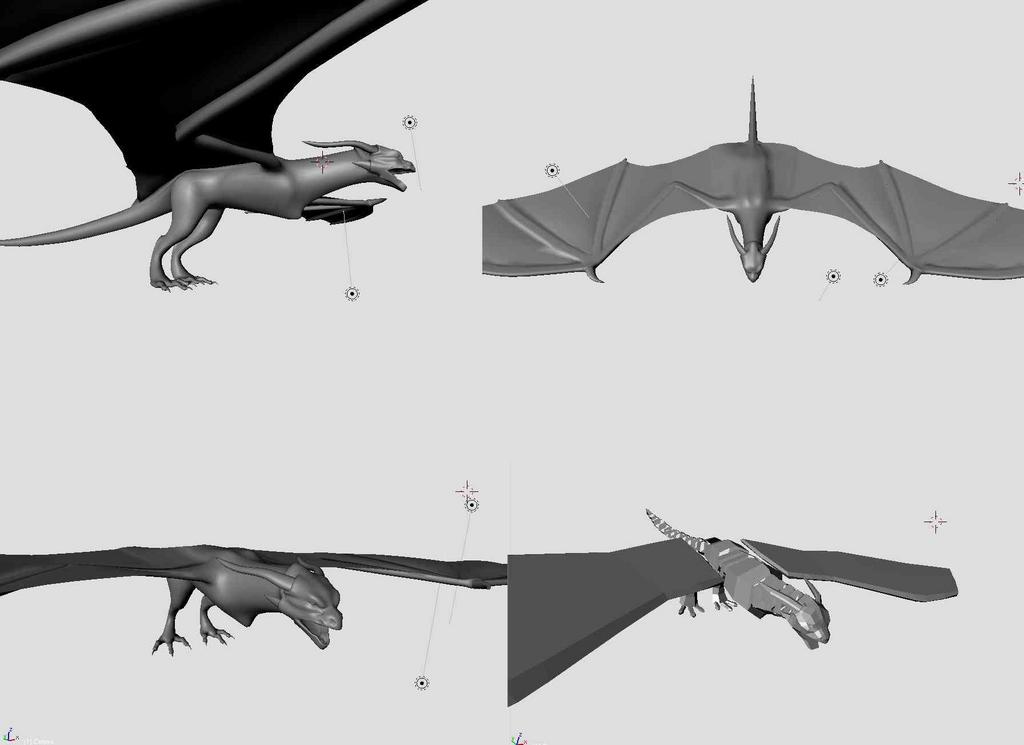
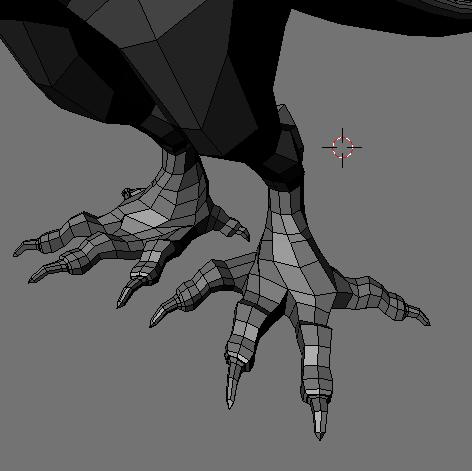
thanks, the animation was just a test for the rig, though i still have a problem i need to fix where the body connects with the wings, but thats a simple thing, and i think im just going to redo the feet completely, shouldn’t be to hard, just need em to look better. X3