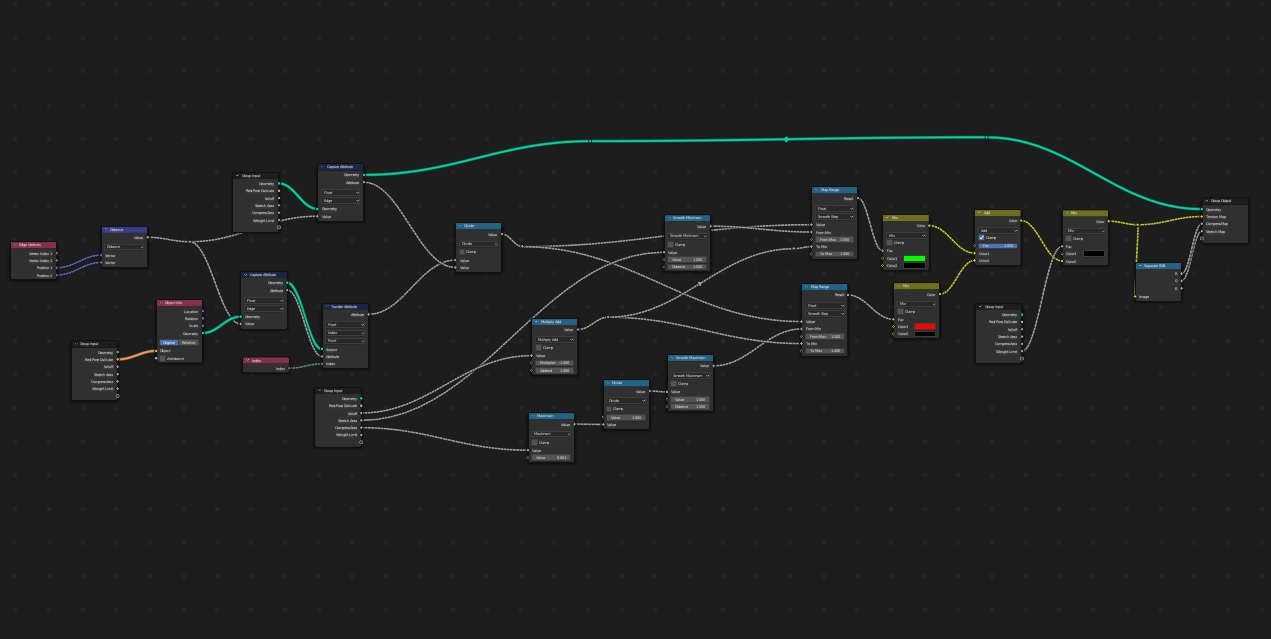
Procedural Tension Map for Character Wrinkle Animation with Blender Geometry Node

Making of

Thank you very much for this.
I have a problem. After i set everything up the wrinkles renders great in the viewport but not in the final render. And i do have the little camera render icon check in the geometry node modifier.
Anyway i can have the wrinkles to show in the final render and not just in the viewport?
I should add that i´m using Eevee for this.
Thanks
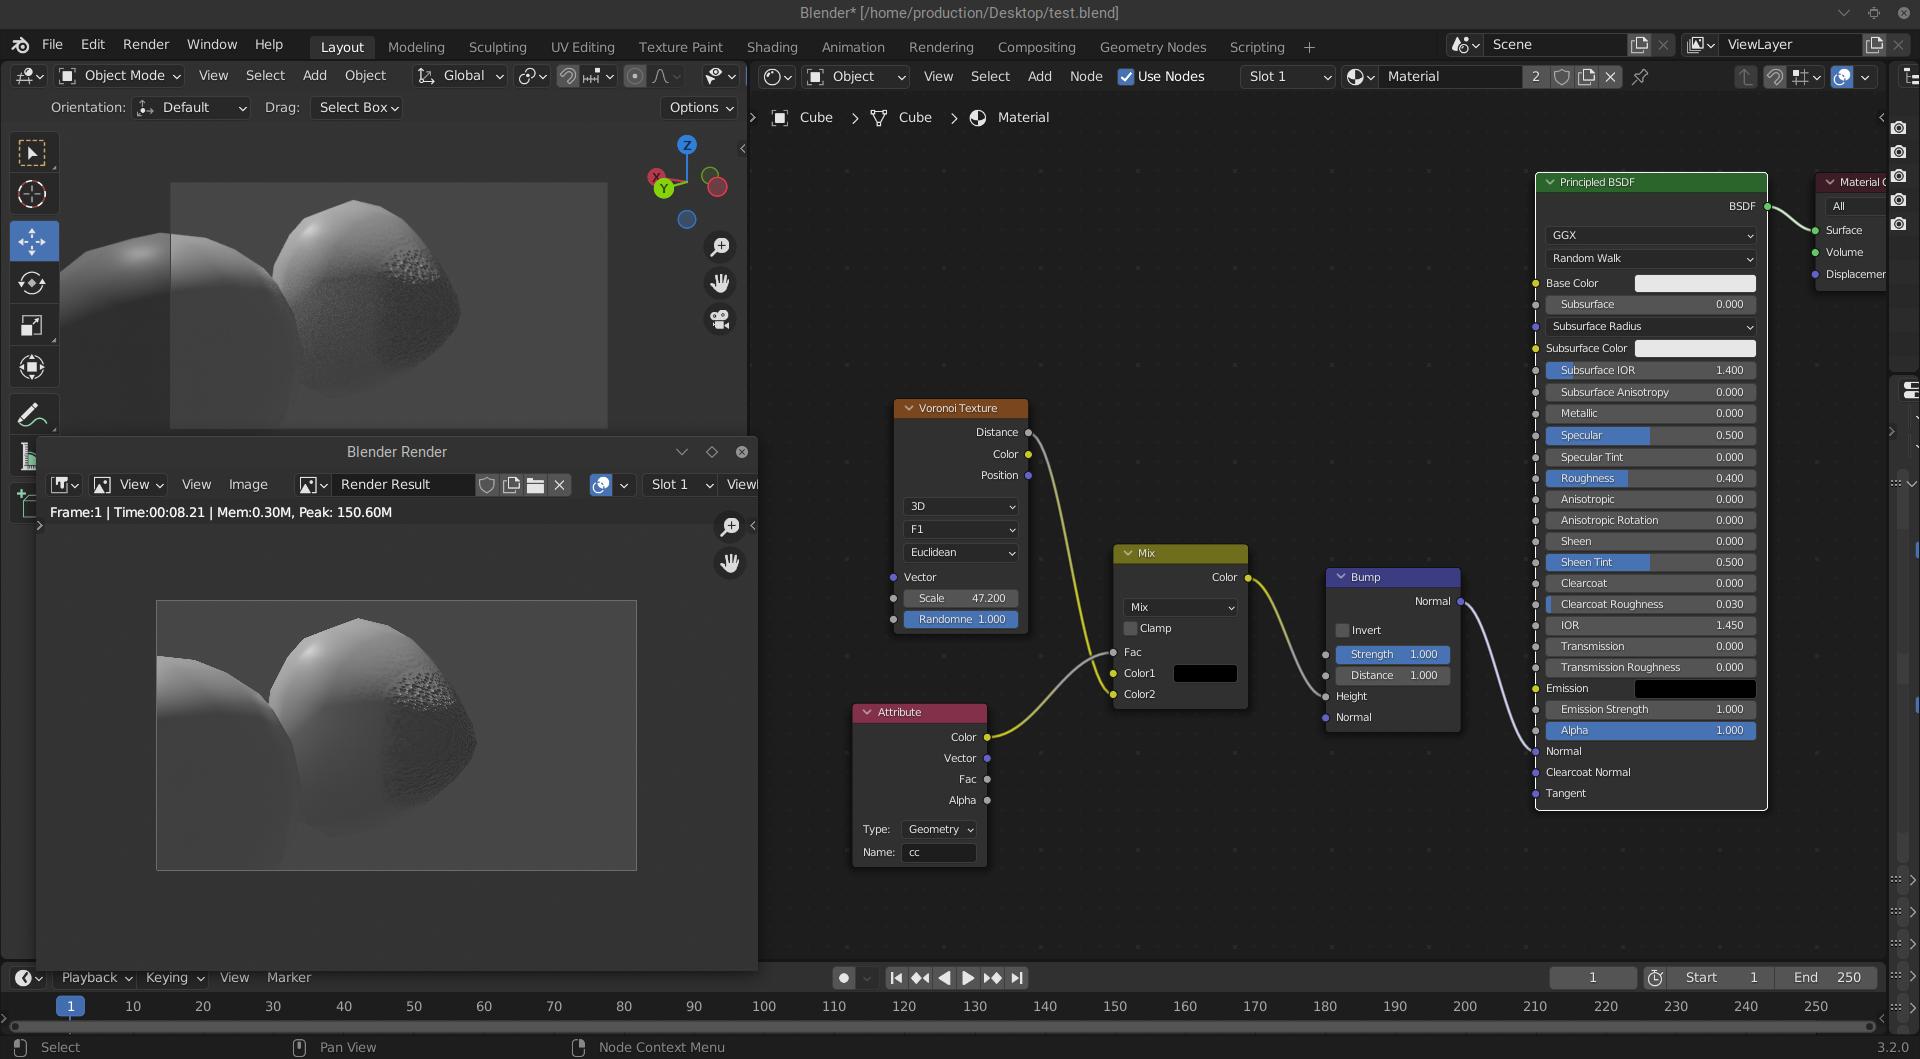
Hi there is nothing related to cycle or eevee here. It is just a simple mask. Probably your shader config is not correct. see my cycle test with a simple bump map. You can attach your setup and will see what is up.
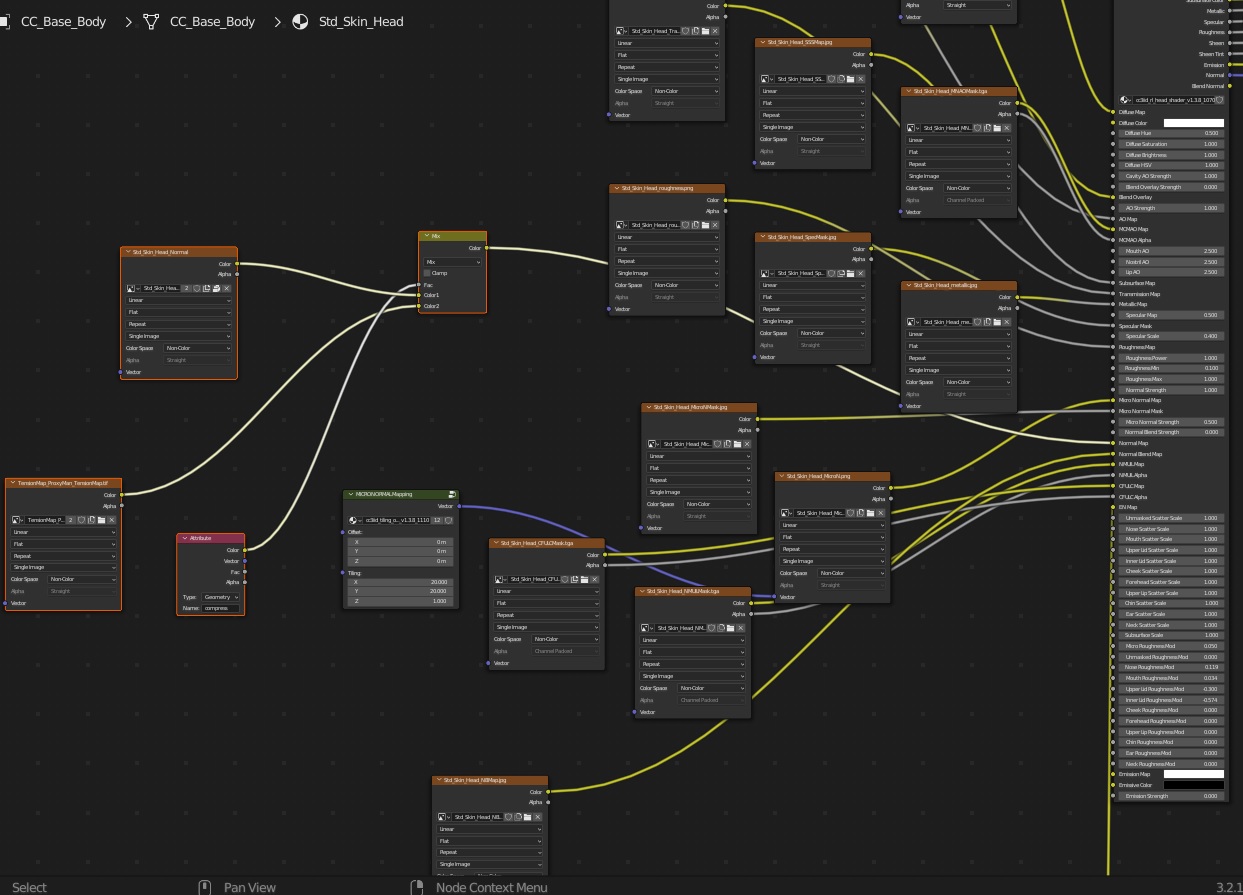
Sorry not possible to troubleshoot with screenshot as it is huge nodetree.
Go to blender>file>external data>pack resources>save the blender file
then send it through cloud or in github issue tracker
I cannot share the file, sorry. It may be that i`m in Windows 7 and using a hack version of Blender 3.2.1. I will keep investigating and perhaps try out with a simple scene. Thanks.
Blender is free AFIK. Try it! ![]()
Is what i have to use since after version 2.92 Blender is just for Windows 10.
Well in that case I can’t help.
OFFTOPIC:
If Win 7 is necessary then you are actually going to miss a lot in near future. I would suggest to run win 7 in virtual box and use win 10 or Linux mint as main O/S.
probably he cant update to win10 his pc must be very old or missing requirements. So in that case he could possibly run win 10 in a virtual box in win 7 instead…
Yes, my pc is very old, that´s why i still use win7. But that´s about to change in a few days since i`m finishing building a new pc up to date.
But, getting back in to my issue, i´m using a character from character creator as a base for my character and i`m using the import addon to bring also the material with the shader setup.
Did you know how to setup the tension map with the shader material that comes with the character creator mesh?
EDIT:
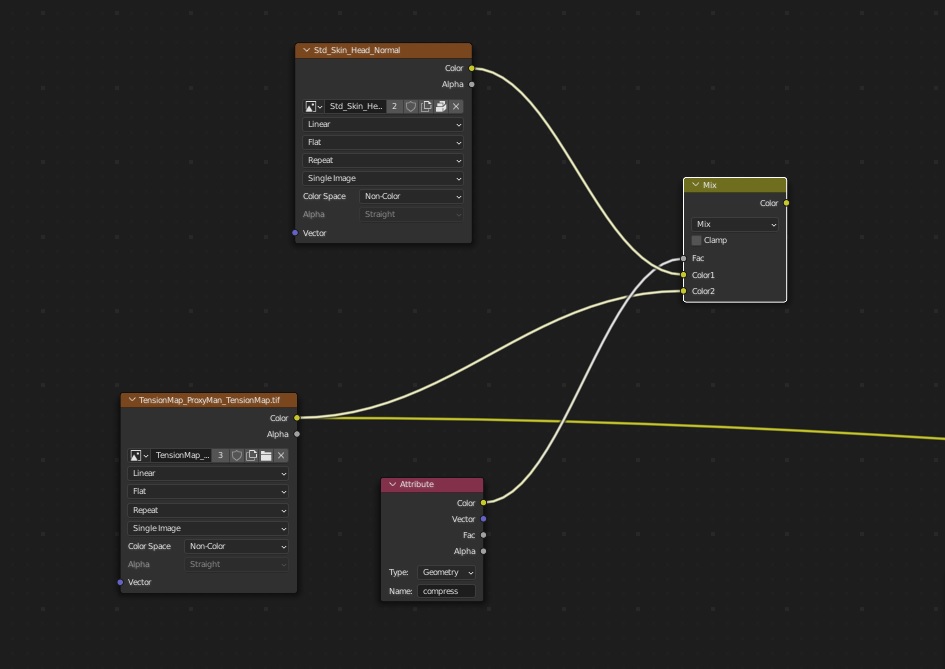
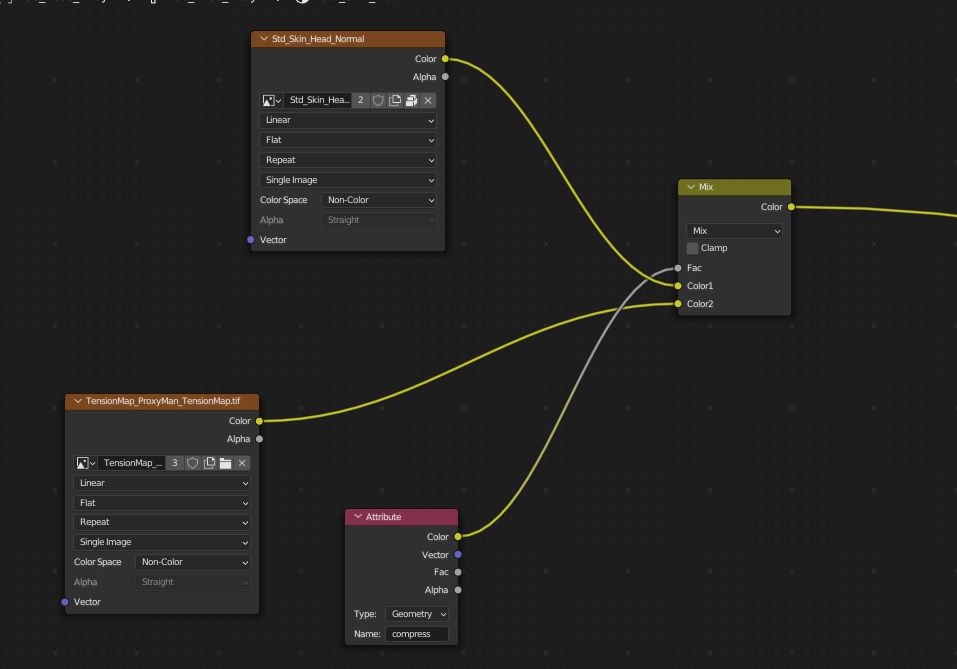
If i plug the map directly into the normal map slot it does render.
But if i plug the mix node directly it does not render, but it works in the viewport as i said before…
Use overlay in mix node.
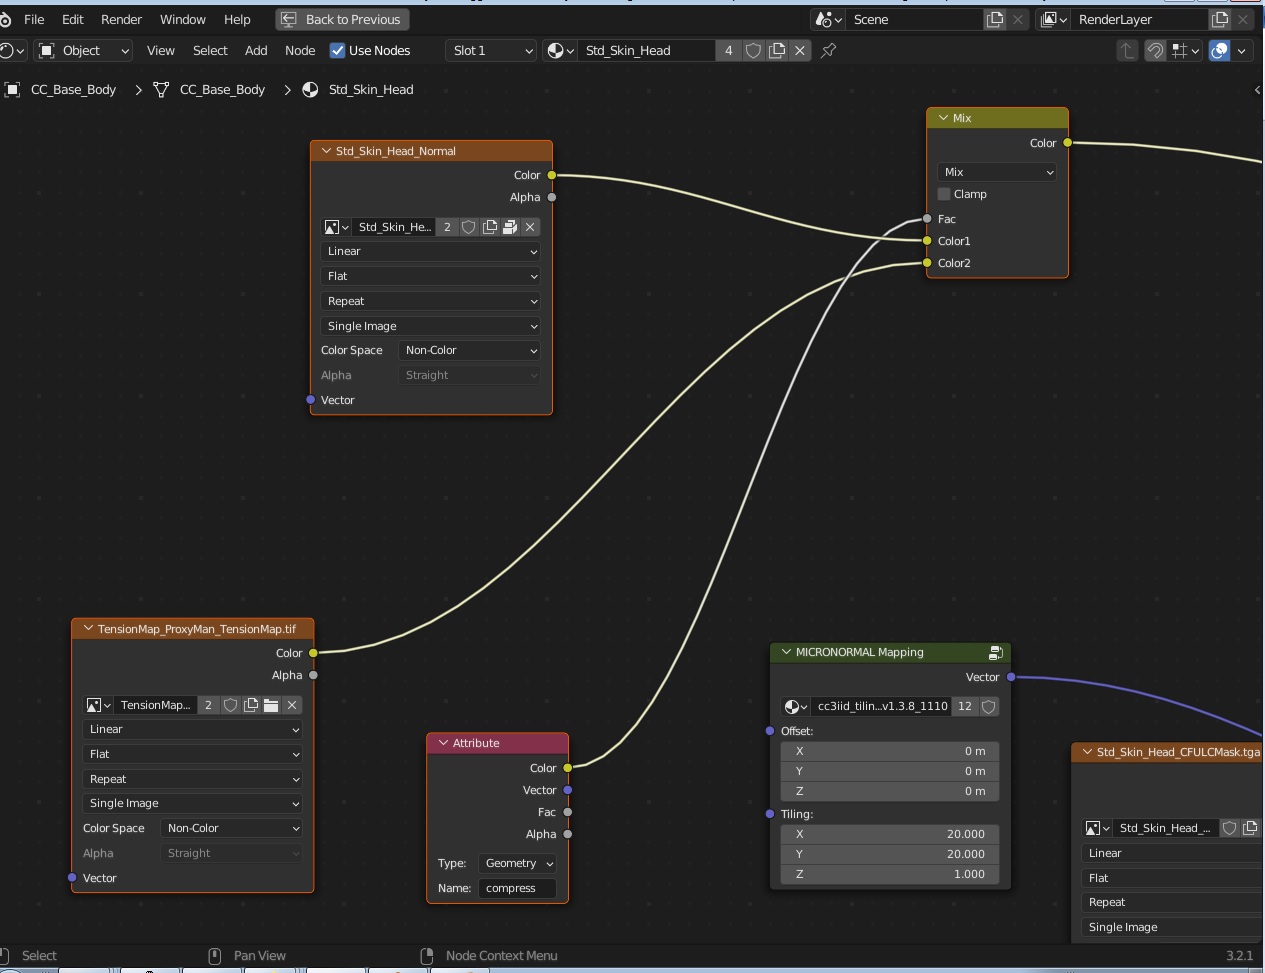
Also let us see how the tension map looks like in this texture file:
“tensionmap_proxy…”
another thing try:
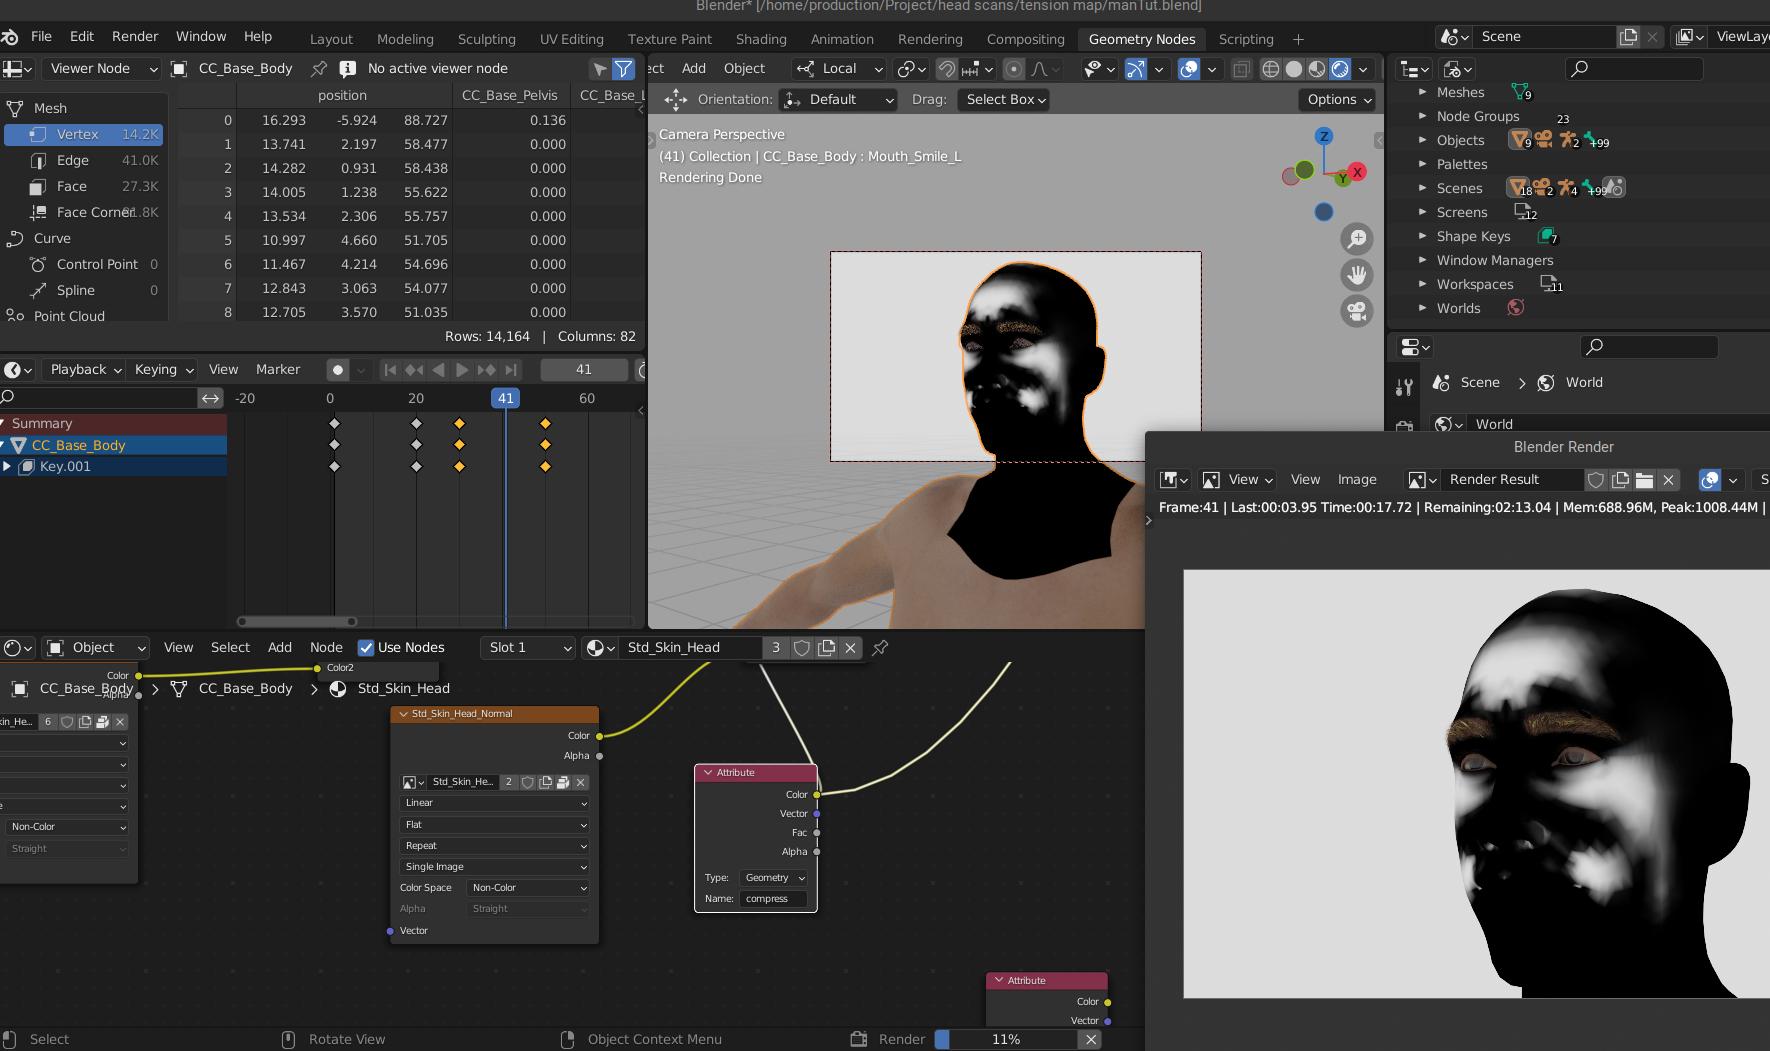
plug compress attribute color to principled color nod see if it renders the mask or not. If it does, then there must be a problem in the custom shader you have. Here’s how the mask look like in cycle render:
I plug it into the color and in the viewport it does render, but not in the final render, it just renders black with eevee.
Ok try this in your blender branch. Open it hit f12. See if it has gradient mask or not.
test.blend (1017.1 KB)
Yes, it has the mask. I also did another test with an sphere that works fine when rendering.
The weird thing with this scene is that even if i completely change the shader and just apply the mix node with the two maps and the attribute with the compress the result is the same, working in the viewport but not in the final render.
Don´t worry i will keep investigating and now my with new pc setup i will cheek if it make any difference.
Thanks for the help.
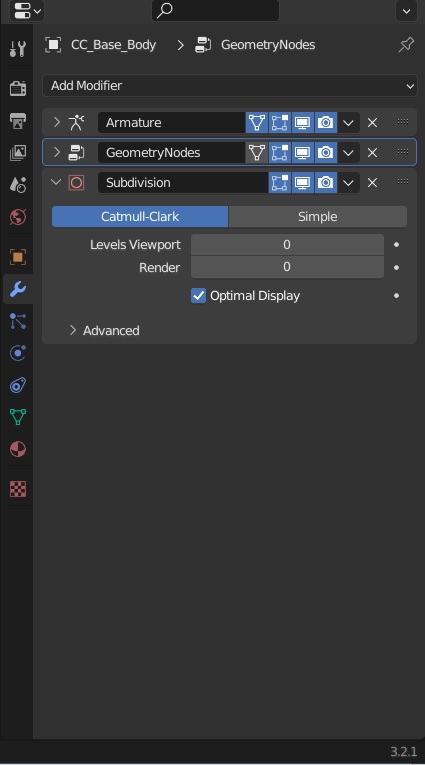
OK…, I finally solve the issue. What happen is that i changed the subdivision of the mesh to match the subdivision of the meshes that has hair with surface deform so i can render the whole thing at once when linking the character.
Anyways, the mesh with the rig that has to be duplicated at the beginning of the setup conserve the same unchanged subdivision. So i changed to match the new number and bingo, it works in the final render…
Thanks again for the help and the wonderful geometry nodes!
Thank you for this contribution, super useful!
Update: