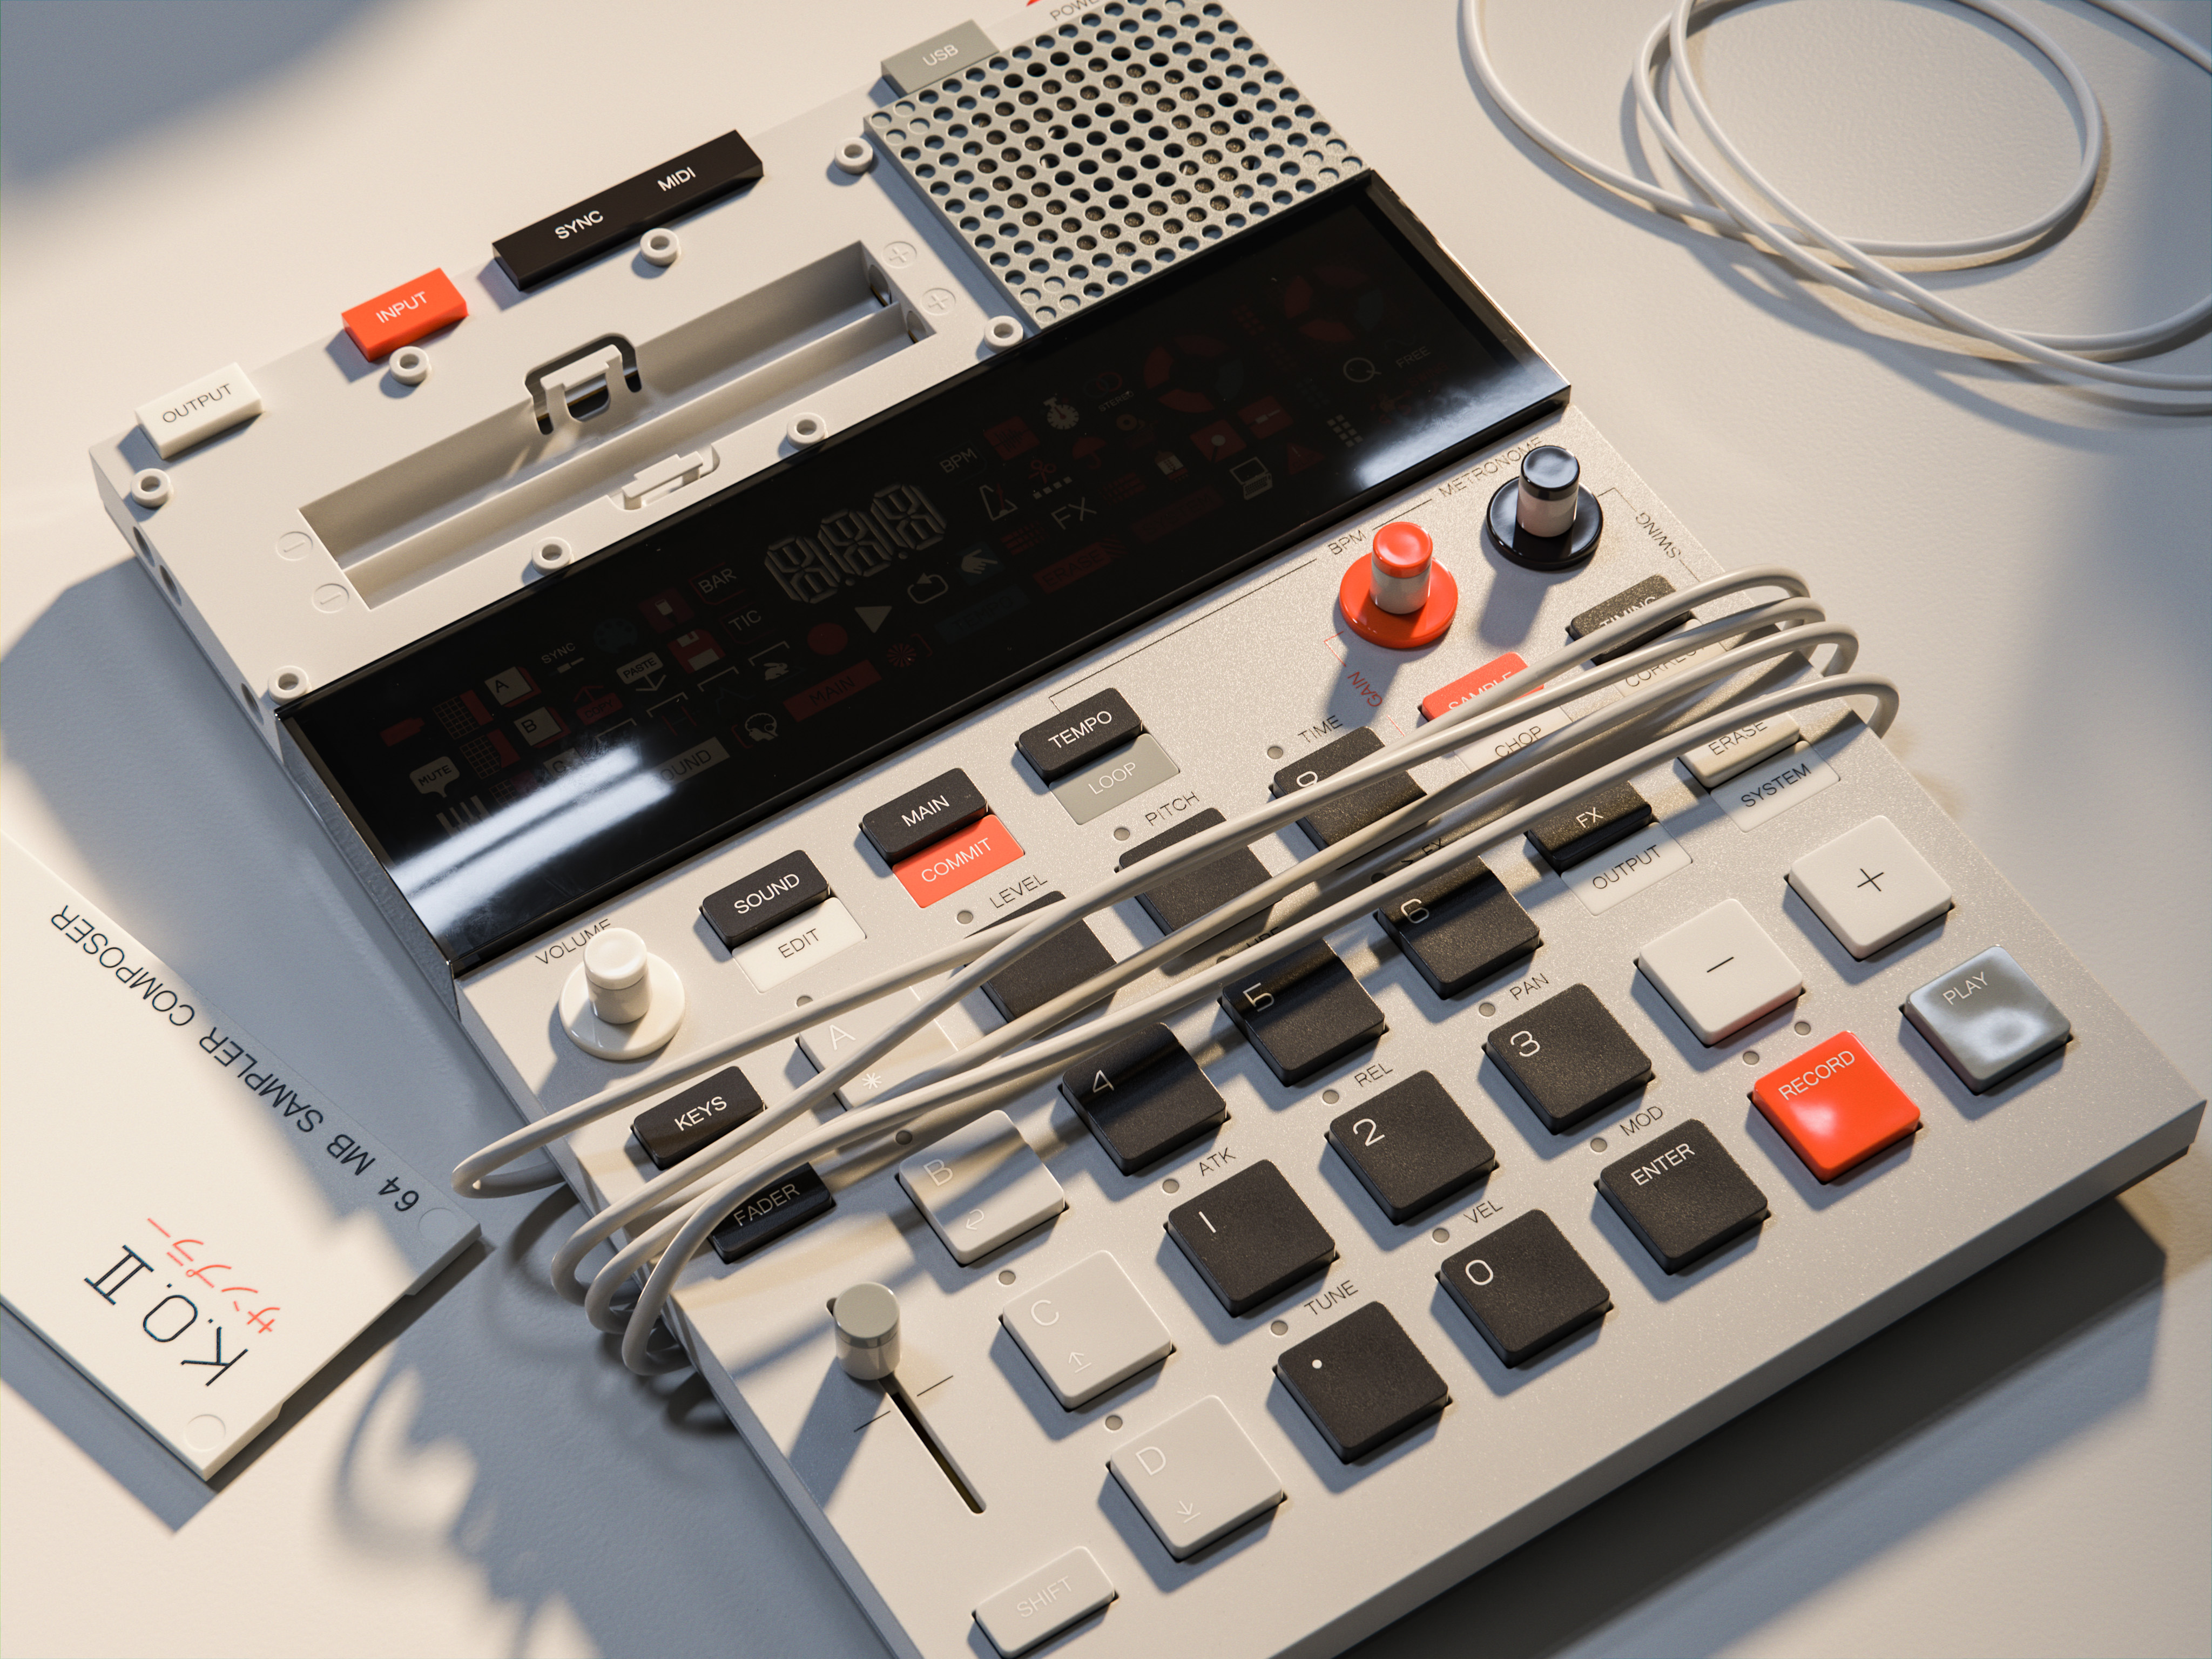
Modeled and rendered in Blender 4.0, Cycles.
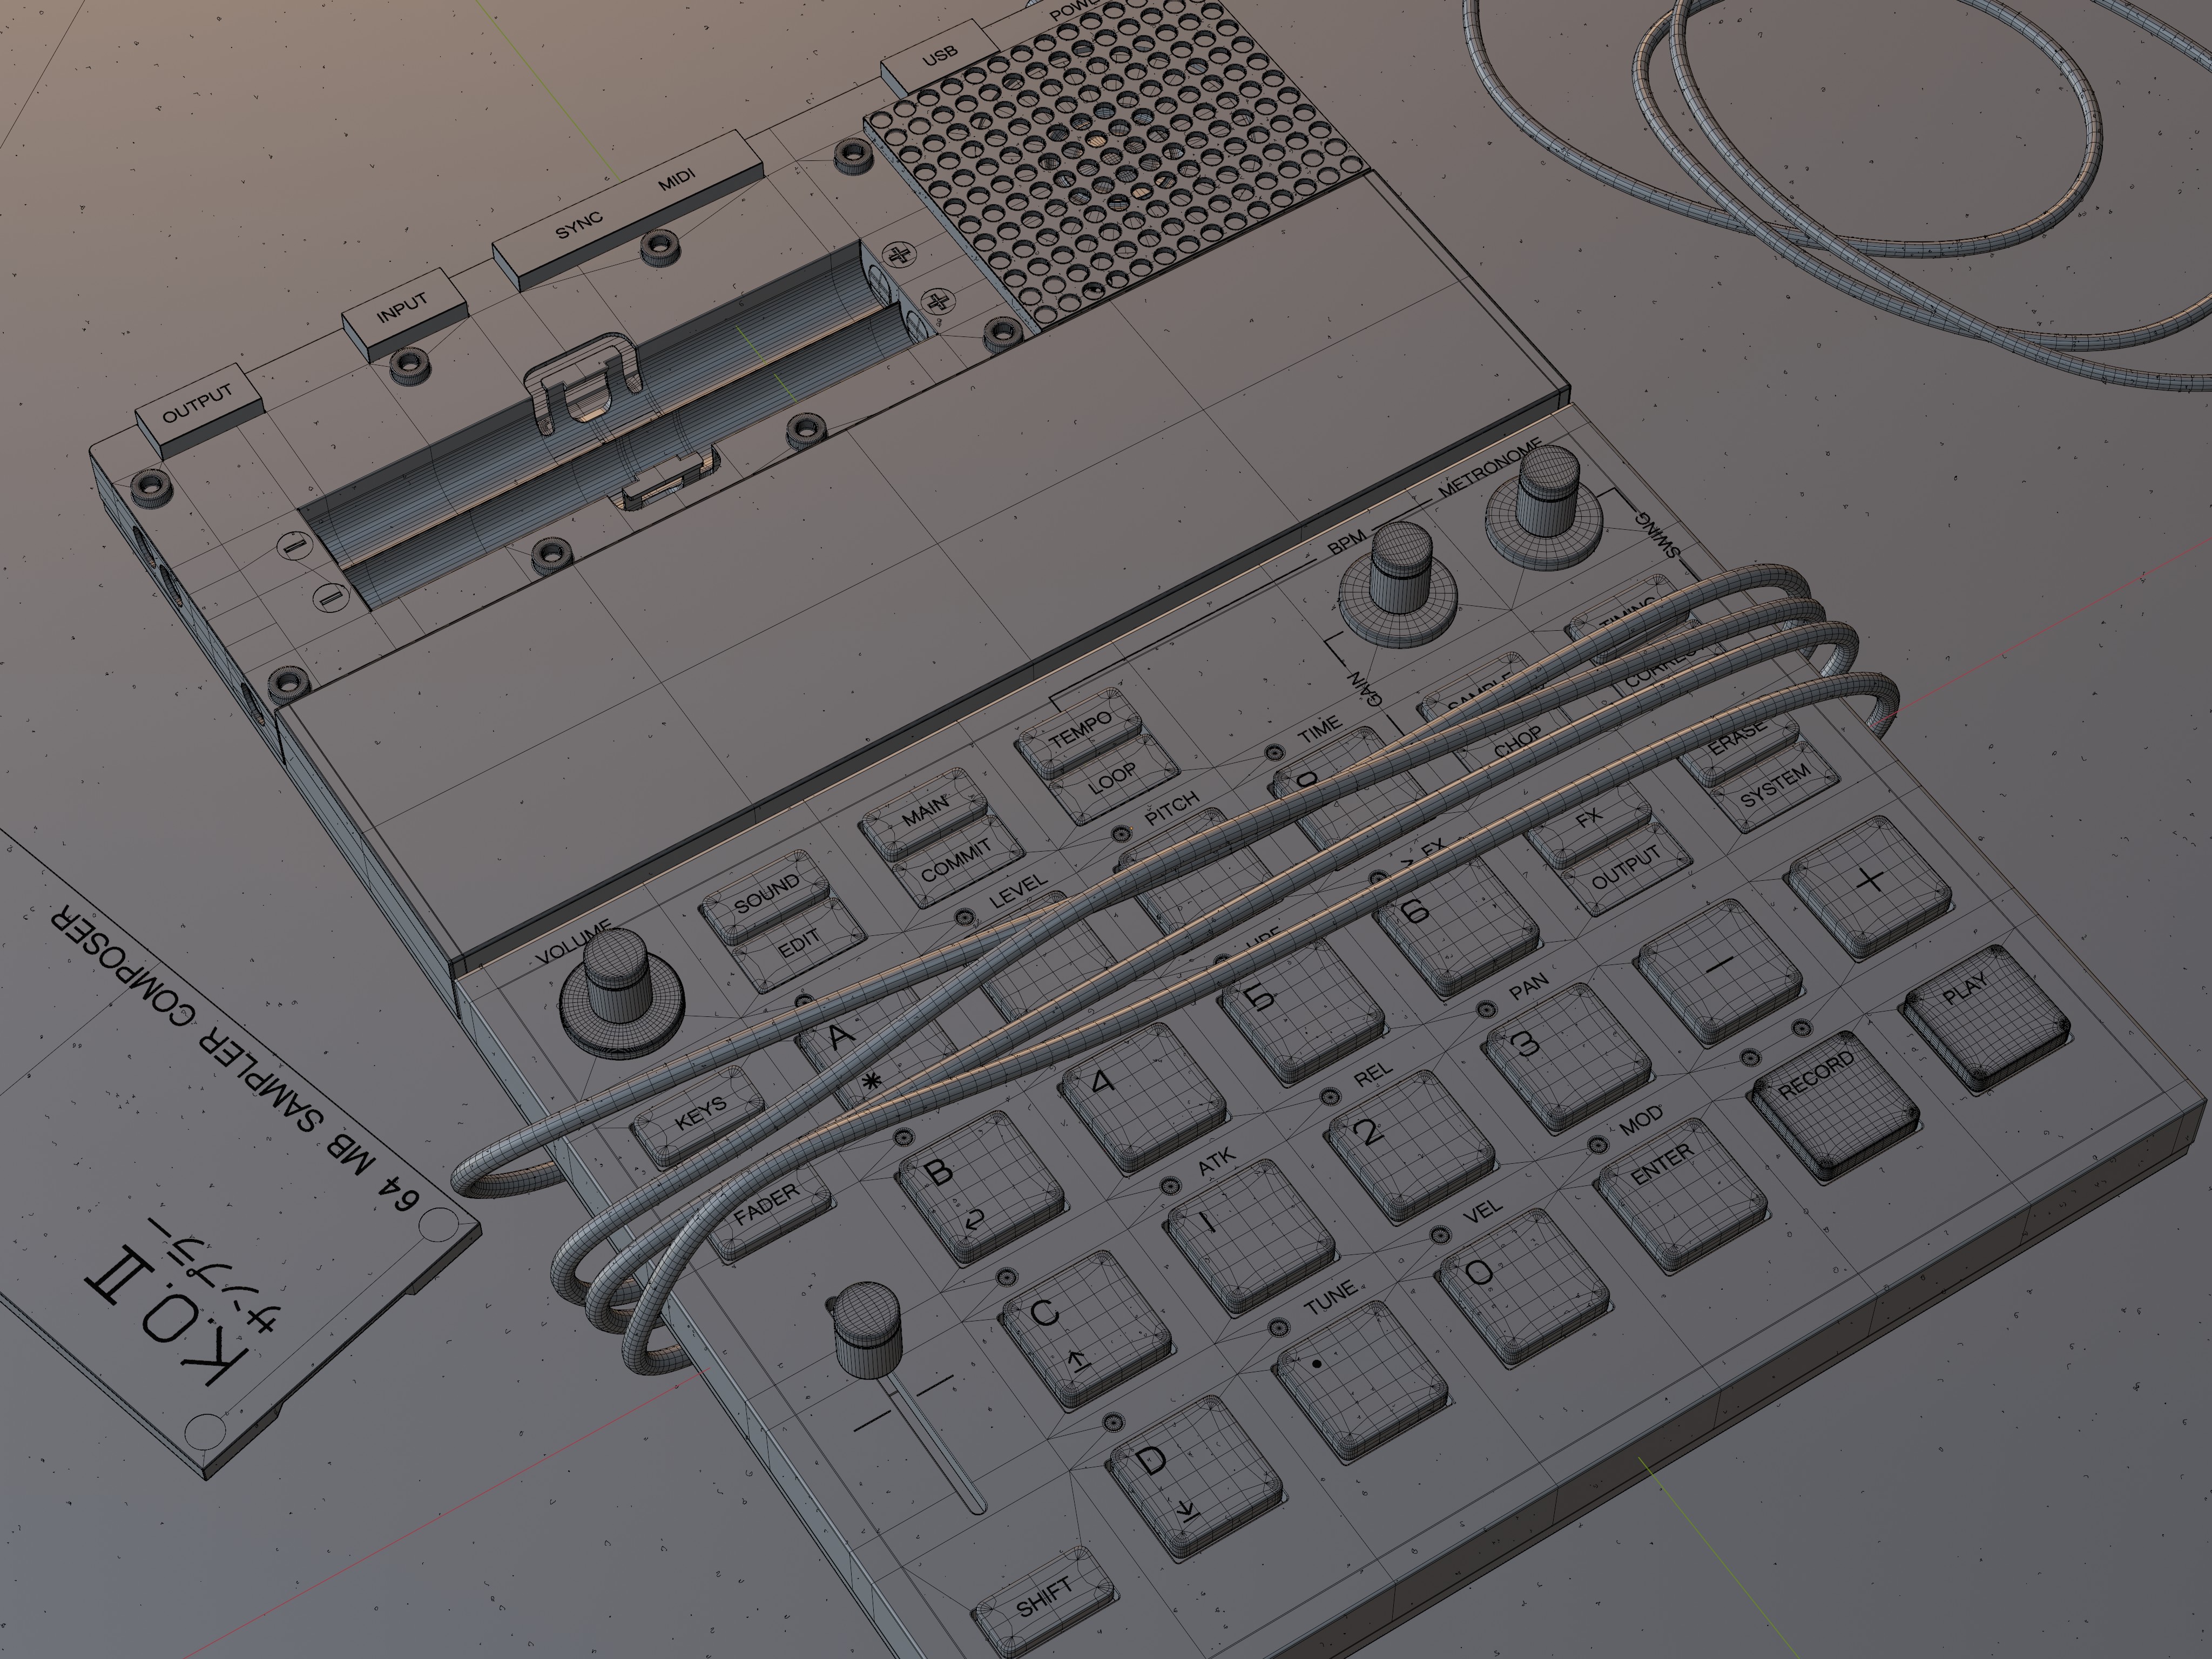
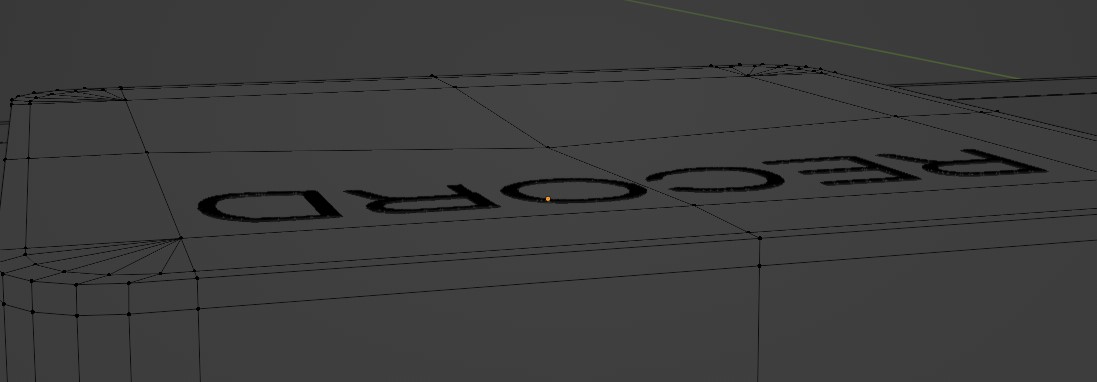
~700K verts, mostly from text, all text is real geometry.
Gimp was used for creating display texture and Photoshop for postprocessing.
Wow that looks great! I tried making the same EP133 but I just used the product image to create the screen. How did you do yours because it looks so real. Did you rig each of the lights or just textures? If textures, where did you get a clean picture of the screen? Also your topology and plastic shader is amazing.
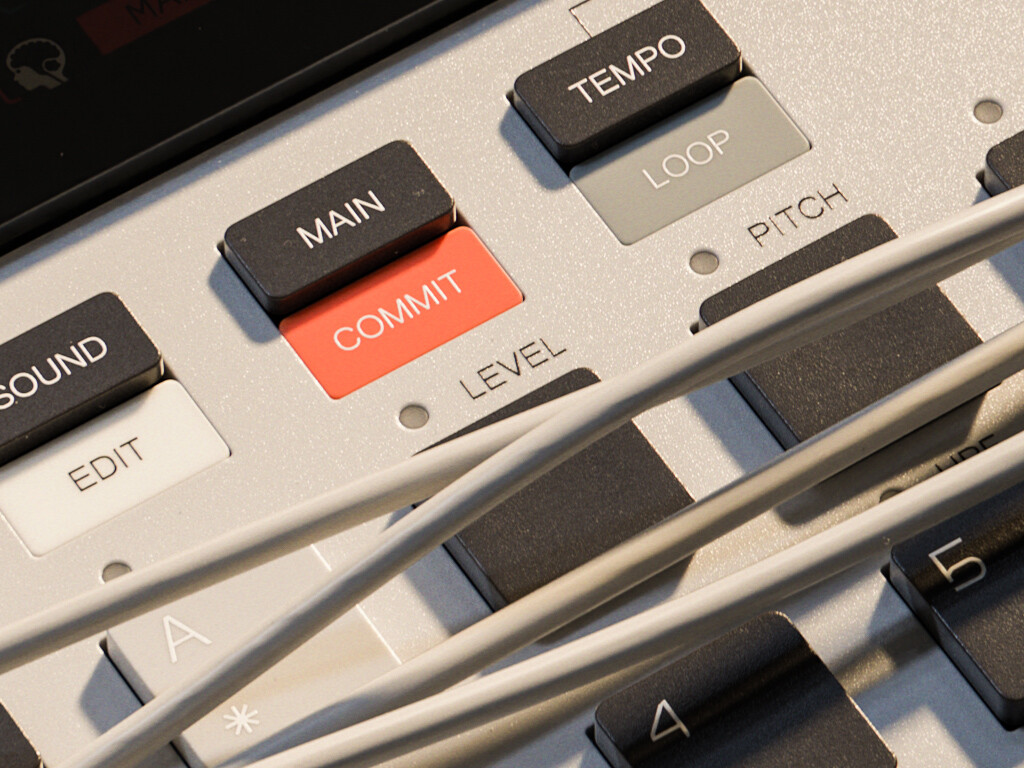
The screen its just a texture below glass cover, manufacturers website has guides with vector images of the screen, EP–133 guide: screen - teenage engineering
so you can trace contours, create highly detailed icons and get precise colors.
This is really nice. I did an identical model but with some variations, though your lighting and textures are a bit better. How’d you get that indentation on the glossy keys and knobs?
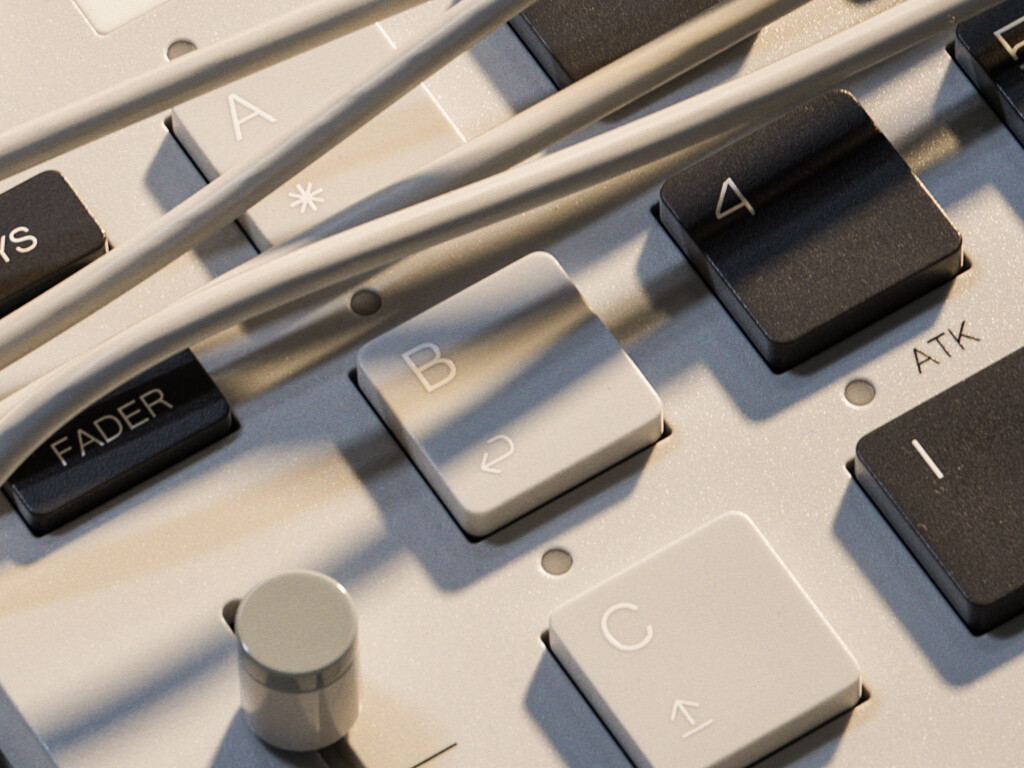
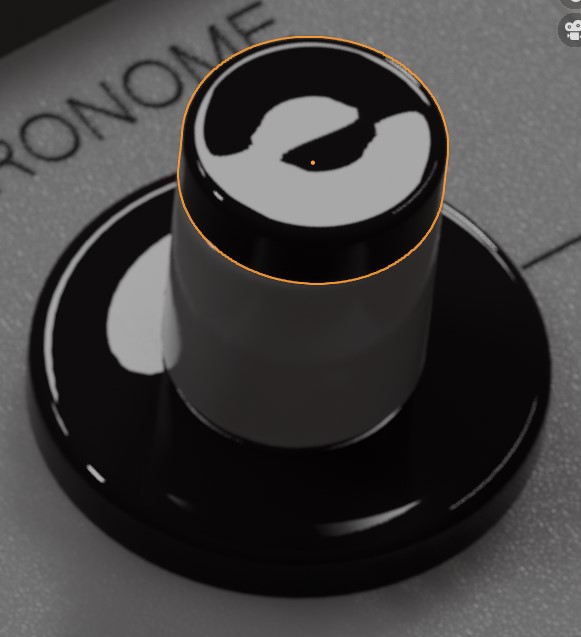
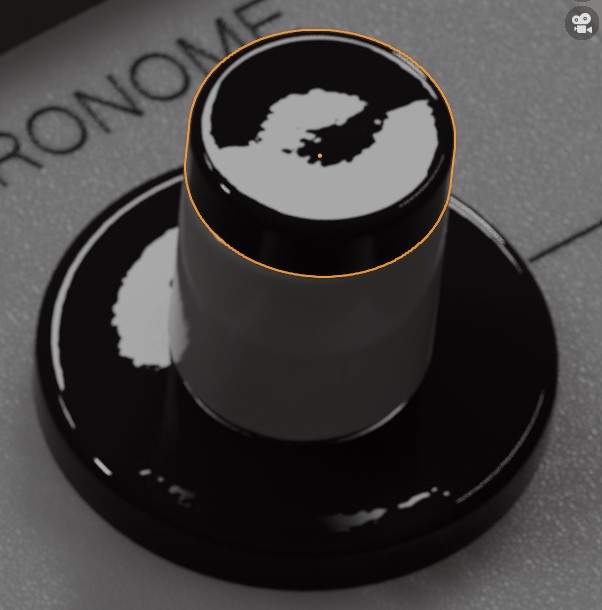
Thank you! At first i try normal maps, but it doesnt look good enough, so i model that concave, it gave me realistic shading and glossy reflections, but it takes more time to project text on that slightly concave surface.
Thank you!
Injection molded parts always have uneven surfaces because of plastic shrinkage, so you can replicate that effect by slightly moving up or down center of your surface and those moves should be microscopic, 0.00001 m or like that.
I have additional normal maps with noise, but primary distortions are modeled.
Just geometry.
Fantastic!
How did you achieve the grainy surface of the plastics?
And how long have you been into 3D? I’m asking because I’m a beginner and would like to know how long it took you to reach this level of expertise.
Thanks! grainy surface its a Noise texture plugged into BSDF Normal channel, the secret is to find a correct noise scale and depth of the Bump, macro photos will help you with that, they also can help you understand your material more precisely, its color, roughness, subsurface.
I’m in a 3D from 2018, but i mostly worked in Fusion 360, SolidWorks and that kind of software, so it was mostly engineering, first touch with Blender was in 2020 for rendering parts from Fusion360, and to learn Blender better i start creating simple stuff like Donut etc.
Yeah, all text is separate objects, and because manufacturer used unique font i model some of it by hand.
Screen texture made from screenshot from user manual and i spend some time in Gimp to crop and tweak it, but you can just scale it up using those ai upscale services, or not because its detailed enough even without upscaling.
Play and Record buttons have fingerprints too, but they almost invisible there.