https://docs.blender.org/manual/en/latest/compositing/types/color/tone_map.html
I managed to use it to make an improvement to an image but I fear my assumptions of what it’s doing are not correct and the manual does not explain what it’s doing.
https://docs.blender.org/manual/en/latest/compositing/types/color/tone_map.html
I managed to use it to make an improvement to an image but I fear my assumptions of what it’s doing are not correct and the manual does not explain what it’s doing.
Strangely, it’s hard to find information about tonemap nodes
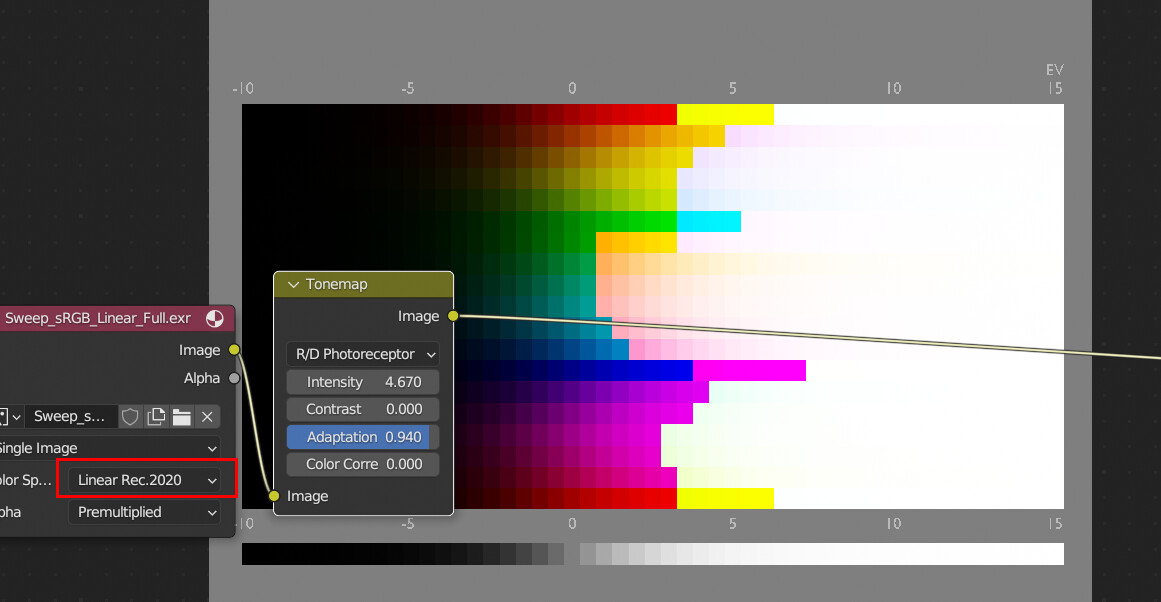
There are a lot of data about tonemap… ![]()
There is some information on the link.
My understanding is that it’s a worse version of Filmic.
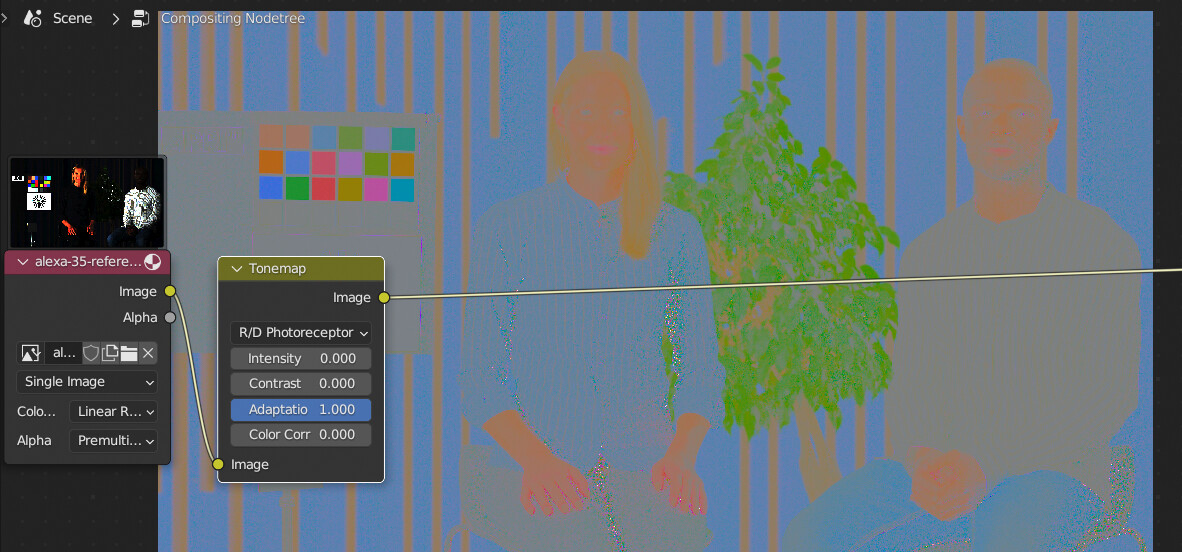
The adaptation setting somehow triggers an H-K effect, the default behavior of the node is uncanny.
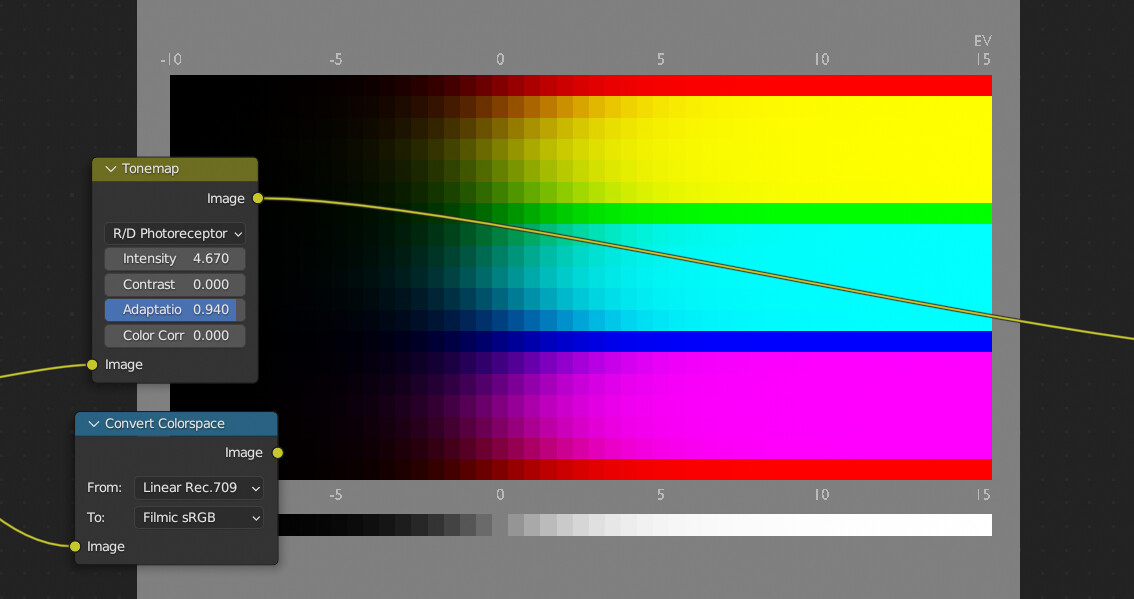
Some simple adjustment to the setting:
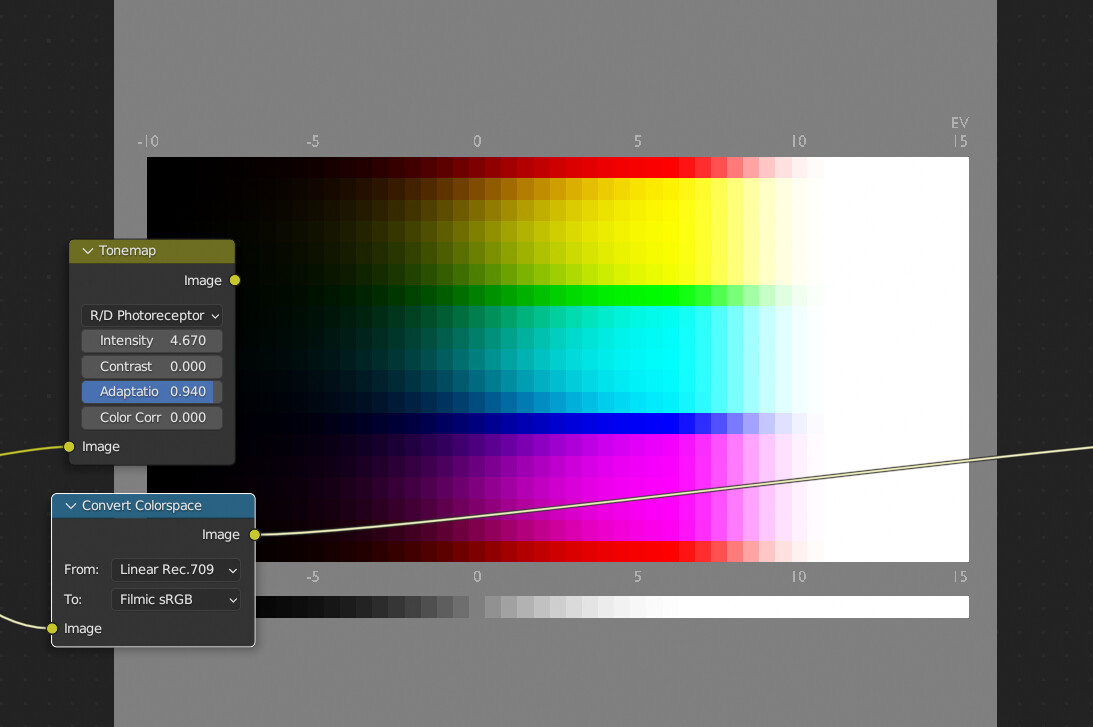
And Filmic:
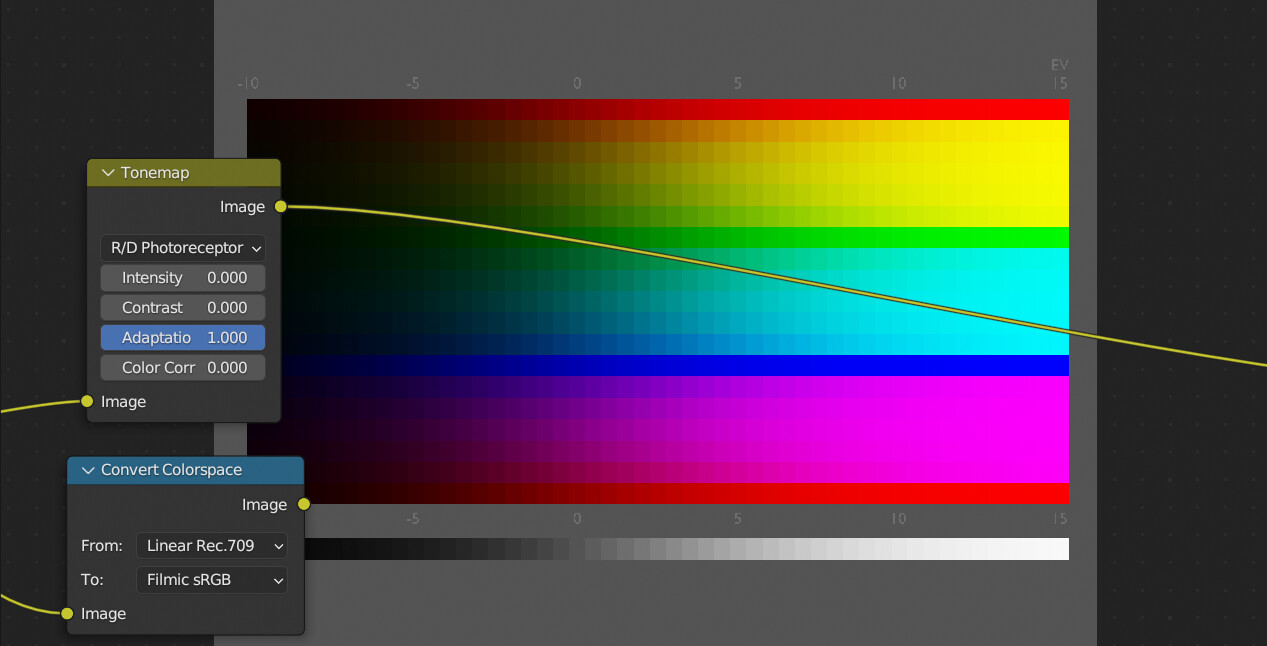
It just seems to be a classic per-channel “tonemapper” that doesn’t do any chromatic attenuation whatsoever, also doesn’t quite work with wider gamut:
I wouldn’t use it that much, honestly…
I was hoping to not have to keep going over to Affinity Photo to use its tone map slider.
My present assumptions about how this node works:
That kind of description from someone who actually knows what they’re talking about is what I was after.
It just seems to be a classic per-channel “tonemapper” that doesn’t do any chromatic attenuation whatsoever, also doesn’t quite work with wider gamut:
I wouldn’t use it that much, honestly…
But that works too ![]()
Hi, when you say tone map slider do you mean the Tone Mapping Persona? I would then assume you’re working with the OpenEXR/Radiance HDR output from Blender so you get linear unbounded floats?
If so, you can apply any number of different tone mapping methods, including Filmic and AgX (without having to set up OCIO) non-destructively. This gives you much more flexibility to experiment in post production.
Blender’s Tone Mapping Node would make most sense when saving to a gamma-encoded and bounded format, is that your intention or are you still wanting to save to an HDR format?
Assuming you’re not trying to rid yourself of Affiinity Photo entirely ![]() , do have a look at my macros if you have a minute: https://jamesritson.co.uk/resources.html
, do have a look at my macros if you have a minute: https://jamesritson.co.uk/resources.html
You’ll find the Filmic and AgX macros there (as mentioned above, no dependencies), but the HDR tone mapping macros may also be very useful as there are twenty different implementations. I use them in preference to the Tone Mapping Persona which can be a bit limited.
I haven’t tried your macros but I’ve followed your tutorials. I was enjoying myself until I tried to save the result as a jpg and the jpg looked totally different from what I was seeing in Affinity Photo. I honestly haven’t given it another try in a very very long time. Nobody could tell me in plain english why the jpg looked different and how to fix it. https://www.reddit.com/r/AffinityPhoto/comments/12yr5rl/after_using_an_ocio_adjustment_layer_the_exported/
I would then assume you’re working with the OpenEXR/Radiance HDR output from Blender so you get linear unbounded floats? … Blender’s Tone Mapping Node would make most sense when saving to a gamma-encoded and bounded format, is that your intention or are you still wanting to save to an HDR format?
this is not plain Engilsh
is that your intention or are you still wanting to
I put any 3d render image (usually jpgs of lackluster things I see on reddit or instagram) into affinity photo and use the “make it look good” slider, some would call it the Tone Compression slider of the Tone Mapping Persona. It works miracles 90% of the time. I was just wondering if it’s possible that’s some kind of standard operation that could also be done with Blender’s Tone Map node.
Blender’s capable of all sorts of stuff that almost nobody knows about because it’s not explained at all in Blender’s manual. The manual for the Tone Map node is a good example of no useful information being provided for the average person.
I have 47 other things to ask you about annoyances in Affinity photo but I don’t want to bother you.
I haven’t tried your macros but I’ve followed your tutorials. I was enjoying myself until I tried to save the result as a jpg and the jpg looked totally different from what I was seeing in Affinity Photo. I honestly haven’t given it another try in a very very long time. Nobody could tell me in plain english why the jpg looked different and how to fix it. https://www.reddit.com/r/AffinityPhoto/comments/12yr5rl/after_using_an_ocio_adjustment_layer_the_exported/
The reason for this is because you’re using the OCIO device and view transform setup, which is configured on the 32-bit preview panel (Window>32-bit Preview). This is intended for passthrough workflows, where non-destructive colour management of data is required before exporting the files back to EXR for other compositing/NLE software. The OCIO transform is applied at the document view stage: the transformed values are not written to the document.
This causes an issue when people use the OCIO view transform and then export to a gamma-encoded format such as JPEG/TIFF. Exporting to these formats uses the traditional ICC colour management system, not OCIO.
If you intend to export a finished product directly from Photo, e.g. a JPEG you can upload, you should be using ICC Display Transform instead. This colour manages from document to screen using the standard ICC profile method. You can achieve OCIO transforms using the OCIO adjustment layer instead, or use the macros which are portable and give you the correct looks straight away.
Blender gives you two distinct output options: you can either save as a non-linear, gamma-encoded and bounded format (JPEG/TIFF/PNG/most common formats for example), or you can save as linear data with no colour management and unbounded floats (OpenEXR, Radiance HDR).
The former is far more user-friendly and doesn’t require advanced knowledge of colour management setups (and therefore the pitfalls that ensue), plus it’s ready to share and upload as-is.
The latter is far more flexible but does require knowledge about how to manipulate and preview the data. Colour values are written to a linear colour space, typically Blender’s working space which I believe is Linear Rec.709—this then has to be converted to scene linear, then colour managed according to the desired output. The colour values are also unclamped (or unbounded), so bright areas in your scene can be represented at their maximum intensity. It’s then up to the user to tone map these areas and bring them into displayable range. For example, an extremely intense value of 50 could be mapped to within a range of 0-1 for SDR/LDR imagery, or alternatively it could be scaled down to a smaller value that is still >1 for HDR imagery. The user may also choose to forego tone mapping and simply use Photo’s tools for matte painting and general retouching, then export back to EXR and tone map at the final compositing stage.
It’s not an easy topic to explain in plain English!
Do you mean Tone Compression or Local Contrast? (Often it’s local contrast enhancement that people associate with the ‘HDR’ look for example). Tone Compression does a tone fitting, I believe, based on the maximum and minimum colour values in the image—so will differ for each image you process with it.
Interesting though that you’re using it to enhance LDR imagery. It likely will have a different effect on bounded imagery, instead pushing the intensity of tones up generally and further compressing the highlights, is that what you’re seeing?
tone compression slider
that local contrast thing has been making me sick since that era when that look was all the rage for a minute
It works magic on dull 3d renders straight out of blender. It tends to enhance the jpg artifacts a lot sometimes. Often when I see a post online like “how can I make this render look better” I screenshot it,
paste it into Affinity Photo, go into Tone Mapping Persona, click Natural, screenshot that, and reply back to the person and tell them to get Affinity Photo. Typically responses are very positive.