Export Paper Model

Hi, first I need to tell you that this addon is awesome, I’m planning do a lot stuff with my kids. They love do papercraft.

I try it on blender 2.79b with the last paper-model git version, running on Ubuntu 16.04. Although it work great unfolding the model I found some problem adding textures.

I follow all the steps I found to apply the texture but still get this error log, this could be something with my setup?

Thanks

Traceback (most recent call last):
  File "/home/brunushky/.config/blender/2.79/scripts/addons/io_export_paper_model.py", line 2074, in execute
    self.unfolder.save(self.properties)
  File "/home/brunushky/.config/blender/2.79/scripts/addons/io_export_paper_model.py", line 261, in save
    tex = self.mesh.save_uv(cage_size=printable_size, separate_image=use_separate_images, tex=self.tex)
AttributeError: 'Unfolder' object has no attribute 'tex'

location: <unknown location>:-1

brunushky, I tried to fix this error but it will need some more time. Over the last three months I recoded most of the script for BMesh, but not textures yet, so they don’t fit in.

For now, you can use the script version that comes with Blender, or download a version before this change.

Thanks Addam!!!.. that did the trick, its works perfect!!!. :grinning:

Thanks :+1:

I was reading through the last year of comments when I notices you said this script is not unit dependent. Is there a way I could make it unit dependent? I was hoping to use this as a faster way to prototype a few masks which would be 3d printed later. In order for this approach to be viable I need to make sure my measurement are close enough before I print them in hard plastic.

Thanks in advance

The4thIcon, you can export models with exact dimensions, just make sure that Model Scale is set to 1:1.

It doesn’t matter if you set the dimensions in meters, inches or microyards, that’s what I meant by calling it unit independent.

Hi Emu,

Thanks for the addon is super great!
Im having problems to export the model with texture. I did it whit out it in pdf and svg and they work great, but with texture cuold not do it in either format.

here is a screen shoot

Tanks!

patoaltaco, the error has been already reported by brunushky, so I suggest the same solution:

Hi Emu!

Thanks for the response, I was aware about that, i searched on the forum before, and it dosent work with version 0,9 or 1,0, but i downloaded the file of the link you sent me and it worked perfectly!
So thanks for all!

Cheers!

Hey,

I’m interested in reverse engineering on a somewhat serious level.

One of the things that are really interesting to me is solving certain “roundness” problems with as little data / as clean mathematical expressions as possible.

This paper I recently found would be a good place to start

I’d like to collaborate on implementing this, i.e. I implement the reverse engineering and then we see how we can fit it into the addon to optimize things.

So let me know what you think.

Also the “documentation” link in the addon description in blender currently points to an empty wiki page.

Grinser, although I believe decomposing meshes into CAD primitives may find many practical applications, I don’t see any relation with paper modeling. Are you sure you want to integrate it with this particular addon?

The main documentation link was okay. Please remember that the Convert to Armature script, which indeed had the link to its documentation broken, is only a small side project.

The way I see it, you’re currently only using the mesh to make the models. When exporting something with simple round shapes, you’re still plotting the internal “folds” that actually don’t need to be folds.

My idea would be to identify the ones that don’t need to be folds with this reverse engineering thing and use that info as additional input for your add-on.

Aha! That sounds good.

As I see it, there are these two approaches to paper modeling—using line segments and using smooth curves. They nicely correspond to the Solid and Smooth shading modes that are present in Blender.

It would be very valuable if you do some research and tests on real-world models. I believe that we don’t need reverse engineering into cylinders etc., as the paper suggests. Curved surface will do just fine. On the other hand, everything marked as smooth could be exported as a curved surface without folds.

The boundary curves will require quite a bit of differential algebra in order to fit precisely onto each other. Do you have some background in Bezier splines and surfaces?

The process how to detect curvatures is the same anyway. What they do with cylinder primitives is applying this detection rule strictly to all relevant vertices. There should be something I can do with relaxing the rule and allowing things that aren’t strictly circular.

Yes I know about bezier curves.

I’ll see what makes sense to do when I have the basics implemented. :slight_smile:

I have just fixed baking textures for both Blender Internal and Cycles, and made a few more fixes to island packing and the “Limit Island Size” feature. Everybody who uses the development version from github, I invite you to download it afresh.

Next on my roadmap is splitting the script into four files. I hope it will make the code easier to comprehend.

Hello!
I found out about this script a couple weeks ago, and I frankly think you are absolutely amazing. People who work on these sorts of projects tend to “disappear” within a couple years (or months!) but you’re still working on this and replying and fixing it?? Such dedication!

Anyways, I spent a couple days reading up on this and trying out other programs such as Pepakura before I decided to try out your script.
I had a little knowledge on Blender before (just enough to model simple things, use certain modifiers and such. So very little compared to most of the other people here), and thought that this would be pretty easy to do.
I had a 3D model at hand that I wanted to make with paper, so I tried it out with your script.
First, I reduced lots and lots of polygons; It had around 3,000,000 polygons (!) so I reduced it to 16,466 using the “Decimate” tool. Thankfully the model shape remained almost exactly the same. (It was a model with lots of smooth bits, not details.) (Also, I just checked, the model has 59,000 “tris”. I think this might be too much to be honest…)

After a couple tries of “___ detected, use ___ to fix”, I was able to fix all the problems that the pop-ups pointed out.
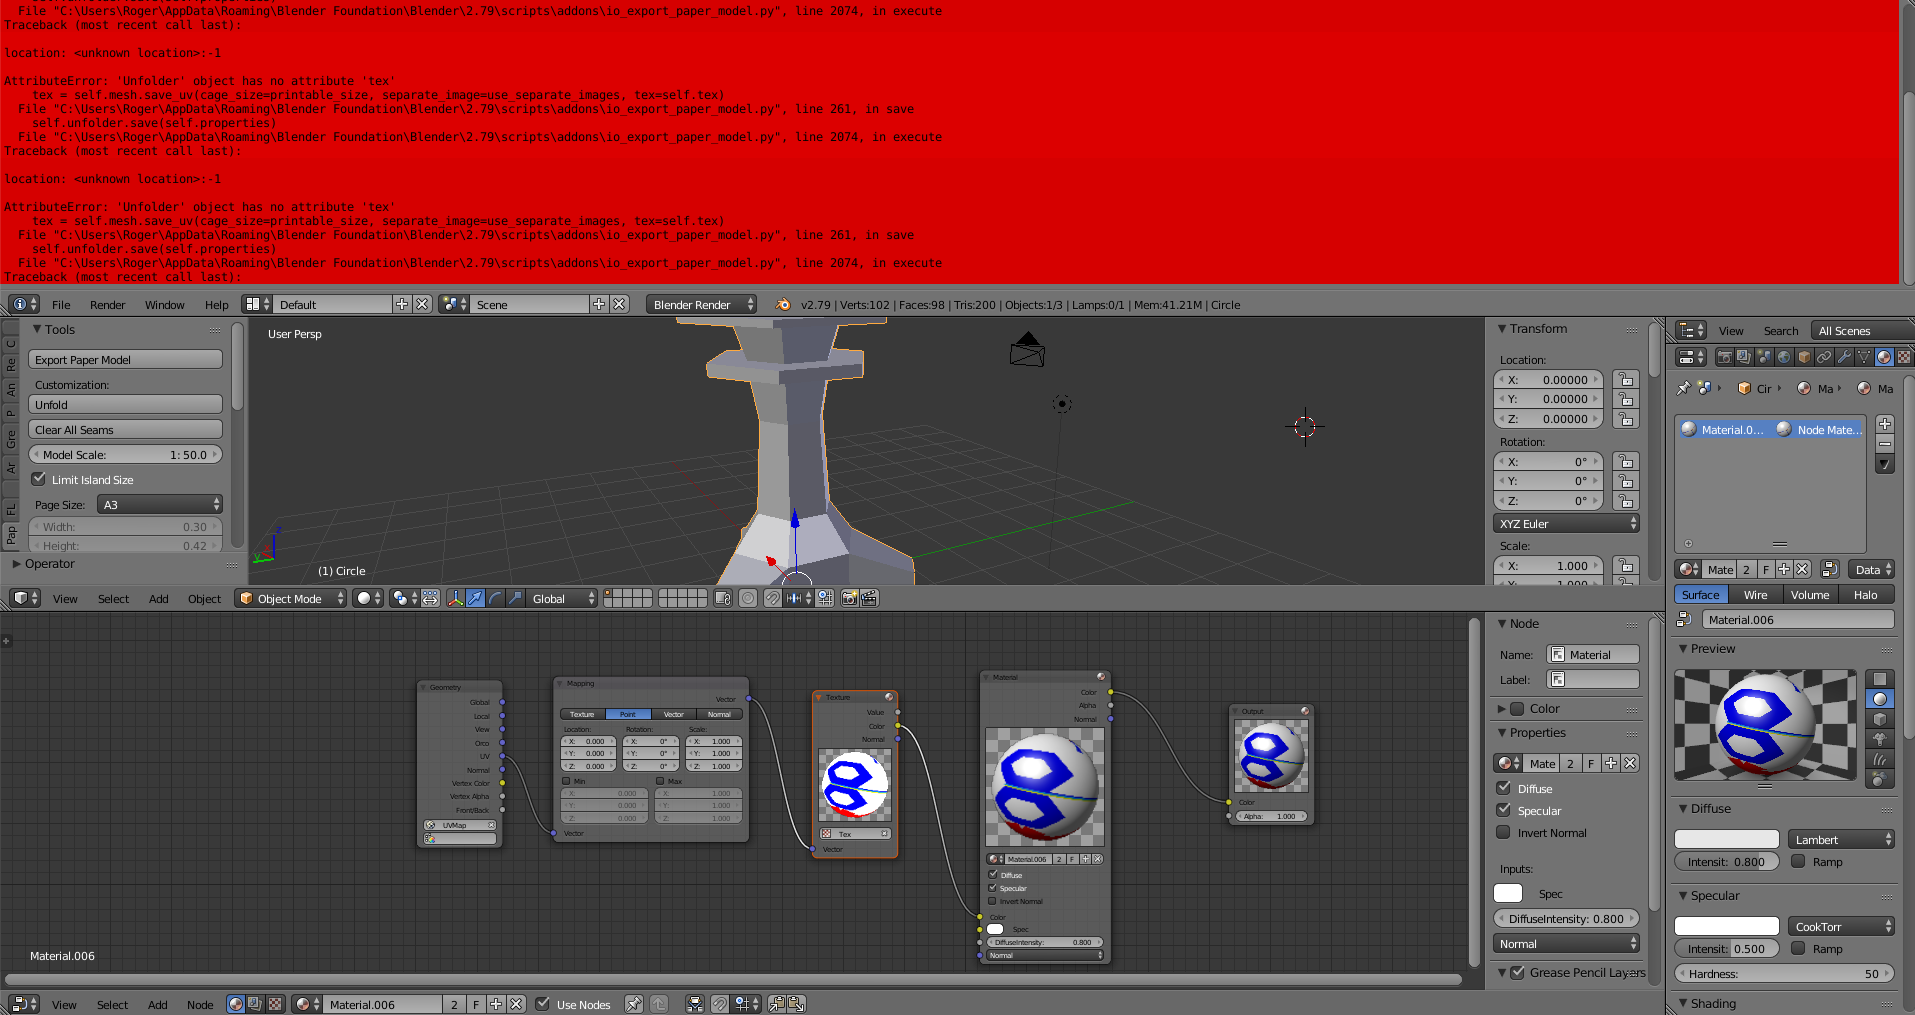
But, when I tried to unfold after getting rid of all the errors, I was greeted with this message:
“Report: Invalid Input Error
Export failed. Please report this error, including the model if you can.”

So yeah, here I am. I’d love to see what this script can do, but if the model is too complicated for it, I guess I’ll have to use something else… :frowning:

Here is the file (uploaded via Pasteall.org): http://pasteall.org/blend/index.php?id=50193

How can I fix this problem? And if possible, how can I simplify it so that it becomes blockier?

EDIT: I have completely edited the entire model from the start and now have around 12,000 tris in the entire model. It works now! I guess having too many tris can screw up the script?

EDIT2: Whoops, it turns out that it only exported one part of the entire model (which was split into 3 parts). When I merge the 3 parts together and try to export/unfold, it gives me the same “Invalid Input Error”. The model currently has 12,008 tris, 11,426 faces and 8736 verts. (I have updated the link above to the newest revised one)

BeardWix, thanks for the message! I’ll have a look on your model.

Anyway I would recommend you to start with modeling something very simple. Try folding a cube, or an Ico sphere, just to get your hands on the tools. What you show in the screenshot is insanely difficult, really.

I believe you need to cut down the face count down to several hundred, at most. The Decimate modifier is absolutely unable to do this – you’ll have to start from an empty object and express your artistic intent in the placement of each new vertex. Doing this kind of retopology will take some time and you will certainly learn a lot about Blender along the way.

You can use Transform Snapping to Face in order to copy the original shape of your model. I didn’t find any good tutorial that would show the process well. Perhaps I’ll make one later. The best video I found is https://youtu.be/DD4jJc_01do, but its commentary is not well suited for beginners and, moreover, very boring.

1 Like

(I’m sure you’ve read my replies, but I’ve deleted them both now because the edits are stacking up and I’ve got some progress going in the past 8 hours. Hope you’d understand!)

Ok, so I edited the model (very heavily!) and have gotten rid of tons of details which were piling up and bringing the whole script down. The part that I’m working on (the main body) now has 1,779 vertices, 3,816 edges, and 2,071 tris. I think this would be enough to work, but if not I can reduce them further and risk killing off necessary details…

Anyways, I successfully got the body to be exported into a pdf that is only 26 pages long. (compared to my previous 120+ pages!)
The texture settings were at “From Materials” and set at 70 DPI.

However, I have 3 problems now:

  1. It takes around 20~30 minutes to export. Blender also freezes while it’s exporting.
  2. Most of the parts are scattered around the pages by themselves instead of being connected to eachother. This not only makes it very confusing but also:
  3. The “[#] Island #” phrase is all over my exported PDF, and is overlapping with the actual parts, making it unusable for normal use. How can I make it so that the “[#] Island #” phrases won’t appear?

A couple interesting notes about the third problem:
-This does not happen if I open the PDF file with Microsoft Edge. This only happens when opening with Foxit Reader. (I tried downloading inkscape and opening it there, but I can’t get my head around it and it imports the pdf as a black page. Not going to try that out now…)
-In MS Edge, the “[#] Island #” sentence is replaced entirely with a simple #:# (for example, “1325:1”.)
-In MS Edge, most of the words do not have the “overlapping with texture” problem. However, it rarely still happens, not to mention that many of the words overlap with eachother or even get cut off, making it un-readable. Some words are simply too small to read. (See second screenshot)

Photos are attached below, as well as the complete PDF file:


(This is what it looks like when opening with Foxit Reader)


(These are the problems that happen when opening with MS Edge.)

And here’s the PDF file (hosted with pdfhost.net): https://www.pdfhost.net/index.php?Action=Download&amp;File=b11e2dfd5ff3d1610054b54d9527e7a3

Beardwix, thanks for your effort. In fact, I keep working on this topic thanks to people like you who keep discovering the script and making experiments with paper models.

I have also made some progress (159.4 KB, without the original model and textures) on the tiger. Here (592.7 KB) you can get an exported PDF. Notice that I disabled Create Numbers, which also solves your question 3. The model is way too complex and all the labels only make it more messy.

Yet I insist: this should not be the first paper model that you export from blender. Start with something much simpler, like twenty faces or so. You need to get an overview of the whole process, so that you don’t drag yourself into a dead end.

I have recorded a 50-minute screencast how I simplify the model down to 600 faces (the blend file above), and I’ll upload it on youtube later today. Anyway, 50 minutes is too long for a tutorial, so I will also do it again with something simpler and share the results – perhaps, I’ll only do the tiger head alone.

Again, thanks for the energy you put into this. Please, spend it wisely and don’t get exhausted.

1 Like

Wow! So much effort and dedication into a simple “I have a problem” post!
I’ve taken a look at the model you’ve simplified and I love it.
However, not only am I looking to keep the textures, it’s almost necessary (for me) for the head to be recognizable as Tony. (It’s me just being picky, but I’d like it to be like that…)
So what I did was to split the model into 3 parts: body, head, and tail, because it was becoming more and more deformed although it was simple enough to be easily exported into a template. You clearly did a MUCH better job at simplifying than me, but that makes all the parts of the model simplified, even when I’d like to keep some detail…

So I think I will be using your model, at least for the body, but I would most likely do something else for the head. I might even recreate it from scratch, or just simplify it enough and print it out separately.

In any case, please don’t hesitate to post the entire video; I would like to see the whole process not as a tutorial, but simply as a reference for certain things.
And if it’s not too much, can you possibly try simplifying the head a little less, just so that it still maintains the expression and characteristics? You definitely do not need to do this, but if it’s not that hard, I’d like to see how you go about doing that.
And how can I keep the textures while simplifying the model like you did?

SpeedEdit: whoops, I just noticed that the PDF file has the textures. I thought you removed the textures before you simplified the model. How can I view the model in blender with textures on? I’d like to see how it looks before I decide to work with it.
Also, I can make out parts of the model (from the PDF), such as the body, hands, and the legs, but I can’t find the head? I think this might just be because the model is a little complex, but by any chance did you only export certain parts or something?
Anyways, immense thanks for the help! The world needs more developers like you! :grinning:

The mesh I posted without textures can still be easily exported with textures. You’ll have to import the original tiger model under it (so that they overlap in space). It is the “Bake Selected to Active” trick: you select all objects in the scene and the low-poly model must be the active one (test this by switching to Edit mode). Then you just select Textures: Selected to Active in the Export Paper Model settings.