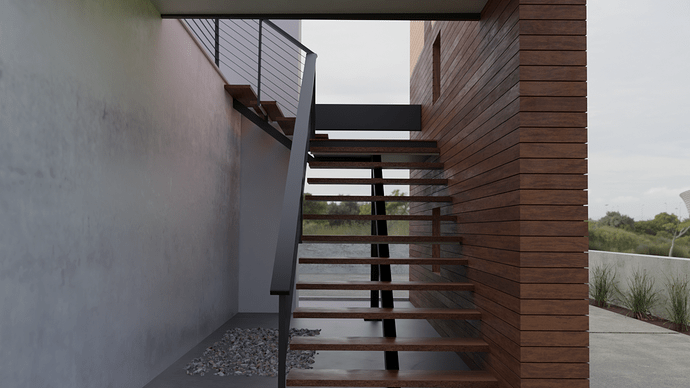
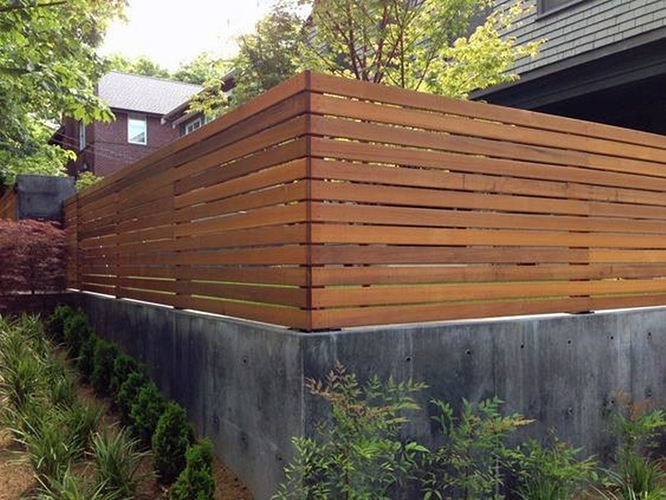
I did this render aiming for realism, I want to get some opinions on whether it looks realistic or not and what can I do to improve, I am new in PBR texturing and lighting, thanks!
Hello! The scene is looking pretty good so far! It looks realistic already, particularly the thumbnail. I think what gives away it’s a render are the wood and the gravel bed.
I’m sorry it became a bit TL;DR, I grouped things under topics to at least make the reading easier. ![]()
Wood planks variation
The wood has a very uniform color, you could add slight hue and value variations to the planks to make them more organic.
Wood grain contrast
I’m also not sure about the specularity tint / lightest grain (diffuse map) saturation. It looks too cold, while wood is more dynamic like skin. I’m not saying to throw a SSS at it, it’s just… Pick an object made of real wood, something with a flat surface and a light or clear coat of varnish. Turn it around a couple of times and watch how the light bounces off the grain at different angles, producing value and saturation changes accompanied by a soft reflection in the wood itself, not the varnish.
Most people don’t bother to try to reproduce this effect in their renders and this is why their architectural wood looks so dull. I don’t think I’ve ever seen a physically realistic wood PBR because there’s a lot going on with grainess and reflection falloff, but the best depictions try to emulate some of it by ramping up the saturation of middle/lightest values. It’s not a bad trick, you could try it. Just don’t forget that there are two ways to increase the saturation of something: Doing literally this, or the opposite, with a tactical saturation reduction of parts of the texture so what you want to look saturated stand out by relative contrast.
So, uh, if you don’t mind, I did a stinky color manipulation in photoshop to show what I’m talking about because it’s hard to explain.

Since I can’t isolate the wood texture to fine tune it I just simulated the saturation vs desaturation by ramping up the contrast then using the values as basis to change the tint of each grain region: Blue for the darker ones so they look colder in comparison, magenta/red and more saturation right at the dark-medium transition, yellow and green and less saturation to the lightest areas to simulate the light shift.
Wood Edges
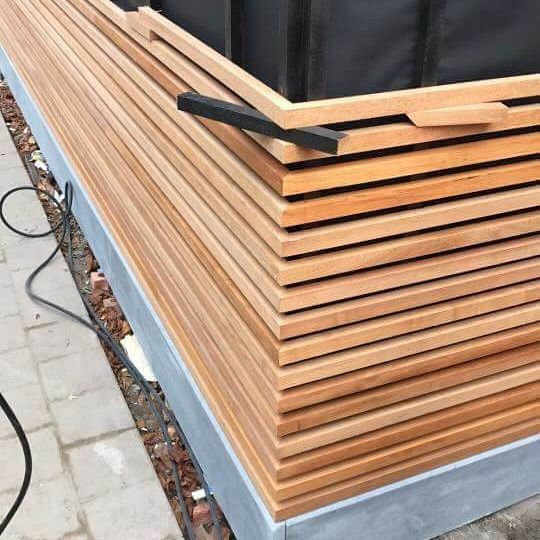
Two other tips to increase realism: Things rarely have perfectly sharp edges in real life. Add a slight bevel to hard surfaces so you get specs at edges. It’ll also help to see where different pieces of wood or whatever you’re using meet, what brings me to the last wood-related detail:
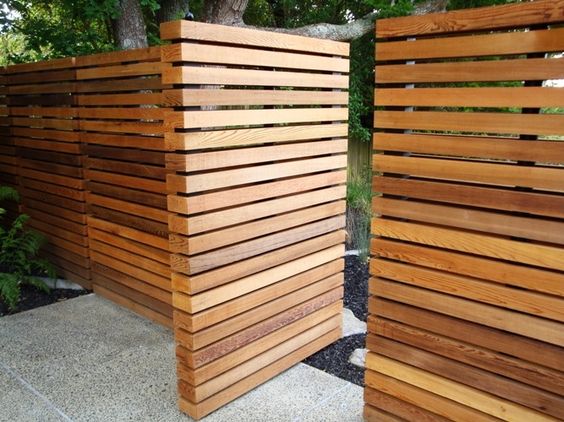
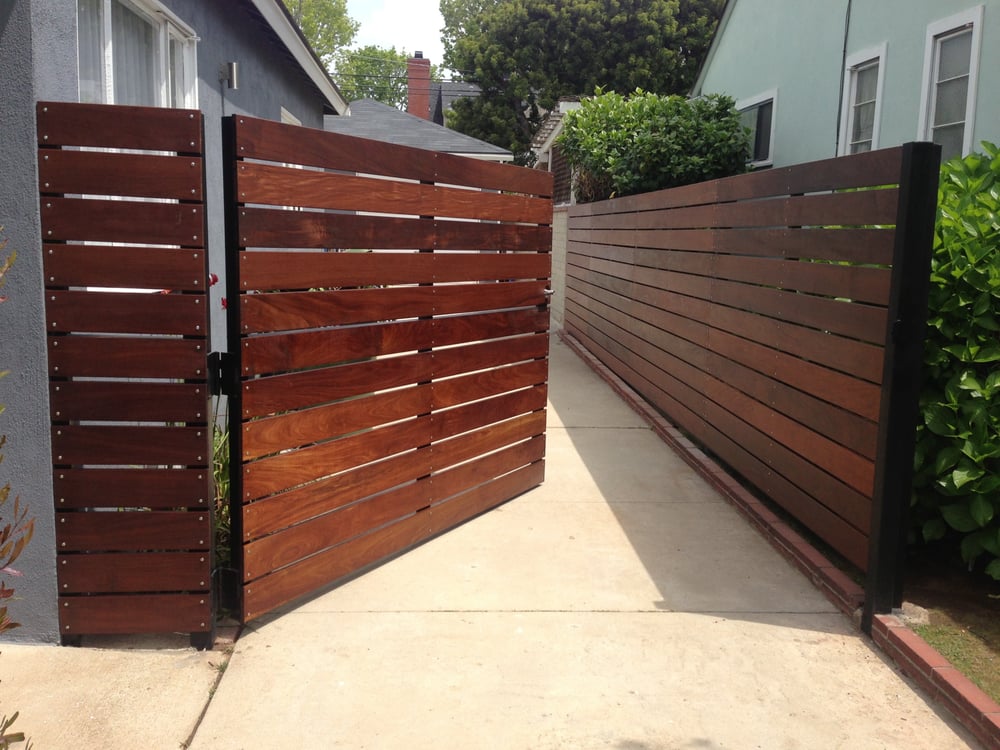
The continuous texture from face to face in the wood wall would only happen if it were made of single overlapping pieces of wood. Most architects wouldn’t do that, it’d be either a hollow structure or cladding covering a wall. In that case you’ll have gaps where faces meet because the planks either overlap in L or are cut at 45º and fit together, and the texture wouldn’t be continuous. Here are some references:
Gravel bed
It’s nothing important, but gravel beds are usually raised or sunk so the contents remain in place. The one in the scene doesn’t look like either because the edges can’t be seen.
You could also add something to it, small plants or some landscaping detail like people usually do. Maybe not even to the bed, just some random object propped on the wall, because this area is looking very empty in comparison with the rest of the scene and this would be the perfect spot to hoard stuff like bicycles or plants.
That’s it! I hope it helps. ![]()
Thanks for taking time to write an in-depth review and help me, really means a lot to me and be sure that i’m gonna try and work on what you wrote.Cheers!
